fabric shopping

International fabric shopping recommendations, come at me!

In just over a week, Luke and I will be heading to Europe! Much excitement here right now. Luke is attending conferences in Germany and the Netherlands, and I’m tagging along. Then we’re heading to Iceland together for 10 days!

Of course, I’ll be hoping to get some fabric souvenirs from the trip ;P – they’re the best kind, right? So, if you happen to know of any cool fabric shops I should check out in Jena (unlikely, but you never know), Amsterdam/Leiden (probably most places in the Netherlands, really, it’s quite easy to zip about by train there) or Reykjavik, please let me know!

I have been doing some holiday preparation sewing, but it’s of a fairly boring variety – lots of merino! Leggings for Luke and I, long-sleeved tops for us both. I have about a million projects I want to start, but due to work my sewing is being done in tiny snippets here and there, and I haven’t been able to make half the things I planned!

Because I don’t like posts without pictures, here’s one of the lovely dude I’m fostering at the moment for The Lonely Miaow – Sylvester!

Sylvesterrrr

Advertisement
Standard
sewing

Sewing for the husband: Papercut Undercover Hood

IMG_1737

Recently, I’ve been doing a lot of selfless sewing. Luke has started showing more interest in what he wears, and as a result, is very keen on having an entirely handmade wardrobe. Somewhat surprisingly, I’ve really been enjoying the process of making him clothes – talking about his colour palette (I’m not even joking, he’s made himself a colour palette), picking out fabrics, talking style details and selecting patterns. This is my latest make for him, an oatmeal merino hoodie from the Papercut Patterns Undercover Hood pattern.

IMG_1740

You may be wondering why I chose to use a pattern designed for women to make a hoodie for a man. The main answer would be, because I’m cheap. I also want to make a hoodie for myself, and I figured that the Undercover Hood is a fairly boxy pattern and could suit us both. Also, at the time I didn’t think there were many other men’s hoodies patterns out there (forgetting, of course, about the Finlayson Sweater from Thread Theory). At any rate, I’d already bought the Papercut pattern on advice from Sandra at a recent sewing meetup, so I forged ahead. I cut out a size L, based on Luke’s measurements, and lengthened the sleeves and body accordingly as Luke is 6’4″. There was some to-and-fro about whether Luke wanted the hoodie version or the neckband version – I ended up cutting both out as he couldn’t decide, but in the end he went with the hood and I think it was a good choice.

IMG_1745

The hoodie was the most fun part for me – I went with eyelets, rather than buttonholes, for the drawstring – all the RTW hoodies I’ve ever owned have had eyelets and besides, I hate making buttonholes. I got them from Geoff’s (where else?) along with the rope cord for the drawstring. The fabric for the hoodie came from Trademe and is a sweatshirting weight, with looped terry on the wrong side. It’s snuggly warm! I’m so proud of my stitching on this hoodie – I used a triple stretch stitch for most of it, including the topstitching on the pouch pocket. I was terrified of sewing that on, but I fused knit stay tape onto all the edges beforehand, and used my walking foot and the stretch stitch and it worked perfectly – no waviness at all! I twin needled the open edges. I sewed all the other seams with the triple stretch stitch so they’re nice and sturdy and durable. I overlocked the raglan seams, but my overlocker has serious issues so I quit while I was ahead for fear of ruining any further seams.

IMG_1744

As for the fit – I think it’s okay. I mean, it wasn’t designed with a guy in mind, but I think hoodies are not exactly fitted garments, so it’s fine. Luke really likes it, and has been wearing it a whole lot since I finished it a week ago. His only complaint is that the sleeve cuffs are a bit snug, and I figured out why just recently – when I was packing up the pattern pieces and cutting them down to an M for me, I realised the cuffs had been cut to an M already! So no wonder it’s a little hard for Luke to get his giant man hands through them. Oops. He says they’re already stretching out a bit though, so that’s good. Otherwise it’s all good – there seems to be *something* going on with the armpit/upper bicep area with the sleeves, but I don’t know what – there’s a fair bit of wrinkling there. I don’t know enough about men’s clothing to know what the deal is, or how to fix it, but Luke is comfy in it so that’s all that matters!

Next on the Luke Clothing Project list is jeans – eep! Wish me luck…

Standard
pattern testing, sewing

A New Black Harriet

So, as you may have seen, Named released their new pattern collection today, New Black! I’m quite a fan of Named’s patterns – they’re always fresh, different and very trendy. I’ve pattern tested for two of Named’s collections now – Ticket and New Black. They are a really nice company to pattern test for – super friendly, very quick to answer any questions, and very organised. There’s no requirement to blog about anything you test for them, but I have been dying to show you all my Harriet jacket that I tested for them this time! In case you were wondering, last time I pattern tested the Delphine maxi dress – I picked something out of my comfort zone, and although it’s a great pattern, it didn’t suit me at all and I didn’t feel comfortable in it, so I never blogged about it. C’est la vie!

IMG_1719

But back to Harriet. When Named sent me the catalogue to pick a pattern to test, I didn’t even hesitate. Harriet was number one on my list, and I was delighted when they let me know I was testing it! Unfortunately, right after they sent me the pattern was the unexpected start of an extremely busy period at work. Some people quit and my boss went on holiday, and I found myself working every day of the week, often for 10 hour days. Add to this the fact that I’ve never made a jacket before, of any description, and well…my delight quickly changed to terror.

IMG_1717

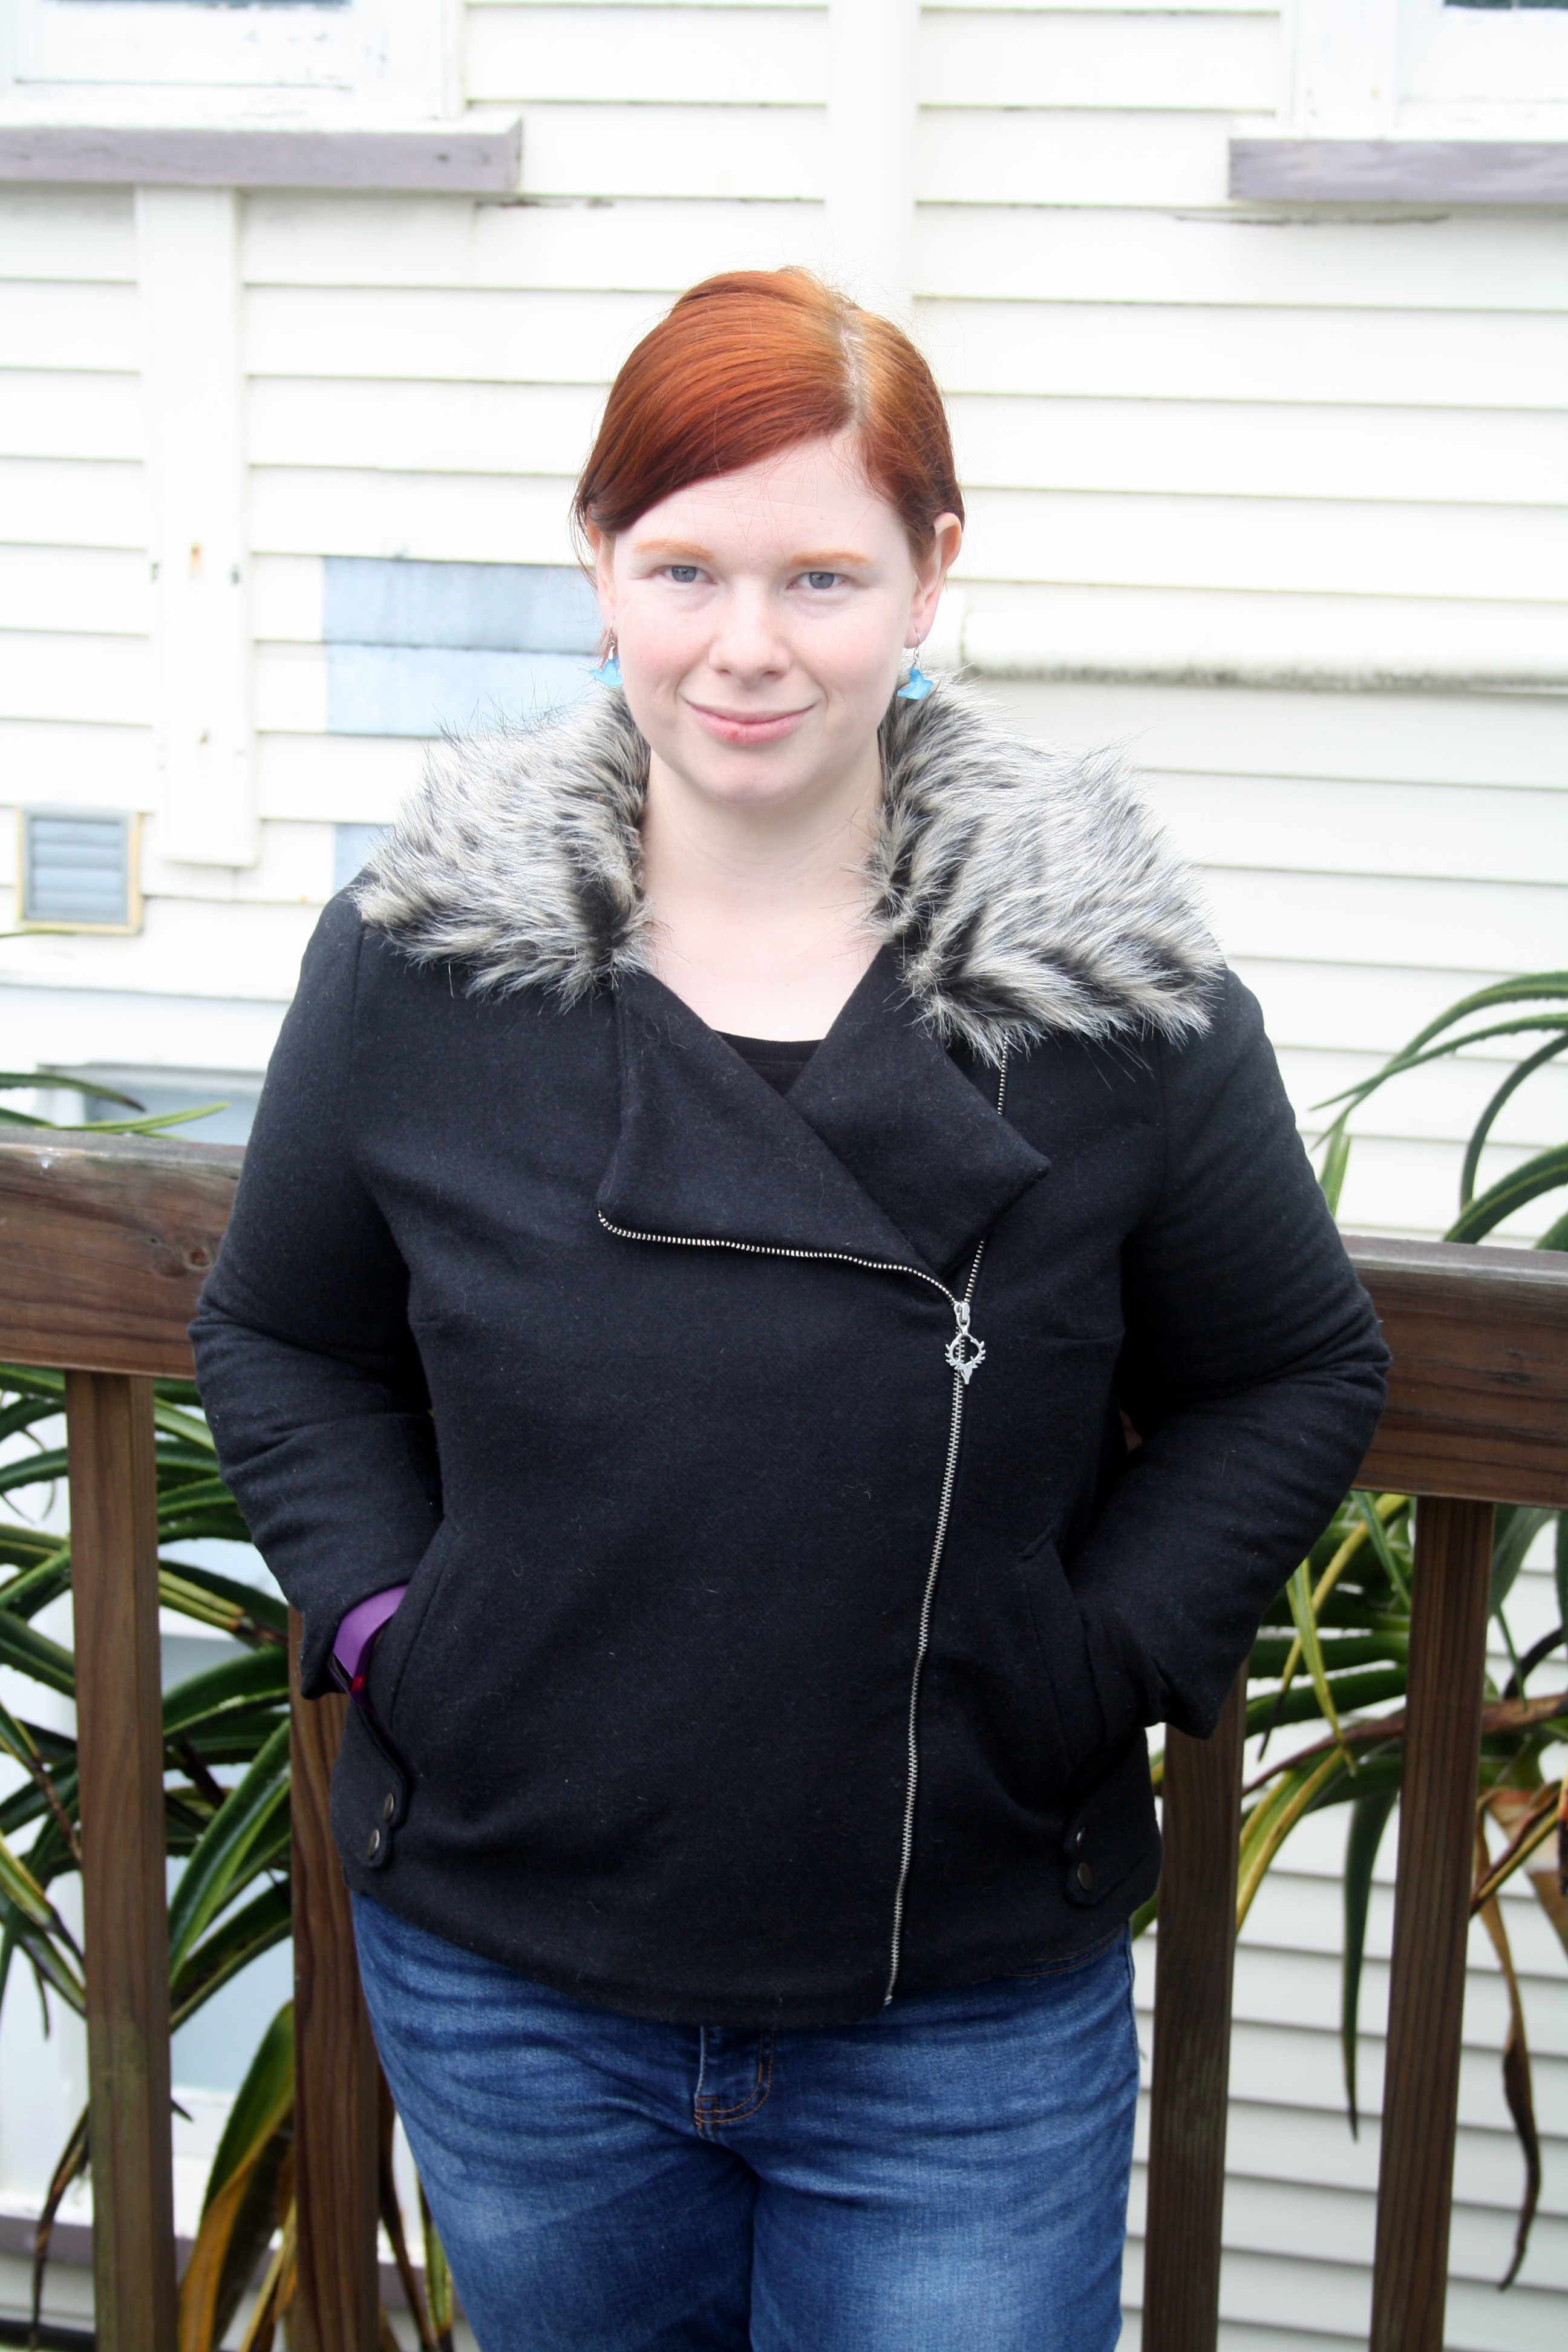
I already had a wool blend coating that I’d bought from Trademe some time ago, with the idea of making a jacket some time in the future. I did go to the Fabric Store to see if they had anything else suitable, but nothing there really caught my eye, and I was loathe to spend lots of $$ on fabric for a pattern that might not work out. So I stuck with my black wool, but I did splurge a little and buy some fabulous faux fur for the collar! For the lining, I bought a quilted…something from Geoff’s Emporium. In all honesty, I probably should have used an interlining, too – the black wool was just a little too lightweight, and I feel the jacket could benefit from a tiny amount more structure. I interfaced everything the pattern said to, and I had some fancy fusible interfacing in my stash especially for wool from making a wool circle skirt (that may or may not be sitting in my WIP pile, dating back to Berkeley days). I don’t know what it’s called, but it’s grey and feels fancy. And cost $14.95 a metre!

IMG_1690

IMG_1722

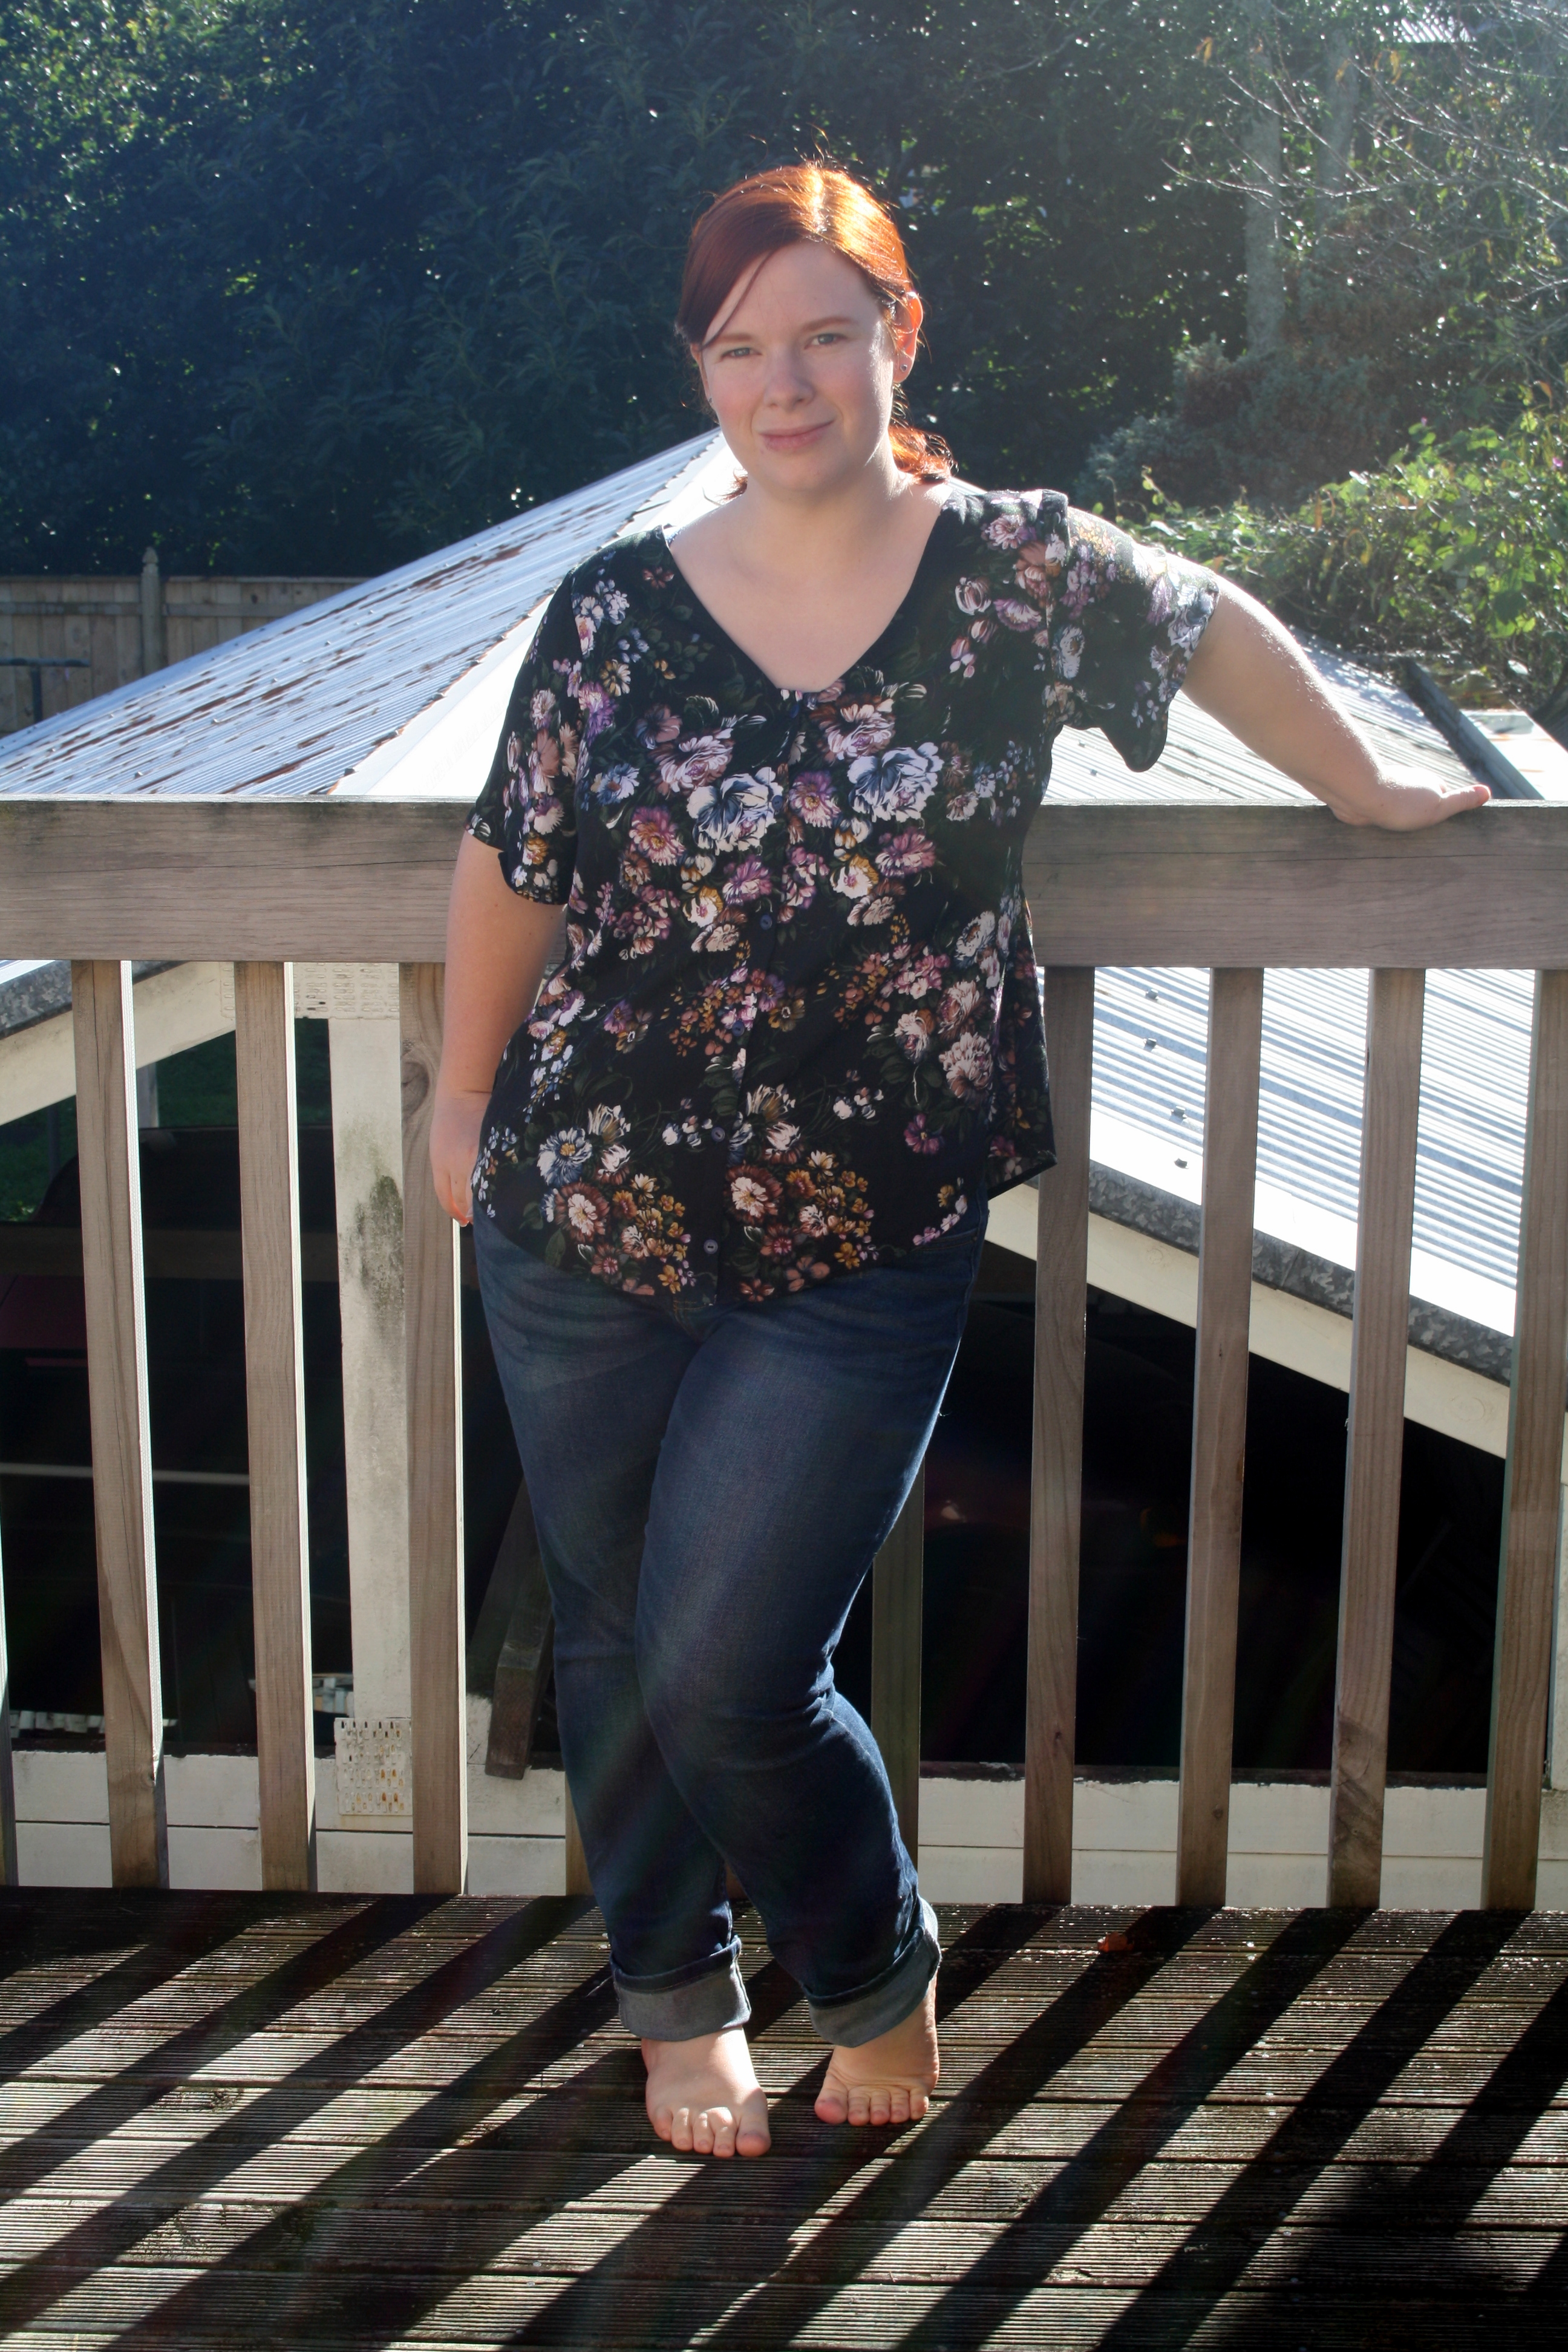
I made up the jacket in a size 42. With the quilted lining, it’s a tiny bit snug – particularly in the upper sleeves, which I should have seen coming, since I always have trouble fitting my upper arms. I didn’t want to make too many adjustments though, as I figured it was most useful for Named if I made it as close to out-of-the-packet as possible. I did shorten the sleeves by quite a bit – 9cm – which ended up being slightly too much. It was hard to judge, and I didn’t have time to make a muslin. I think 7cm would have been perfect. It’s not too noticeable, that they’re a bit short – only really if I hold my arms out straight in front of me, and who does that on a daily basis? I also made a 1cm narrow shoulder adjustment, which is standard for me on almost any top these days. Next time, I’d lower the bust darts a smidge too. All of this could easily have been caught with a muslin, if I’d had the time to do one.

I used the size 40 for length – this style of jacket is something I’ve never worn before, and I honestly wasn’t sure where it was supposed to hit. Hip? Waist? I ended up going for hip, and I like it this way. I’m quite happy with the length. I left off the elbow patches, as I wanted a more simple jacket.

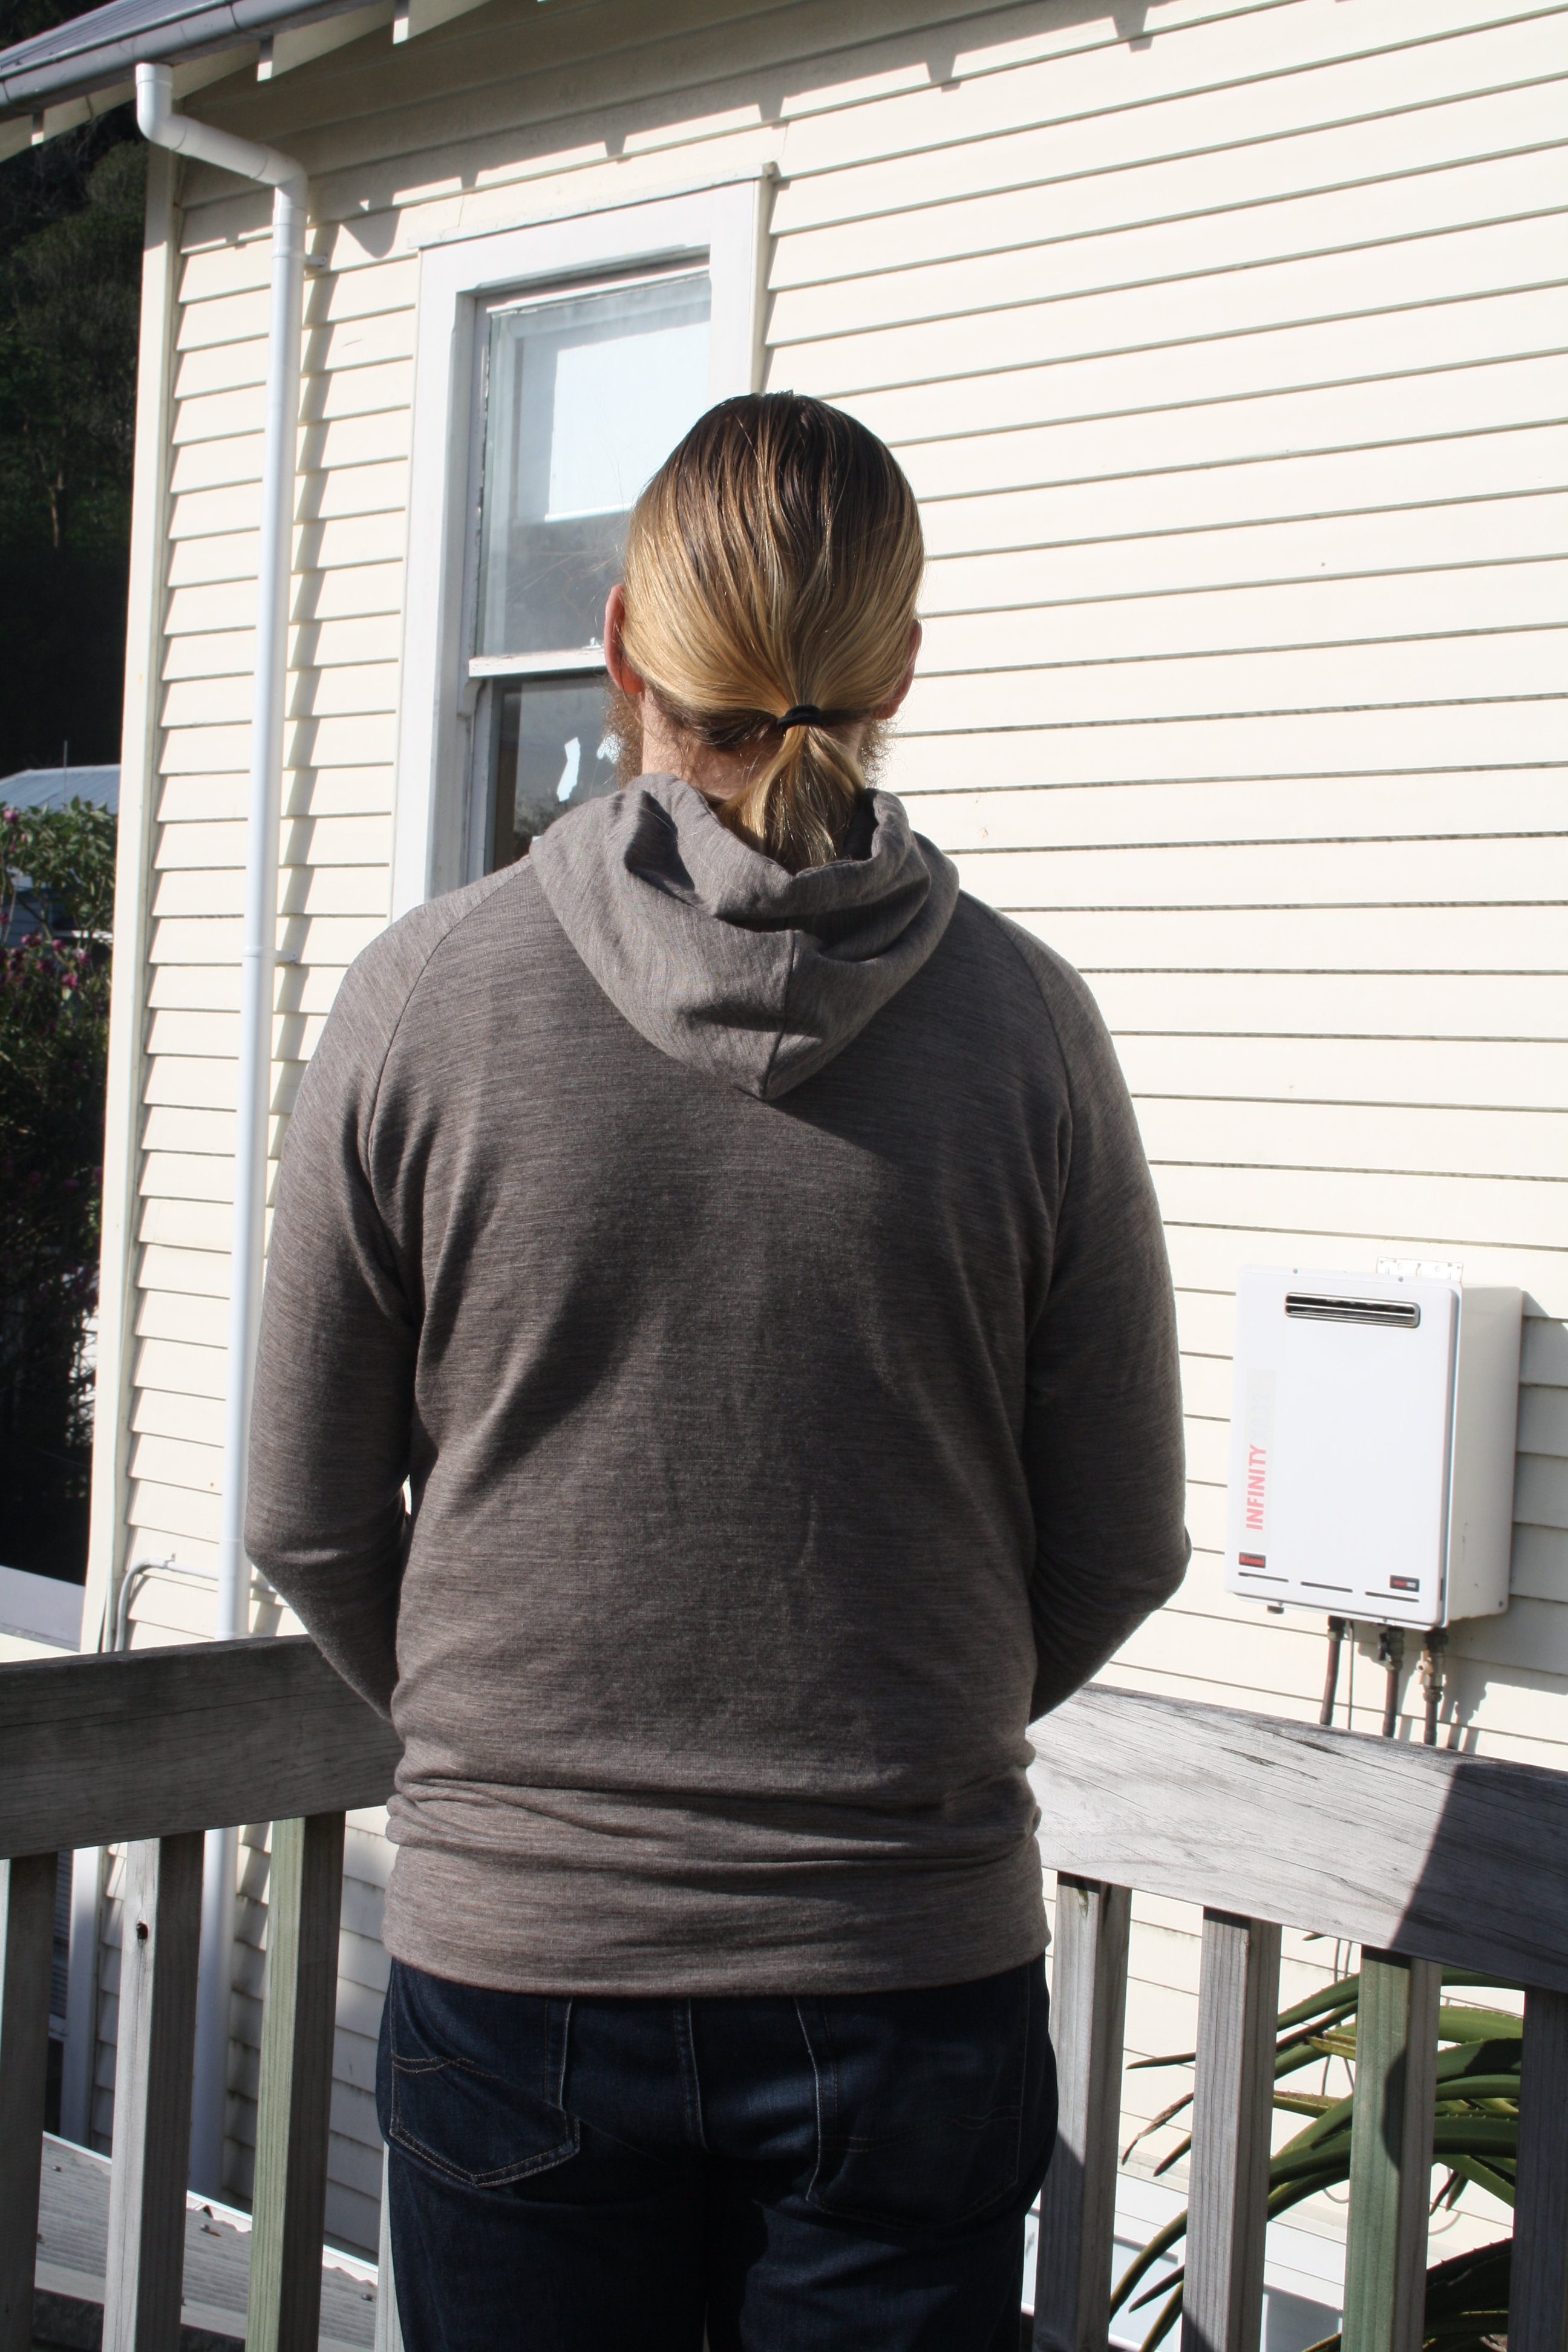
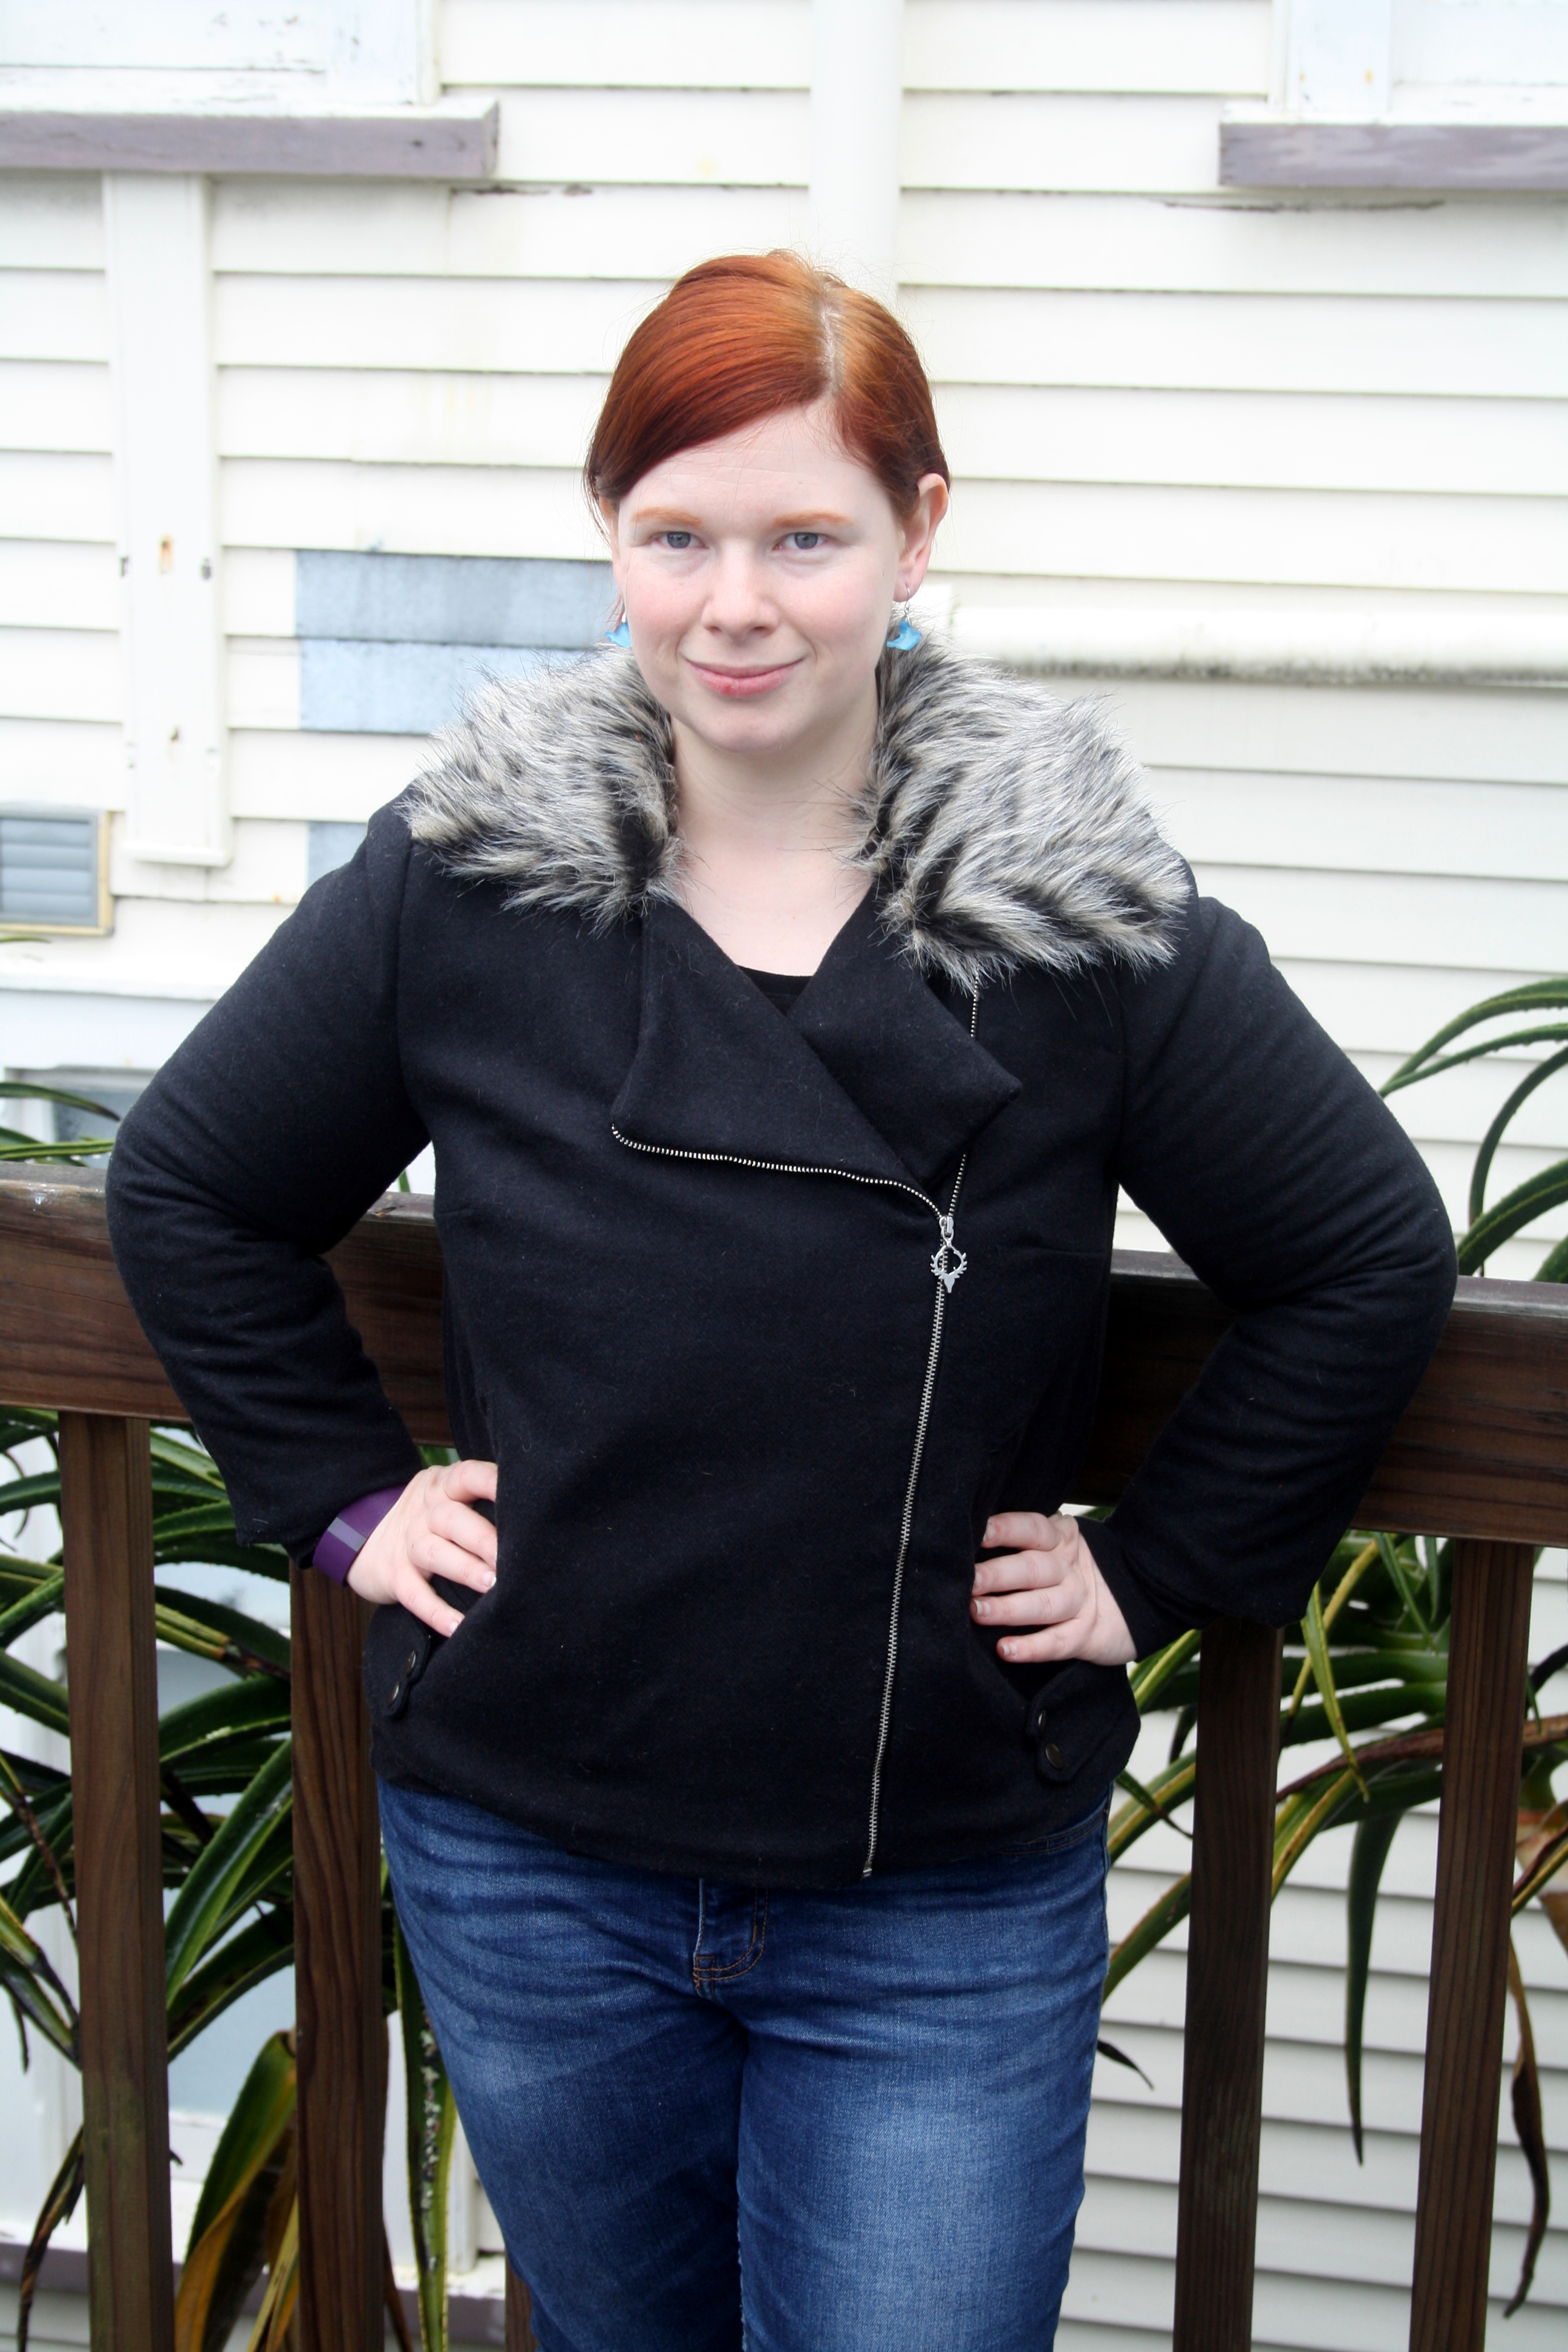
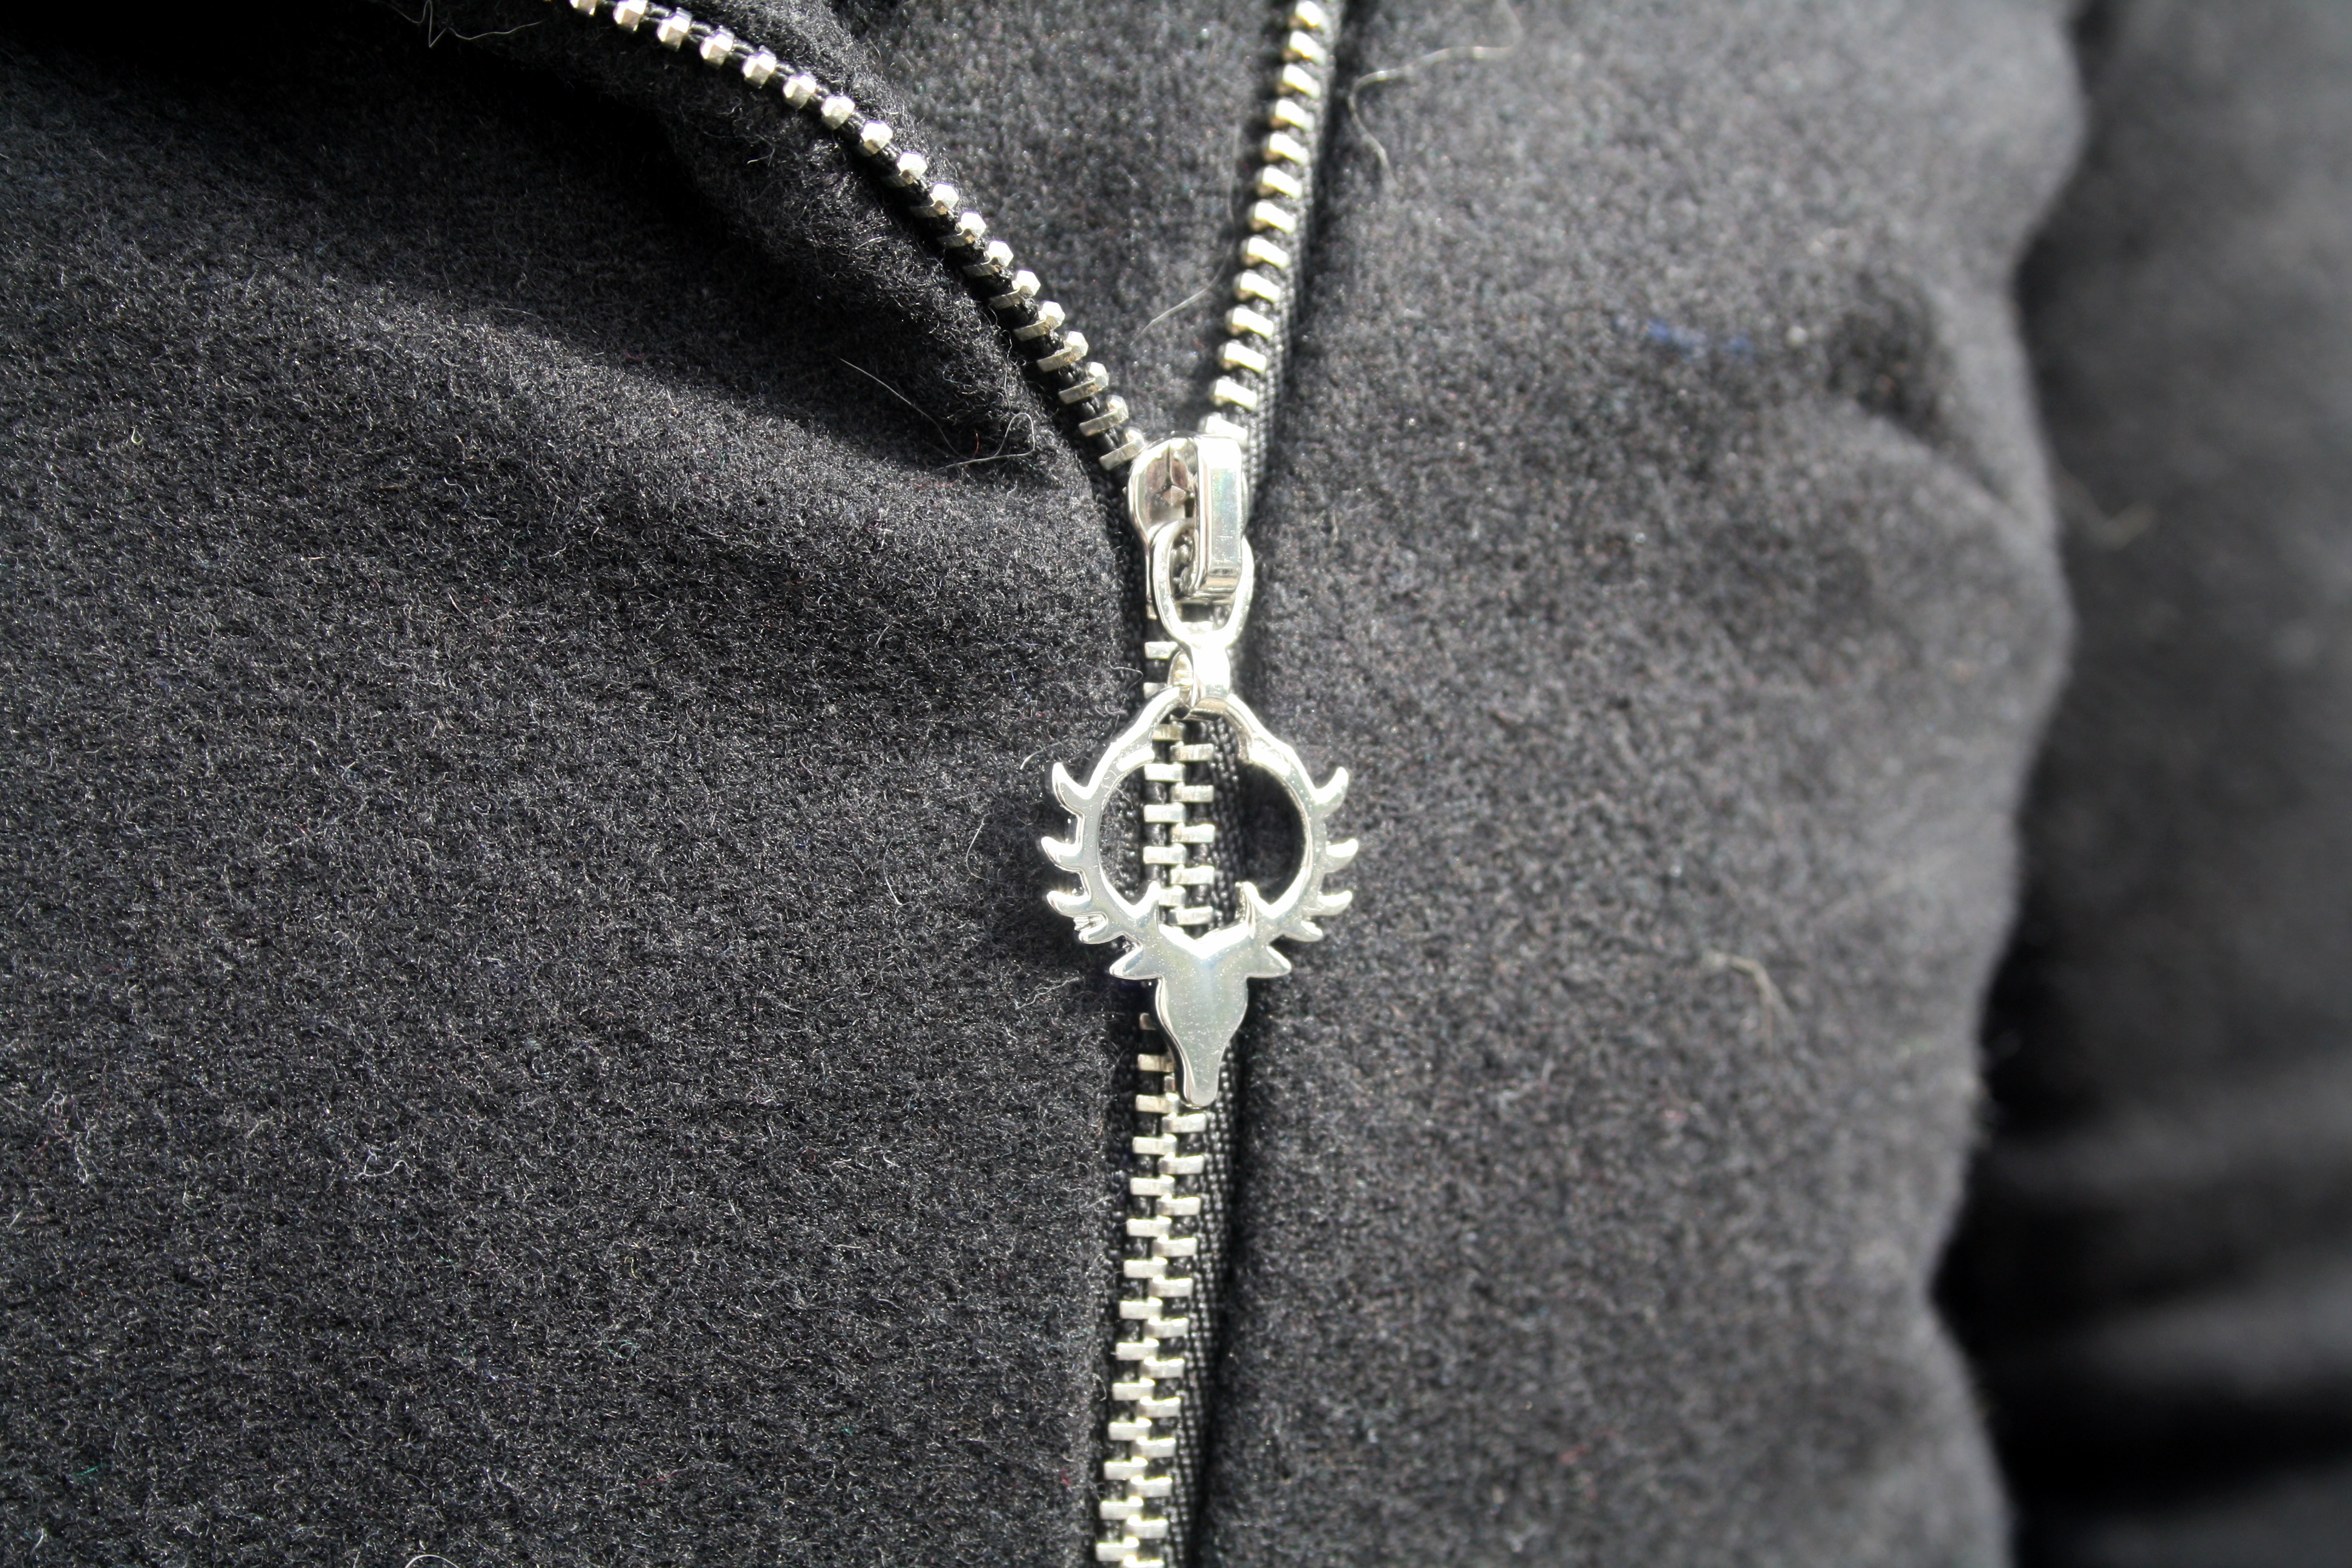
The jacket involve a lot of firsts for me – first welt pockets, first open-ended zipper, first sleeve heads/shoulder pads, first two-part sleeve and first lining of a jacket. Phew! It is an absolute testament to the quality of Named’s instructions that I was able to make this in the timeframe I did (1 week, basically, by the time I got the supplies and cut out all the pieces and fabric). Amazingly enough, I didn’t have to unpick anything! It all went smoothly. Notches matched up everywhere and I managed to mark the placement of the pockets and snap buttons perfectly (I thread marked them with silk basting thread that’s been in my stash for ages, because sometimes my beloved Chaco chalk pens don’t quite rub off fluffier fabrics). I was especially hesitant of the zip – it’s something that needs to line up pretty much spot on to work, and it did! Also, how awesome is my zip?!

IMG_1684Metal open-ended zips appear to be a rare beast in Auckland, and I was lucky to find this one in a basket in Geoff’s for $1. It was a bit too long, unfortunately, and I spent an unpleasant hour on the couch wrenching tiny zip teeth off with a pair of pliers – not fun. But it’s good to know that metal zips are able to be shortened! Speaking of the zip – I used my walking foot everywhere to sew this jacket (it lives on my machine now basically) except the zip – the only way I could get a nice finish with the zip was to use my zipper foot to sew it in. The instructions don’t mention this, but I found it helped immensely.

I got my shoulder pads and sleeve heads from Hawes & Freer, a local company that sells tailoring notions and fabrics. They have quite a comprehensive selection, and I chose ones on the lighter side – in hindsight, I should have gotten slightly bulkier ones, but the idea of shoulder pads was frightening and I didn’t have time to play around with different kinds. It’s possible that the ones I chose would have been fine with a more sturdy fabric, too.

IMG_1724

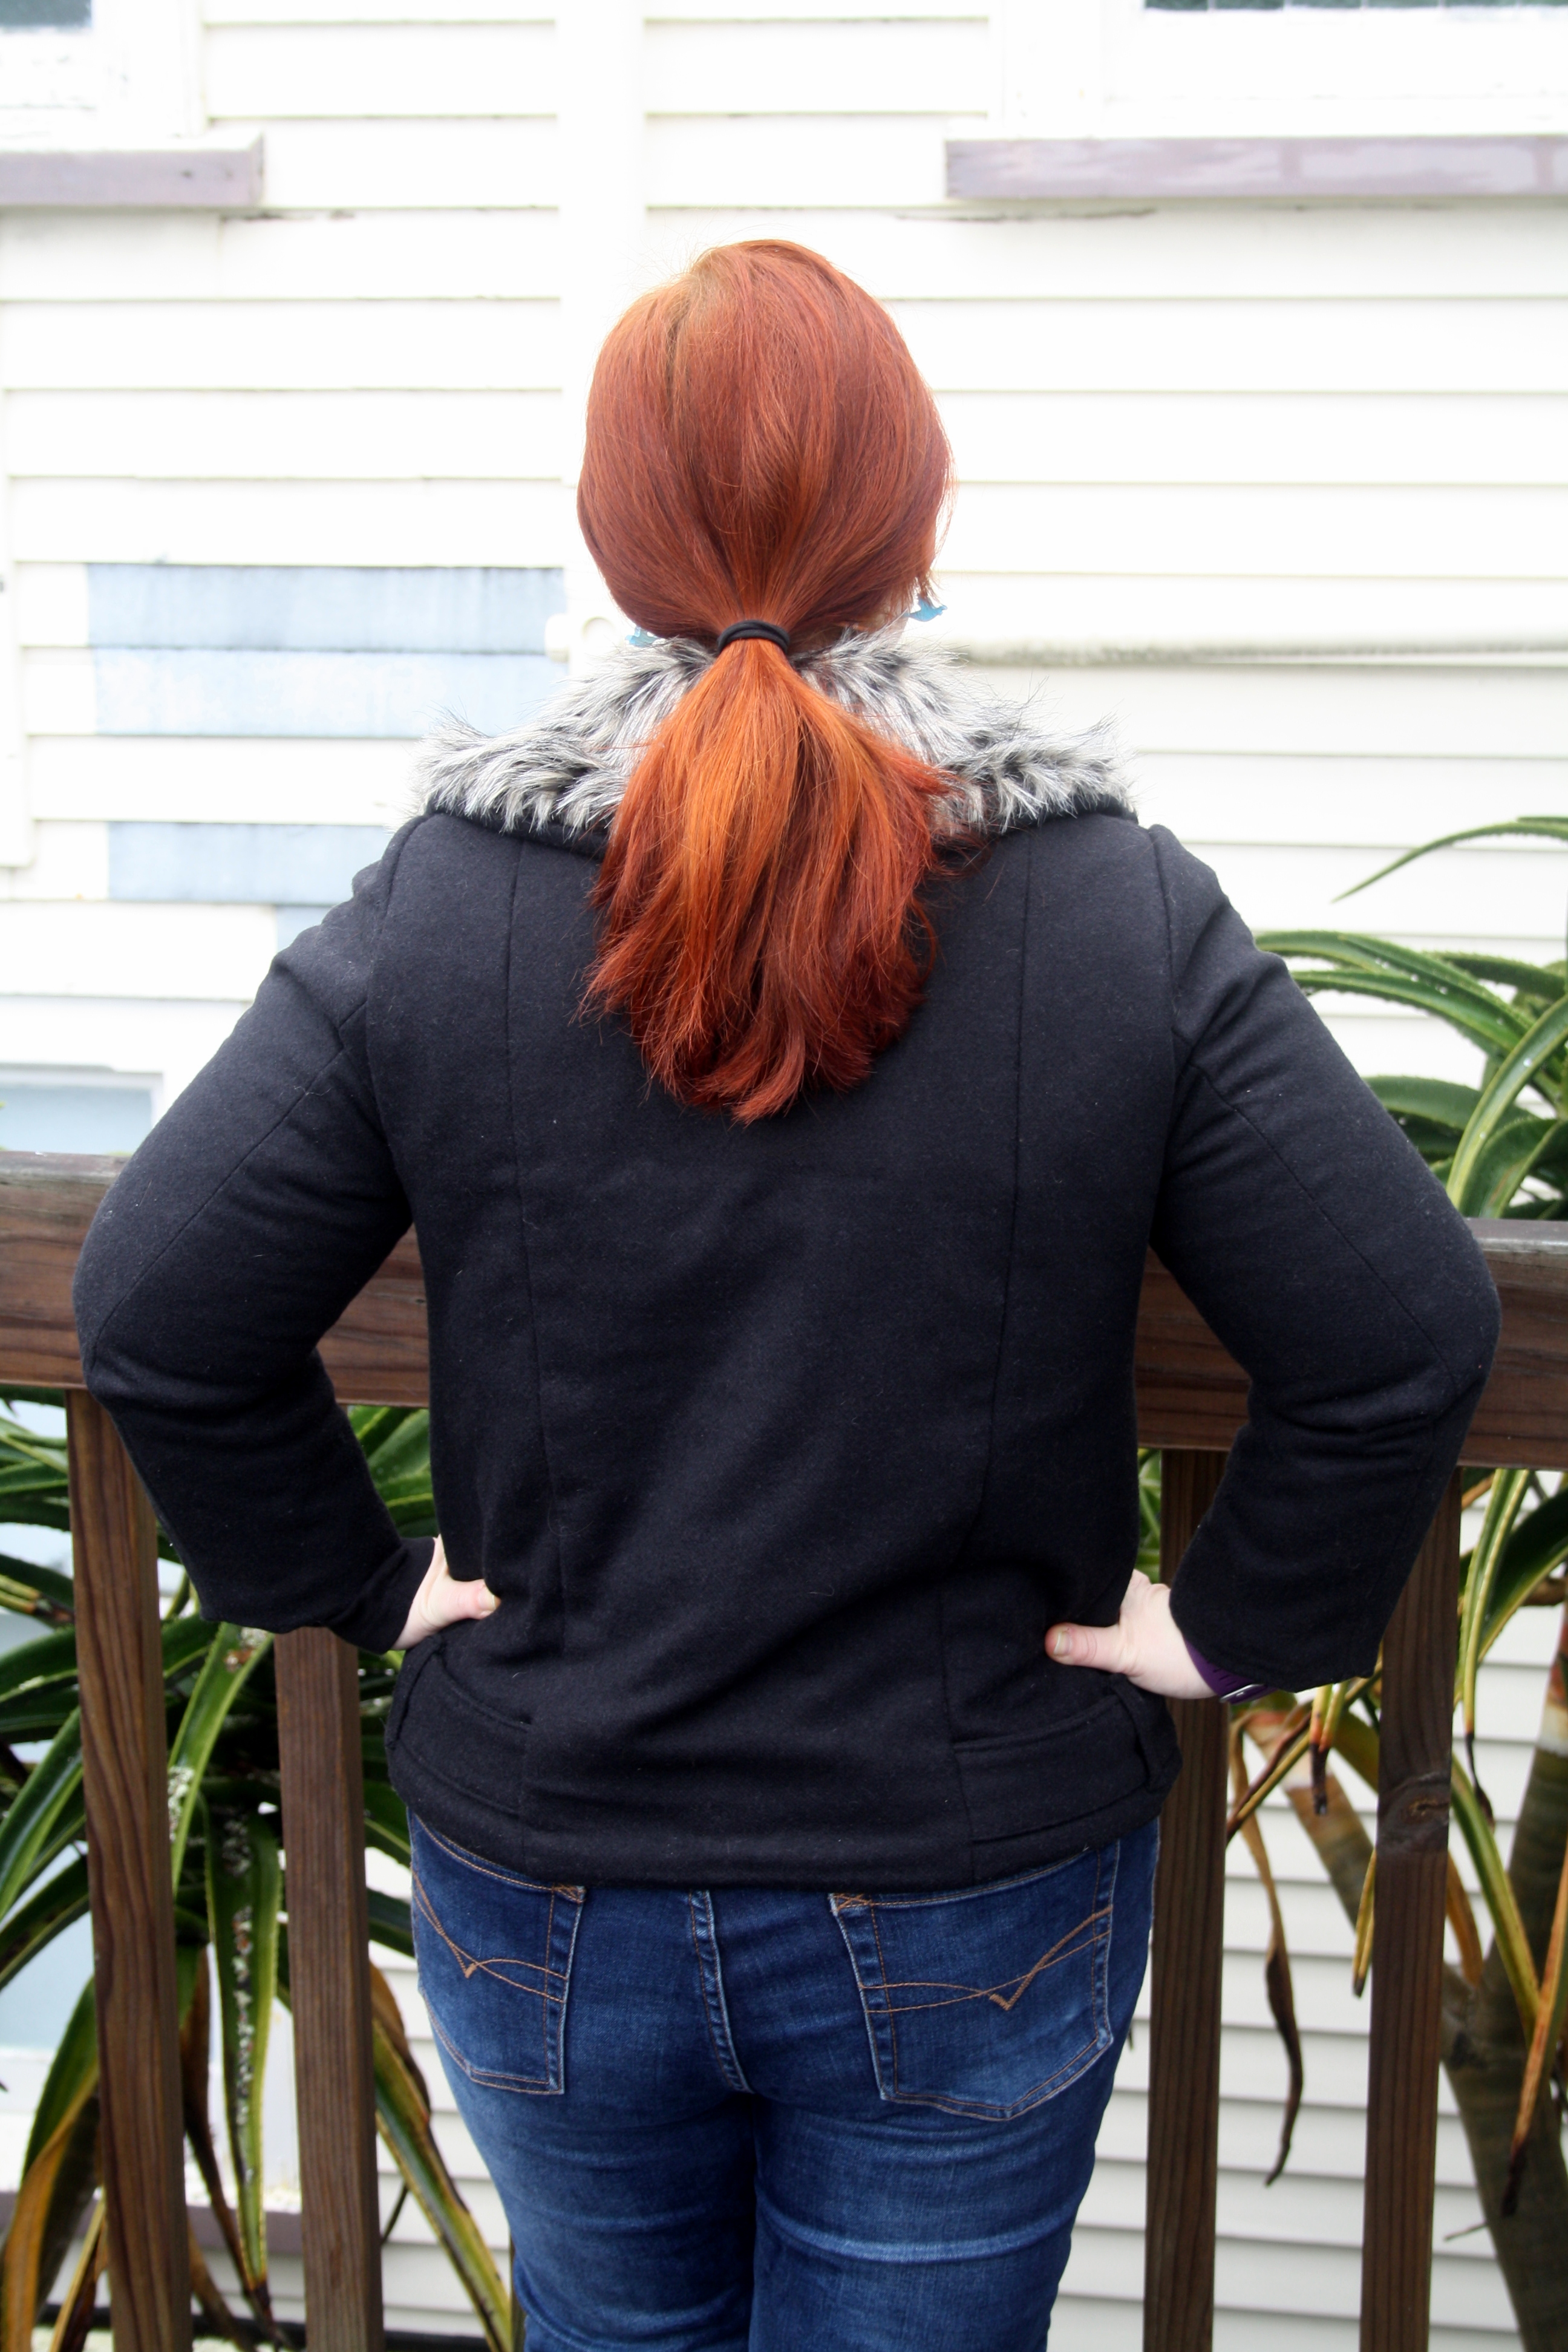
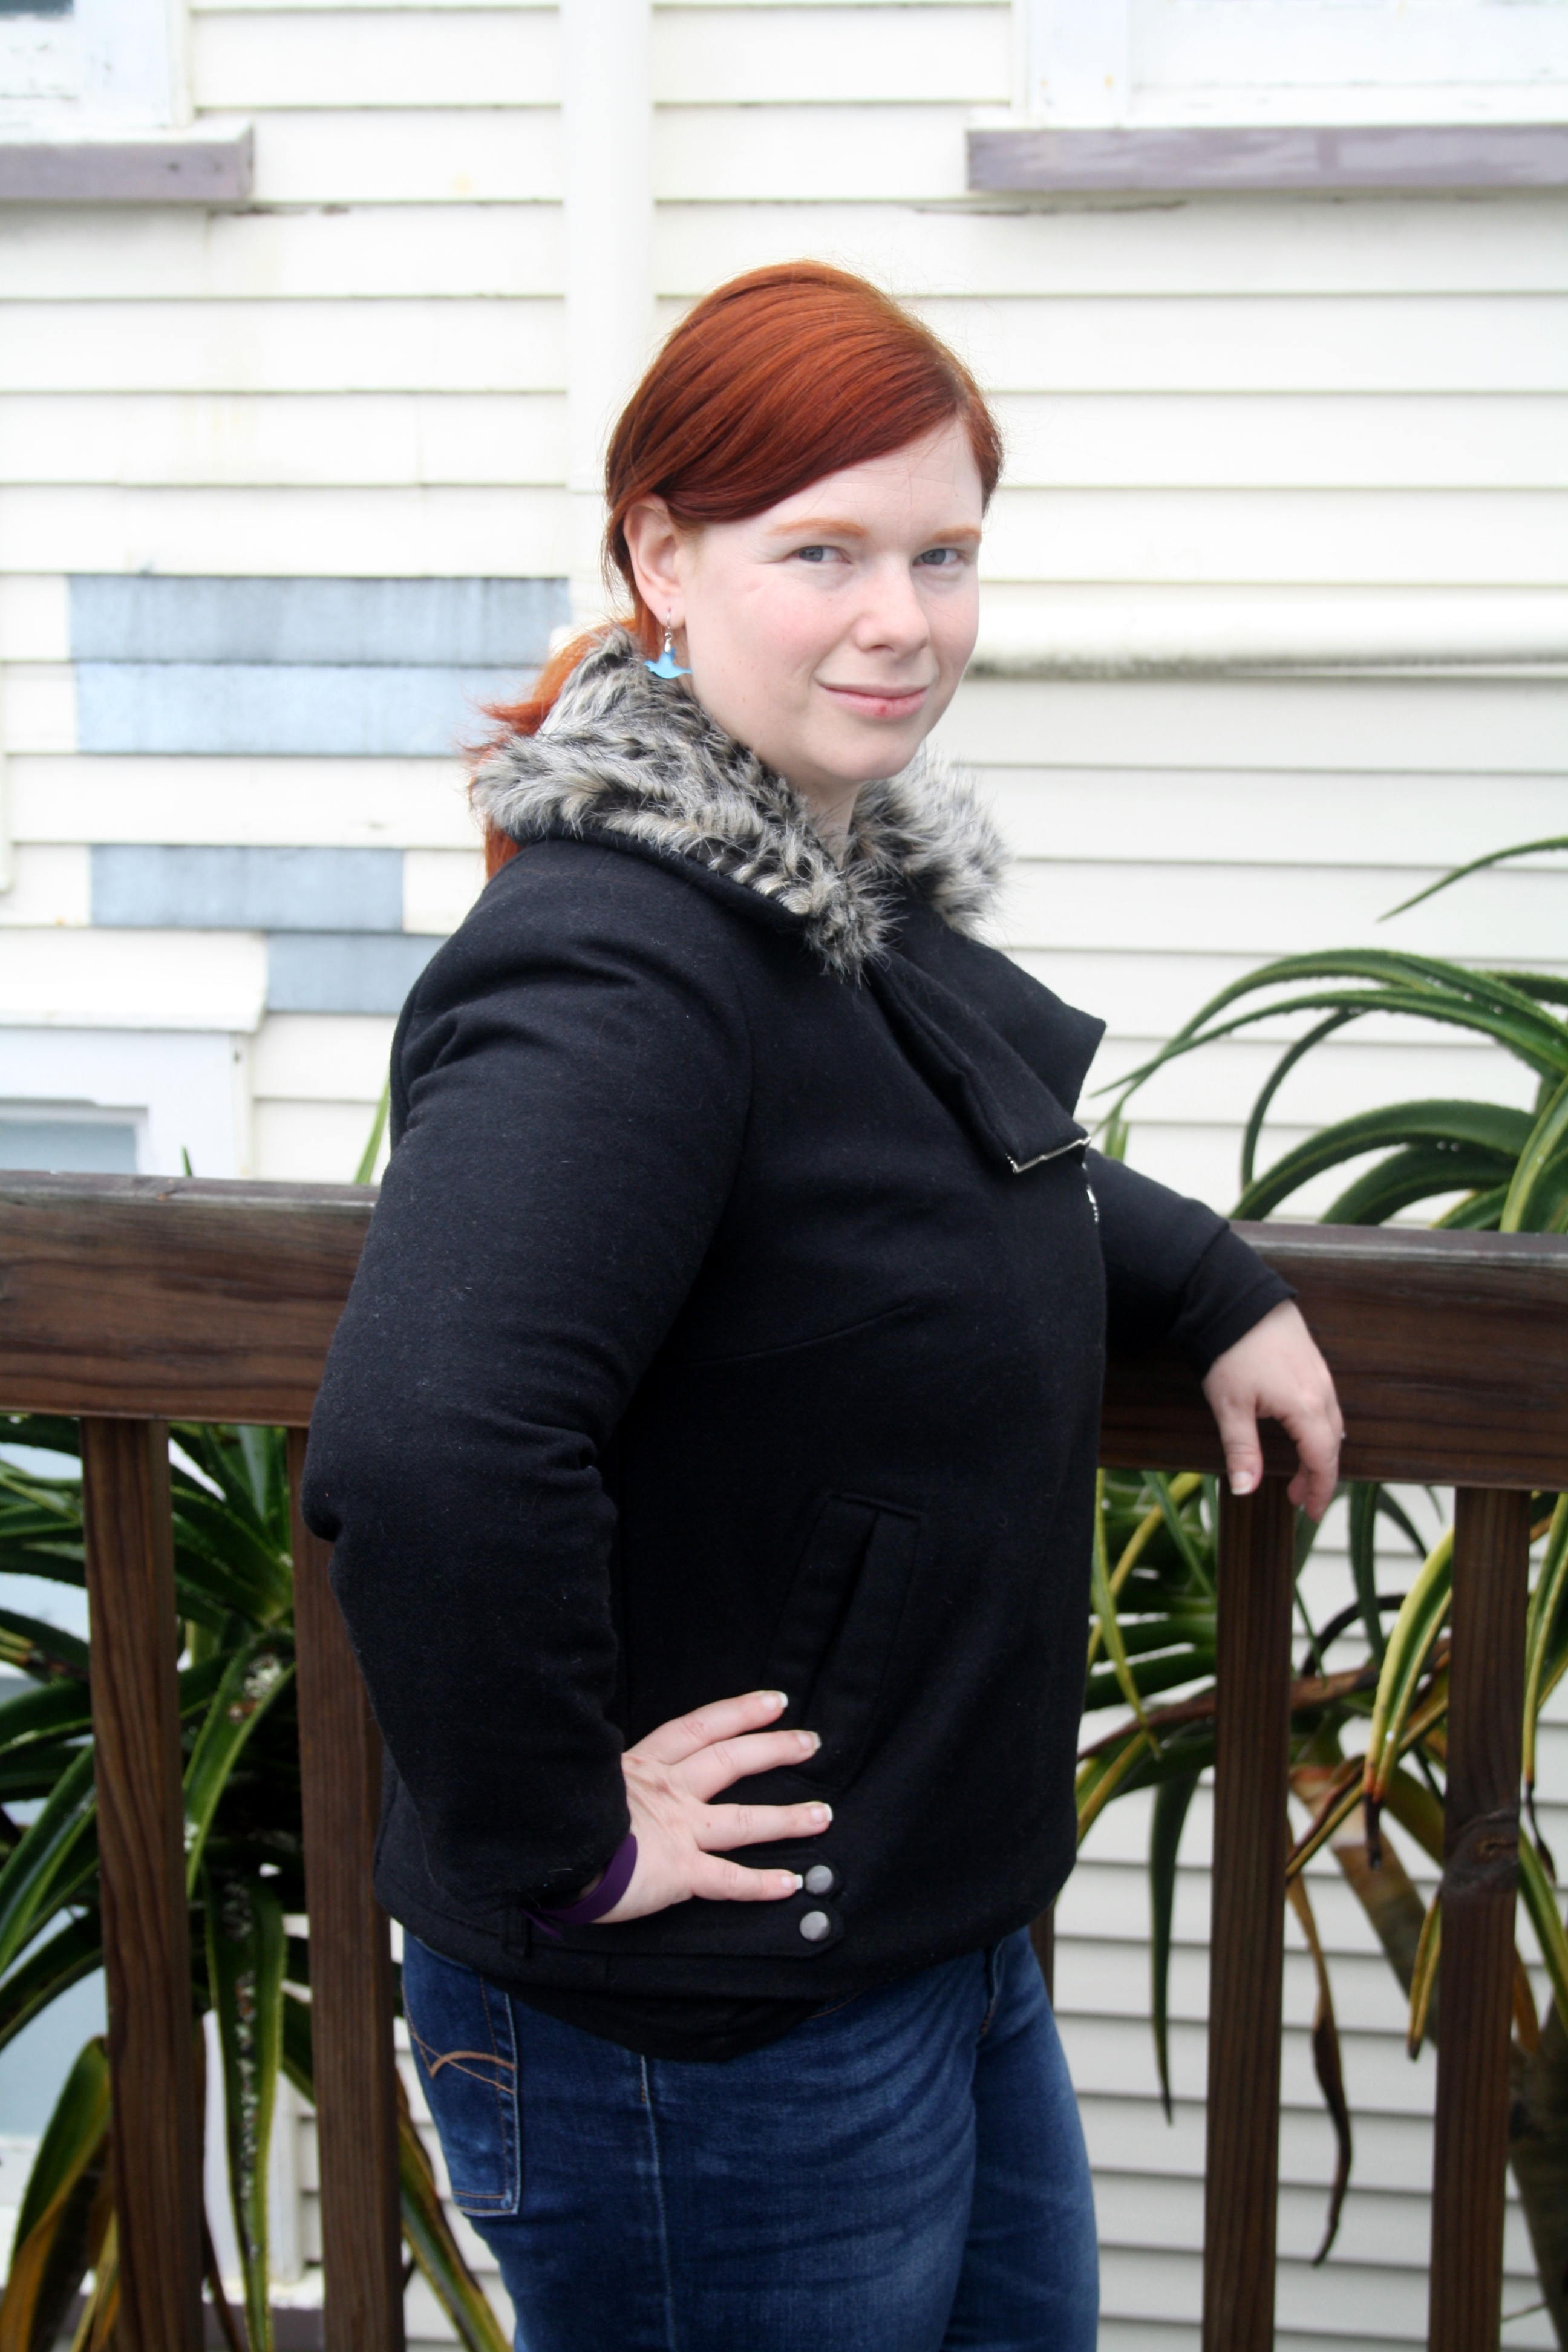
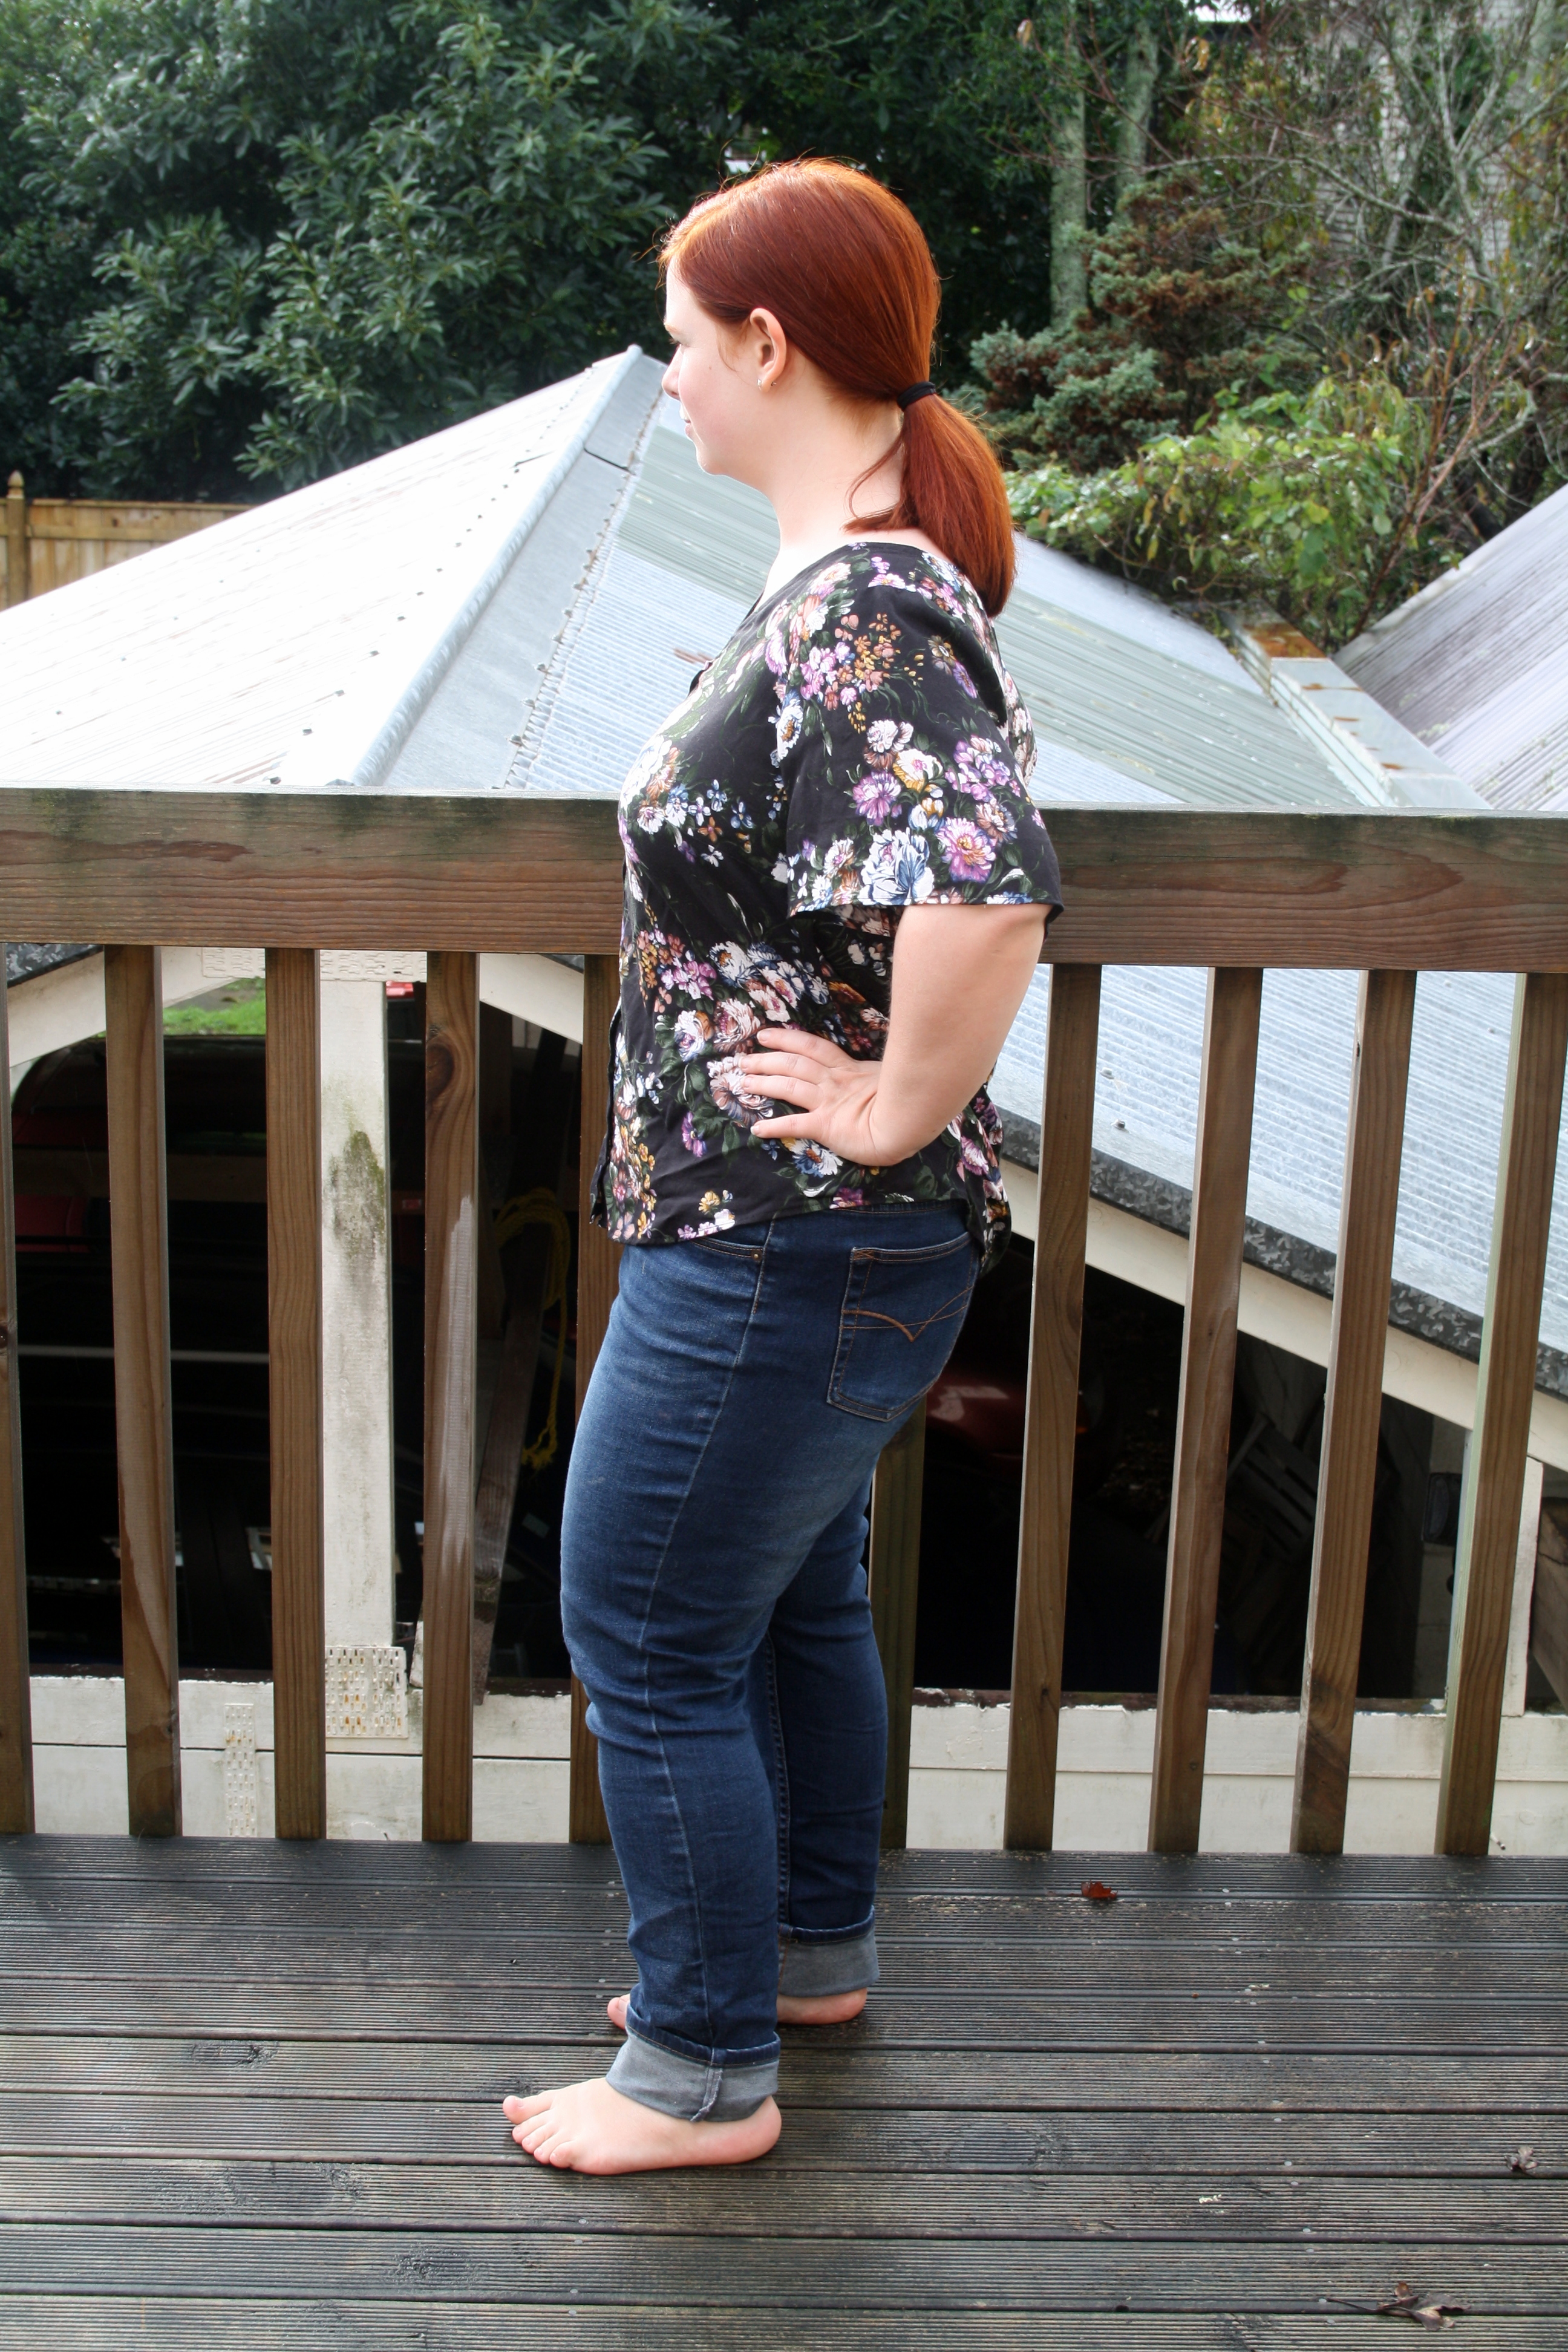
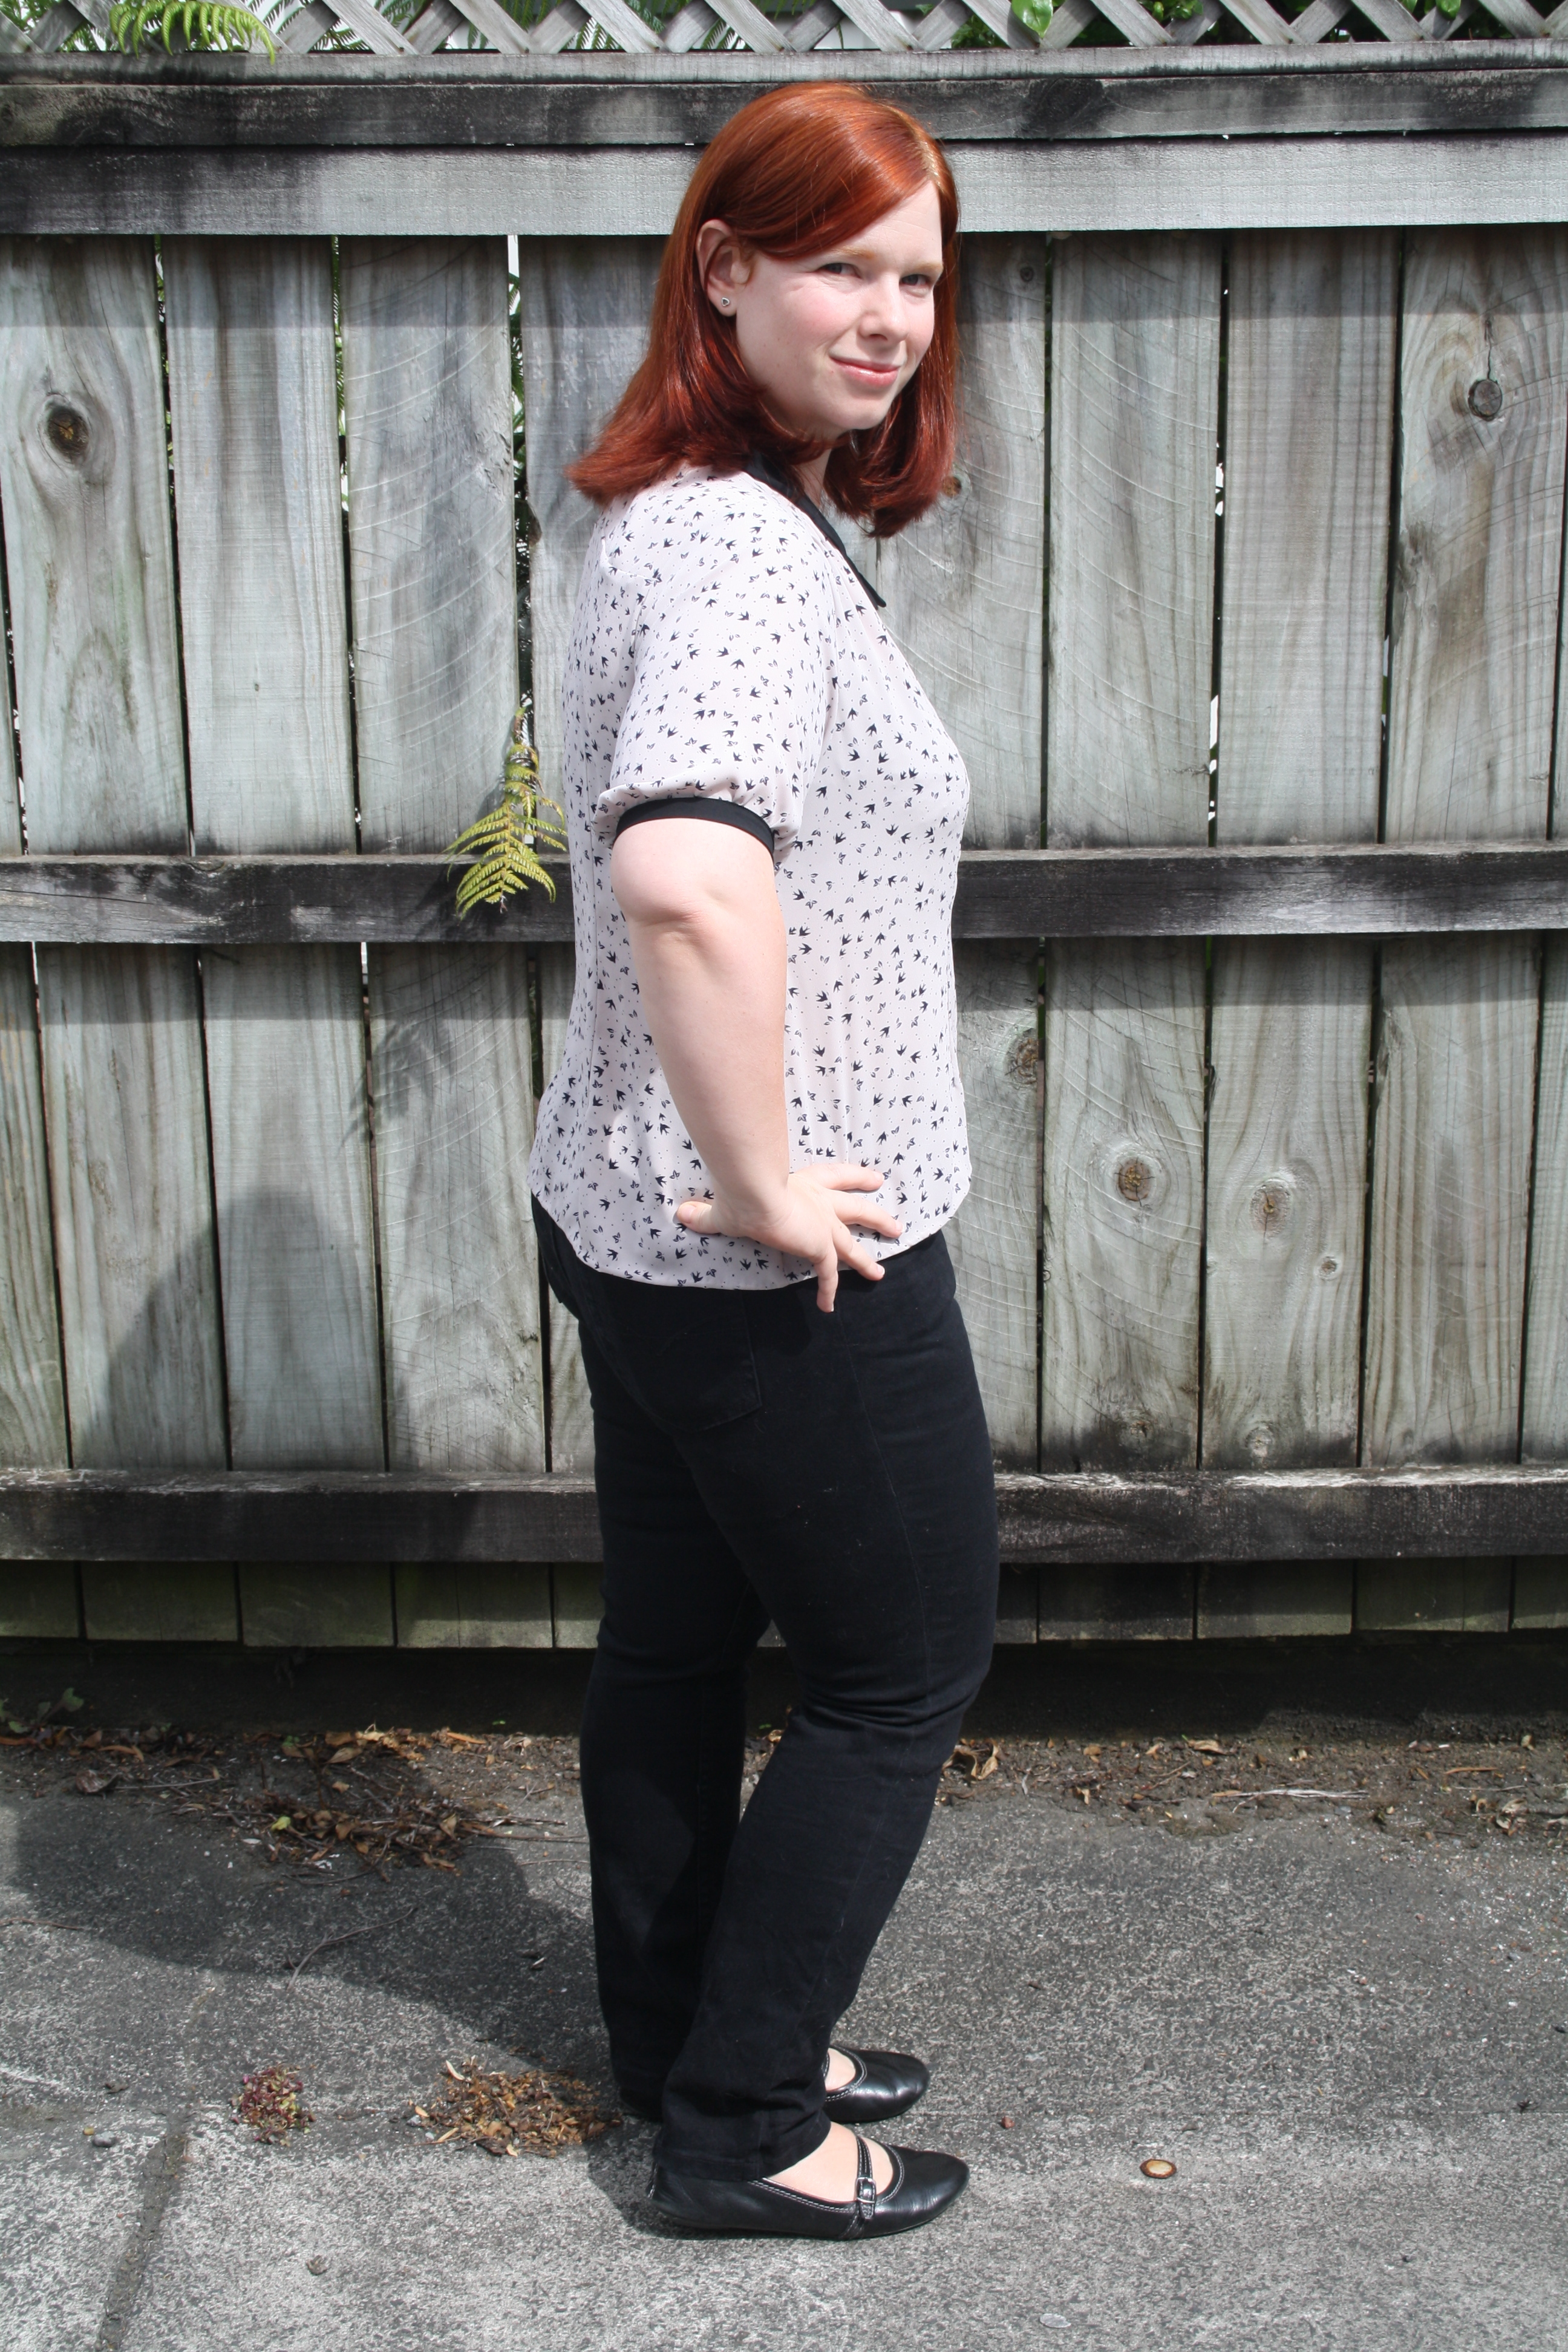
It’s not super flattering from the side – it’s quite a boxy jacket, and a bit bulky with the quilted lining and facings. But it’s not supposed to be a fitted jacket, and I think I just need to get used to a different silhouette on me. I feel very comfortable in it (it’s very warm!) and quite stylish – I’ve admired these kind of jackets on other people for ages but never thought of taking the plunge and making one myself. I’ll leave you with a couple more detail shots – I’m so proud of this jacket, it’s definitely the most complicated thing I’ve ever made! And I’ve already worn it a lot, even with the tiny-bit-too-short sleeves 🙂

IMG_1730
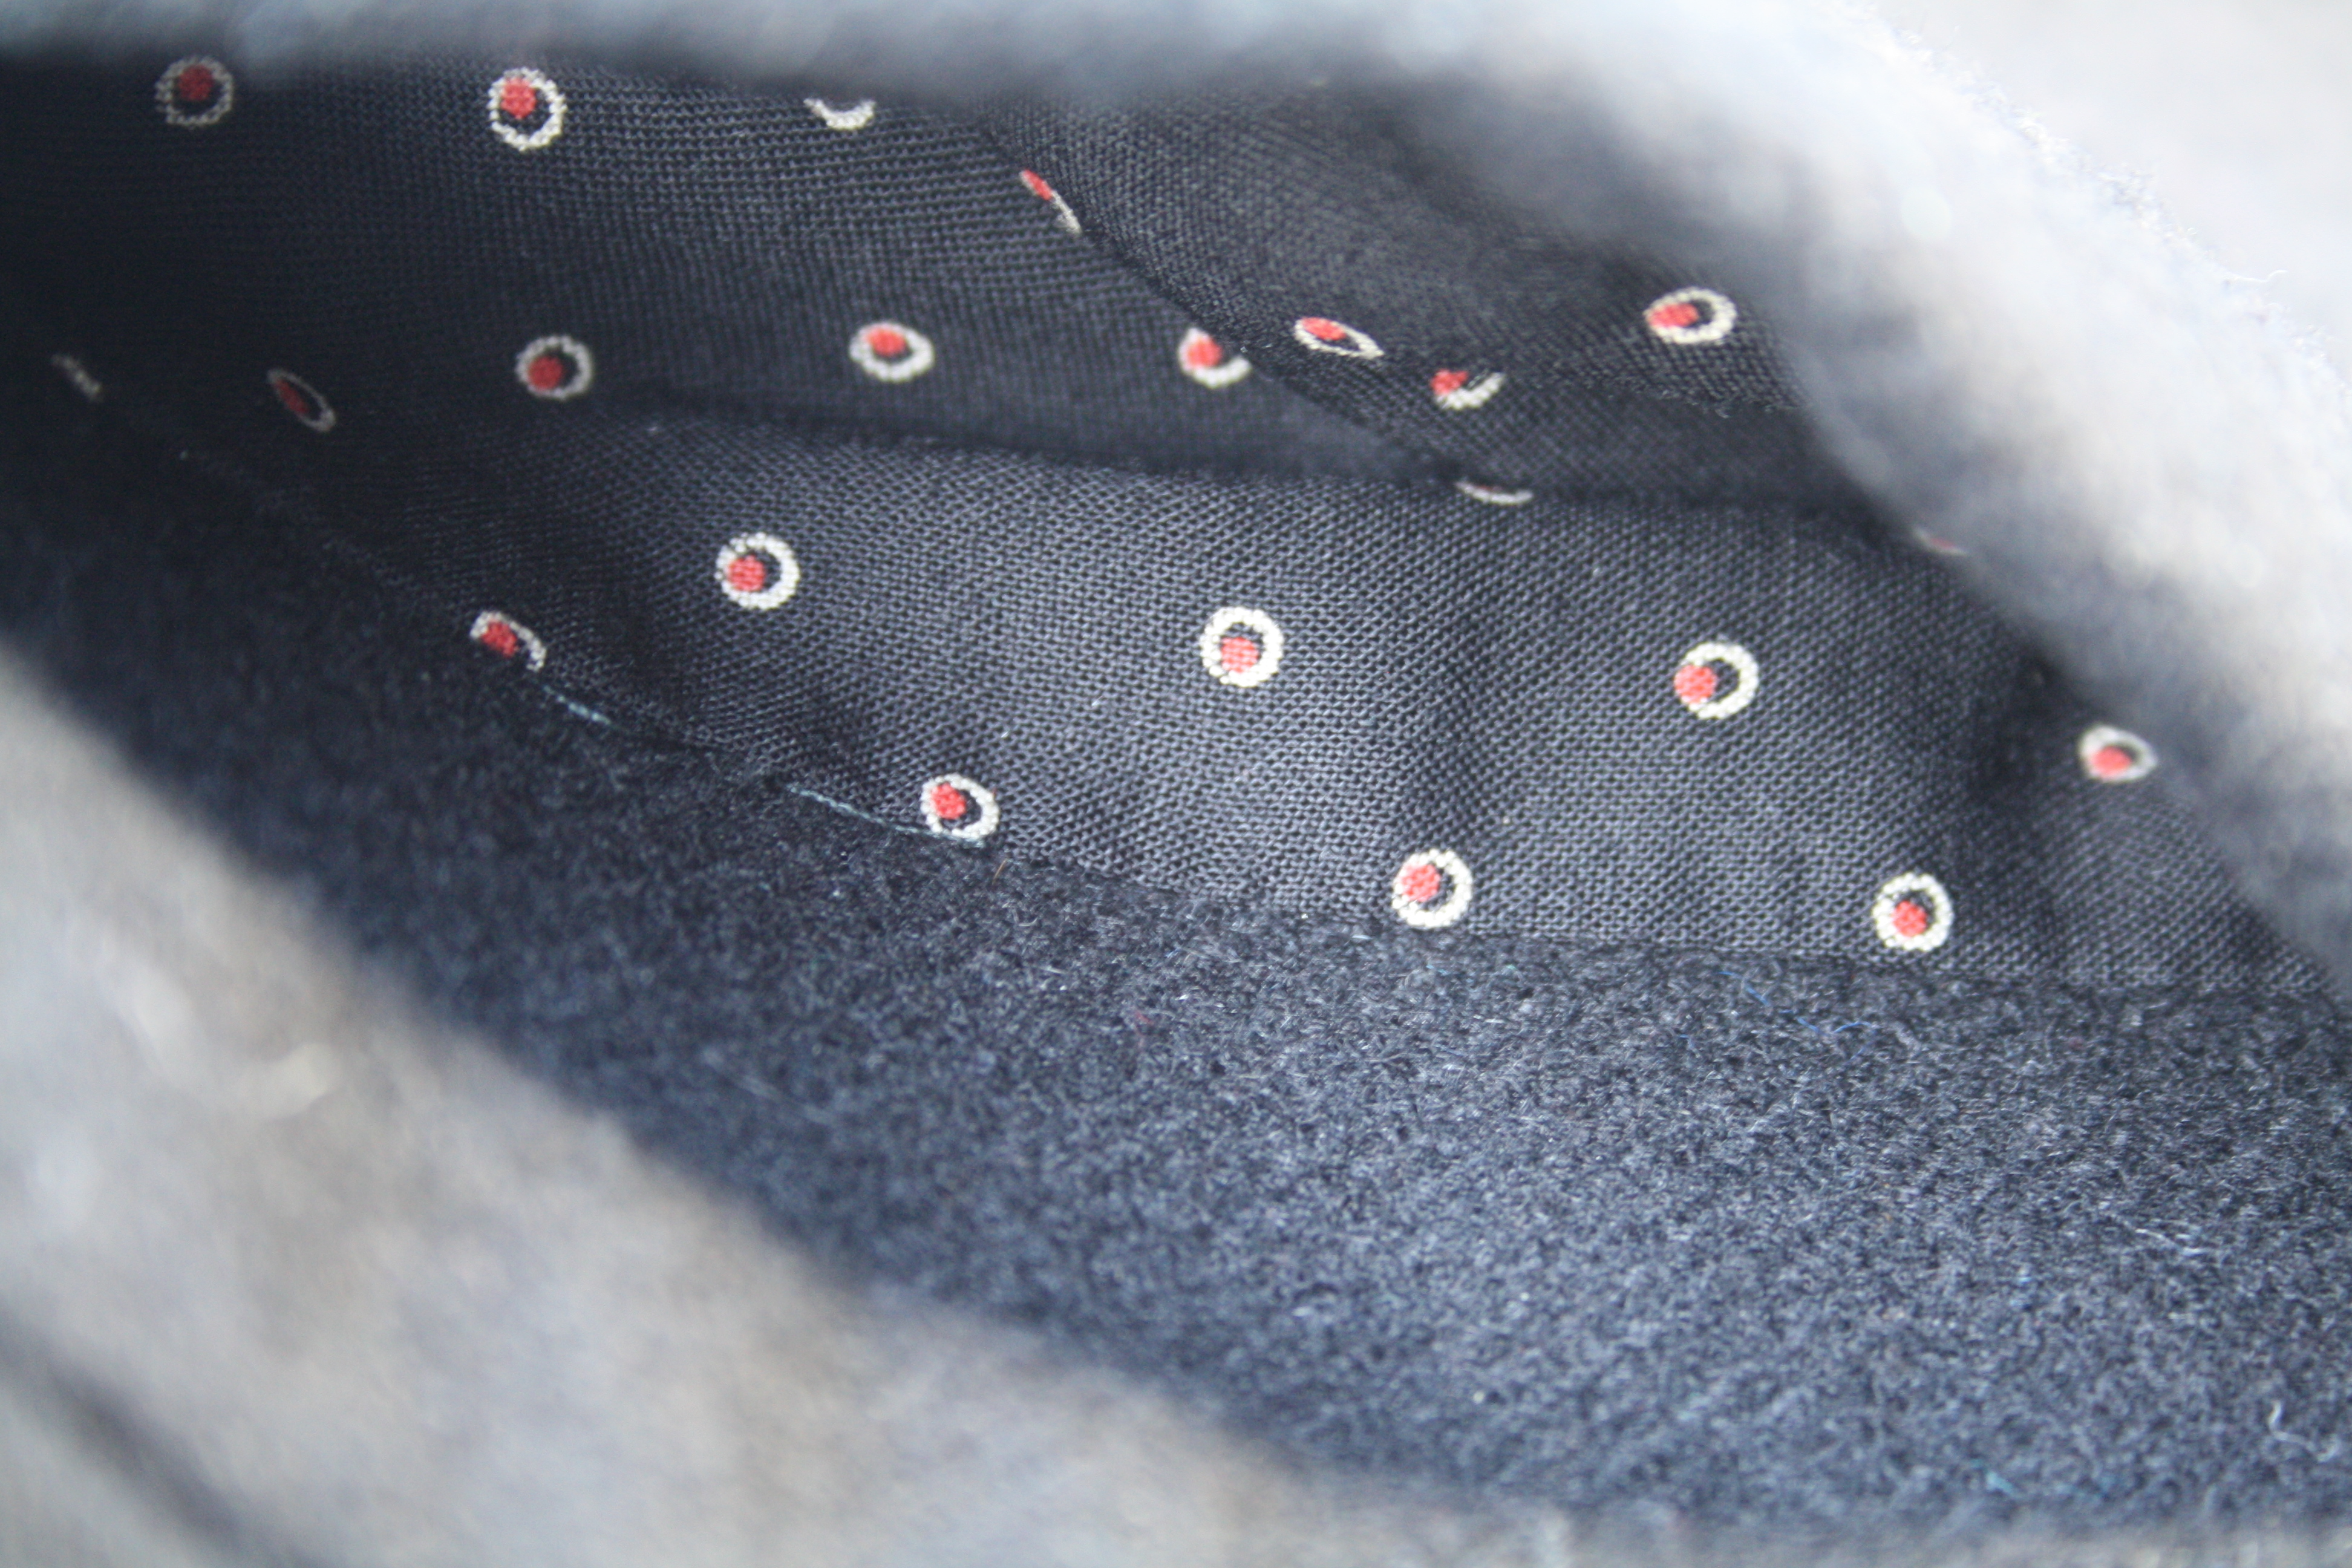
I lined my welt pockets with rayon scraps…so soft when I slide my hands in!

IMG_1731
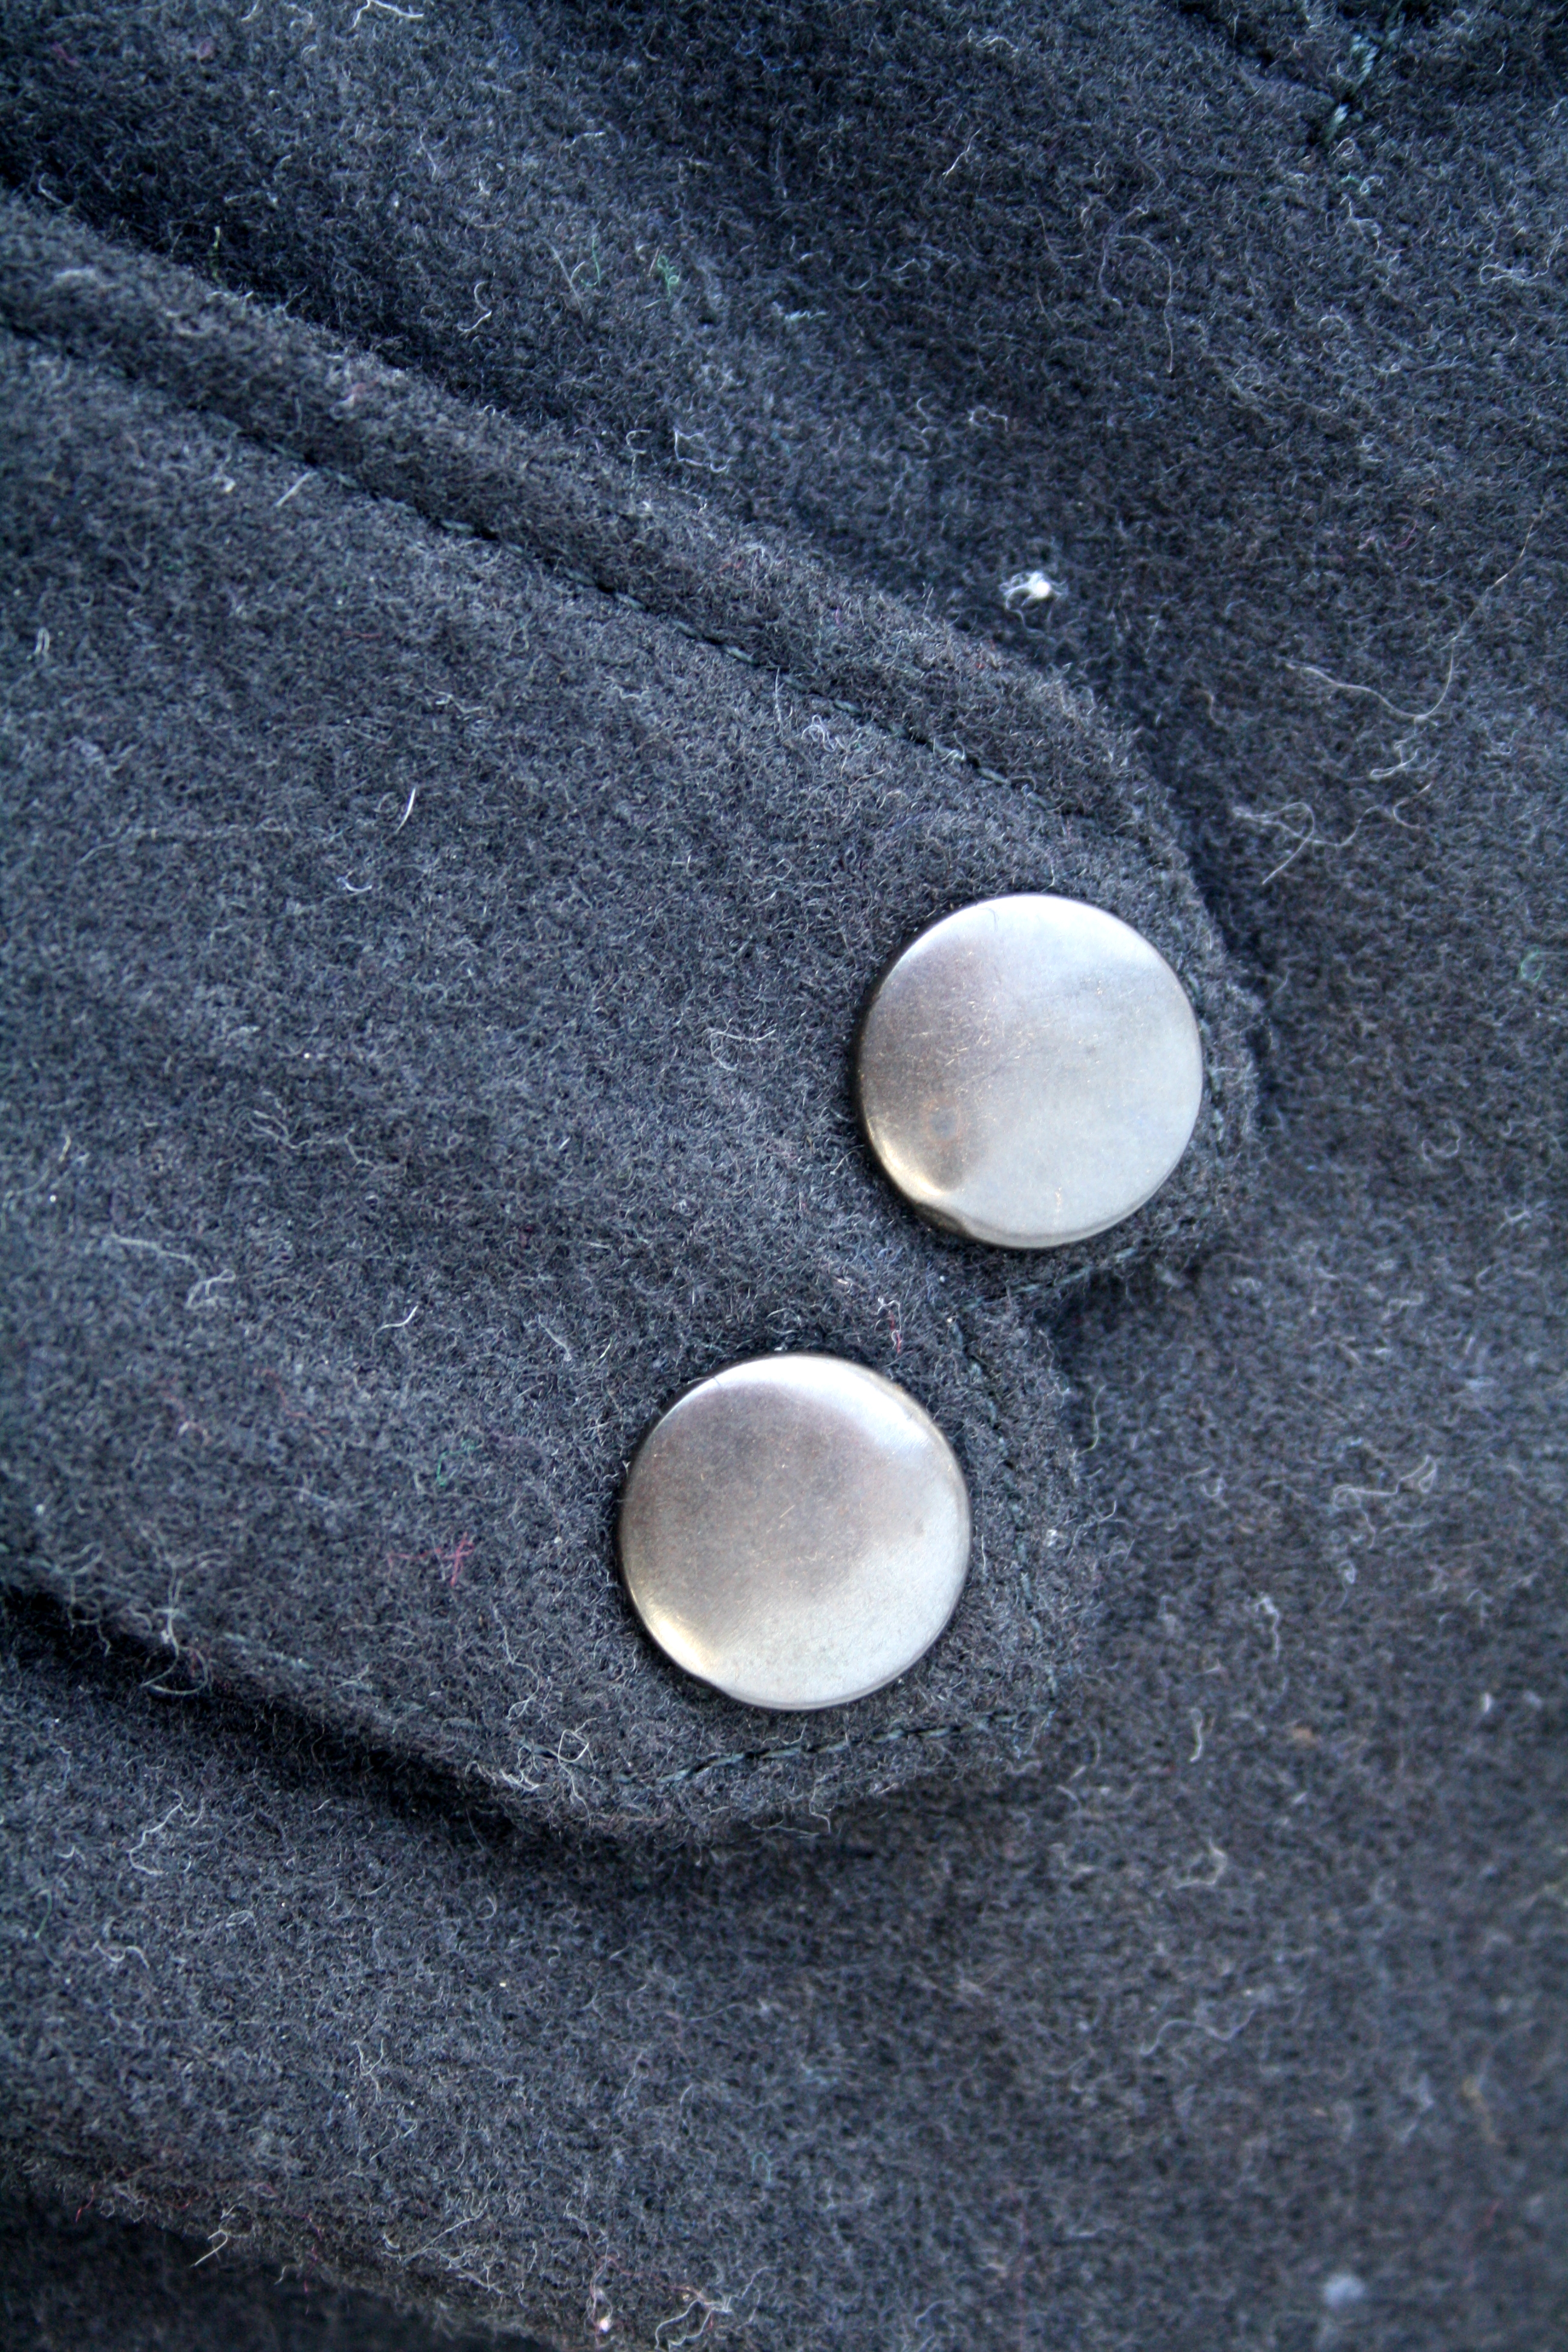
Snap buttons from Geoff’s – I love how they look!

So, what do you guys think of the new collection? What are your favourite picks? I like the look of the Sloane sweatshirt and the Mimosa culottes…they were second and third on my pattern testing wishlist 😉

Disclaimer (I guess?): I received this pattern to test. I have received a copy of the final pattern for free as a thank you for testing. I hope you guys know by now I’d tell you the pattern was shit if it was, so hopefully you’ll know my opinion is not easily influenced by free patterns 🙂 It’s genuinely a good pattern with good instructions.

Standard
sewing

A Fittingly Floral Aster

Aster Front

I’m not going to lie – when I first saw the new Colette Patterns release, I thought it was pretty boring. But then I thought about it some more, and I thought hey, boring is what I need right now. I don’t need another pretty dress, or a flouncy skirt. I need basic wardrobe staples and separates I can wear with jeans. I wasn’t sure if I’d like this particular blouse pattern, but I thought why not give it a go?

To be honest, this is the first bit of sewing I’ve done in the past two months, aside from hemming some hiking pants (and I only did that because I really had to – it’s hard being short!) We moved house at the end of March, and around the same time, our foster cat we adopted got a cancer diagnosis. He passed away in April, and I lost the motivation to do pretty much anything for a while. I loved that furry little dude so much!

This pattern is the first thing that ignited just the tiniest bit of a sewing desire in me after that, and I embraced it.

Aster Side

I decided to make version 3, with the flutter sleeves. I have large upper arms, and the freedom of a flutter sleeve is heaven to someone who always feels a bit hemmed in by most sleeves. I wanted loose, light and casual. I chose to make a size 12, grading out to a size 14 at the hem. I didn’t really need to grade out, but I’ve gained a little bit of weight lately (comfort eating) and I wanted to play it safe. This blouse is a really loose fit anyway – much looser, I think, than the finished measurements suggest. My waist measurement is around 34″ these days, and the finished measurement for a 12 at the waist is 33.25″. Yet I have plenty of room, as you can see!

Aster back

I used a rayon challis (I think) from my stash – I bought it from Trademe in a bulk lot, so I can’t be 100% sure. But it’s lovely and soft and drapey, and it feels exactly like rayon challis I’ve worked with before. I made my own bias binding out of it, too, which was less fun than making it out of cotton, I’m not going to lie. The first lot I made went in the bin, after it slipped and slid around too much while I was trying to pull it through the bias tape maker. The second lot I made wider (1.5″ before folding) and that turned out much better.

The instructions were okay – I had a bit of trouble with the yoke burrito, which is odd, as I never had any problems with it whilst making Luke’s Negroni. I followed the instructions, but my blouse front pieces kept ending up the wrong away around when I pulled everything through. It’s probably my fault somehow, as I’m quite bad at visualising how these things work, but it was puzzling and quite frustrating. I ended up getting it done, but not the way the pattern instructed.

I also found the folding placket instructions a little bit confusing at first, mostly due to the lack of diagrams at this step – there’s just one picture, and a lot of folding! But I got my head around it after playing with it a bit, and it was all good. Perhaps I’m just a bit out of practice!

Aster inside

The insides turn out really nice if you follow the instructions – I pinked my side seams, but all other seams except the armholes are neatly enclosed. Excuse the wrinkles here, this was after a full day of wear. I was really comfortable in this blouse – it’s loose enough so there’s no worries at all about bust gaping, or tummy gaping if you eat too much cake. It’s soft against my skin, breezy and it covers my arms. The only things I’d change for next time are a forward shoulder adjustment – the shoulder seam sits a little back on my shoulders, which is a common problem for me, and raising the neckline a tad – I’d be a teeny bit self-conscious leaning too far over in this!

Aster button

And a thank you to everyone on my Instagram who helped me choose the buttons – I went with the navy blue a lot of you suggested, and it’s just perfect ❤

Standard
sewing

Floral Watercolour Butterick 5750

Front

I’d like to apologise from the outset for the headless photos. I’m currently suffering from some rather dreadful cold sores, and no one needs to see that. I did think about delaying taking the photos until they subsided, but I wanted to take advantage of the last of the warmish weather, and besides, it’s been positively ages since I’ve updated this blog!

But lack of head aside, look at this dress I made! Last month Luke and I attended a dear friend’s wedding back in Australia, and I seized the opportunity to make myself a pretty dress. The pattern (Butterick 5750, now out of print but still able to be purchased on the Butterick website) is one I had actually made once before, but sadly I was still a little bit new to sewing and I ended up making it too small. Which was such a pity, because it was lovely. I made it up in a red and white crepe that I got for $1.99 in a crazy US sale, and it was swishy and delightful. And, most definitely, never going to fit. Someone in Berkeley is probably swanning around in it right now. C’est la vie.

Back

The fabric came from Centrepoint Fabrics, and was simply labelled as “cotton print”. It is light and floaty, and absolutely perfect for this dress. Let me tell you, you need a lightweight fabric for this dress. I would not have wanted anything heavier. Even in this fabric, the pleats still drooped more than I would have liked. The lining is a cream cotton voile from Spotlight. I was very lucky to avoid rather dodgy print placement, as I didn’t even think about that, but luckily I didn’t end up with a big blue flower right over the ol’ nipples. Though they’re still a bit closer than I’d like.

Side

I made a toile of the bodice in a size 18, which matched my measurements. It was too big in every way, so I made another in a size 16, which was almost perfect. There was some very slight gaping on the left side of the front, however on the finished garment, with all the lining and staystitching, it disappeared. I made no adjustments to the bodice – this dress is oddly short in the waist, which suits me just fine. I took about 10cm off the hem of the skirt though, as I am short and this dress had a looooong skirt.

However, the thing about this pattern is, as I briefly mentioned above – it’s supposed to look like a wrap dress. However, once I had basted in all the pleats and surveyed the result, I wasn’t happy. They sagged terribly, everywhere, even under the minimal weight of this fabric. After I sewed the bodice together, but before attaching the lining, I unpicked all the pleating basting stitches, and pinched and folded and tucked and pinned until I was happy with the way they sat. I then painstakingly, with colour-matching thread, made tiny invisible tacks in strategic places along my folds, until they were all secure and I was satisfied with the way everything draped. It wasn’t 100% perfect – to achieve that, I think some serious shifting of the pleats is in order – but it looked so much better.

Inside Bodice

It’s very pretty on the inside – it’s lined, of course! I slip-stitched the lining to the waist seam, and alongside the invisible zip, that went in beautifully with my new metal invisible zip foot. I was careful to understitch as much lining as possible, too, to stop it peaking out. I used a pale purple invisible zip, but I painted the zip pull a fuchsia colour with nail polish so it matched. And I just found out I’ve been spelling fuchsia wrong my whole life. What a revelation!

Twirl

I got quite a few compliments on the dress at the wedding, and Luke was eager to tell everyone that I made it – more eager than I was! I’m really happy with how it turned out, but I can’t say I’ll be making it for a third time – for one, my life isn’t so exciting and full of garden parties that I need more than one of this kind of dress, and two, all those pleats are way too fiddly. Incidentally, I also made the shirt Luke wore to the wedding, which will be featuring in my next blog post…stay tuned!


Standard
sewing

Tiny Sewing – Baby Kimono

IMG_0432
This is my first foray into sewing for children, made for a dear friend of mine in Japan expecting her first baby at the end of this month. Given that almost everyone I know has had children by now or is in the process of having them, it’s surprising it’s taken this long for me to make something for small people. Initially, I didn’t feel I was good enough at sewing, and didn’t want to hand over poorly-made items to expectant mothers. And in the last couple of months, although several people close to me gave birth, I simply didn’t have the time to make anything and popped to the shops instead. And oh my, isn’t baby stuff cute? I may not want children of my own, but I could shop for other peoples’ all day. Anyhow, this year my work situation has calmed down, and I have time to sew again.

IMG_0434
The pattern is the Newborn Kimono Shirt by Purl Bee, and it’s a free PDF download. It’s only available in the one size, which is newborn, as the name suggests. For someone who has never made an item of baby clothing, the pattern pieces seemed impossibly small – really, a child will fit into this?! – but once it’s made up, it seems more realistic. I didn’t really use the instructions provided. I chose to do French seams for all the seams, not just the shoulder seams, but I don’t really recommend it as I had a tiny bit of wrinkling at the armholes that I couldn’t fully press out. But hey, the insides are neat! I also used my usual method of attaching bias binding, rather than trying to sandwich the seam and sew it in one go, and made mine narrower as I liked the look of it better.

IMG_0435
The fabric is by Copenhagen Organics, and is simply called Duck. I got half a metre of Cobalt Blue for the shirt, and a fat quarter of Light Blue for the bias binding, which I made myself using my trust little Clover tool. I ordered it from By The Yard, who seem to specialise mostly in quilting fabric. They had quite a few cute prints to choose from! I got my snaps from Geoff’s Emporium. I wasn’t quite sure was “Size 1” snaps were, so I just bought 11mm nickel ones. It was hard to find sew-in ones, most of them were the pronged ones. I chose to just use one snap to fasten it – I’m not a fan of the super-obvious placement of them on the Purl Bee tutorial. If I made this again, I would also put some kind of interfacing or stabiliser where the snaps go, as there’s some stress on this area. This didn’t occur to me until after the fact, though, and since babies aren’t newborn for long, I think it should be okay. I wrote the fibre content of the fabric and washing instructions on a little card from a set my Mom bought me, “Hootiful” stationery, and attached it with a tiny safety pin and some thread. Easily removable and no irritating tag on baby’s skin.

IMG_0437
I didn’t make this – I bought it from Cotton On Kids – but isn’t it so cute? It’s a comfort toy, and it’s very soft. I was going to get a bib from Cotton On, too, as they had some adorable ones (including a French pigeon wearing a beret) but every one I picked up was flawed – messy stitching, puckered fabric, binding not lining up – and I just couldn’t bring myself to pay for something so poorly made. So this little dude it was. My friend let me know she received the shirt and toy just today, and just in time, as she’s due in 4 days! She loves it, and I’m glad my first foray into making clothes for babies was a success.

Have you made anything for babies or small children? What are your favourite go-to patterns? Feel free to link me up – there’s more babies coming!


Standard
sewing

Put a bird on it – Deer & Doe Airelle Blouse

Front
I bought this fabric from fabric.com about two years ago (!) with the idea of making a nice, floaty blouse of some kind. However, still being relatively new to sewing, I was too scared of the idea of actually sewing with it to actually do anything with it, and it sat in my stash in Berkeley before being packed away to come to New Zealand with me.

I’m not very organised with my sewing plans – I tend to buy pretty fabric and patterns with an idea in mind, but it gets pushed to the back of the queue as soon as I see something else pretty. This year, I’m trying to slow down and actually make some of the things I bought fabric and patterns for, one at a time. So I got out my untouched Deer & Doe Airelle blouse pattern and my bird print chiffon, and got to work.

Side
Deer & Doe patterns seem to fit me without an awful lot of adjustments, for which I am thankful. I made this in a size 46, which is the largest size. The fabric has fantastic drape, and I wanted it to be a bit looser than what I normally wear. I did a 1cm narrow shoulder adjustment, and I shortened the sleeves quite a bit (a tad too much, I think in the end). I also did a full bicep adjustment to the sleeve of about 2cm, I think. The sleeve fits fine, but the cuff is a teeny bit tight, so if I made it again I’d lengthen the cuff slightly and just have less gathers in the sleeve.

I should have lowered the darts – this is something I’m coming around to seeing that I always have to do, as I have a low set bust – but I didn’t. You can’t really see the darts in this fabric, and as it’s a looser fit I don’t think it’s obvious they’re a bit higher than they’re meant to be. I’ll move them down for next time, though.

Back

The fabric was as difficult to work with as I feared. I stabilised it with my trusty ironing aid, but it still moved wherever it wanted at every opportunity. However, it held a press surprisingly well, particularly with the darts. I marked the darts on the fabric with a light lead pencil, as my chalk liner just dusted right off it and I didn’t have anything else on hand. It came out in the wash, thankfully. For the collar and cuffs, I used a black georgette I bought 5 yards of from Fashion Fabrics Club for a crazy low price and had yet to use any of. I sewed everything with a 70/10 needle and a stitch length of 2, which seemed to work well.

Guts

Here is a photo of the inside of the blouse. I went on a kind of construction journey with it, really – I started off with lovely French seams, until I got to the facing. I hate facings at the best of times, and for some reason, my facing was bigger than my neckline. Like, a lot bigger. So I had to recut it, and then I had the bright idea of finishing the raw edge on my overlocker. The overlocker I’ve only used twice. Yeah, curved chiffon pattern pieces are quite beyond my overlocking ability, it turns out, and it got pretty mangled. So I thought stuff it, no one will see it but me, and sewed it on anyway, but it kind of ruined my desire for a neat finish on the inside, and I didn’t bother French seaming the armhole seams, because that’s a difficult task at the best of times.

But then I tried it on, and absolutely loved it, and felt renewed desire to make it pretty, so I French seamed the side seams and took care with the rest of it. So, it’s kind of most of well finished.

Hem

I consulted Twitter for the best hem finish, and the lovely Natalie (who has no blog I’m aware of) advised me to turn up the hem 1cm, stitch close to the fold, trim excess, turn up another 3mm and restitch. I didn’t do this exactly – I did the first part, but after trimming the excess, I did a hand-rolled hem and stitched it myself with a slipstitch. I rather like hand sewing, and I didn’t trust my machine to not just eat the hem when I tried to restitch it at 3mm.

Hem2

It turned out a tiiiny bit puckered on the other side, but I feel like it’s not really noticeable when I’m wearing it. I’m happy with it, at any rate.

I’m thinking of making another one in a light cotton lawn, maybe – I’ll have to search through my stash and see if I have something appropriate. I need more separates in my wardrobe!


Standard
Uncategorized

Butterick Spring Patterns & an exciting Style Arc release!

I’m not usually a big fan of Butterick patterns, I have to admit. If I had to describe their general style in a word, I’d probably go for matronly. But I was just browsing through their new spring releases, and I have to say, a couple caught my eye!

This dress is my favourite. I think the waistband would be flattering, and I like the interesting neck detail. I’m usually quite wary of wrap tops/dresses, because in my experience there’s always a bit of gaping going on, or it slides down awkwardly around my bosom and makes me look lopsided. But maybe this one would be okay?

This pattern is actually part of a set – a shift dress, blouse, skirt, pants and jacket. It’s probably mostly a result of the fabric they used, but I really like all of it! Especially the dress and blouse.

Who knows when these patterns will become available in NZ – it’s quite depressing how long it takes for the new releases to filter through down here, and then the price of them makes it difficult to justify buying them.

Also, not part of the Butterick collection, but how awesome are these culottes from Style Arc?

I admit, I’m reticent to try another Style Arc pattern after the Camilla blouse disaster, but these culottes have me intrigued. Culottes have been a bit of a hot trend in the sewing community lately, and I’ve resisted so far. My memories of culottes as a child include poo-brown ones I had to wear as a Brownie that rode up my crotch, and I’m not anxious to repeat the experience. That said, these are flowy and, from the description, seem like they’d have the appearance of a skirt – kind of like a long version of the Megan Nielsen Tania culottes, perhaps? I’m intrigued. They’re not available as a PDF yet, but when they are, I might give them a go.

Are there any patterns you’re particularly excited about at the moment?


Standard
Uncategorized

Sewing goodies: Merchant & Mills jumper/sweater

As some of you may have seen on my Instagram (I’m kirstyteacat on there if you want to add me for pictures of cats and sewing), I recently bought a sewing-themed jumper from Uniqlo Japan, as part of their collaboration with Merchant & Mills. I was following in the footsteps of Novita from verypurpleperson and yoshimi the flying squirrel, who both showed photos of theirs on Instagram too.

IMG_20150113_083630[1]

A few of you asked how I went about ordering it, so I thought I’d do a little post on it.

First of all, note first that Uniqlo Japan do not ship outside of Japan, nor do they accept foreign credit cards. Boo. However, there are companies around who will buy things for you from Japanese companies and ship them to you, for varying fees. I used a company called Sendico – I have no affiliation with them, and it was the first time I’d used them, but since everything went smoothly I’m happy to recommend them.

Second, you need to decide what you want to buy!

Here is a link to the page of Uniqlo Japan’s x Merchant & Mills products. There are five sweater/jumper options, and six tote bags to choose from. Important: DO consult the size chart (it’s the button right under the sizes on the individual garment page) – Japanese sizes are significantly smaller than Western sizes, for the most part, although Uniqlo is a little better than other places. I got an XXL, and it fits perfectly. For reference, I tend to wear an AU 12/14 or a US 10/12. Returning it will not be possible, so order carefully.

Once you’ve picked out what you want, you need let Sendico know. First, though, you need to make a Sendico account. After you’ve done that, at Sendico’s page, up the top click the link to “Other Japanese Online Stores”. Enter the URL of the item you want to purchase, the title and the colour and size in the comments. They have instructions there to help you. Then someone from Sendico will have a look at it, tell you how much you need to pay (cost of the item plus tax and shipping to them in Japan), and then you can pay this amount via Paypal or credit card. Once it arrives at their warehouse (and this took about a week for me, as I stupidly ordered right before Christmas/New Year, when everything shuts down), they will let you know how much you need to pay to get it to wherever you are. Once you pay that, they’ll package it up and send it along!

The sweater costs 2955 yen, plus a 500 yen Sendico service fee. The shipping to me, via EMS with tracking, to New Zealand, was 1860 yen, and it arrived in about 3 days after Sendico sent it, complete with a New Year’s card and bonus sheep phone charm! It’s not the cheapest sweater I’ve ever bought, certainly, but I love that it’s sewing themed, and I love Uniqlo’s clothing anyway – I try not to buy much RTW these days, but Uniqlo always has good quality, affordable clothes. The sweater is soft and warm, and I can’t wait to wear it when the weather here cools down a bit!

I hope this helps you if you wanted to buy your own sewing sweater, and if you have any other questions, I’ll help as much as I can.


Standard
sewing

Sewing for the husband: Thread Theory Jedediah

Please note: I have just switched my blog over from Blogger to WordPress, so if things look a little clunky, bear with me while I sort out all the teething problems!

As predicted, not long after I made Luke his Negroni, the weather got warmer and he started getting excited for the shorts I promised him. I initially bought something labelled as cotton drill from Trademe to make them with, but when it turned up and I prewashed it, it wasn’t suitable. It wrinkled hopelessly in the wash, and even a hot, steamy iron couldn’t get the deeper ones out. On top of that, one side of it was slightly brushed, and picked up any small piece of lint or cat hair lying about. Not practical. After a bit of a rummage in the stash, I found what I think is a cotton/linen blend that Luke approved of, and I got to work.

Front

The pattern I used was the Jedediah shorts pattern from Thread Theory. It was my first time using one of their patterns, although I’ve been following their releases since they started. I cut out a size 38, as it matched Luke’s measurements, and they’re supposed to be closer-fitting than other patterns. I think the photos speak for themselves, but let me just say, these are really way too big. I’m honestly not sure what happened – I measured the waistband against a pair of his favourite jeans, and all seemed well. Then when I got him to try them on sans waistband to check the fit, they were huge. I couldn’t really take them in at the sides by that point, as they had been bar tacked and topstitched, so I took them in another 3 inches at the back, and they were still too big, although wearable with a belt. I’m thinking perhaps I stretched them out a little during the sewing process, although I’ve never had anything stretch that badly before, and the fabric is not stretchy and is quite firm.

Back

I’m kind of mortified by how big they are, but Luke loves them. He’s on his third day of wearing them in these photos, and he says they’re lovely and cool in the warm weather, and that he feels trendy when he’s wearing them. He has said he would like them a tiny bit shorter when I make him another pair, and I’m happy to oblige – Luke is tall, so I thought simply hemming them by 1.5″ would be fine, but they sit just below the knee instead of just above.

Unfortunately, I kind of hated making these. I went into it not expecting many problems – I’ve inserted a front facing fly twice now, on my muslined-but-yet-to-be-completed Jamie Jeans, and on my Moss skirt, and both times it’s gone pretty smoothly. I resorted to using the sewalong posted by Morgan of Thread Theory pretty early on, because I found the PDF instructions to be a little sparse. I’m a visual learner when it comes to stuff like sewing, and I have a lot of trouble envisaging how things go together, although I’m getting better at it all the time, so diagrams and clear pictures are important to me. Unfortunately, I didn’t really find the sewalong very helpful, and at times, I found it very frustrating. It seemed like everything was too zoomed in or too zoomed out, and I couldn’t get a clear idea of what I was supposed to be doing, especially with the fly instructions, as they differed from those I’ve used before.

By the time it occurred to me I should just do it the way I know how, I was too far into the construction to back out and change without a LOT of unpicking, so I forged on. Luke loves practical, durable clothing, and I was disappointed in the lack of a flat-felled seam on the crotch and seat seam, as I feel that’s one of the areas you really want one. I found binding the seat seam to be very difficult, with the sharp curves of the fly front, and this is something Morgan glosses over in her video. Actually, I was a bit baffled by the sheer amount of bound seams in this pattern – I like a good bound seam, it’s a perfectly good seam finish, but I do find it to be a bit bulky, and even using a lightweight fabric for the shorts I found it created bulky seams where I didn’t want them. In the end, I only bound the seat seam (and wished I hadn’t), and the zipper shield, and I did it the more time-consuming way – sewing one side first, then folding it over and sewing the other side. Early on in my sewing adventures, I tried sewing binding the way Morgan does in her video and I find there’s a lot more room for error – not catching the seam in the binding being the major one. I overlocked the outer side seams – my first time actually using my new-to-me overlock! By the time we got to the waistband and I saw there was yet more binding and oddly turned under partway, I admit I closed the sewalong and just did it my own way – turning and pressing the seam allowance under on the inside and stitching in the ditch.

Insides

I used some leftover self-made bias binding from my nautical Reglisse for the seat seam. You can see where I took it in at the back 3″ – I didn’t trim the seam allowance as I’d already bound and finished it.  Luke picked some green and white cotton from my stash for the pockets. Apologies for the wrinkles in this photo, I had to ask him to take them off so I could finally get some photos of the insides!


Hook and eye

I used a repurposed zip from a huge bag I bought from the Salvation Army for $5 – there were numerous metal zips, all salvaged from old pairs of jeans, I assume, since most still had thread attached. This one is a YKK one, and seemed to be in very good condition. I also used a trouser hook and eye from my stash for the closure, after unpicking FOUR buttonhole attempts – I didn’t trim the top of the zip/zip shield as much as I should have before sewing on the waistband, and it’s quite bulky in there – too bulky for my machine to achieve any kind of decent buttonhole. I still sewed a button on the front for appearances sake though.

Belt loops

This also marked my first attempt at doing belt loops, which I’m pretty proud of! It’s also my best edge stitching to date.

So, another pair of these will be forthcoming – I found another big pile of a very similar fabric in my stash, and I’ve already trimmed the pattern pieces down to a size 36. Luke insists I make something for myself first, though (isn’t he sweet?) so I’m planning a Deer&Doe Airelle blouse in a bird print chiffon!

Standard