clothing, sewing

Cherry Pie wool skirt

Hey ho, it’s been a wee while, hasn’t it? Never mind though, I’m back with a finished skirt that’s only been a work in progress for 4 years!

IMG_4688

When I was living in Berkeley, back in the days when I still used Pinterest, a stylish friend of mine pinned a skirt by a French clothing designer that I fell head over heels for. It was a circle skirt, made of woollen fabric, with two velvet bows on the front. It was also about €300 and not anywhere near my size, not that I would have bought it anyway. So I set about making my own. I bought some red Melton wool from fabric.com, and used the Circle Skirt App by By Hand London to make the pattern. I “pre-washed” the wool by taking it to the laundromat and tumble drying it with a damp towel – not having my own washing machine in the States was infinitely annoying when it came to pre-washing fabric! I cut out the skirt and the waistband, and then it got set aside and suddenly we were moving to New Zealand!

IMG_4689

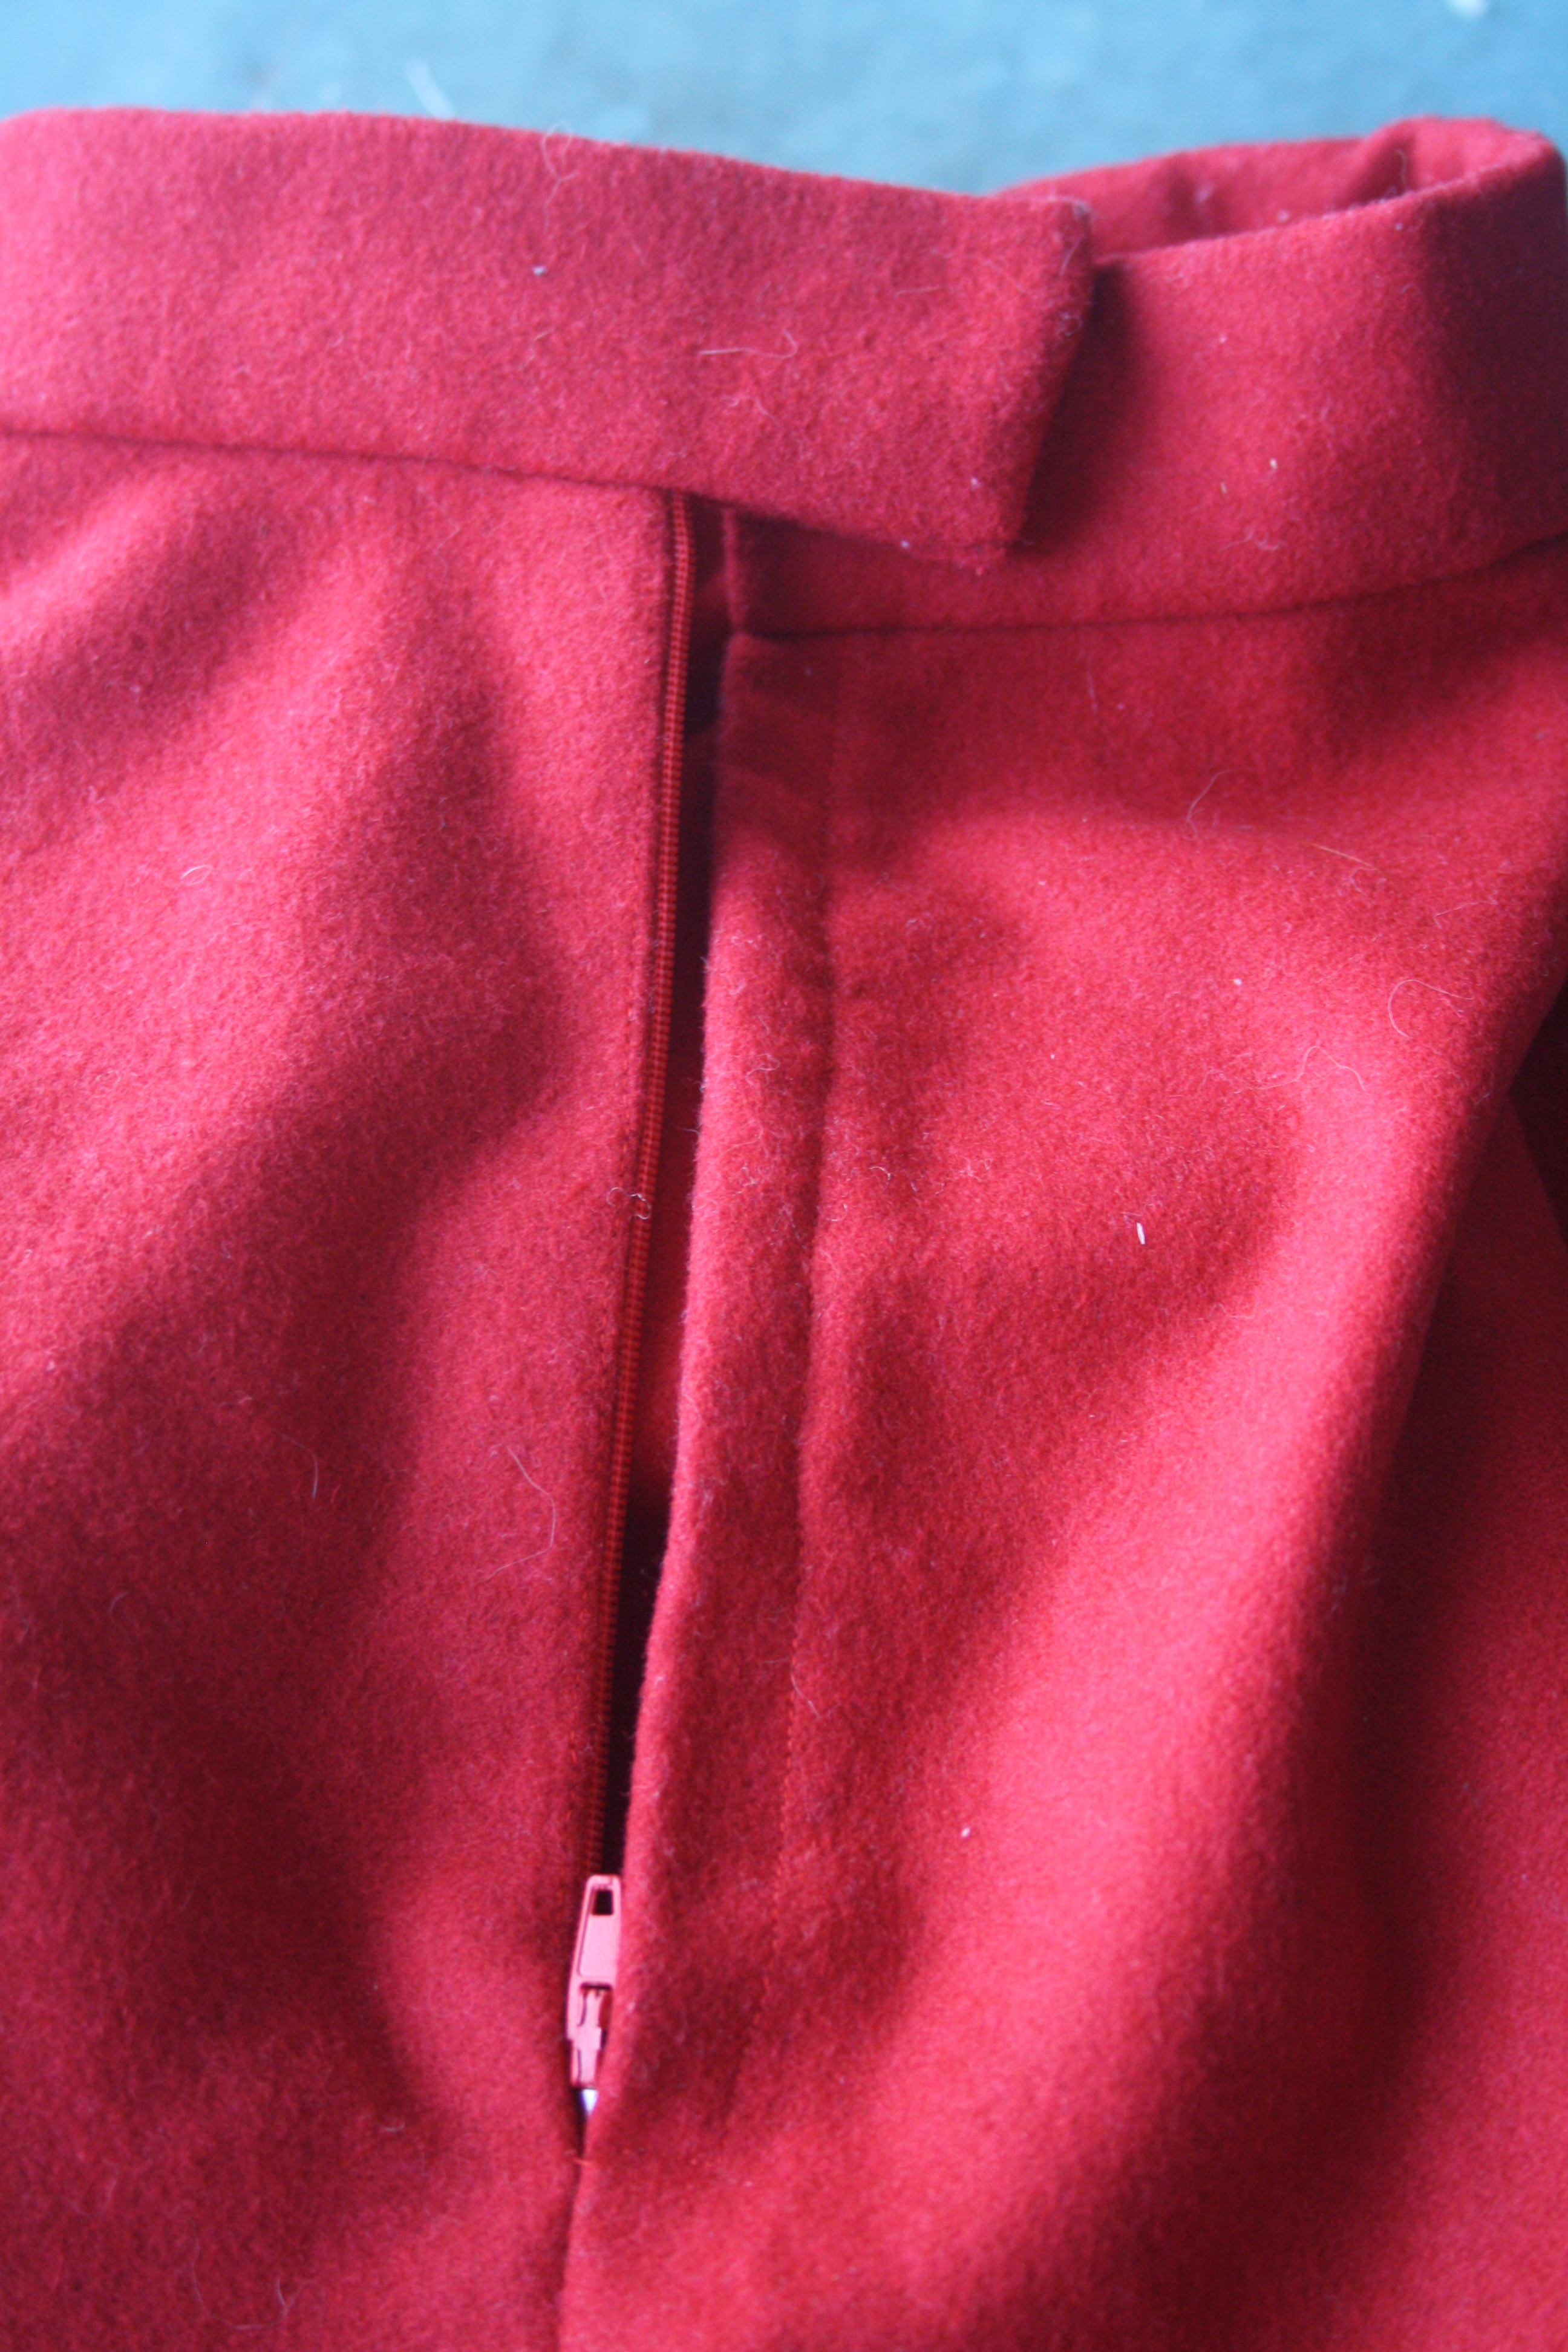
(I pressed it, I promise – it got crumpled in the moving process and is being stubborn about unwrinkling)

Of course, I had to bring my unfinished skirt with me, so I packed it into a ziplock bag in my suitcase and once I got a sewing machine here in Auckland, I took it out again and assessed. I wanted to interface the waistband, but I was unsure what to use, so I went to the local fabric shop and they sold me some quite expensive interfacing that worked beautifully, and in fact I only used the last of it up recently! I wish I knew what kind it was but the fabric store employee was unfriendly and I just wanted to leave, so I didn’t ask. It was very soft, and grey in colour, and fusible. After that, I attached the waistband and inserted a lapped zip from my newly acquired op shop stash.

IMG_4762

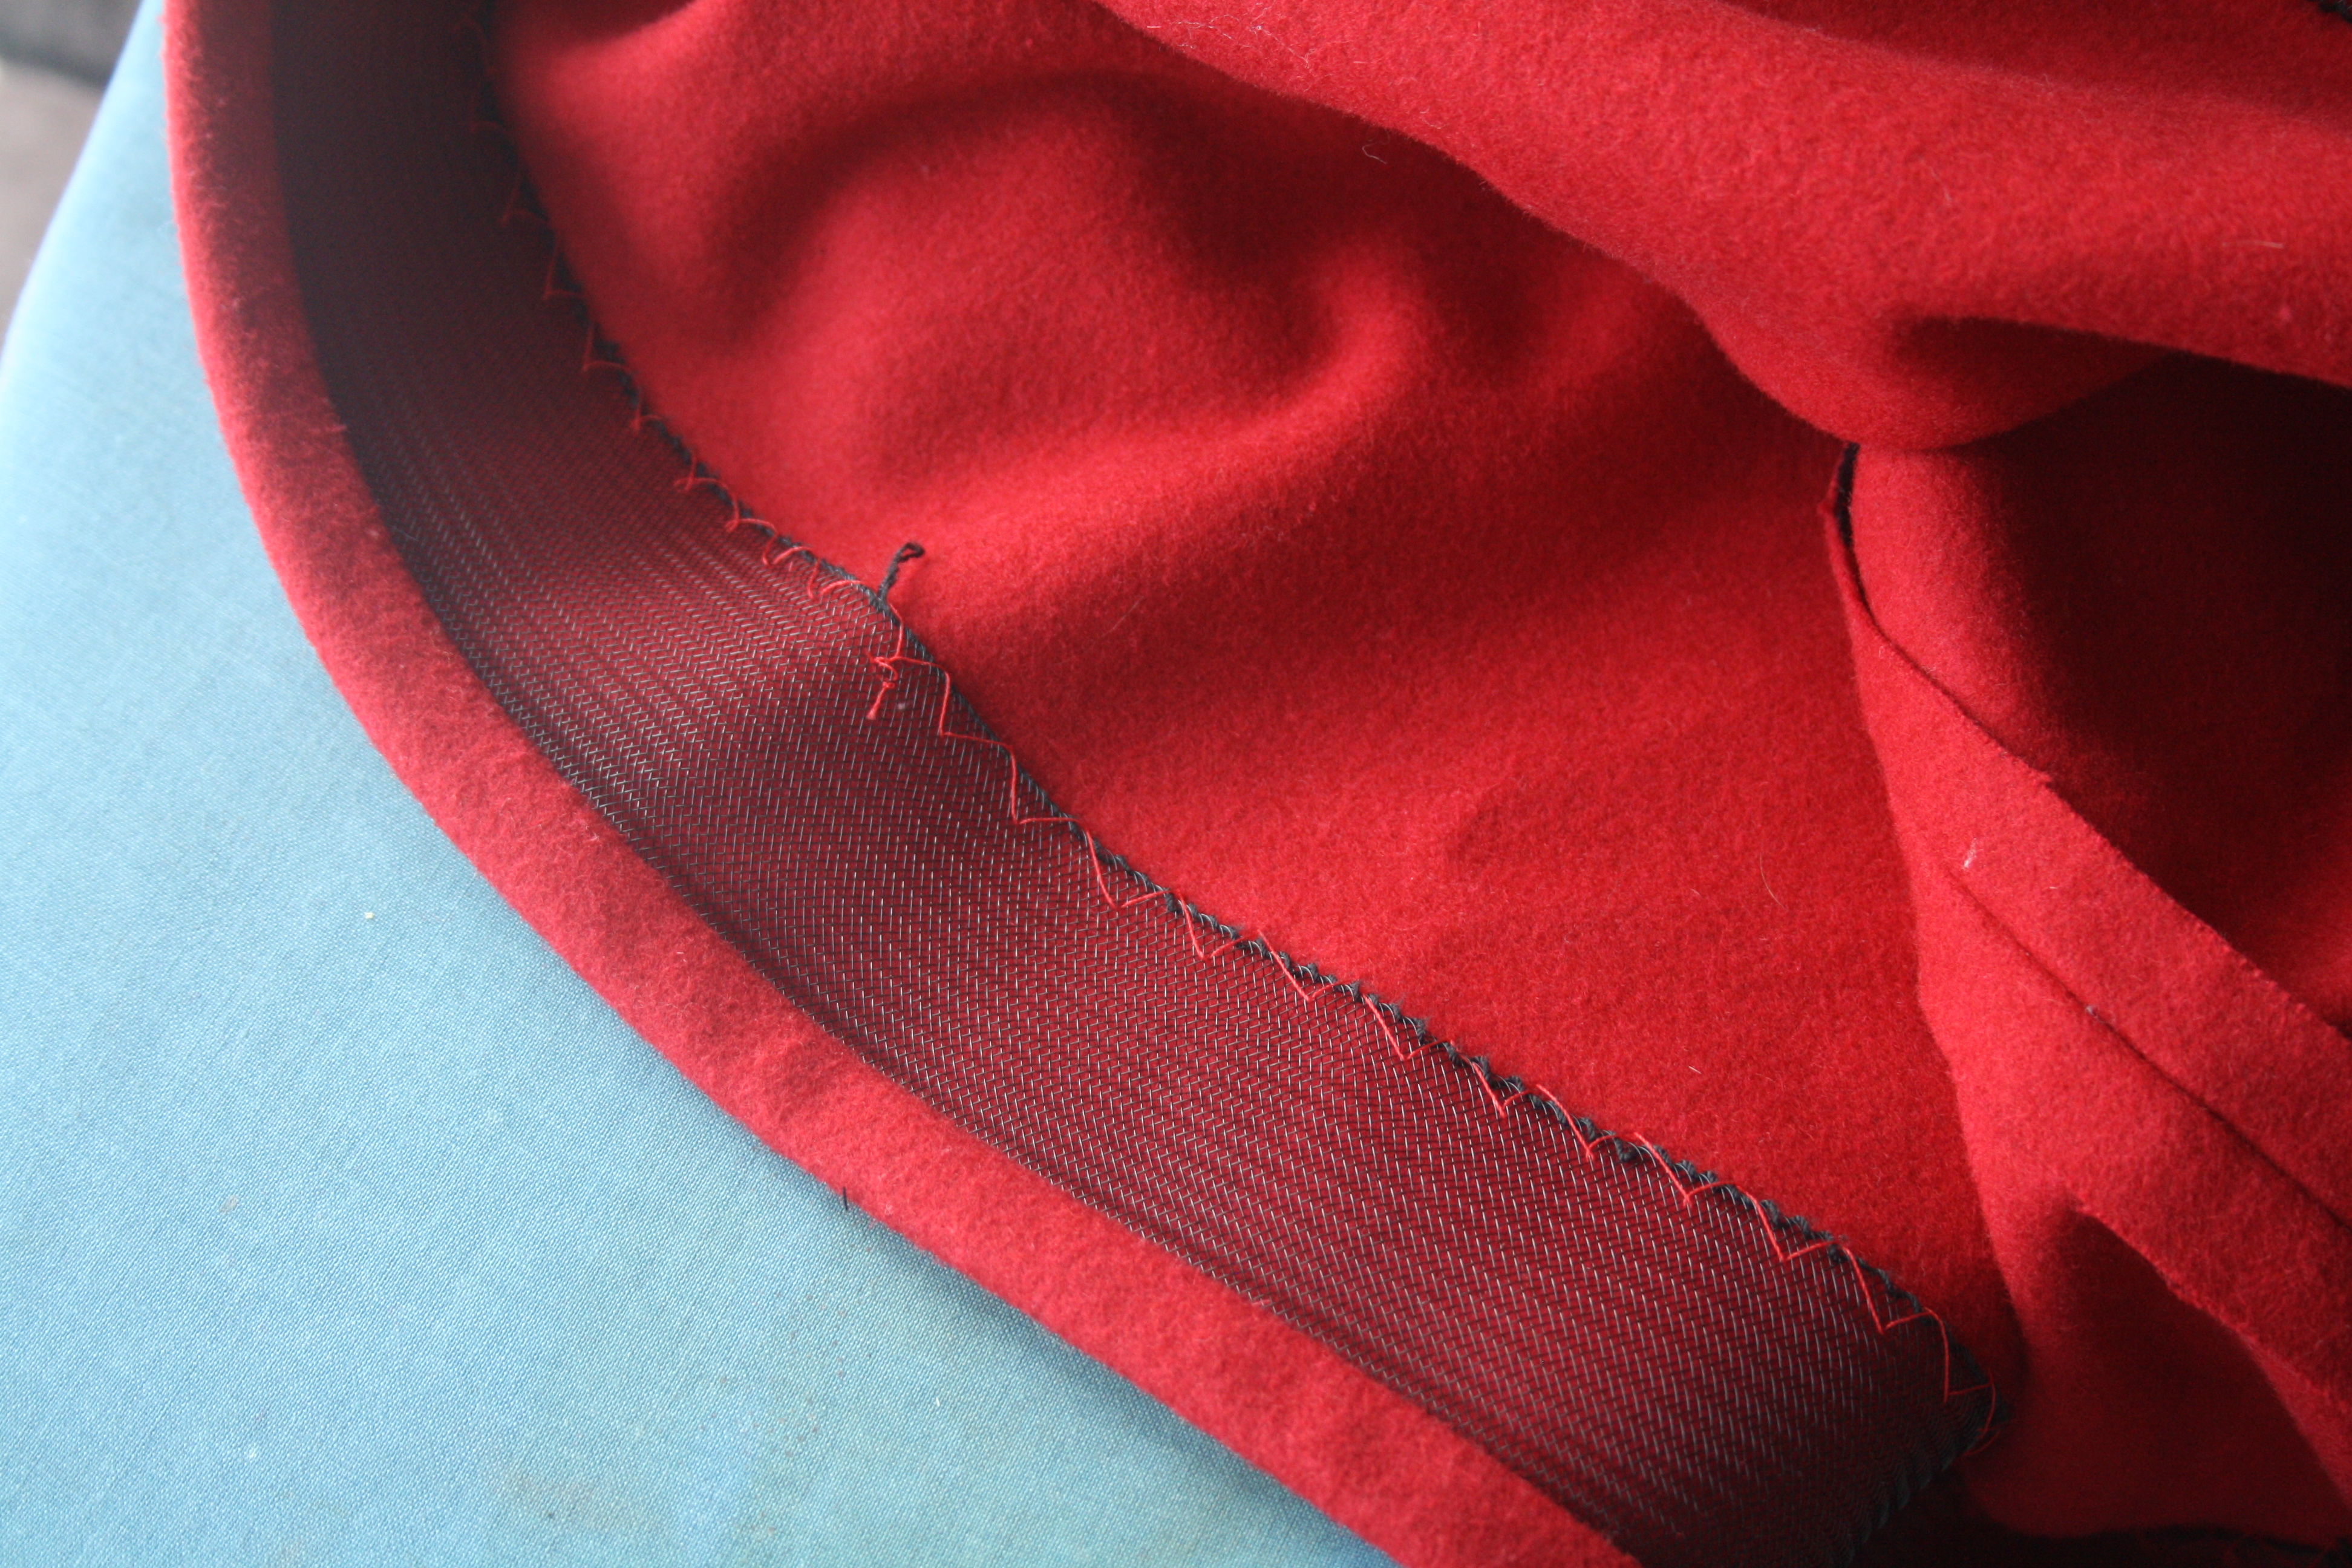
For the hem, I knew I wanted it full and swingy. I had bought horsehair braid from the now-defunct online shop run by Sunni from A Fashionable Stitch and knew I wanted to use that. I used Gertie’s tutorial on how to attach it and shape the hem, and after folding it up I did a catch-stitch by hand to secure it.

IMG_4763

And then, I was stumped. I had bought some velvet ribbon to try and mimic the original skirt, but it was only velvet on one side and I couldn’t figure out a way of forming the bow where none of the non-velvet side was showing. The skirt ended up getting put to the side again after I got a job, and for a while I thought about it and toyed with the idea of embroidering something around the hem. For two years.

IMG_4692

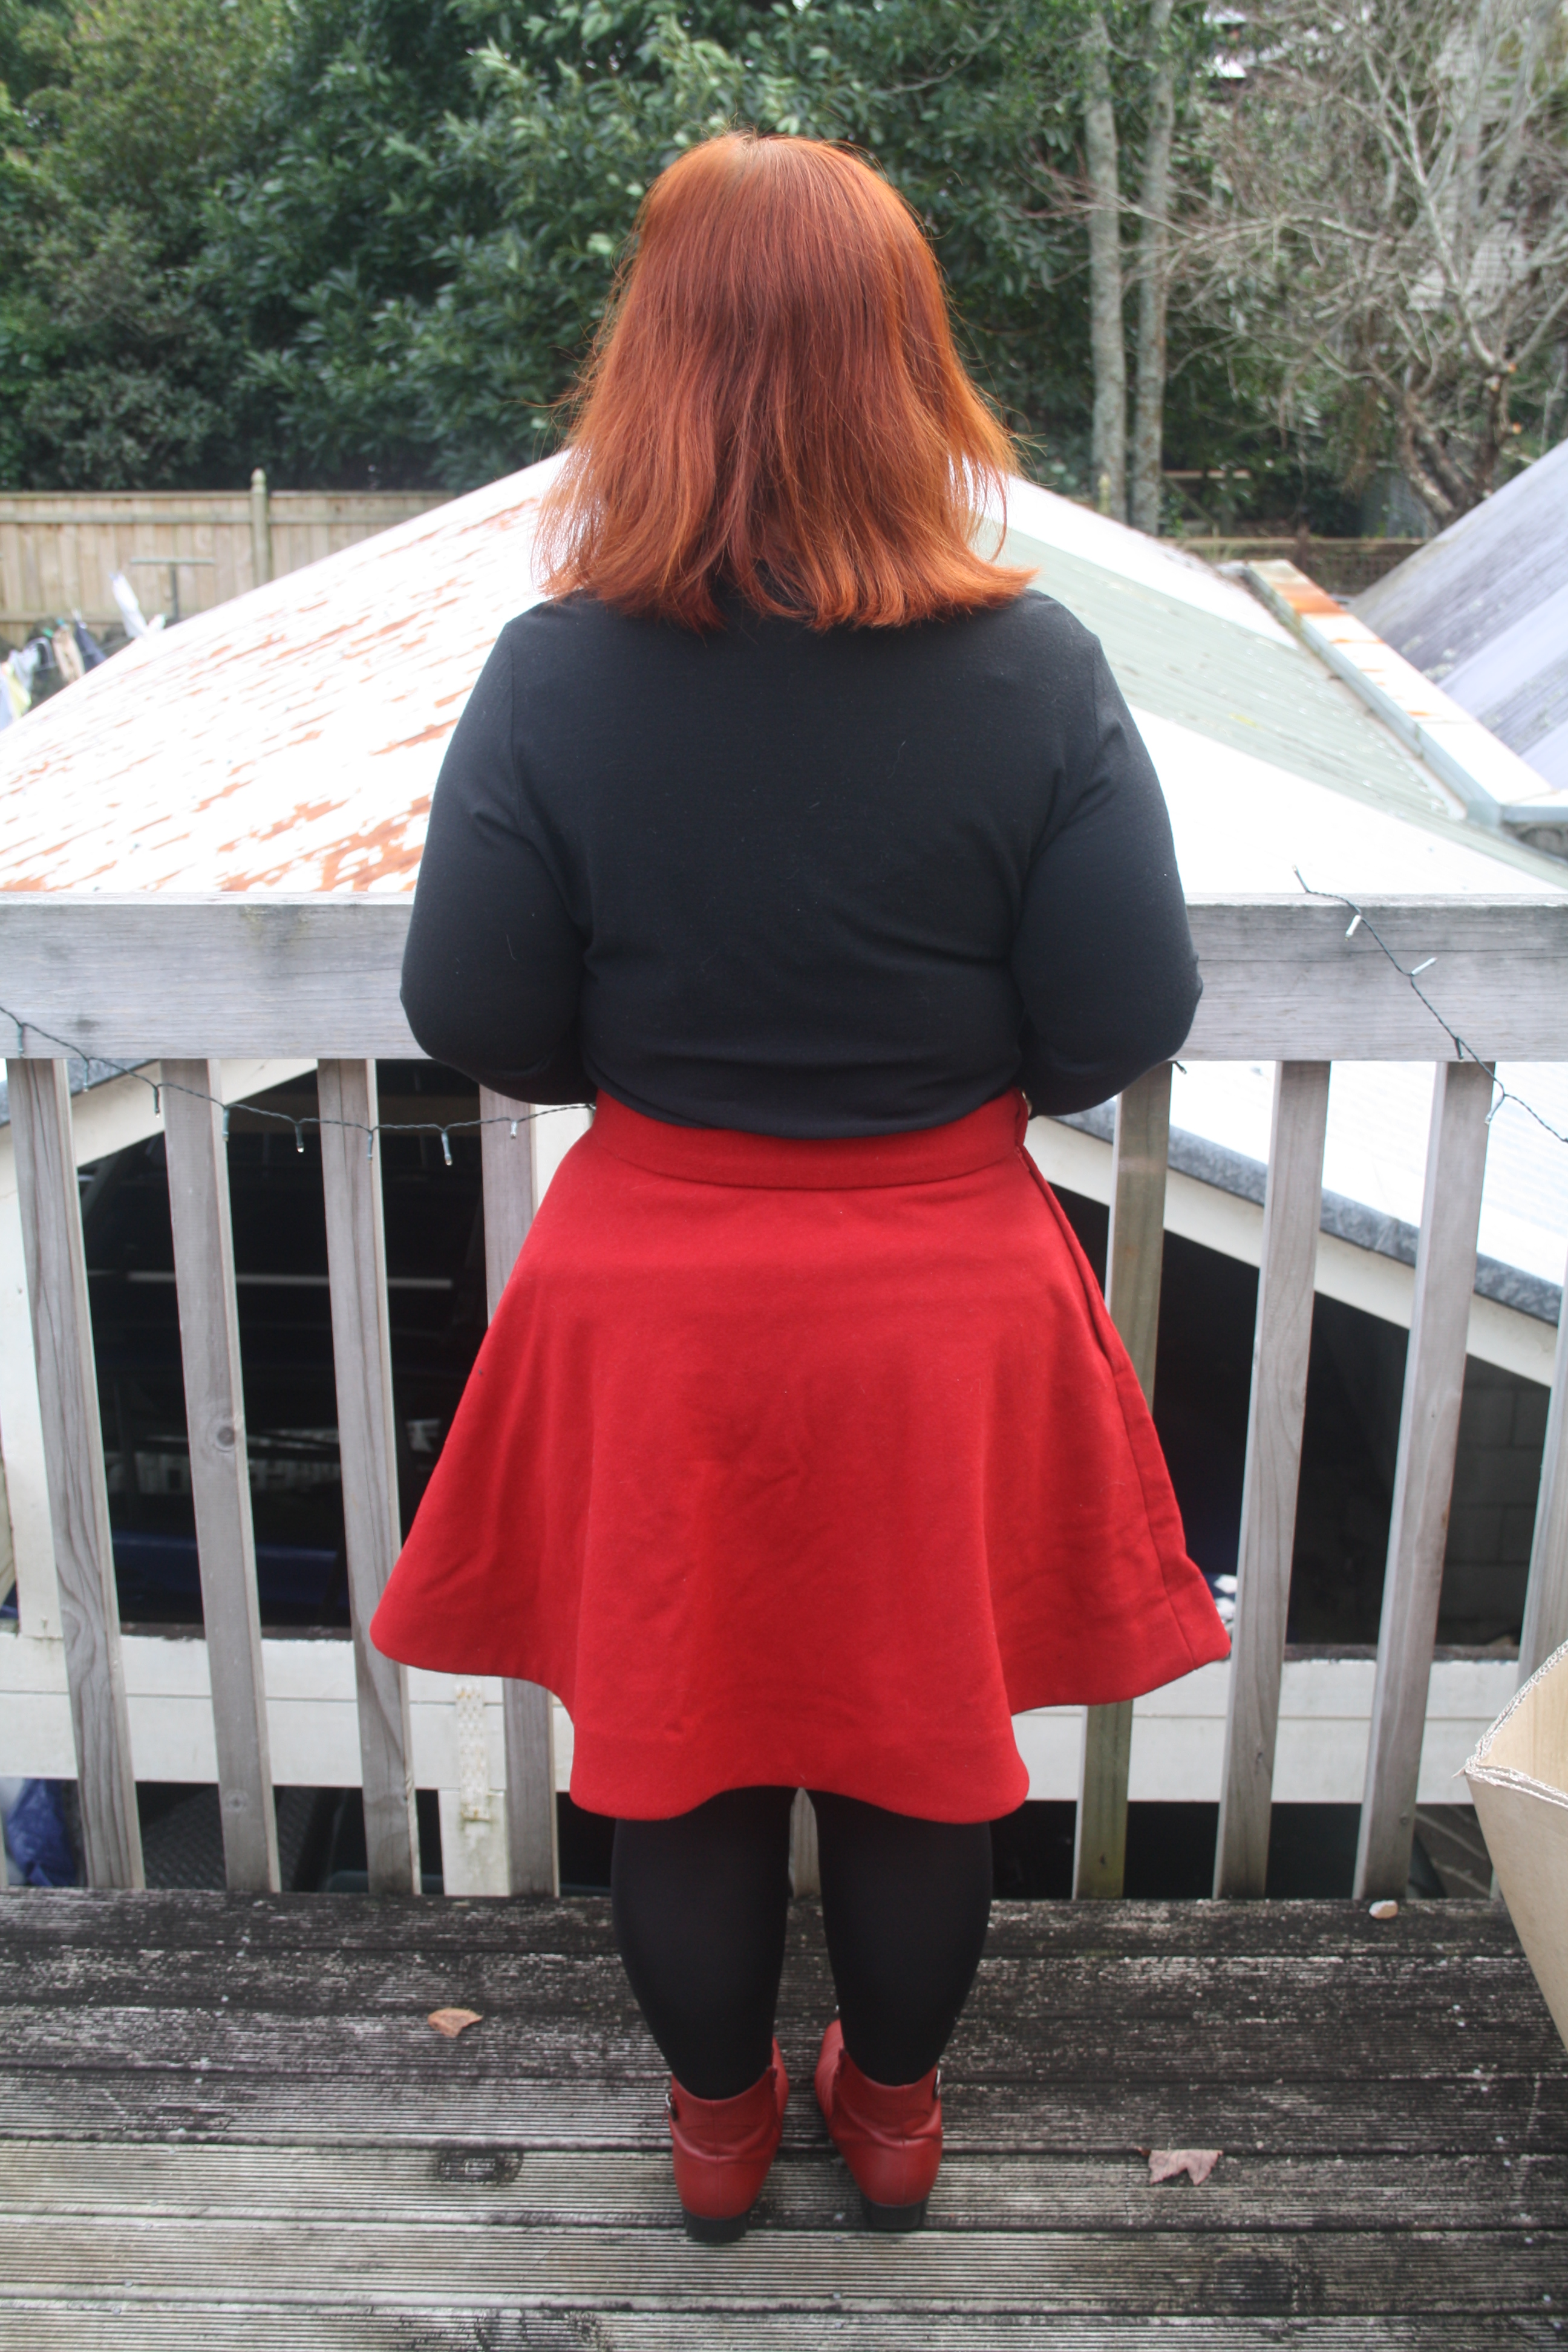
I wish you couldn’t see the outline of my top under the skirt – the photographer should tell you such things!

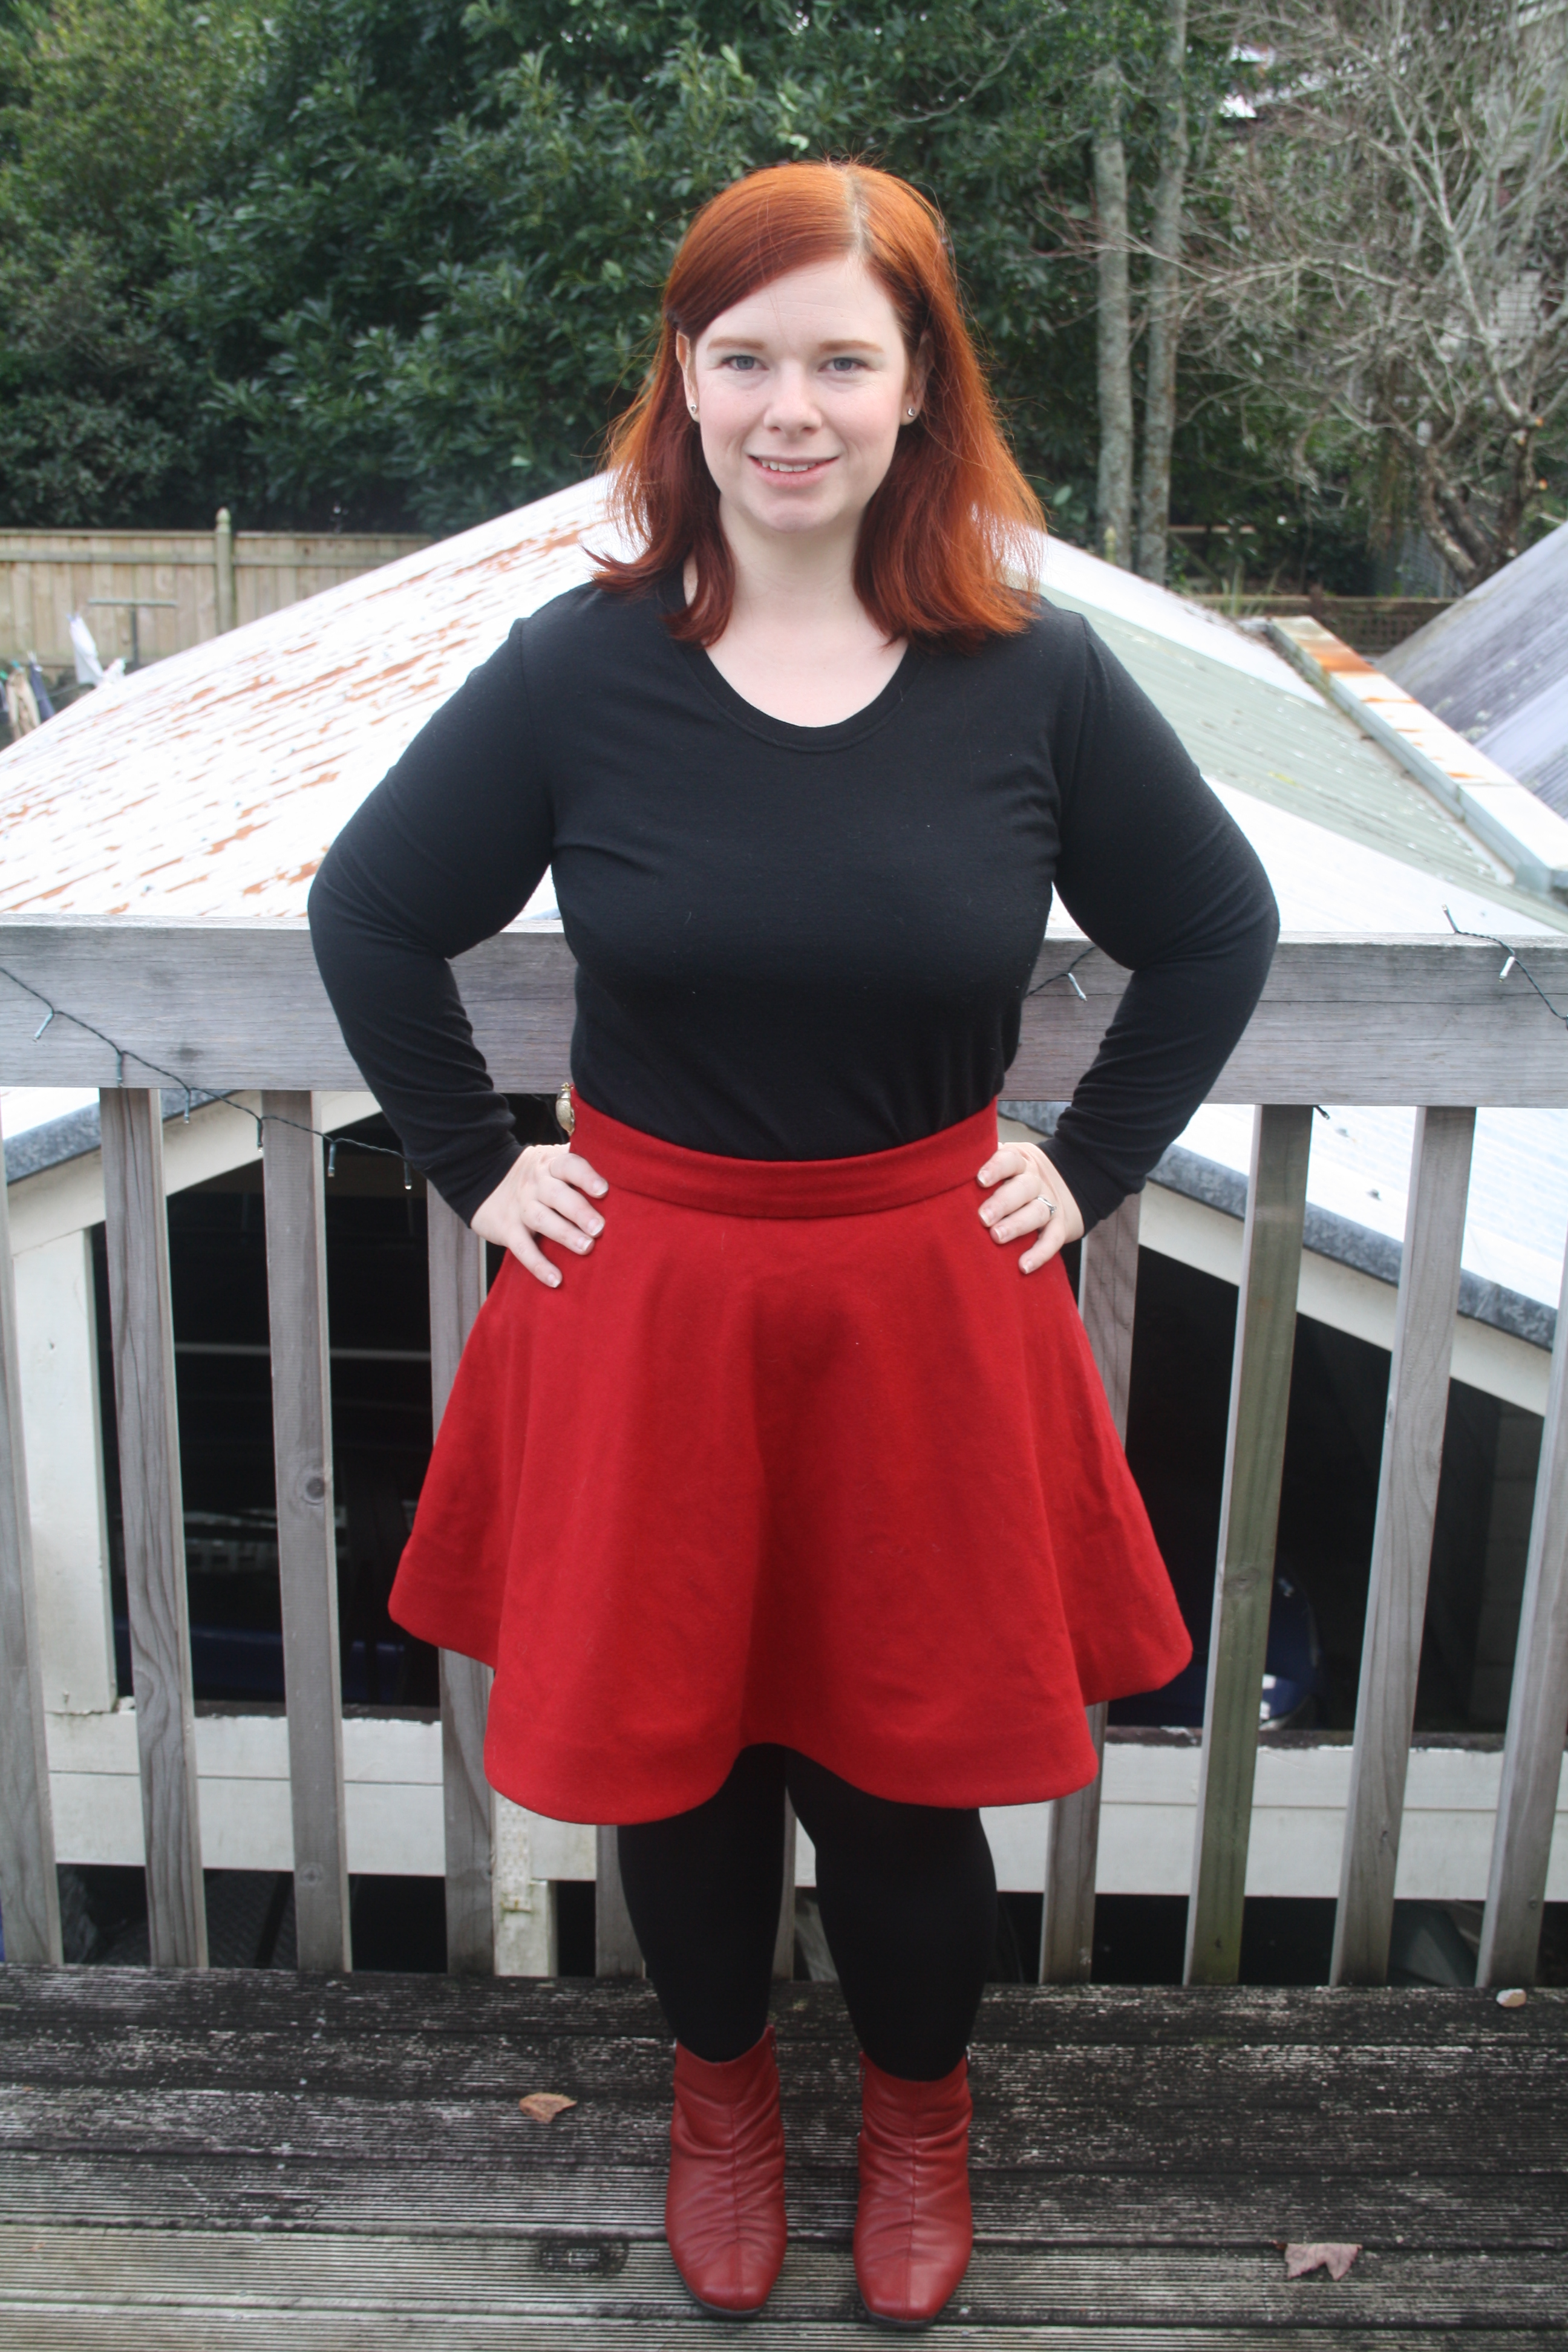
Finally, last Monday was Luke’s birthday, and he wanted to take some photos of me (among other things), and I wanted to look nice. I came across the skirt again, and decided to try it on. I wasn’t even sure if it would fit – I hadn’t ever tried it on! Thankfully, it did – but it didn’t have a button. Ever resourceful, I found a brooch Luke’s mum had given me a while back and used that to pin the waistband closed – you can see it in the side-on shot above.

Oh, and the top I’m wearing? I made that, too! It’s the Ensis Tee by Papercut Patterns, made out of black merino from The Fabric Store for our Iceland trip last year. A black long-sleeved top is a must for me, and this one is really comfy. I have fabric to make a few more, just need to find the time!

Advertisement
Standard
sewing

Sewing for the husband: Papercut Undercover Hood

IMG_1737

Recently, I’ve been doing a lot of selfless sewing. Luke has started showing more interest in what he wears, and as a result, is very keen on having an entirely handmade wardrobe. Somewhat surprisingly, I’ve really been enjoying the process of making him clothes – talking about his colour palette (I’m not even joking, he’s made himself a colour palette), picking out fabrics, talking style details and selecting patterns. This is my latest make for him, an oatmeal merino hoodie from the Papercut Patterns Undercover Hood pattern.

IMG_1740

You may be wondering why I chose to use a pattern designed for women to make a hoodie for a man. The main answer would be, because I’m cheap. I also want to make a hoodie for myself, and I figured that the Undercover Hood is a fairly boxy pattern and could suit us both. Also, at the time I didn’t think there were many other men’s hoodies patterns out there (forgetting, of course, about the Finlayson Sweater from Thread Theory). At any rate, I’d already bought the Papercut pattern on advice from Sandra at a recent sewing meetup, so I forged ahead. I cut out a size L, based on Luke’s measurements, and lengthened the sleeves and body accordingly as Luke is 6’4″. There was some to-and-fro about whether Luke wanted the hoodie version or the neckband version – I ended up cutting both out as he couldn’t decide, but in the end he went with the hood and I think it was a good choice.

IMG_1745

The hoodie was the most fun part for me – I went with eyelets, rather than buttonholes, for the drawstring – all the RTW hoodies I’ve ever owned have had eyelets and besides, I hate making buttonholes. I got them from Geoff’s (where else?) along with the rope cord for the drawstring. The fabric for the hoodie came from Trademe and is a sweatshirting weight, with looped terry on the wrong side. It’s snuggly warm! I’m so proud of my stitching on this hoodie – I used a triple stretch stitch for most of it, including the topstitching on the pouch pocket. I was terrified of sewing that on, but I fused knit stay tape onto all the edges beforehand, and used my walking foot and the stretch stitch and it worked perfectly – no waviness at all! I twin needled the open edges. I sewed all the other seams with the triple stretch stitch so they’re nice and sturdy and durable. I overlocked the raglan seams, but my overlocker has serious issues so I quit while I was ahead for fear of ruining any further seams.

IMG_1744

As for the fit – I think it’s okay. I mean, it wasn’t designed with a guy in mind, but I think hoodies are not exactly fitted garments, so it’s fine. Luke really likes it, and has been wearing it a whole lot since I finished it a week ago. His only complaint is that the sleeve cuffs are a bit snug, and I figured out why just recently – when I was packing up the pattern pieces and cutting them down to an M for me, I realised the cuffs had been cut to an M already! So no wonder it’s a little hard for Luke to get his giant man hands through them. Oops. He says they’re already stretching out a bit though, so that’s good. Otherwise it’s all good – there seems to be *something* going on with the armpit/upper bicep area with the sleeves, but I don’t know what – there’s a fair bit of wrinkling there. I don’t know enough about men’s clothing to know what the deal is, or how to fix it, but Luke is comfy in it so that’s all that matters!

Next on the Luke Clothing Project list is jeans – eep! Wish me luck…

Standard