sewing

Sewing for the husband: Colette Negroni Mk II

img_6385

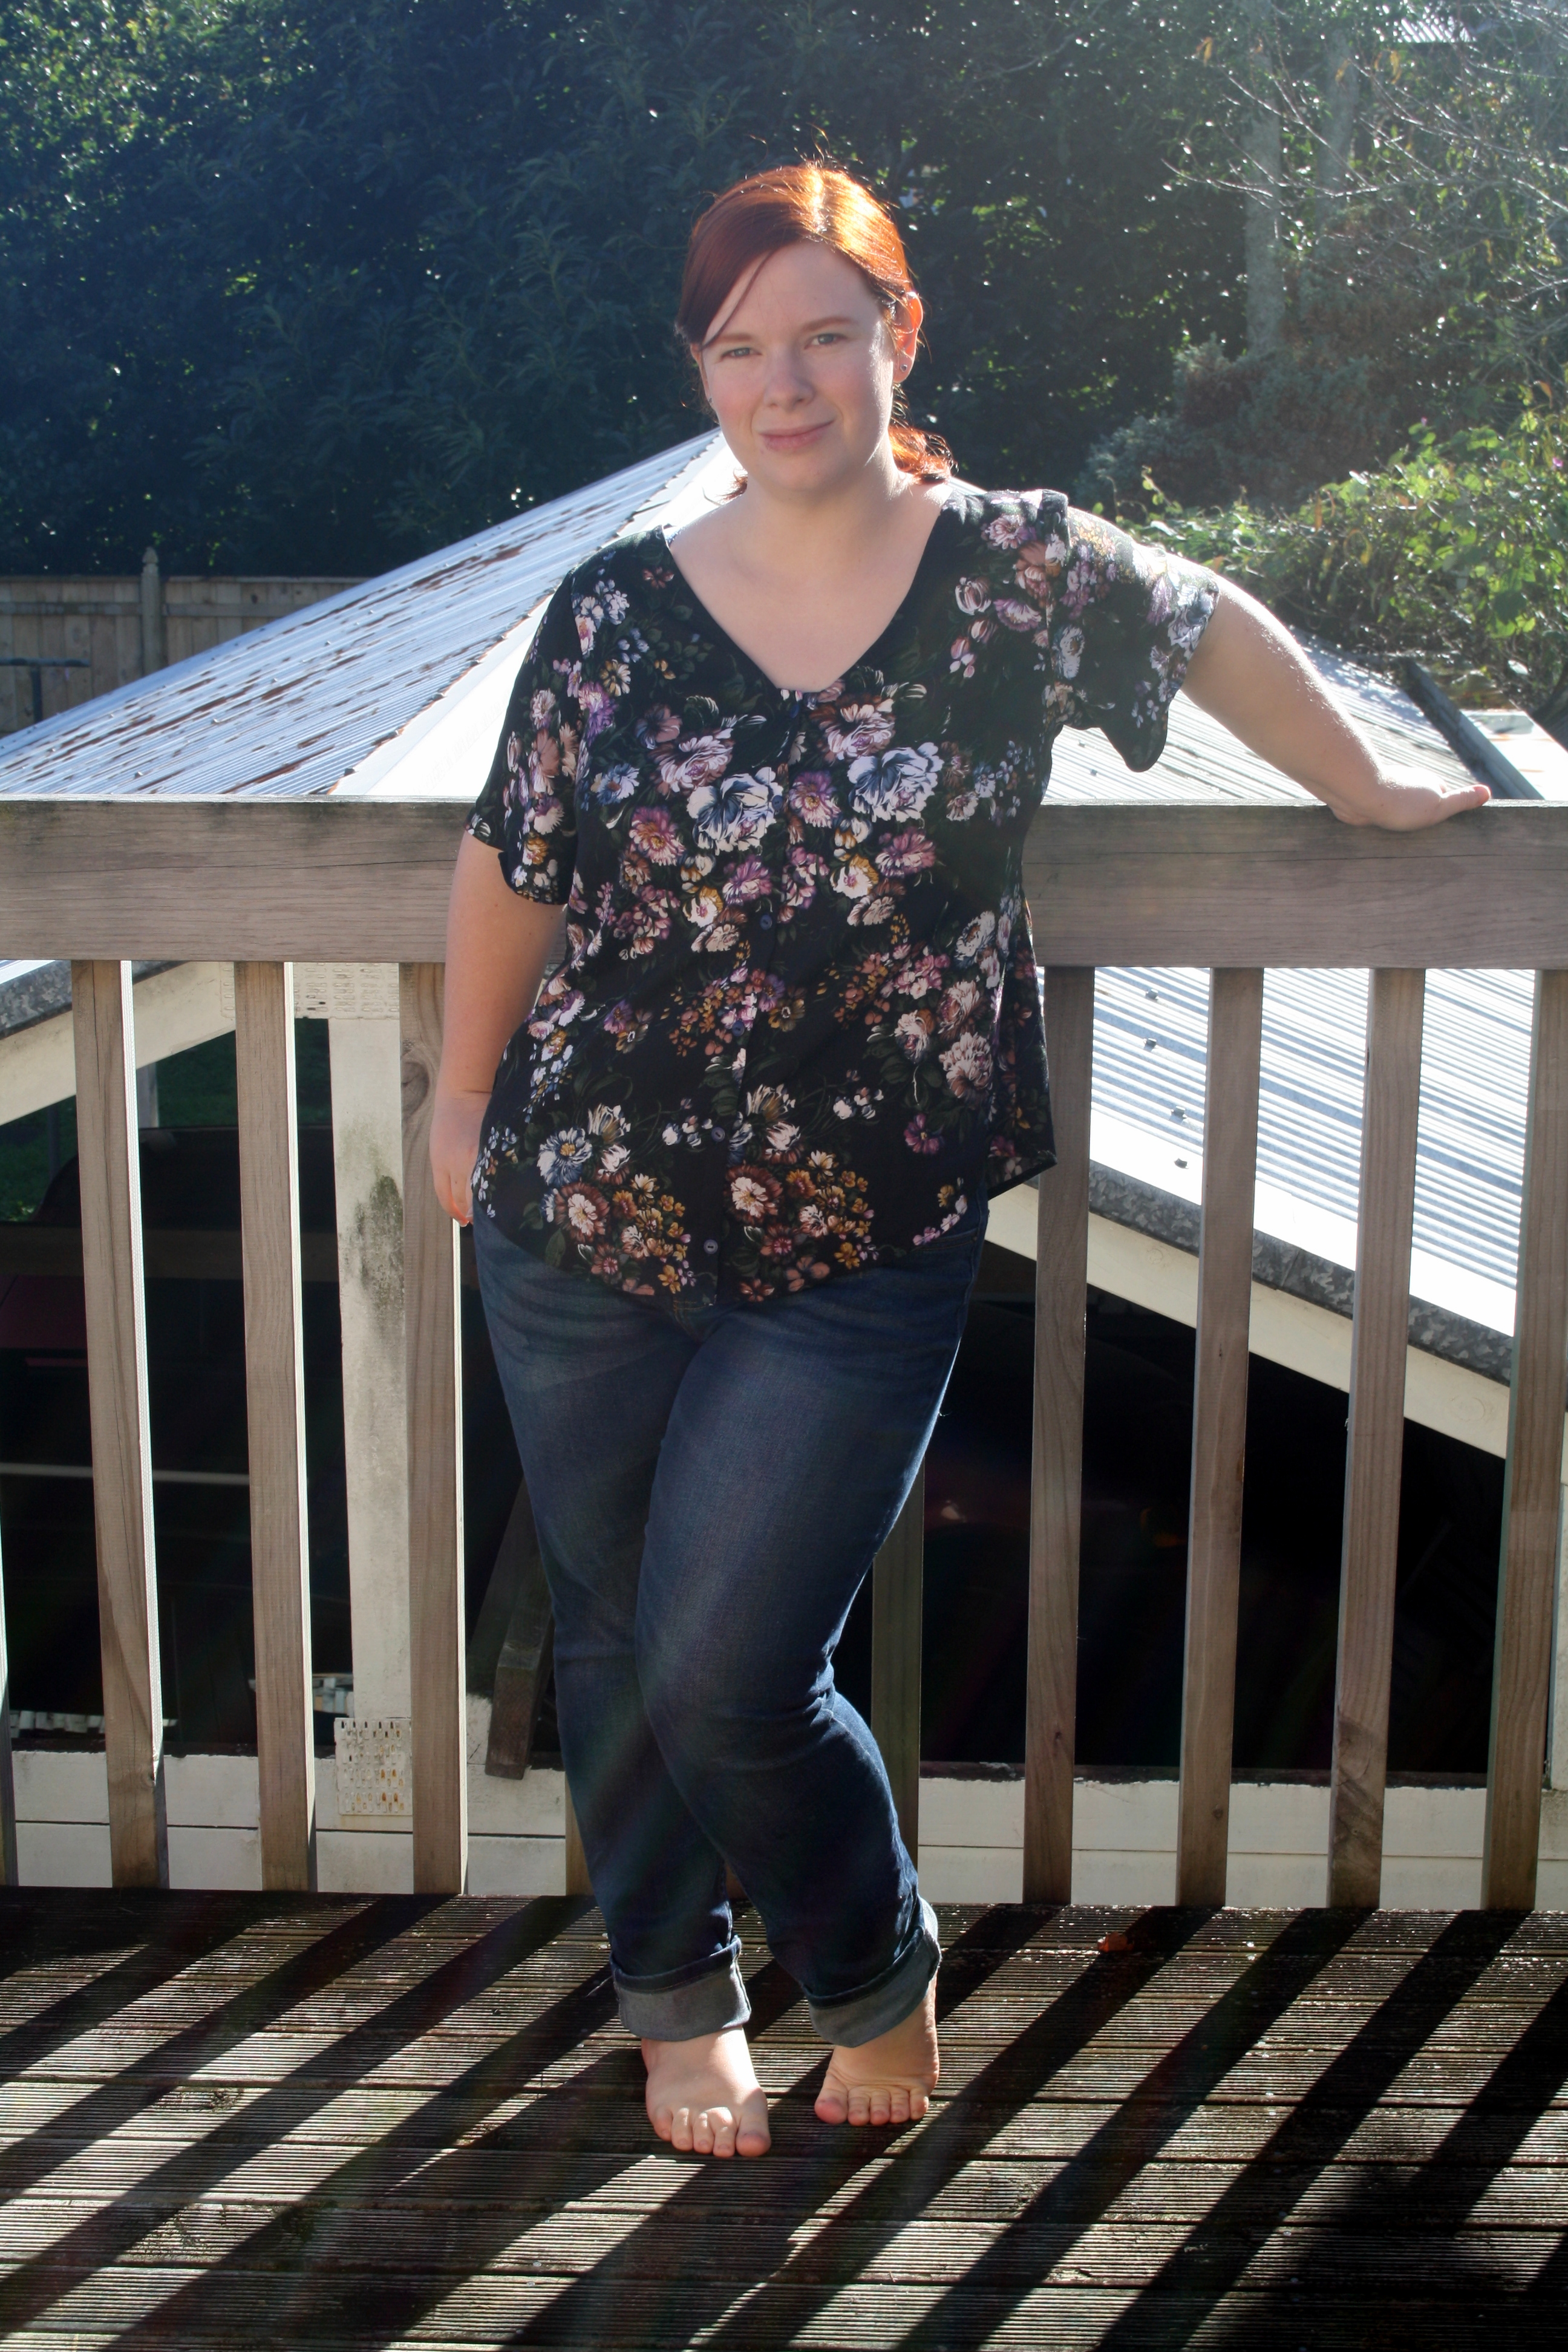
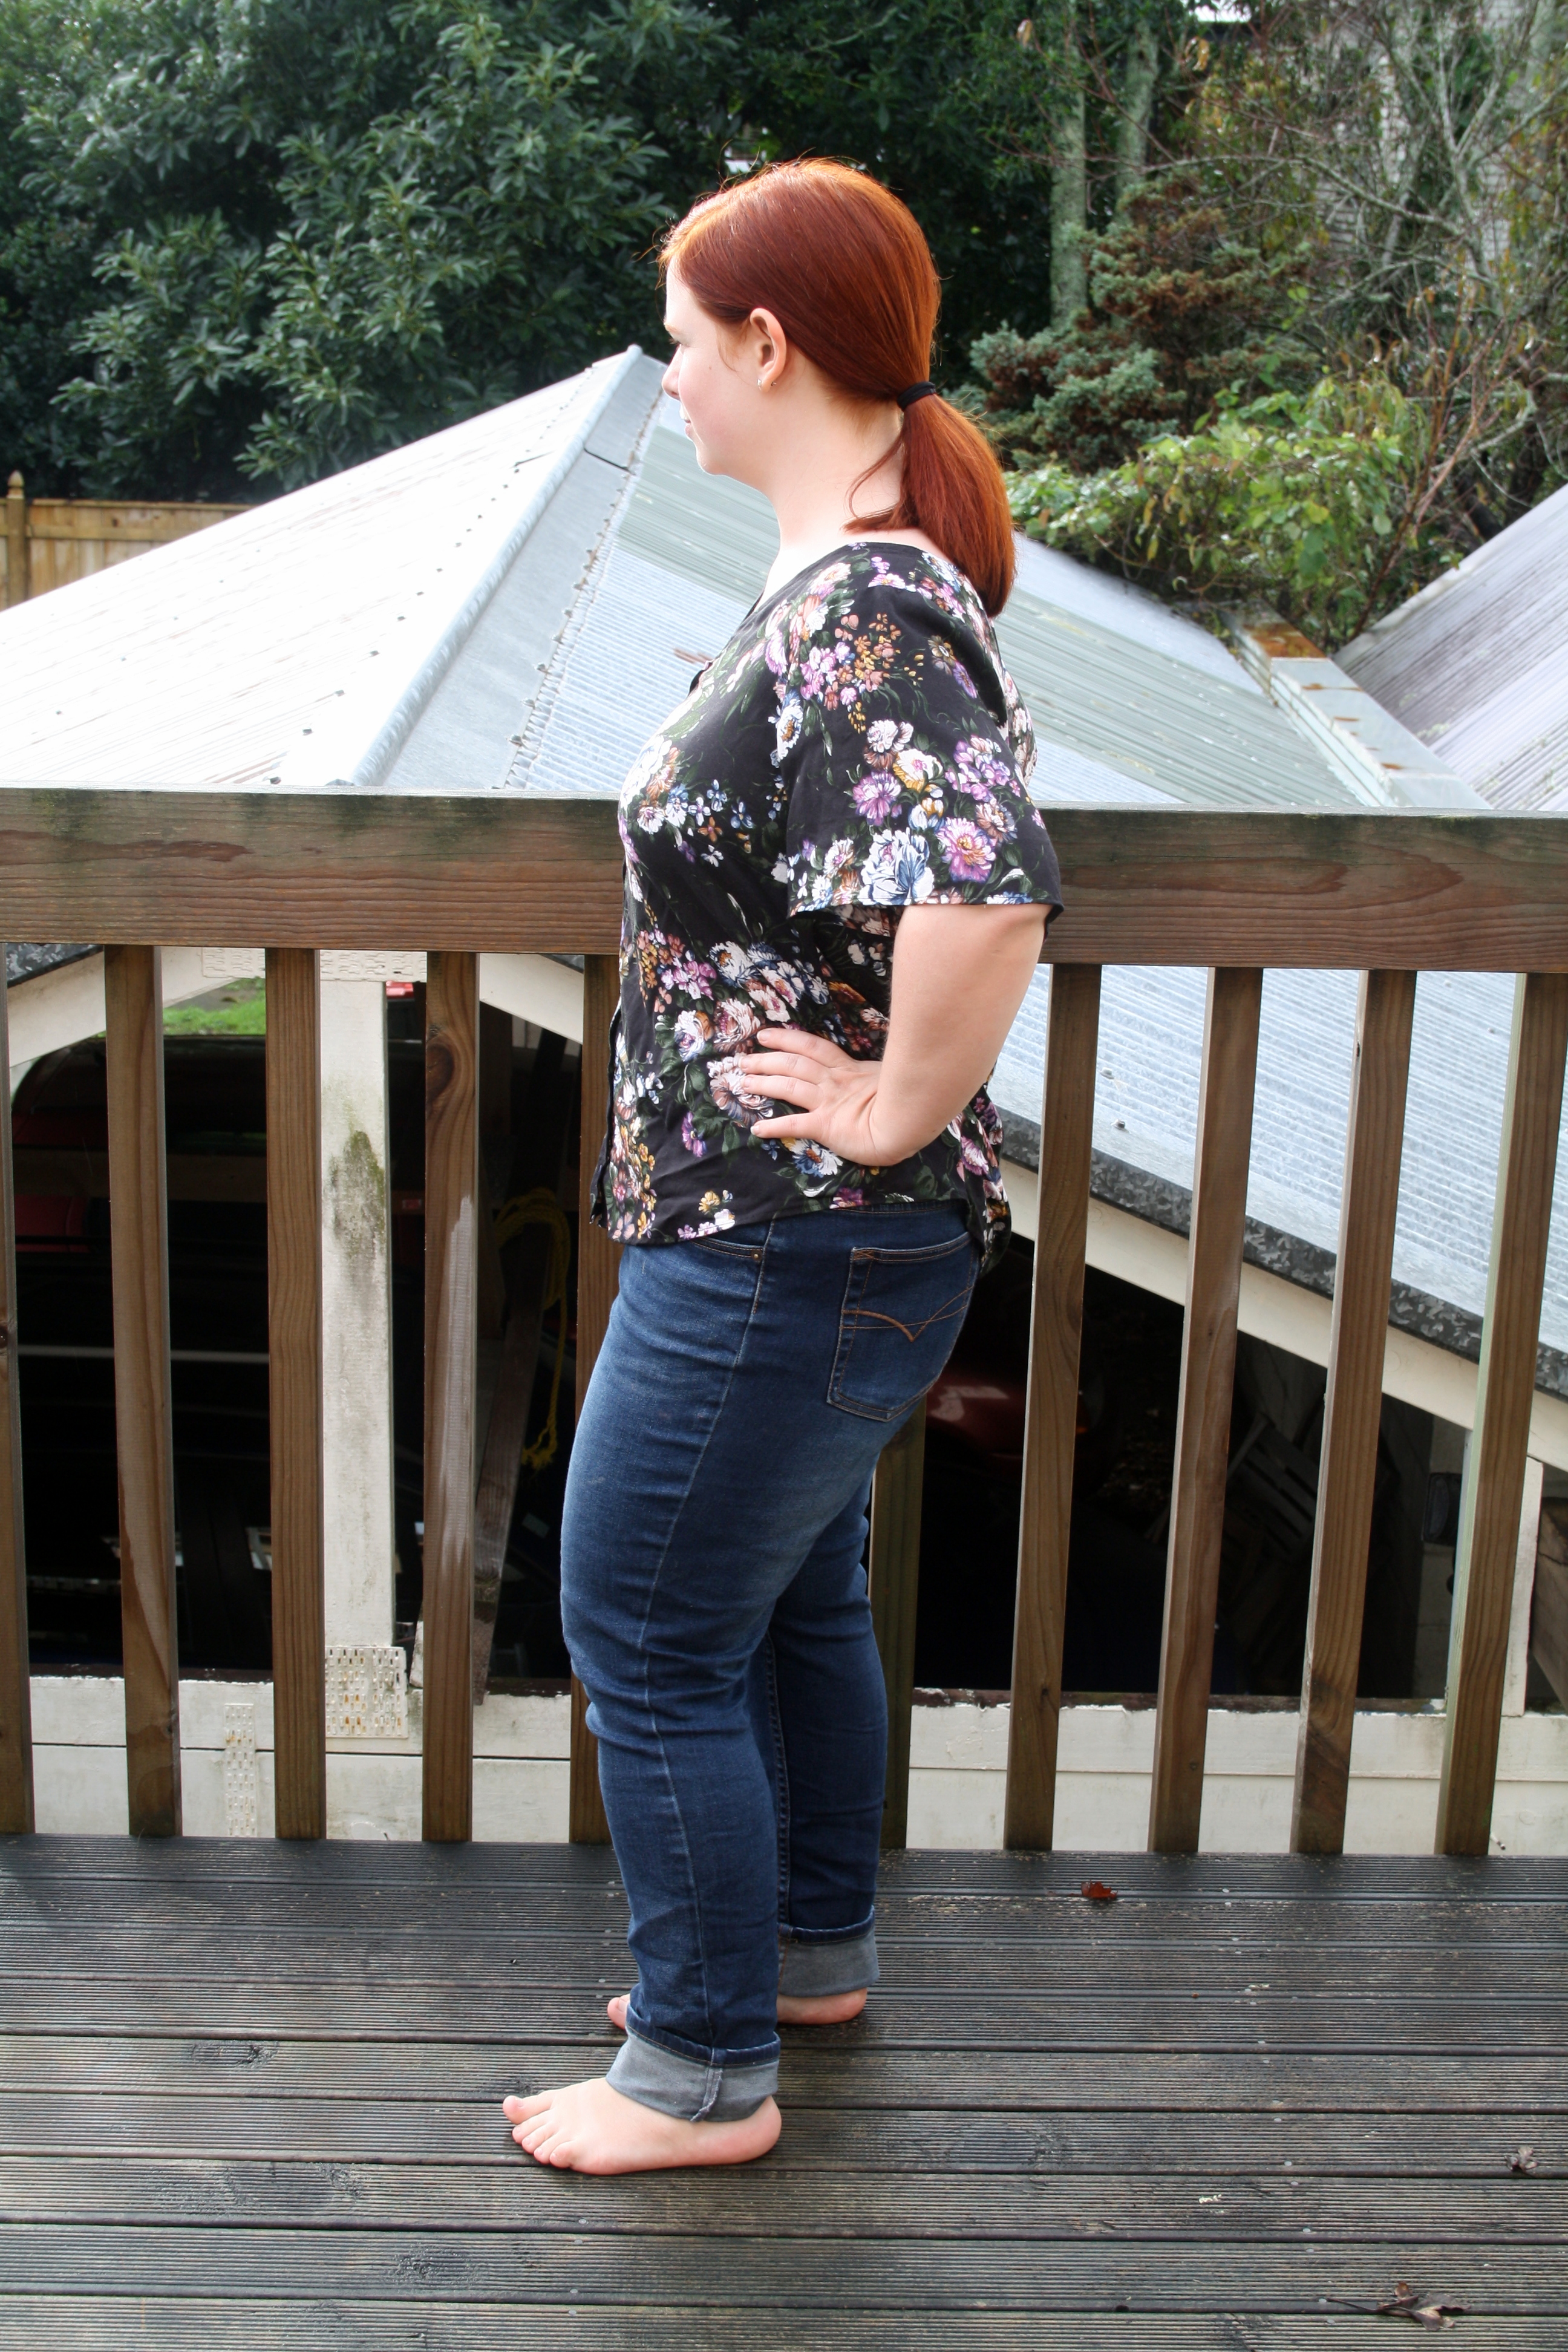
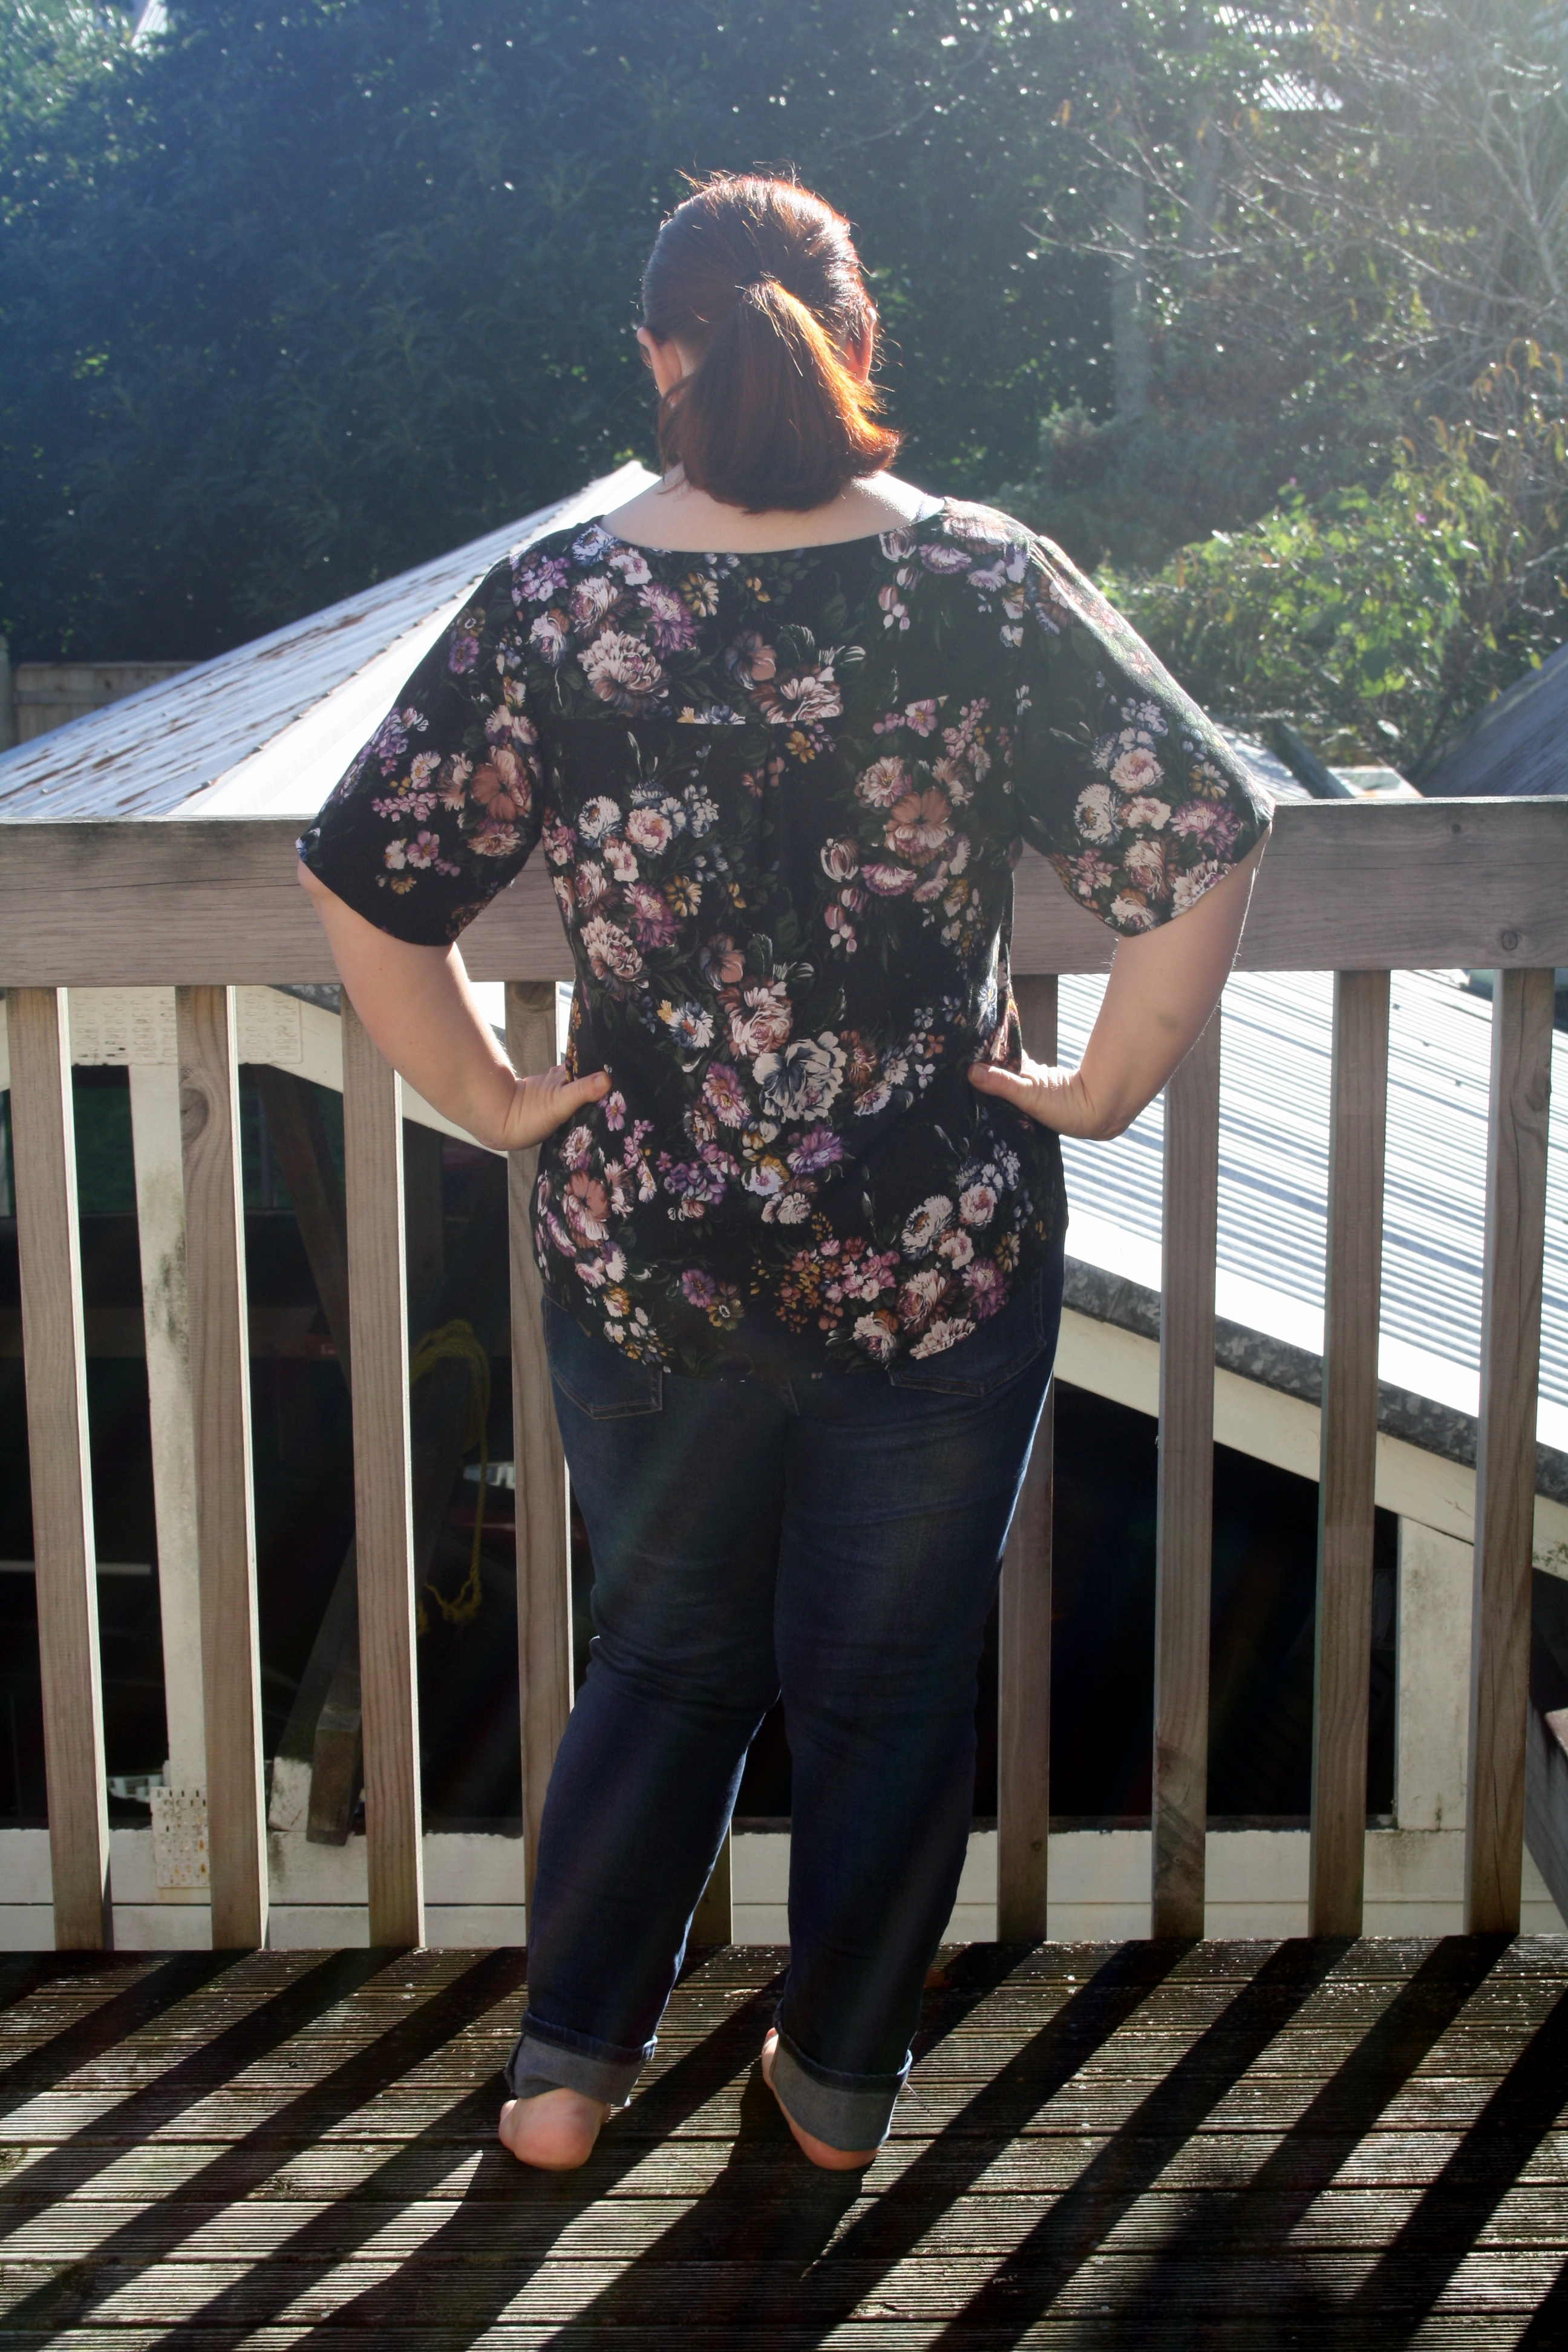
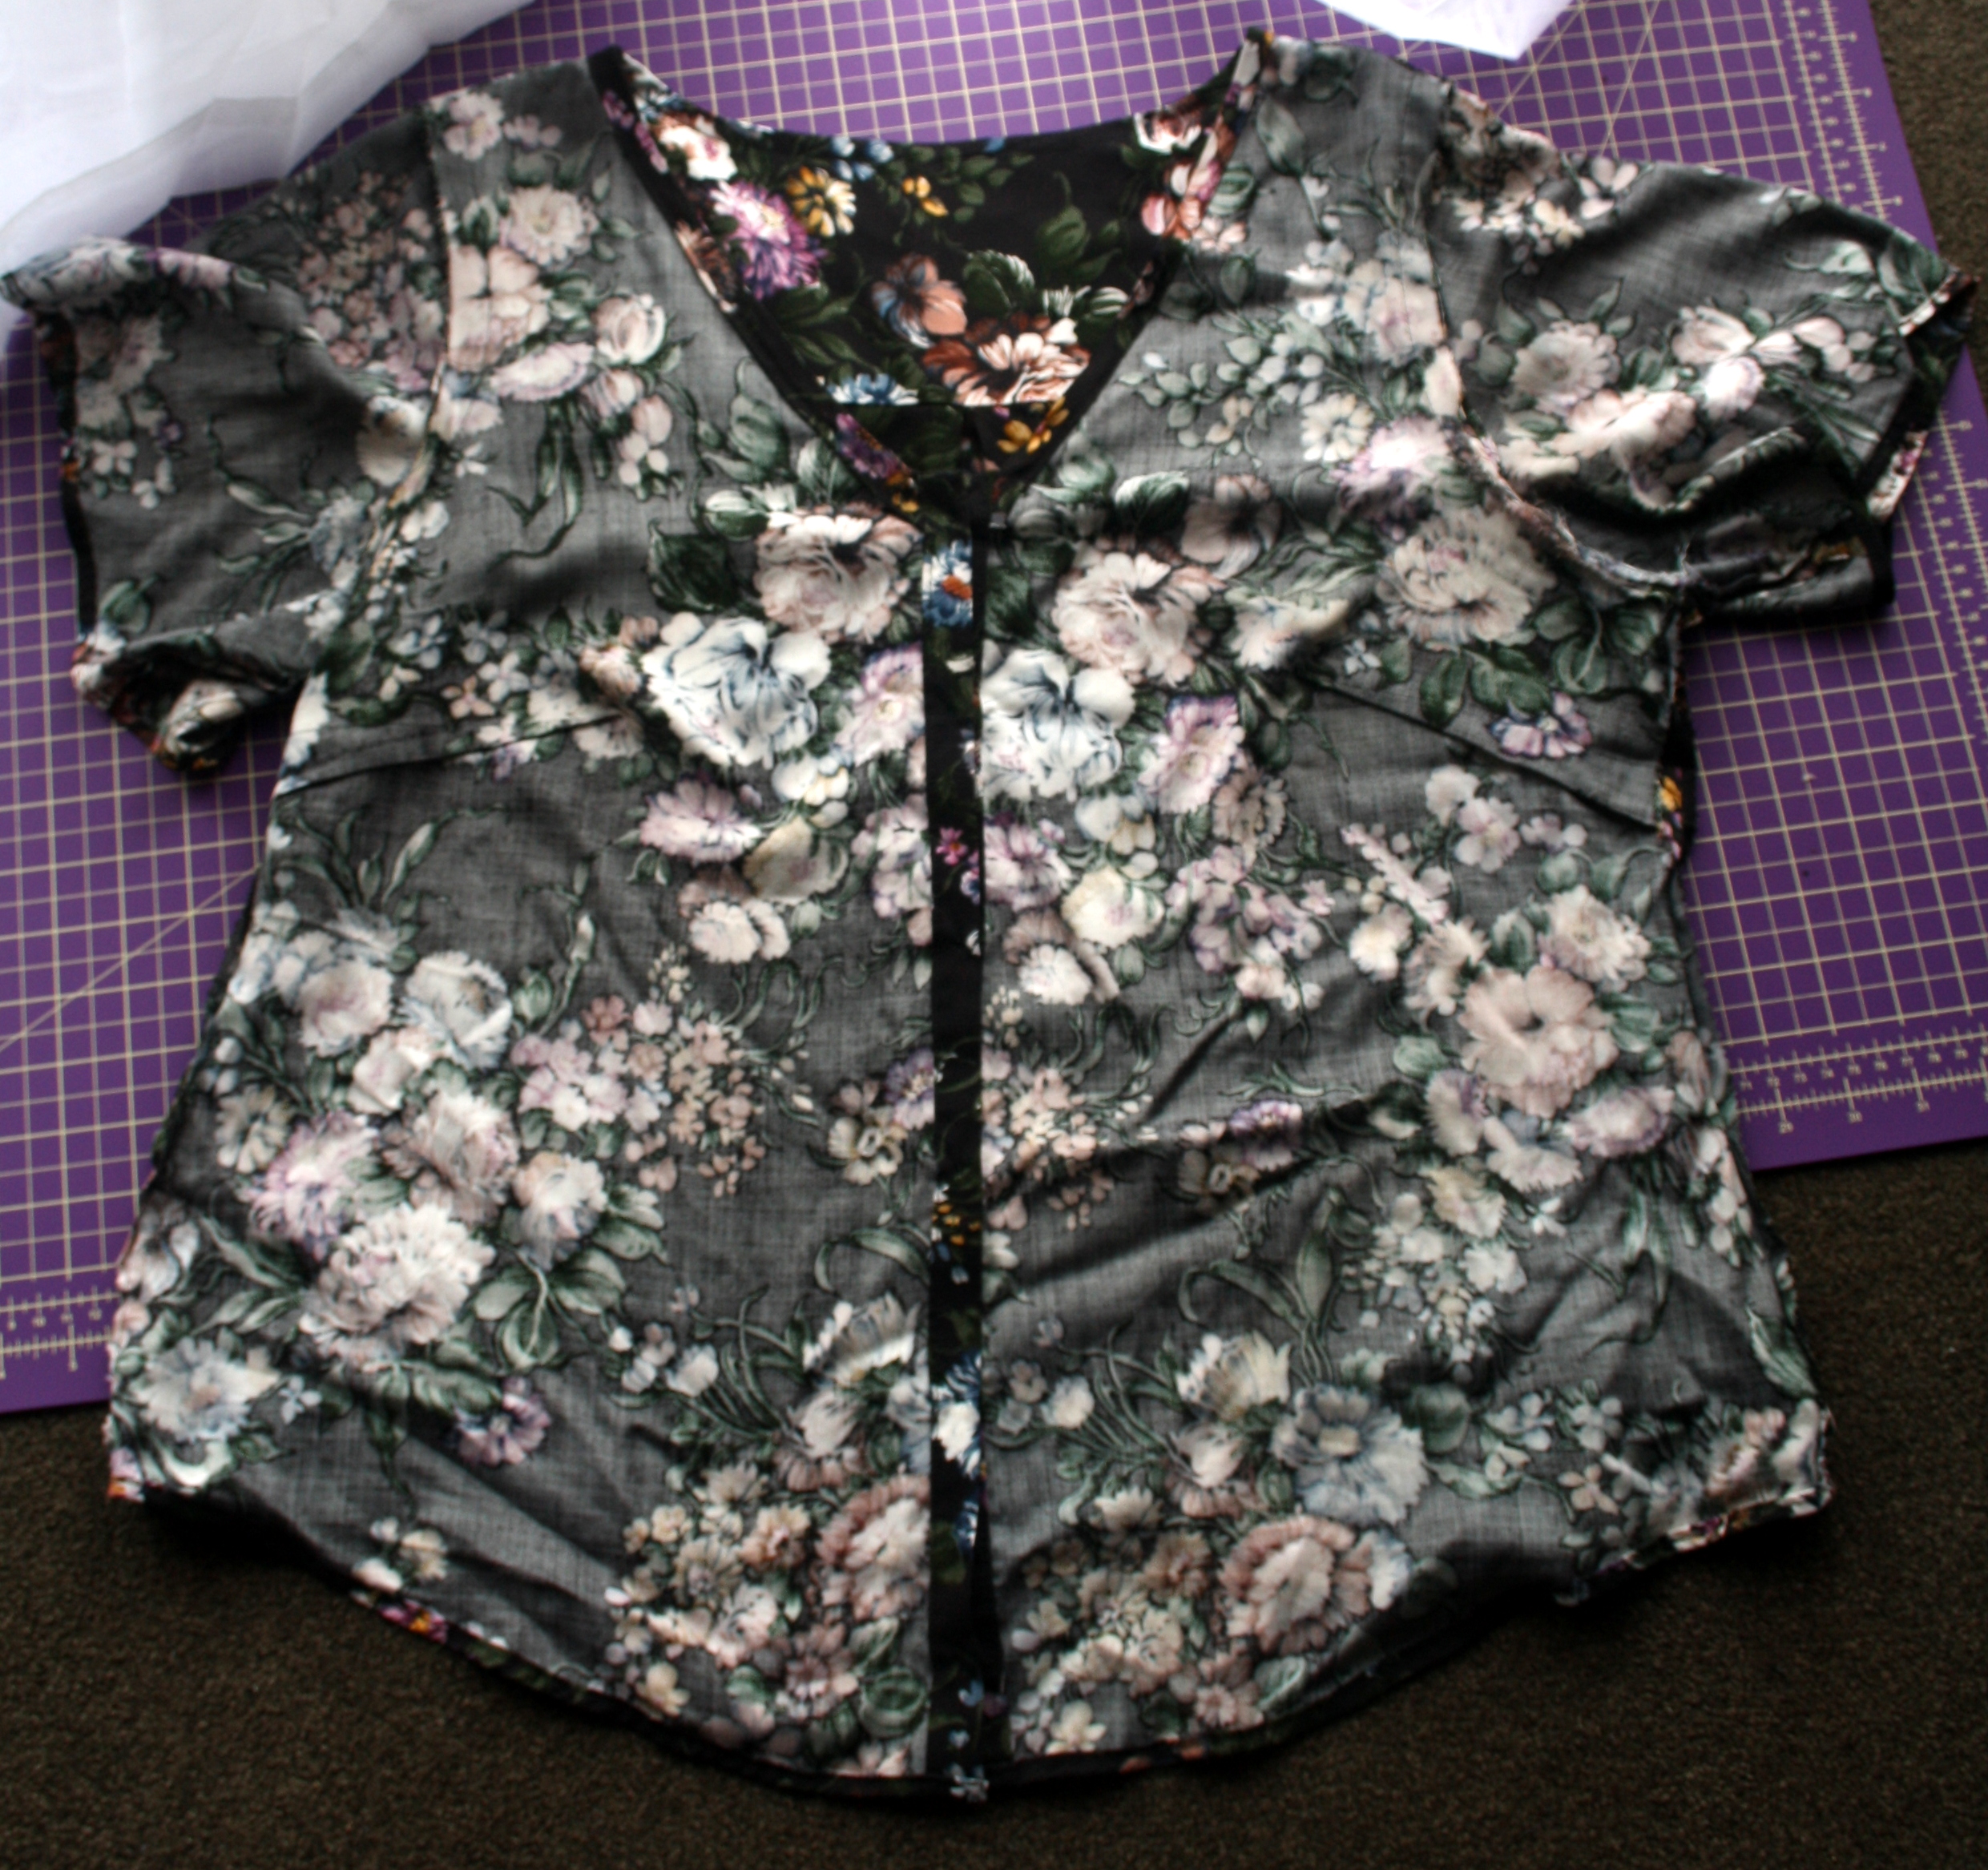
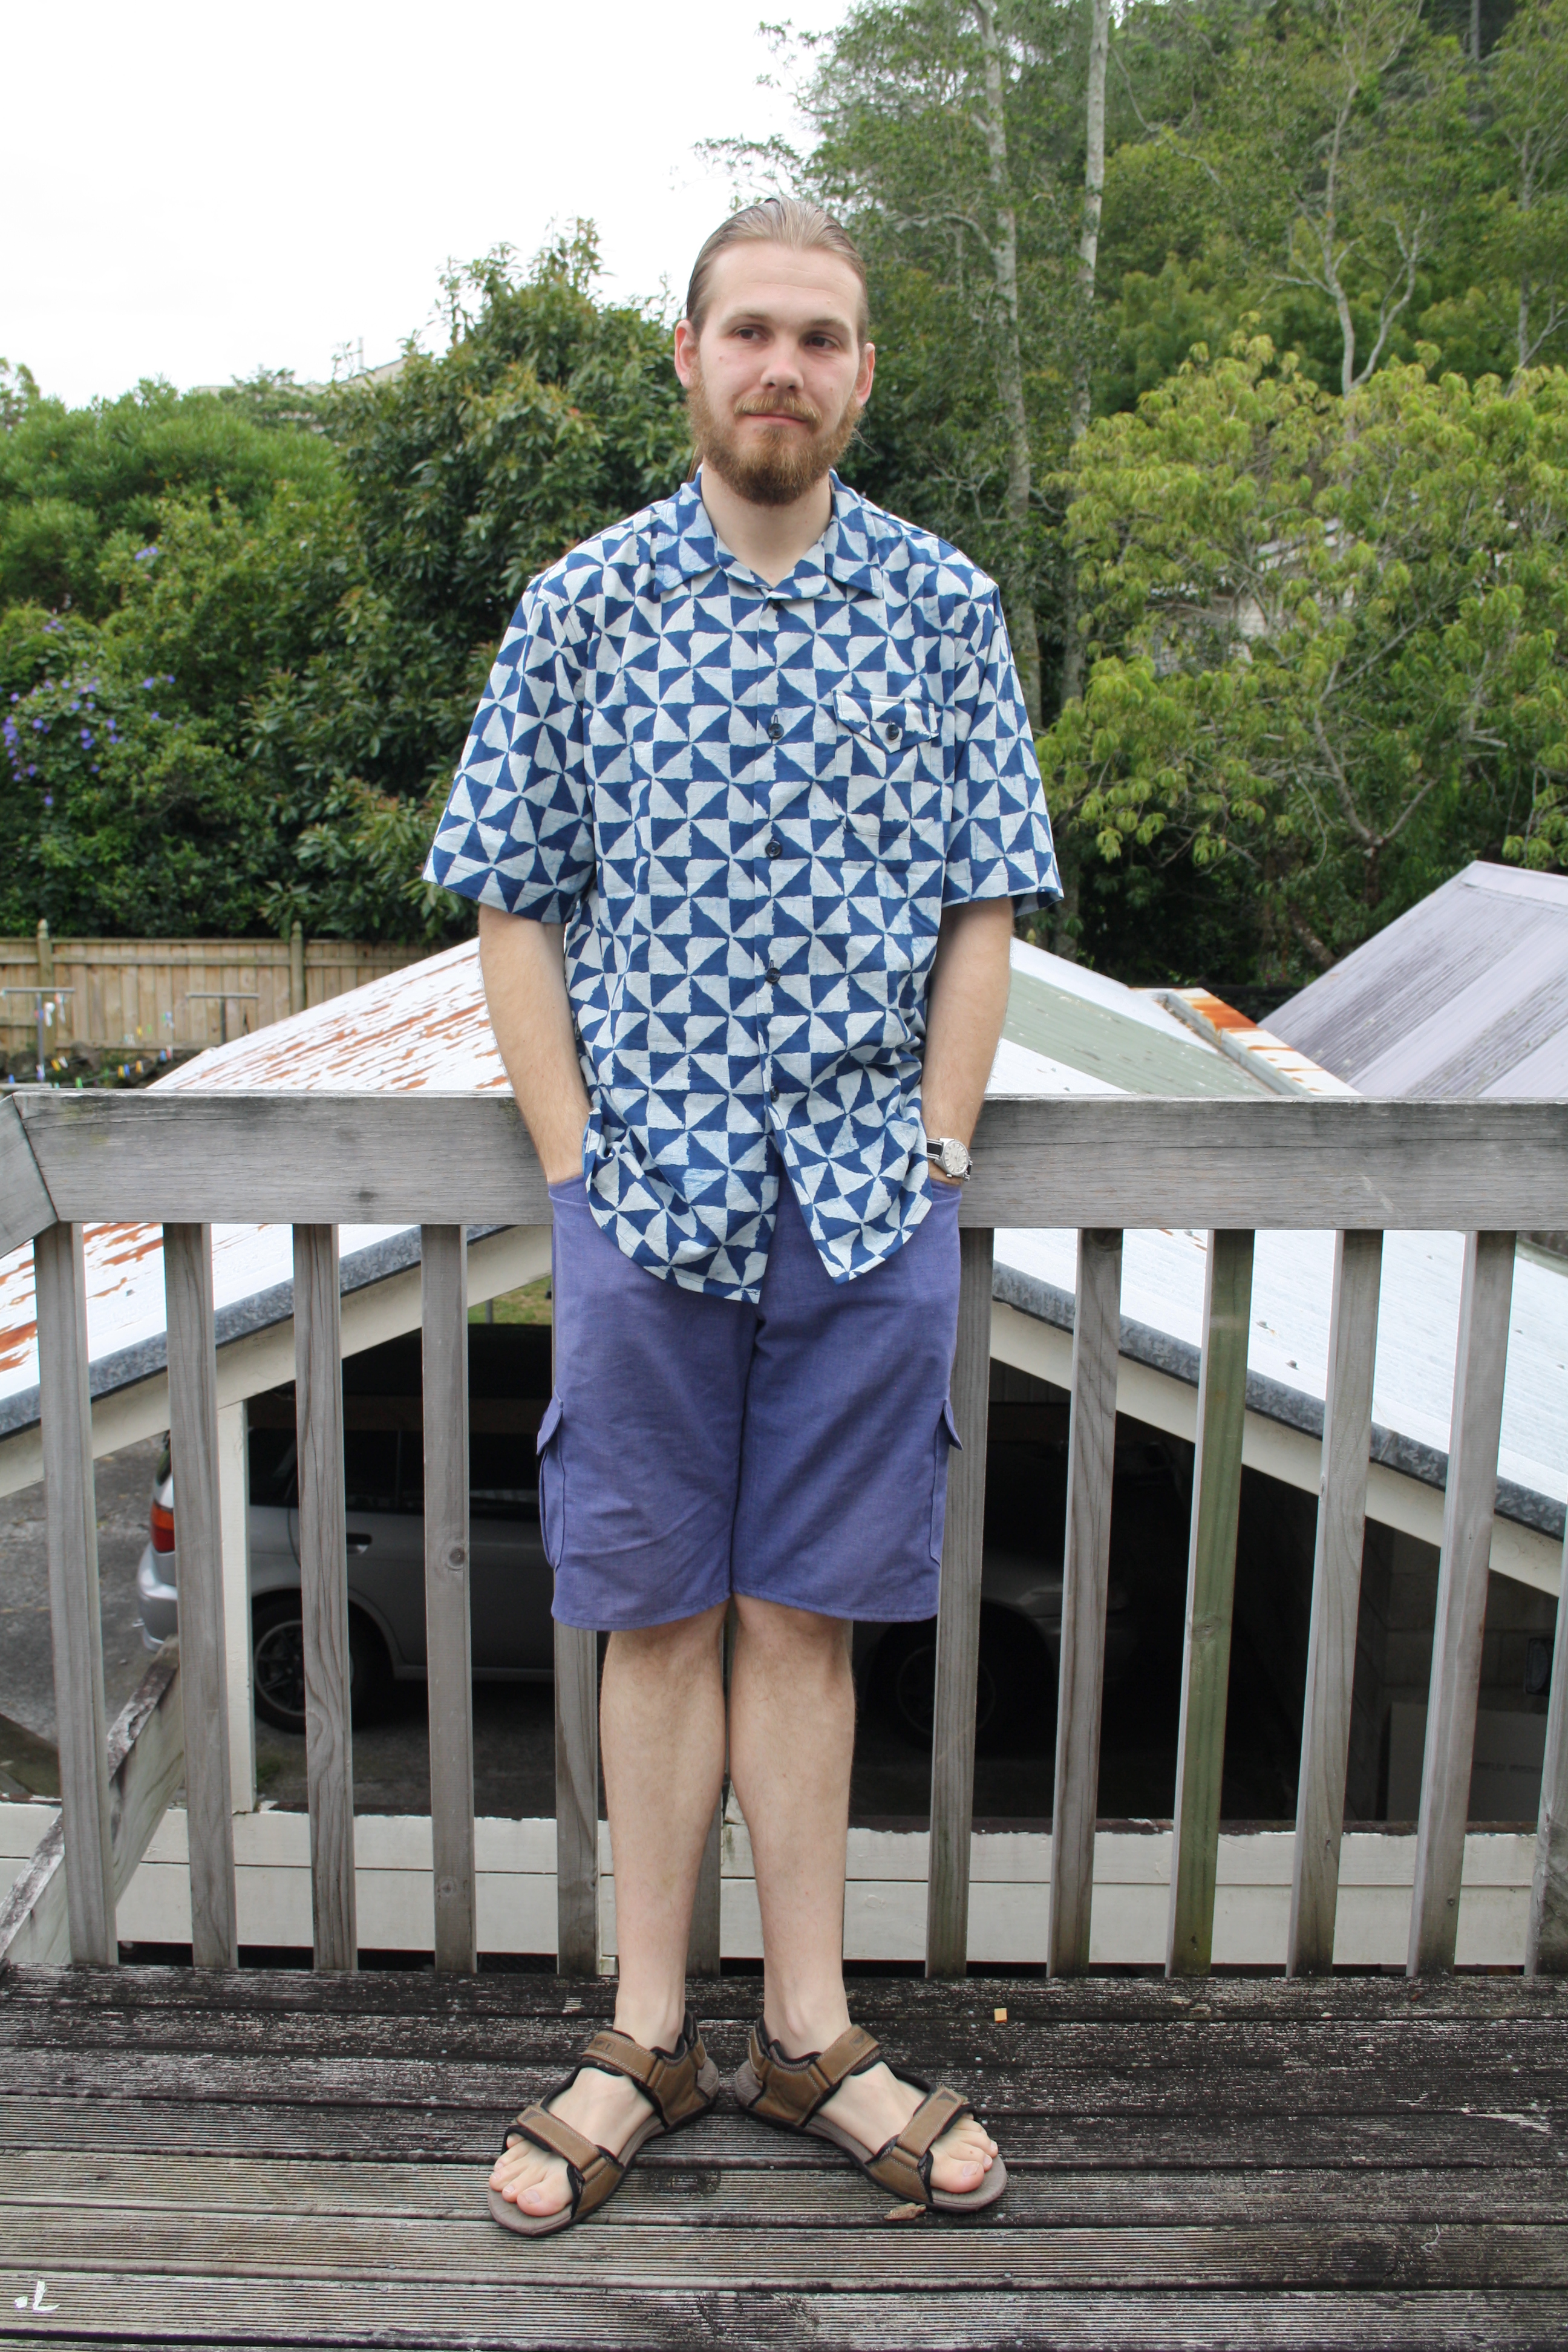
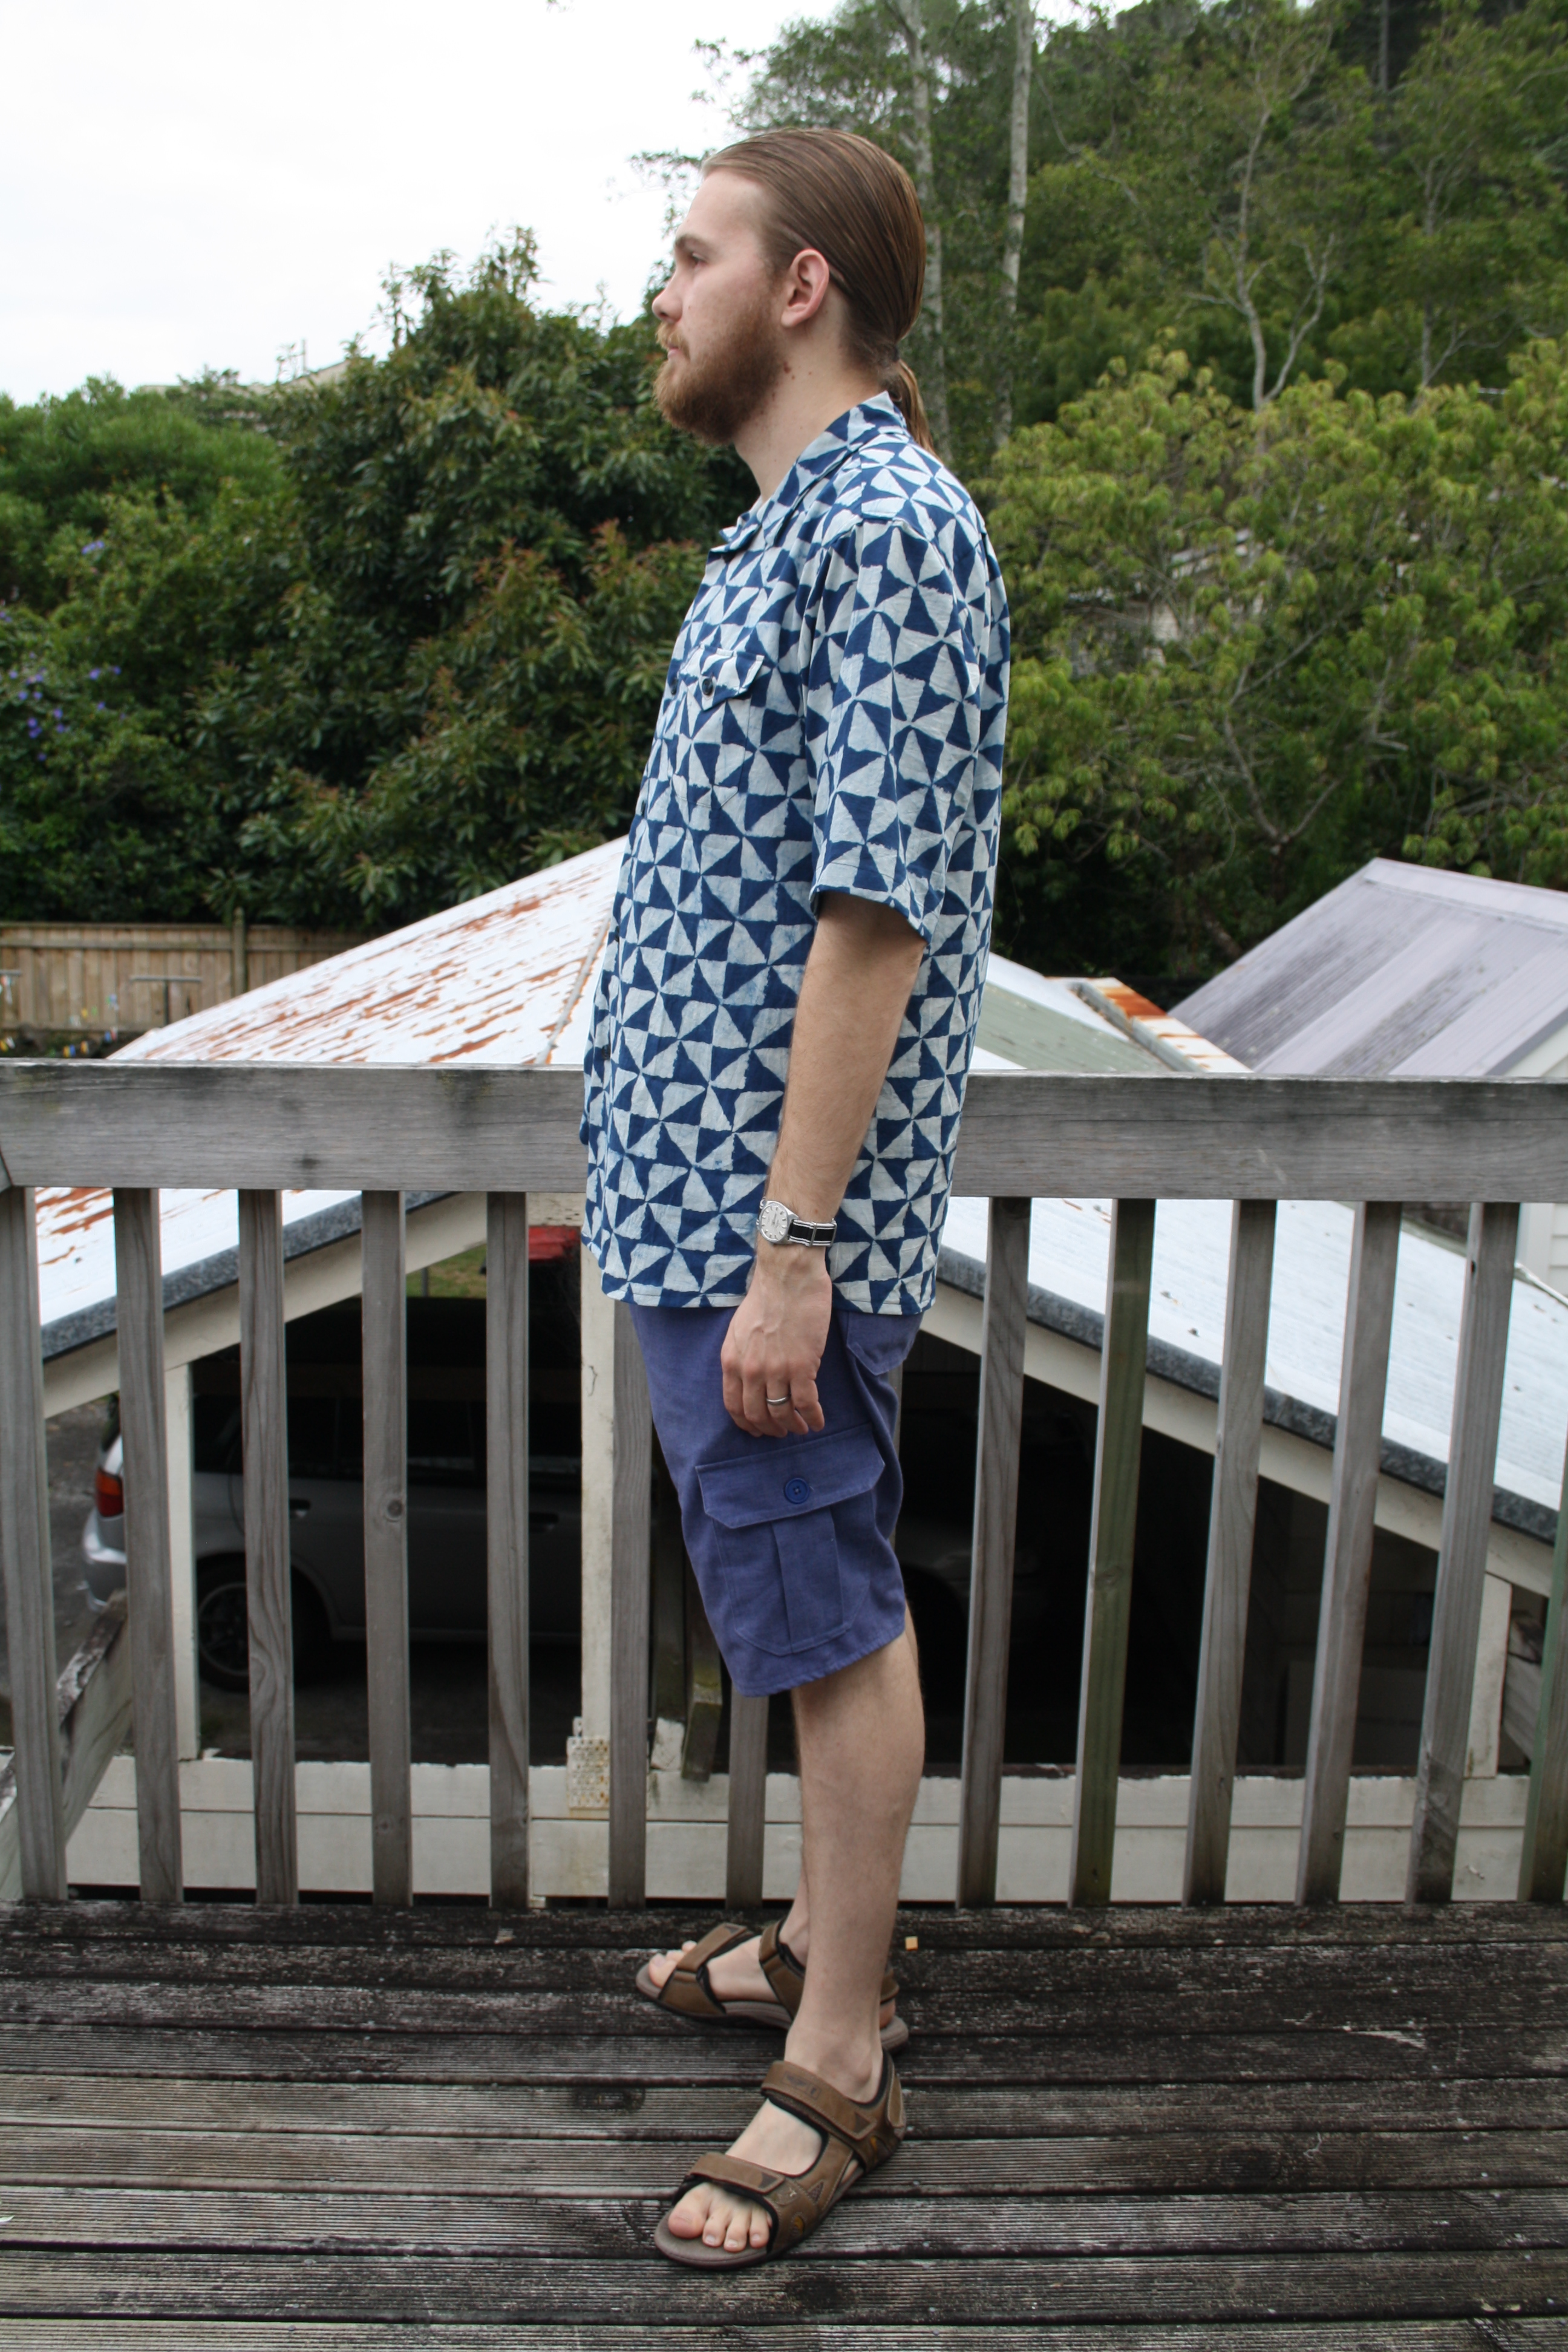
This is the second time I’ve made the Colette Negroni for Luke – the first being nearly 3 years ago. This time around I made the short sleeve version for summer. I didn’t change anything else except instead of using the XL length, I went with L (and in my opinion it’s still quite a long shirt, but Luke’s happy with it). Oh, and 1 pocket instead of 2. When Luke requested summer shirts, I suggested the Negroni because I think the camp collar style fits a casual summer short sleeved shirt well. He agreed, but later, after I’d cut the fabric out, said he didn’t like the large facings. Unfortunately, with everything already cut out, I couldn’t do much about it, so the facings are unchanged. But he’s right, they are huge – and I can’t really see why they need to be. I’m not sure if I’ll make it again – I could convert the facings to a button band, but why bother when I already have at least 2 other shirt patterns I could use?

img_6387

As you can see, it’s quite roomy – Luke’s lost about 10kg since I last made him a Negroni, but he insists he’s still happy with the fit of his original one, so who am I to argue?

img_6389

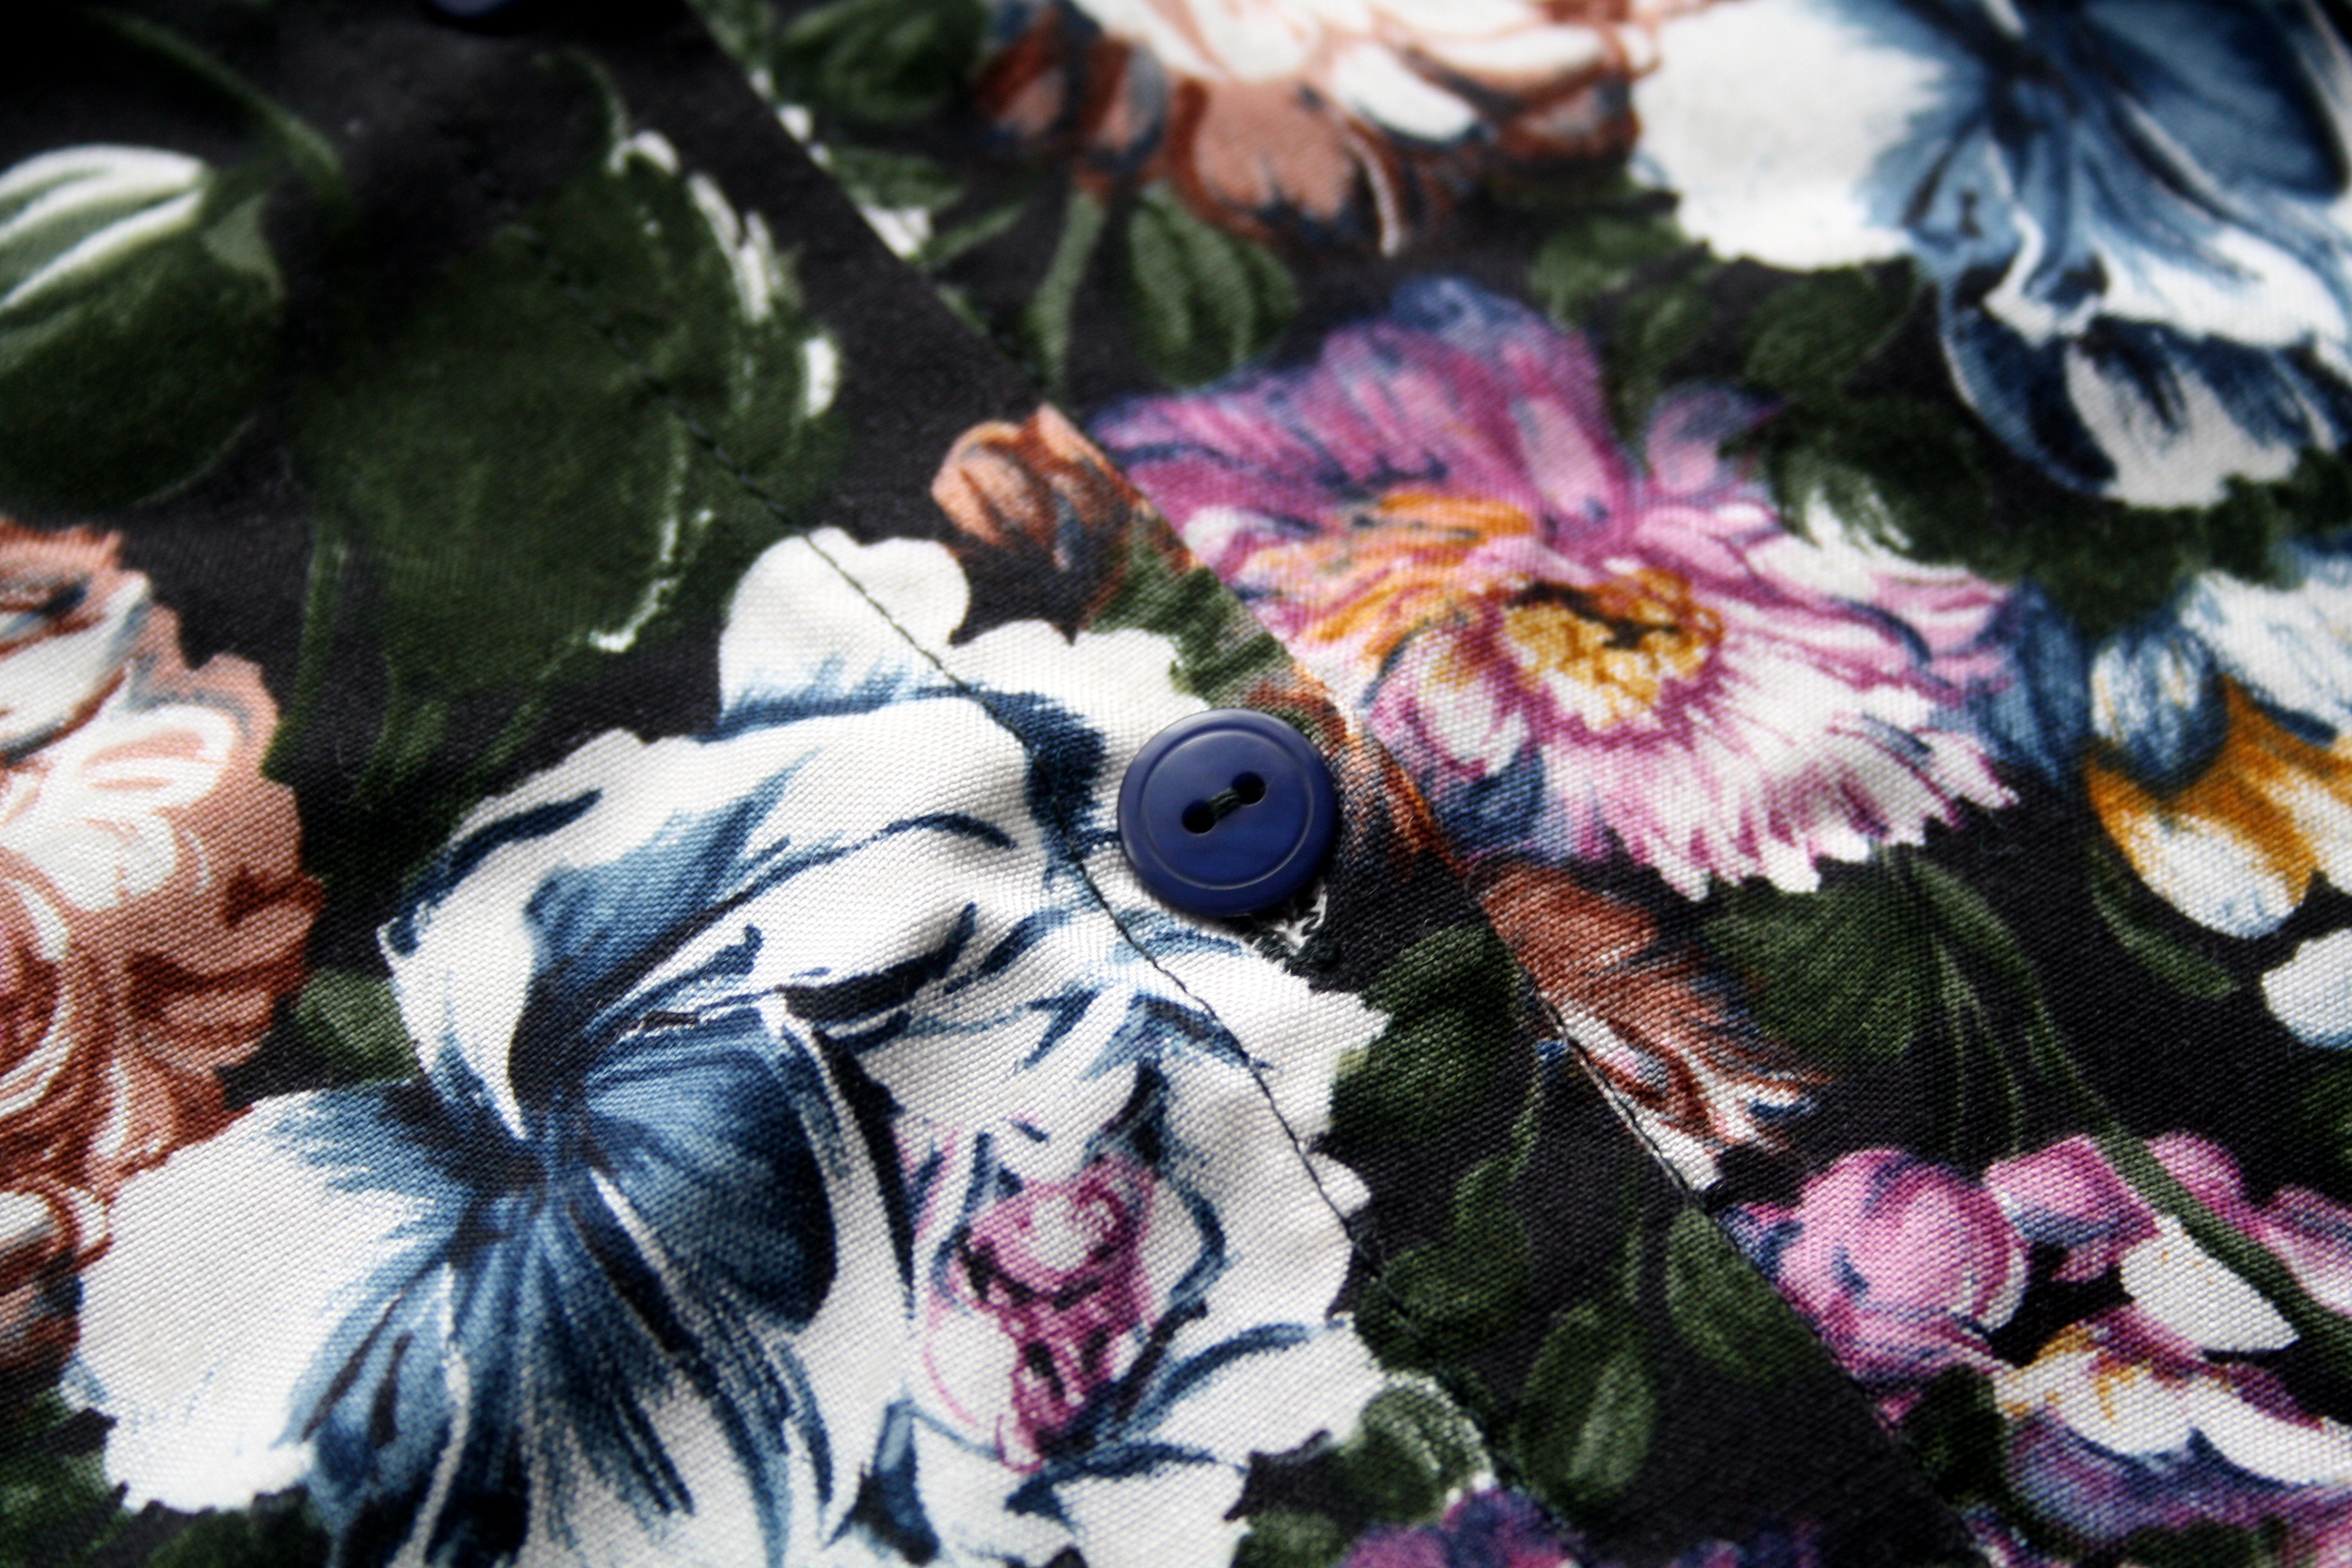
The fabric is this amaaaazing lightweight cotton I bought at least a year ago from Stitch 56 – my brother bought me a birthday gift from there and they sent him a discount voucher, which he promptly passed on to me and I promptly used! Stitch 56 says it’s part of the Rajasthan Express collection, Miss Maude (who lovely Wellington sewing blogger Emma reminded me sells this fabric closer to home) says Little India collection. Let’s just agree that it’s hand block printed in India and we’ll call it good. It’s made by Merchant & Mills, and it is the best. It’s so light and breezy, it’s absolutely perfect for a summer shirt. It was great to work with – pressed beautifully, and sewed up like a dream (once I stopped fighting with my shitty modern sewing machine and employed my vintage Pfaff, anyway). Stitch 56 have increased their shipping prices to NZ substantially since I bought this fabric, so I’ll definitely be checking out Miss Maude for some more instead! I didn’t have quite enough for the stupidly huge facings, so I supplemented it with some Japanese cotton lawn from Spotlight in a dark blue that was *almost* the same weight – I used this for the inner yoke as well as the bottom 3/4 of the facings (but not the top, because I didn’t want it to be visible).

img_6390

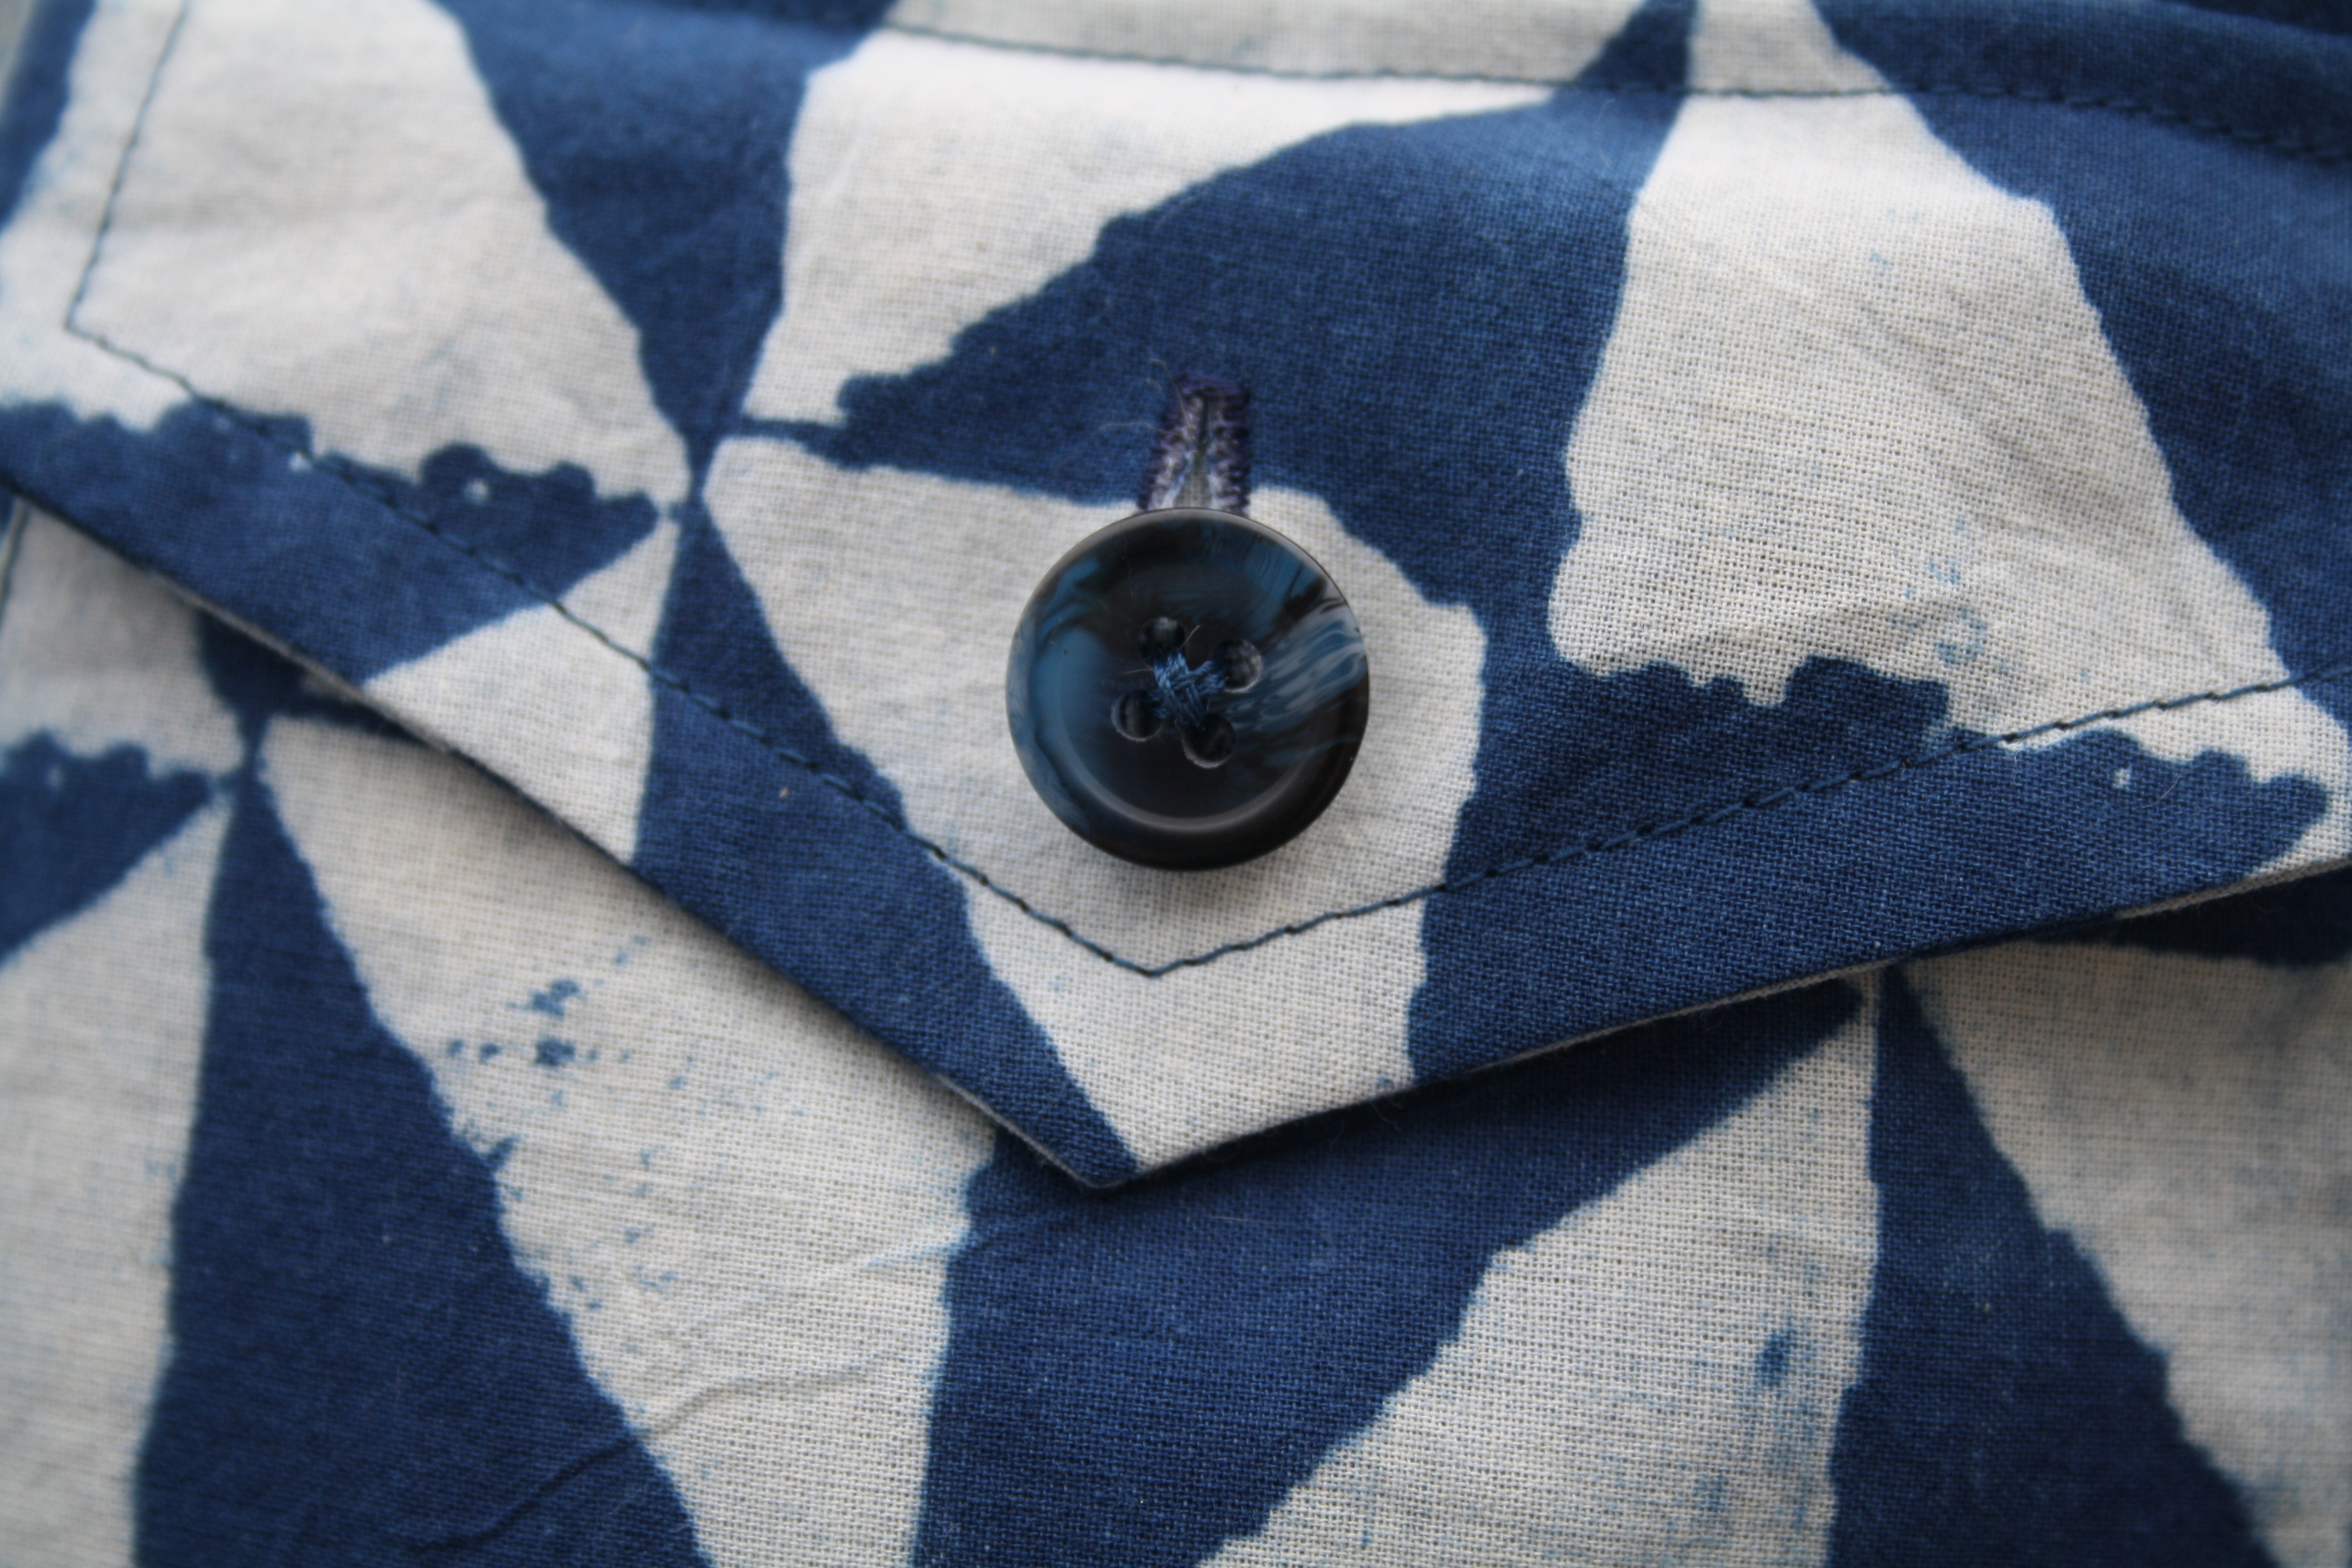
We found the perfect buttons in Spotlight – my beloved Masco Wools where I used to buy all my buttons at amazing prices disappeared when they decided to renovate the Britomart shopping centre 😦

img_6401

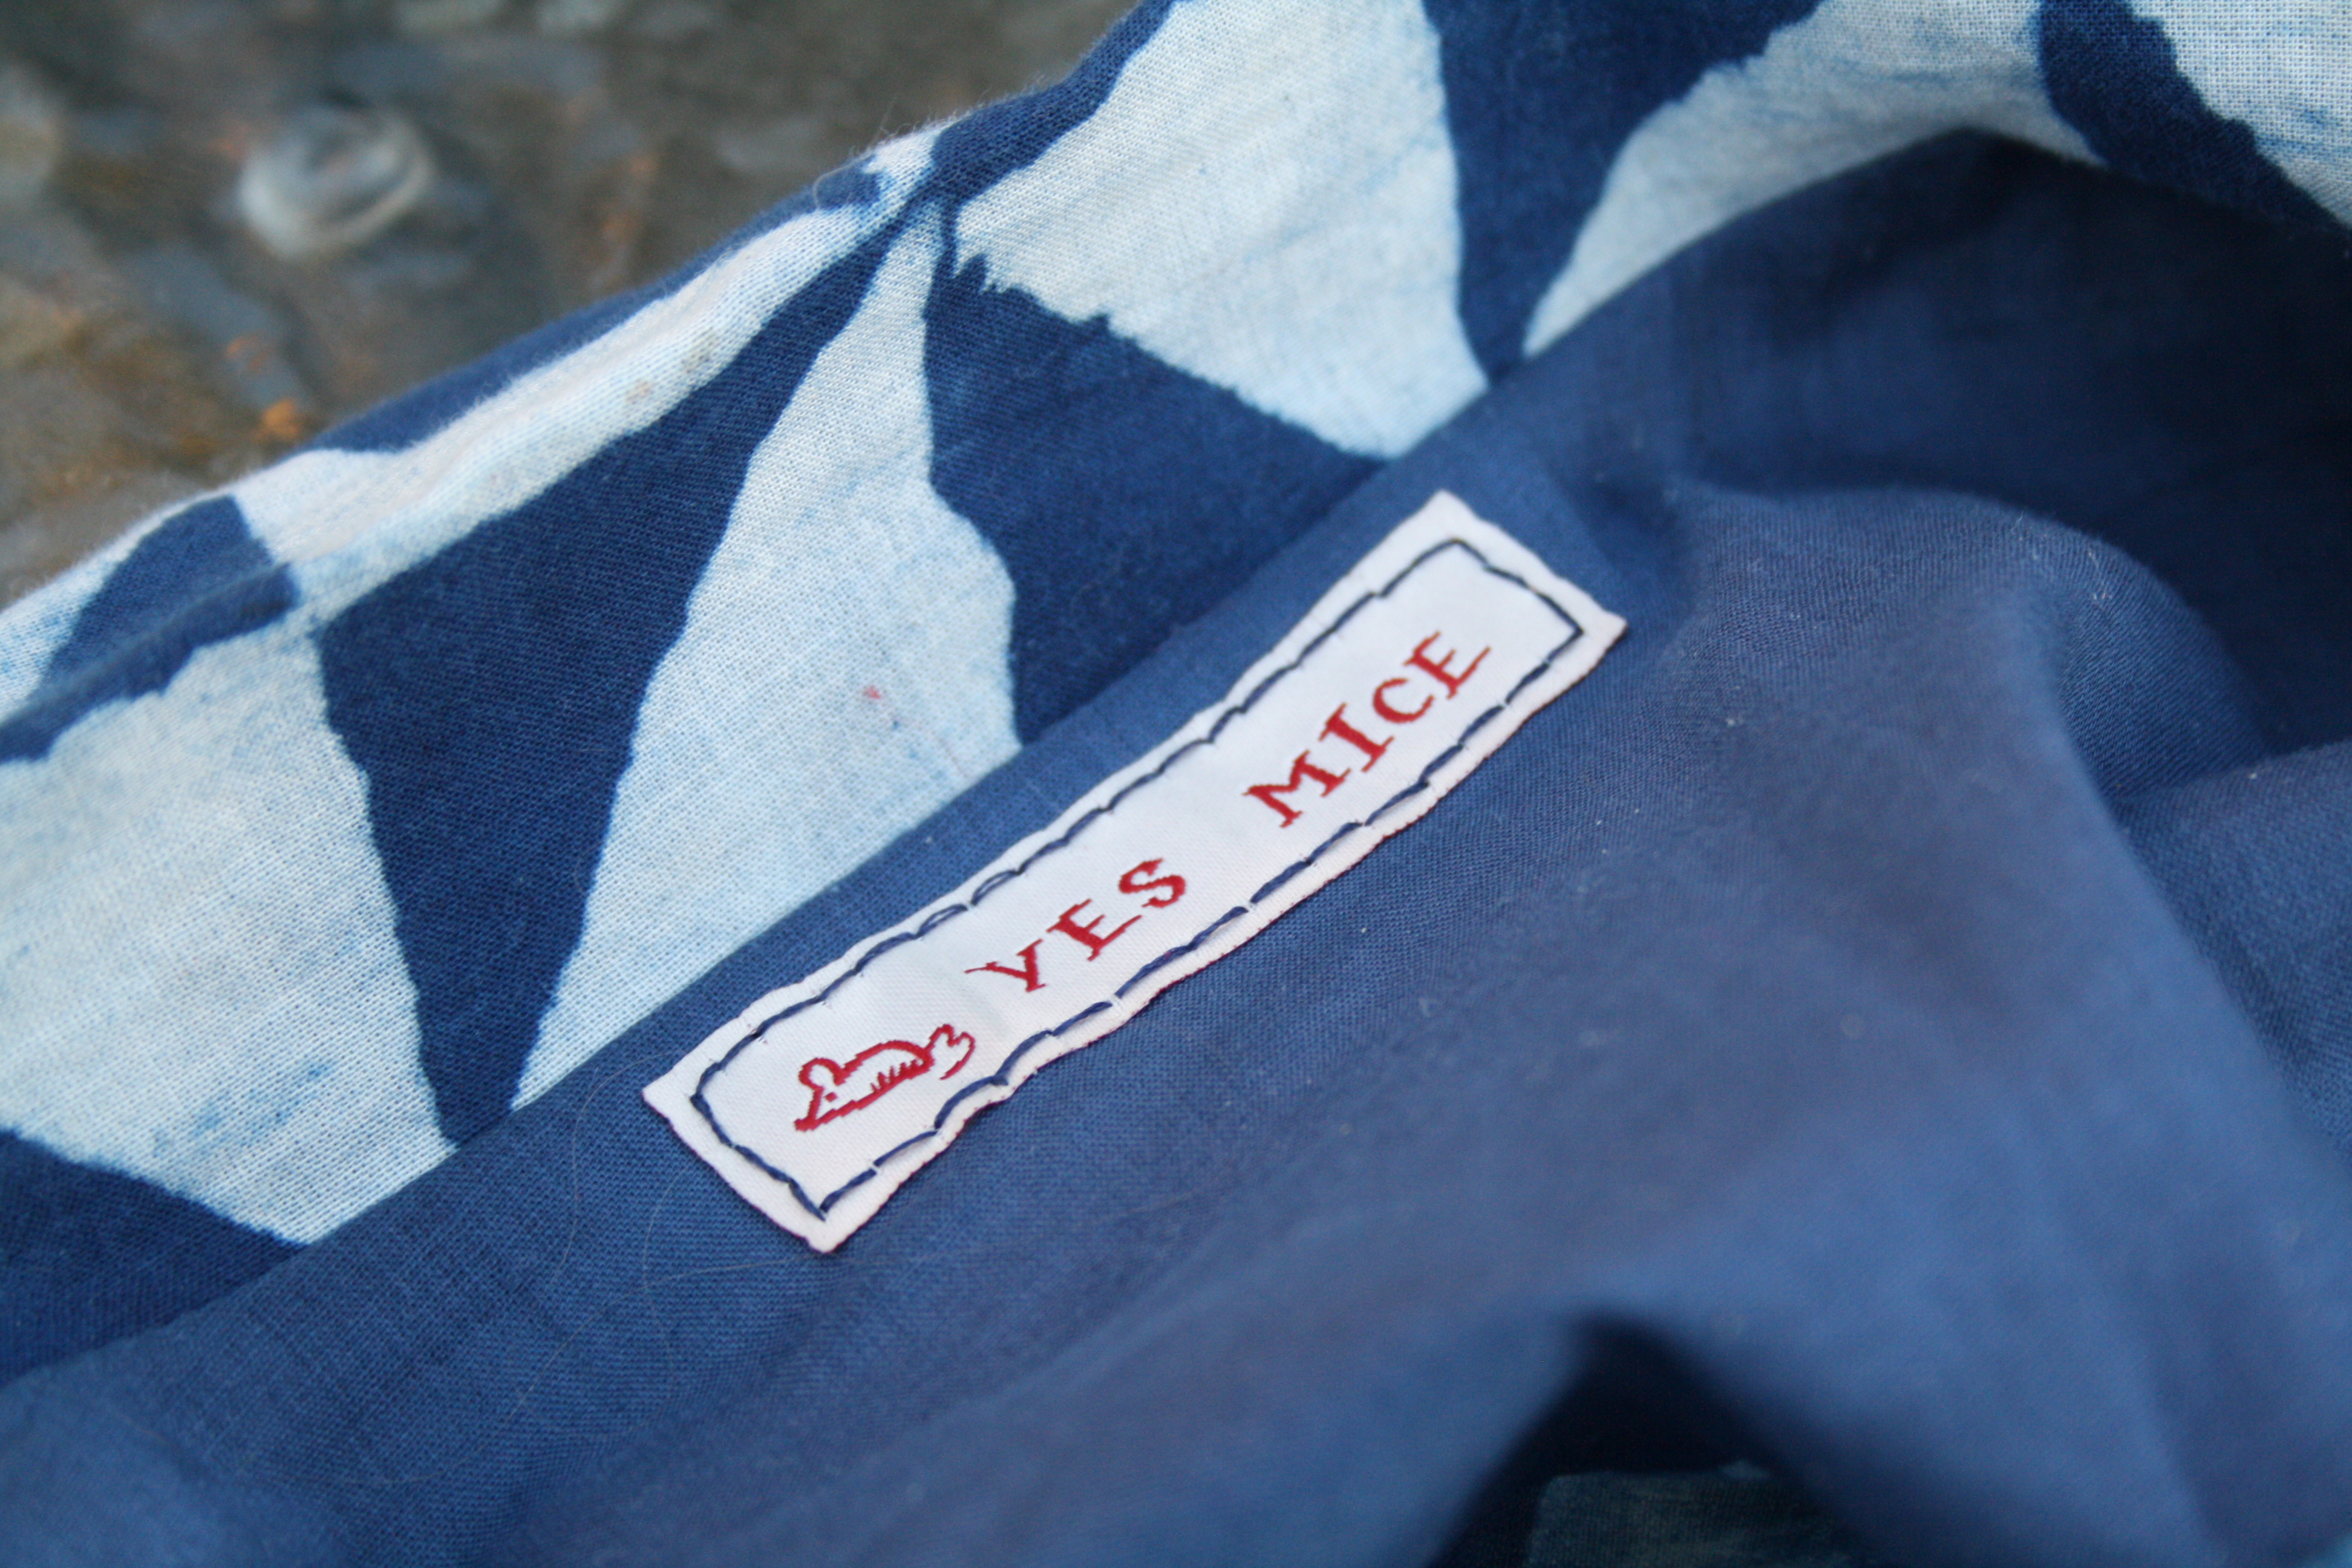
Last year I bought some personalised labels from the Dutch Label Shop with my Christmas money, and they were waiting for me when I got back from Japan. I love them! If you’re wondering why “yes mice” – well…short story, it’s something Luke and I say to each other when one of us comes up with a particularly excellent suggestion. E.g.

Me: Shall we get some cheesecake for dessert tonight?

Luke: Oh, yes mice!

Longer story – this came about because when I visited the UK in 2004, I bought a small Bagpuss plush toy that, when you pressed his stomach, said, “Oh yes mice, I love you all!” I was not familiar with Bagpuss, but I was taken in by his scruffy charm and his odd catchphrase, so he came home with me. After Luke and I had been dating for a while, he too got introduced to Bagpuss, and was equally delighted by him. Bagpuss lives in my Dad’s shed with a lot of my belongings now (such is the nomadic postdoc life), but he’s with us in spirit 🙂

Advertisement
Standard
sewing

A Fittingly Floral Aster

Aster Front

I’m not going to lie – when I first saw the new Colette Patterns release, I thought it was pretty boring. But then I thought about it some more, and I thought hey, boring is what I need right now. I don’t need another pretty dress, or a flouncy skirt. I need basic wardrobe staples and separates I can wear with jeans. I wasn’t sure if I’d like this particular blouse pattern, but I thought why not give it a go?

To be honest, this is the first bit of sewing I’ve done in the past two months, aside from hemming some hiking pants (and I only did that because I really had to – it’s hard being short!) We moved house at the end of March, and around the same time, our foster cat we adopted got a cancer diagnosis. He passed away in April, and I lost the motivation to do pretty much anything for a while. I loved that furry little dude so much!

This pattern is the first thing that ignited just the tiniest bit of a sewing desire in me after that, and I embraced it.

Aster Side

I decided to make version 3, with the flutter sleeves. I have large upper arms, and the freedom of a flutter sleeve is heaven to someone who always feels a bit hemmed in by most sleeves. I wanted loose, light and casual. I chose to make a size 12, grading out to a size 14 at the hem. I didn’t really need to grade out, but I’ve gained a little bit of weight lately (comfort eating) and I wanted to play it safe. This blouse is a really loose fit anyway – much looser, I think, than the finished measurements suggest. My waist measurement is around 34″ these days, and the finished measurement for a 12 at the waist is 33.25″. Yet I have plenty of room, as you can see!

Aster back

I used a rayon challis (I think) from my stash – I bought it from Trademe in a bulk lot, so I can’t be 100% sure. But it’s lovely and soft and drapey, and it feels exactly like rayon challis I’ve worked with before. I made my own bias binding out of it, too, which was less fun than making it out of cotton, I’m not going to lie. The first lot I made went in the bin, after it slipped and slid around too much while I was trying to pull it through the bias tape maker. The second lot I made wider (1.5″ before folding) and that turned out much better.

The instructions were okay – I had a bit of trouble with the yoke burrito, which is odd, as I never had any problems with it whilst making Luke’s Negroni. I followed the instructions, but my blouse front pieces kept ending up the wrong away around when I pulled everything through. It’s probably my fault somehow, as I’m quite bad at visualising how these things work, but it was puzzling and quite frustrating. I ended up getting it done, but not the way the pattern instructed.

I also found the folding placket instructions a little bit confusing at first, mostly due to the lack of diagrams at this step – there’s just one picture, and a lot of folding! But I got my head around it after playing with it a bit, and it was all good. Perhaps I’m just a bit out of practice!

Aster inside

The insides turn out really nice if you follow the instructions – I pinked my side seams, but all other seams except the armholes are neatly enclosed. Excuse the wrinkles here, this was after a full day of wear. I was really comfortable in this blouse – it’s loose enough so there’s no worries at all about bust gaping, or tummy gaping if you eat too much cake. It’s soft against my skin, breezy and it covers my arms. The only things I’d change for next time are a forward shoulder adjustment – the shoulder seam sits a little back on my shoulders, which is a common problem for me, and raising the neckline a tad – I’d be a teeny bit self-conscious leaning too far over in this!

Aster button

And a thank you to everyone on my Instagram who helped me choose the buttons – I went with the navy blue a lot of you suggested, and it’s just perfect ❤

Standard