sewing, Uncategorized

Chardon & Flamingoes

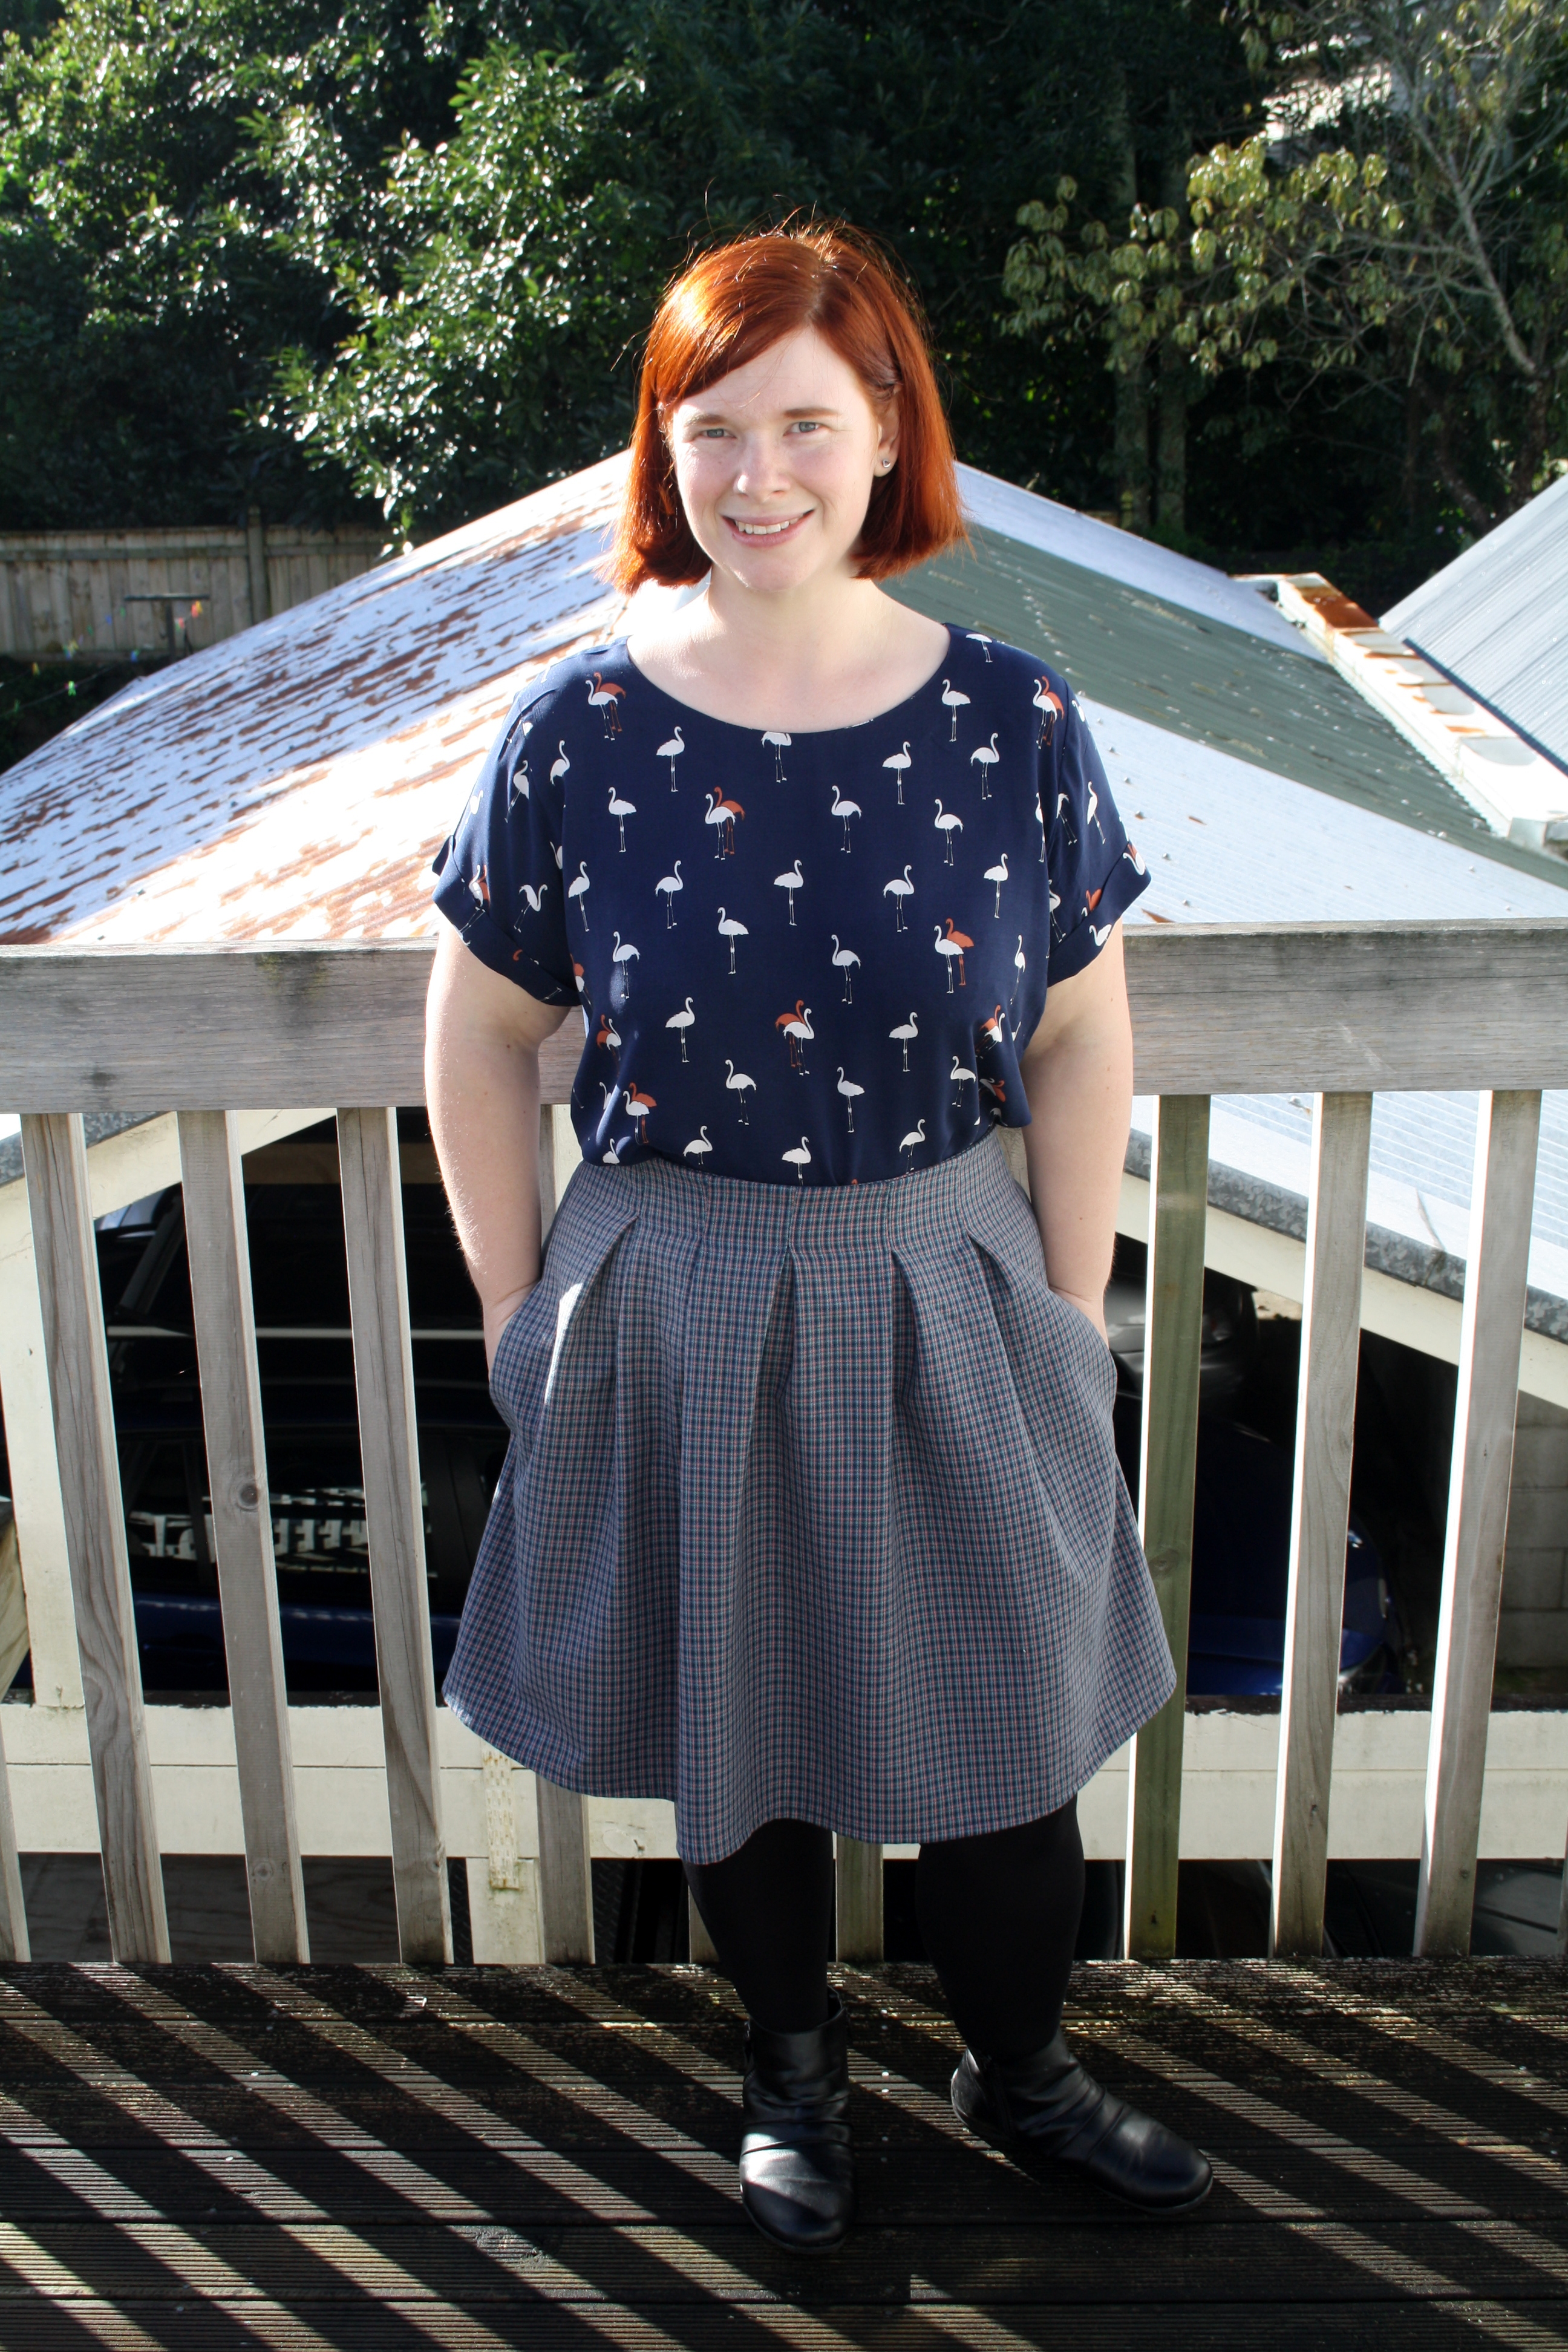
This outfit is one I whipped up in my week off work – I’m working towards something of a capsule wardrobe, which seems to be the hot thing of the minute! I really just want my wardrobe to be full of clothes I love where everything can work with everything else. I’ve owned a copy of the Deer & Doe Chardon skirt for a long time, and I finally got around to making it up. This was designed to be a wearable test version, but I actually really like it. It’s a designer cotton I got at Fabric-a-brac for a steal, and it’s a tiny plaid. I made version A of the skirt, without the belt loops.

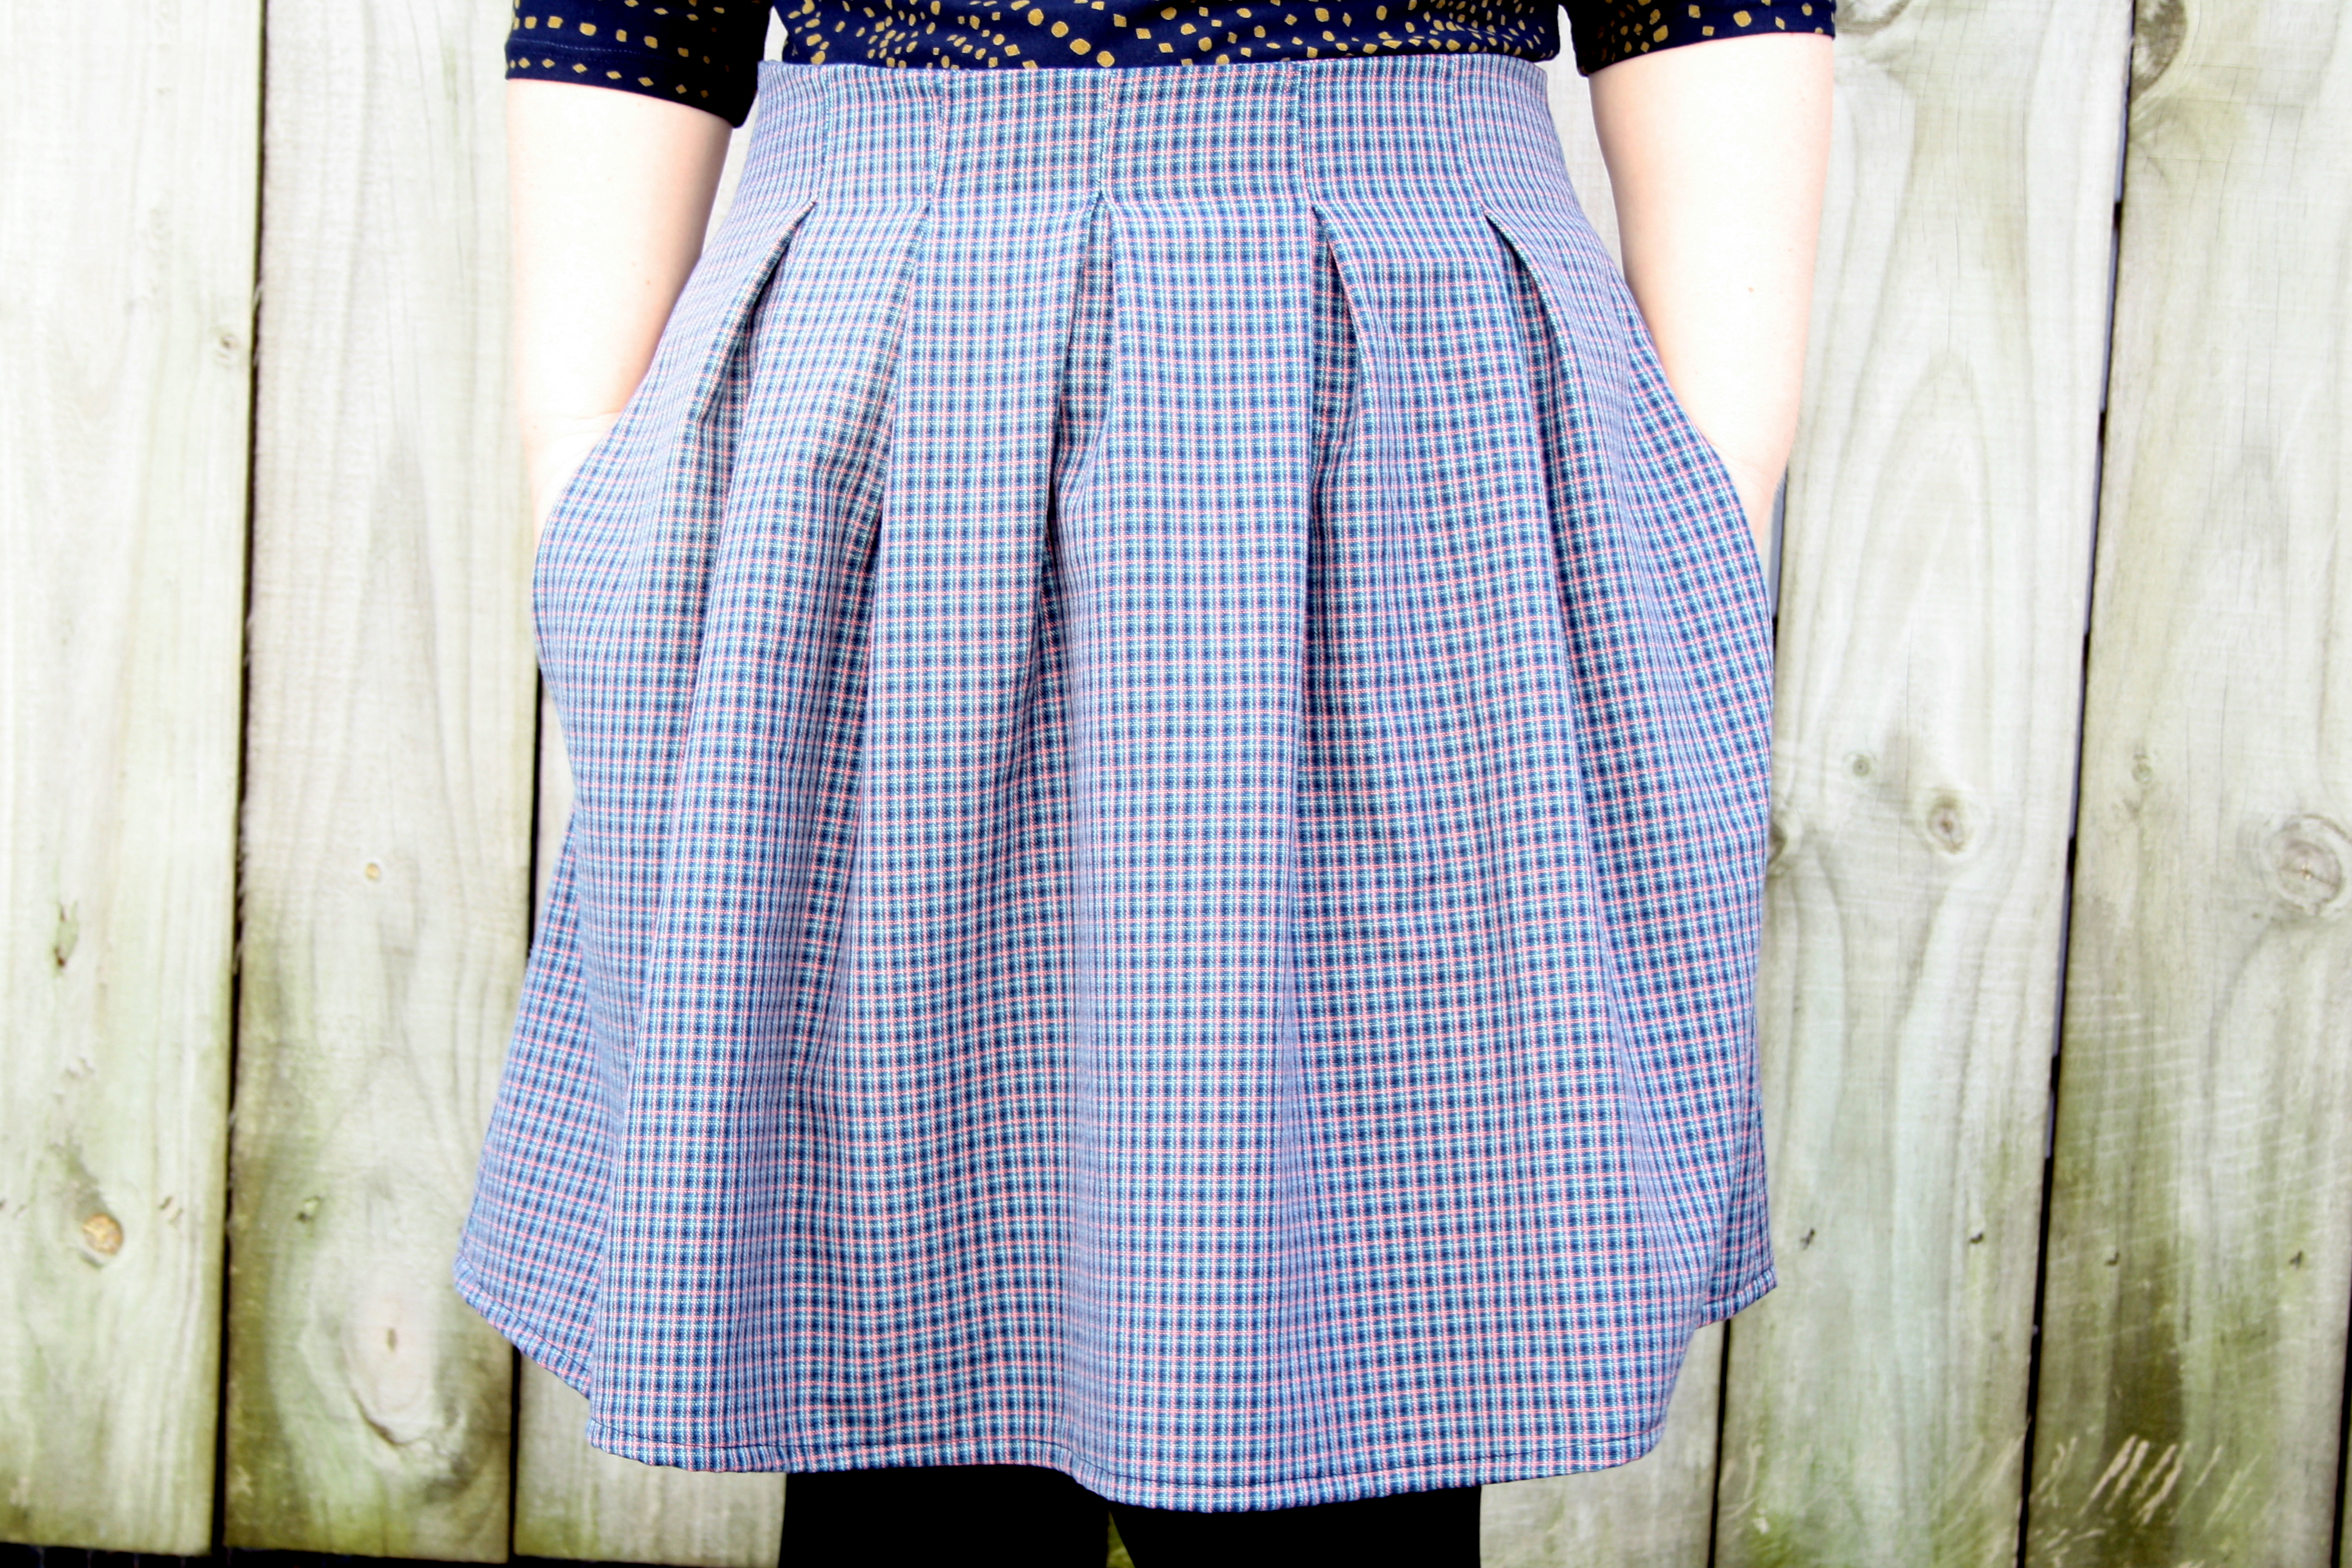
This photo is from the previous failed photo shoot and I had to heighten the contrast but it shows off the pattern of the fabric quite well. It has a little coral/pink line running through the plaid which I quite like. It frays like a bitch though, so all the seams inside are serged, and the waist facings are turned under and handstitched into place. Instead of the recommended bias hem finish, I just turned it under twice and stitched it and it worked fine. I made a size 46, which is the largest size the pattern goes up to and the size I usually make for Deer & Doe patterns. It could stand to be a tiny bit snugger in the waist but I’m happy with it, I’d prefer this than it digging into me whenever I sit down. I used the length of the shortest size though, which is fairly standard for me.

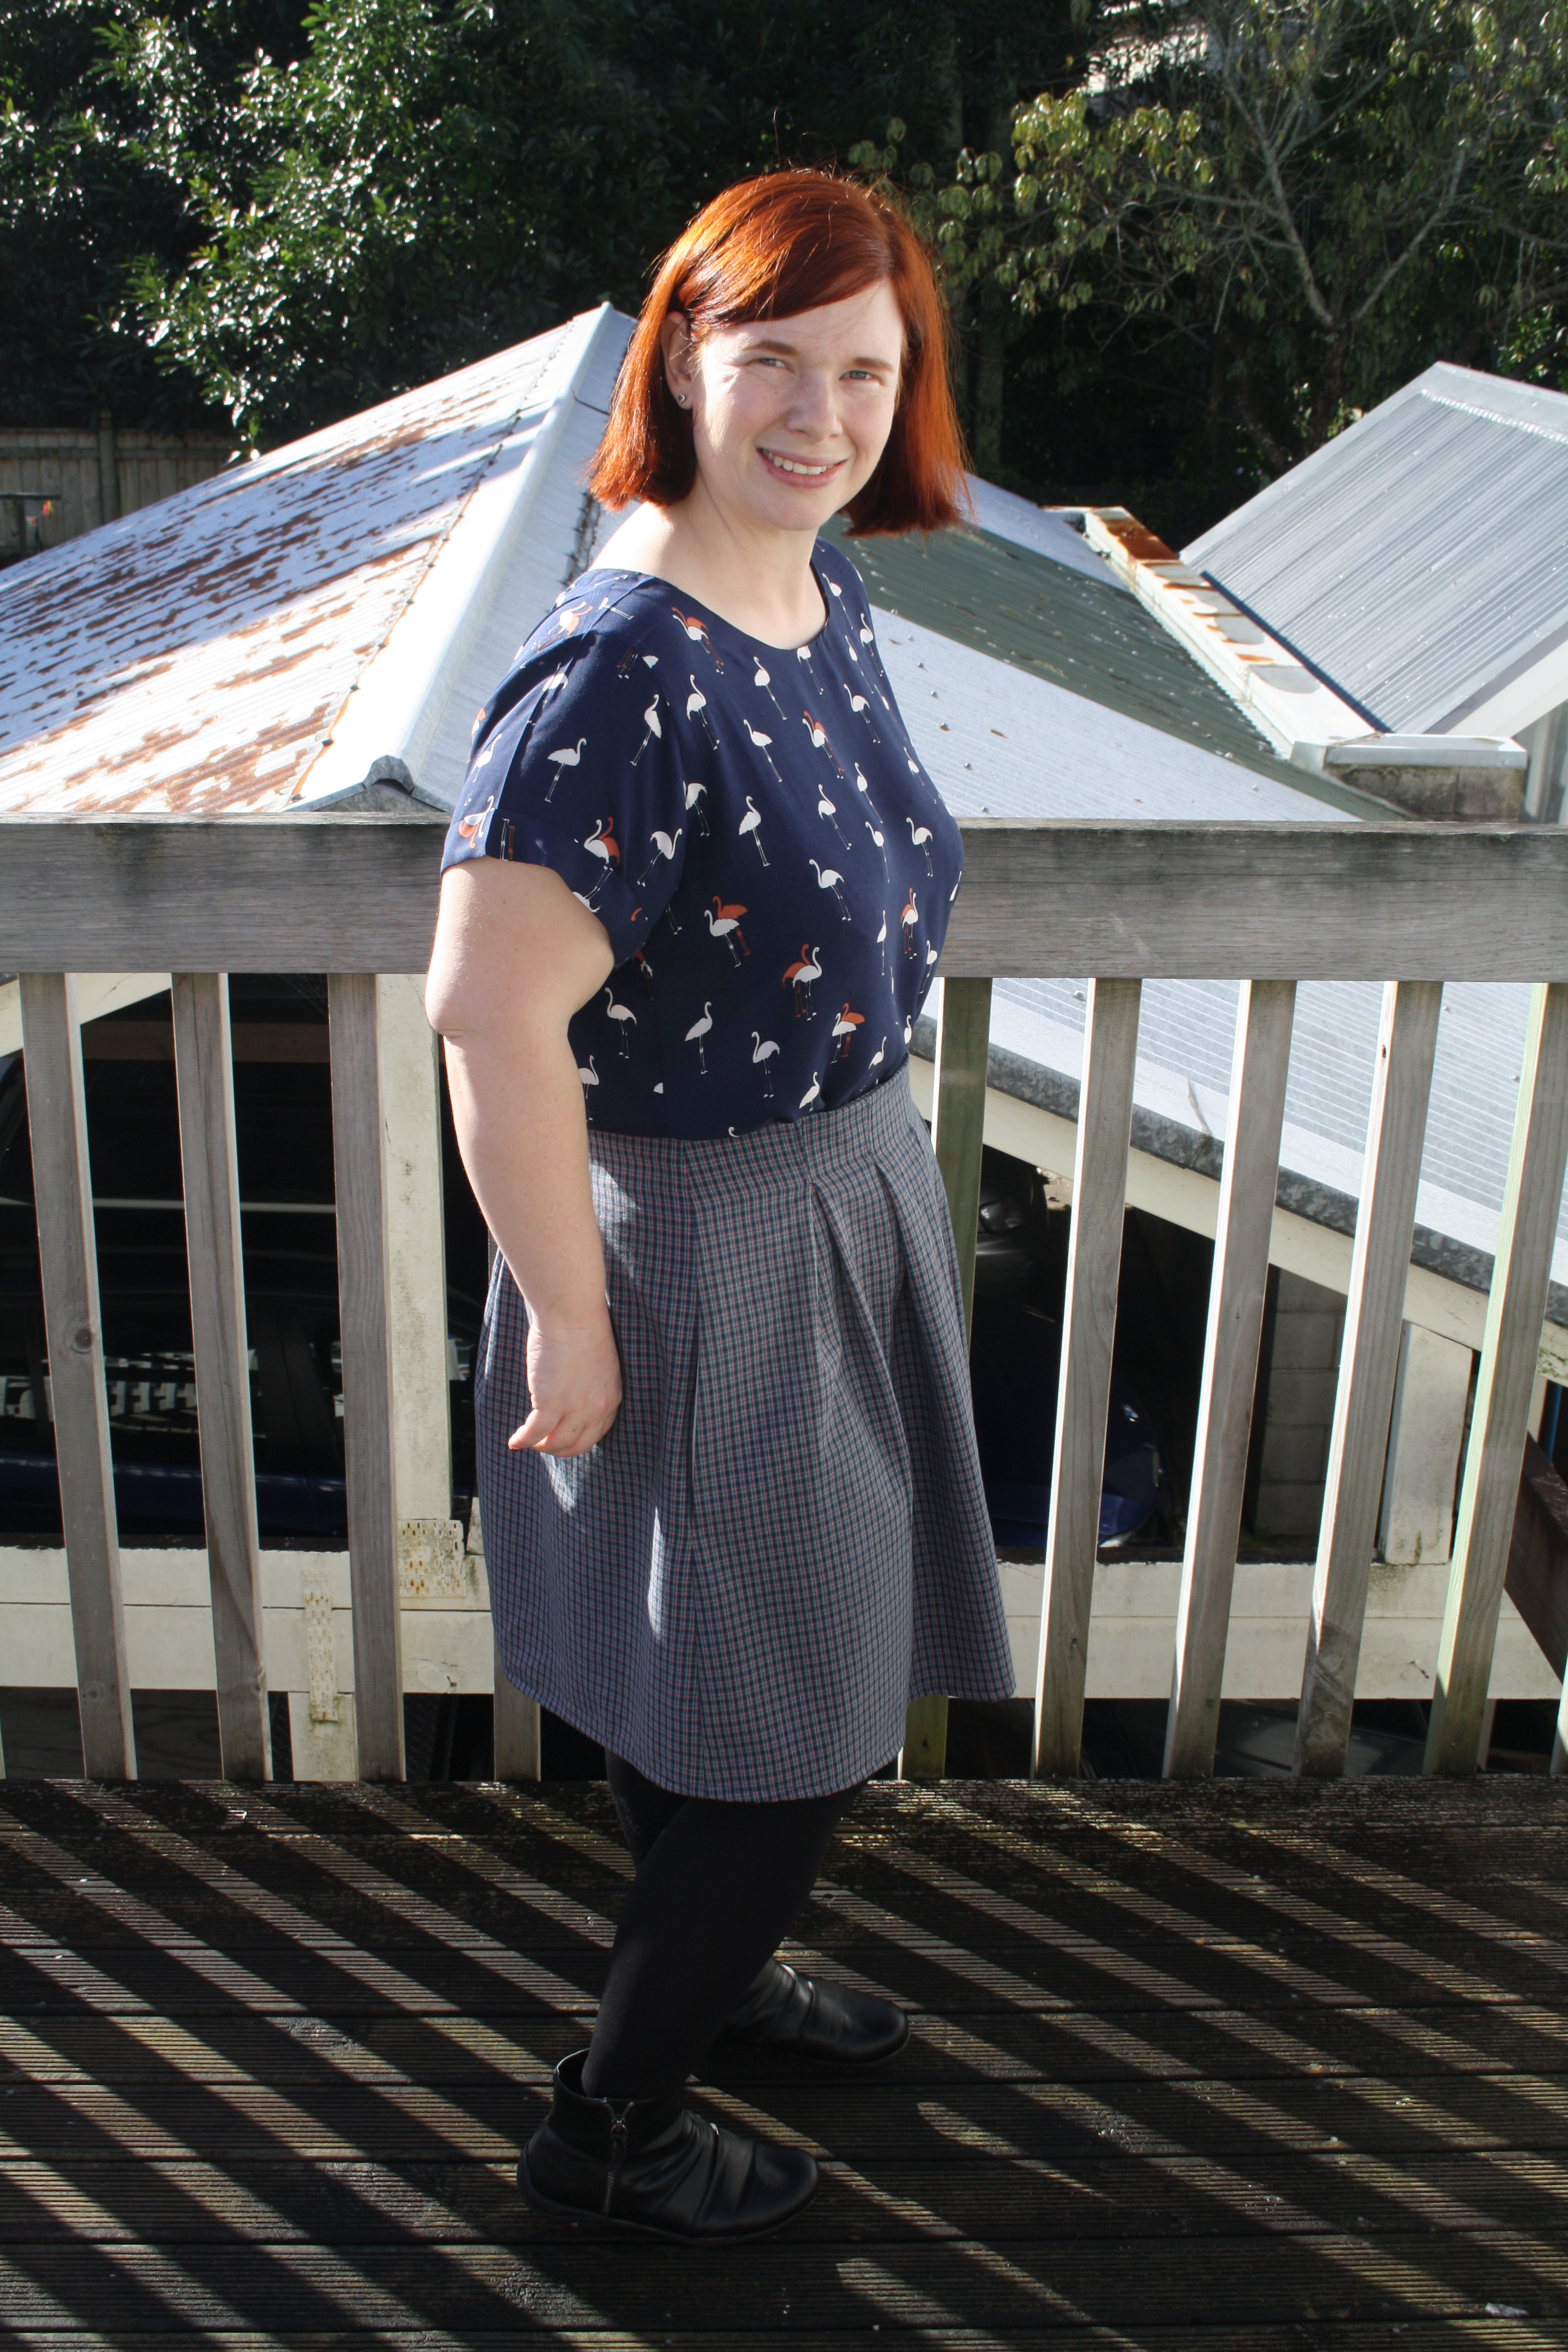
Such an awkward photo, god. What am I even doing with that hand?! I used leftover pocketing from Luke’s jeans for the pockets. I love things with pockets.

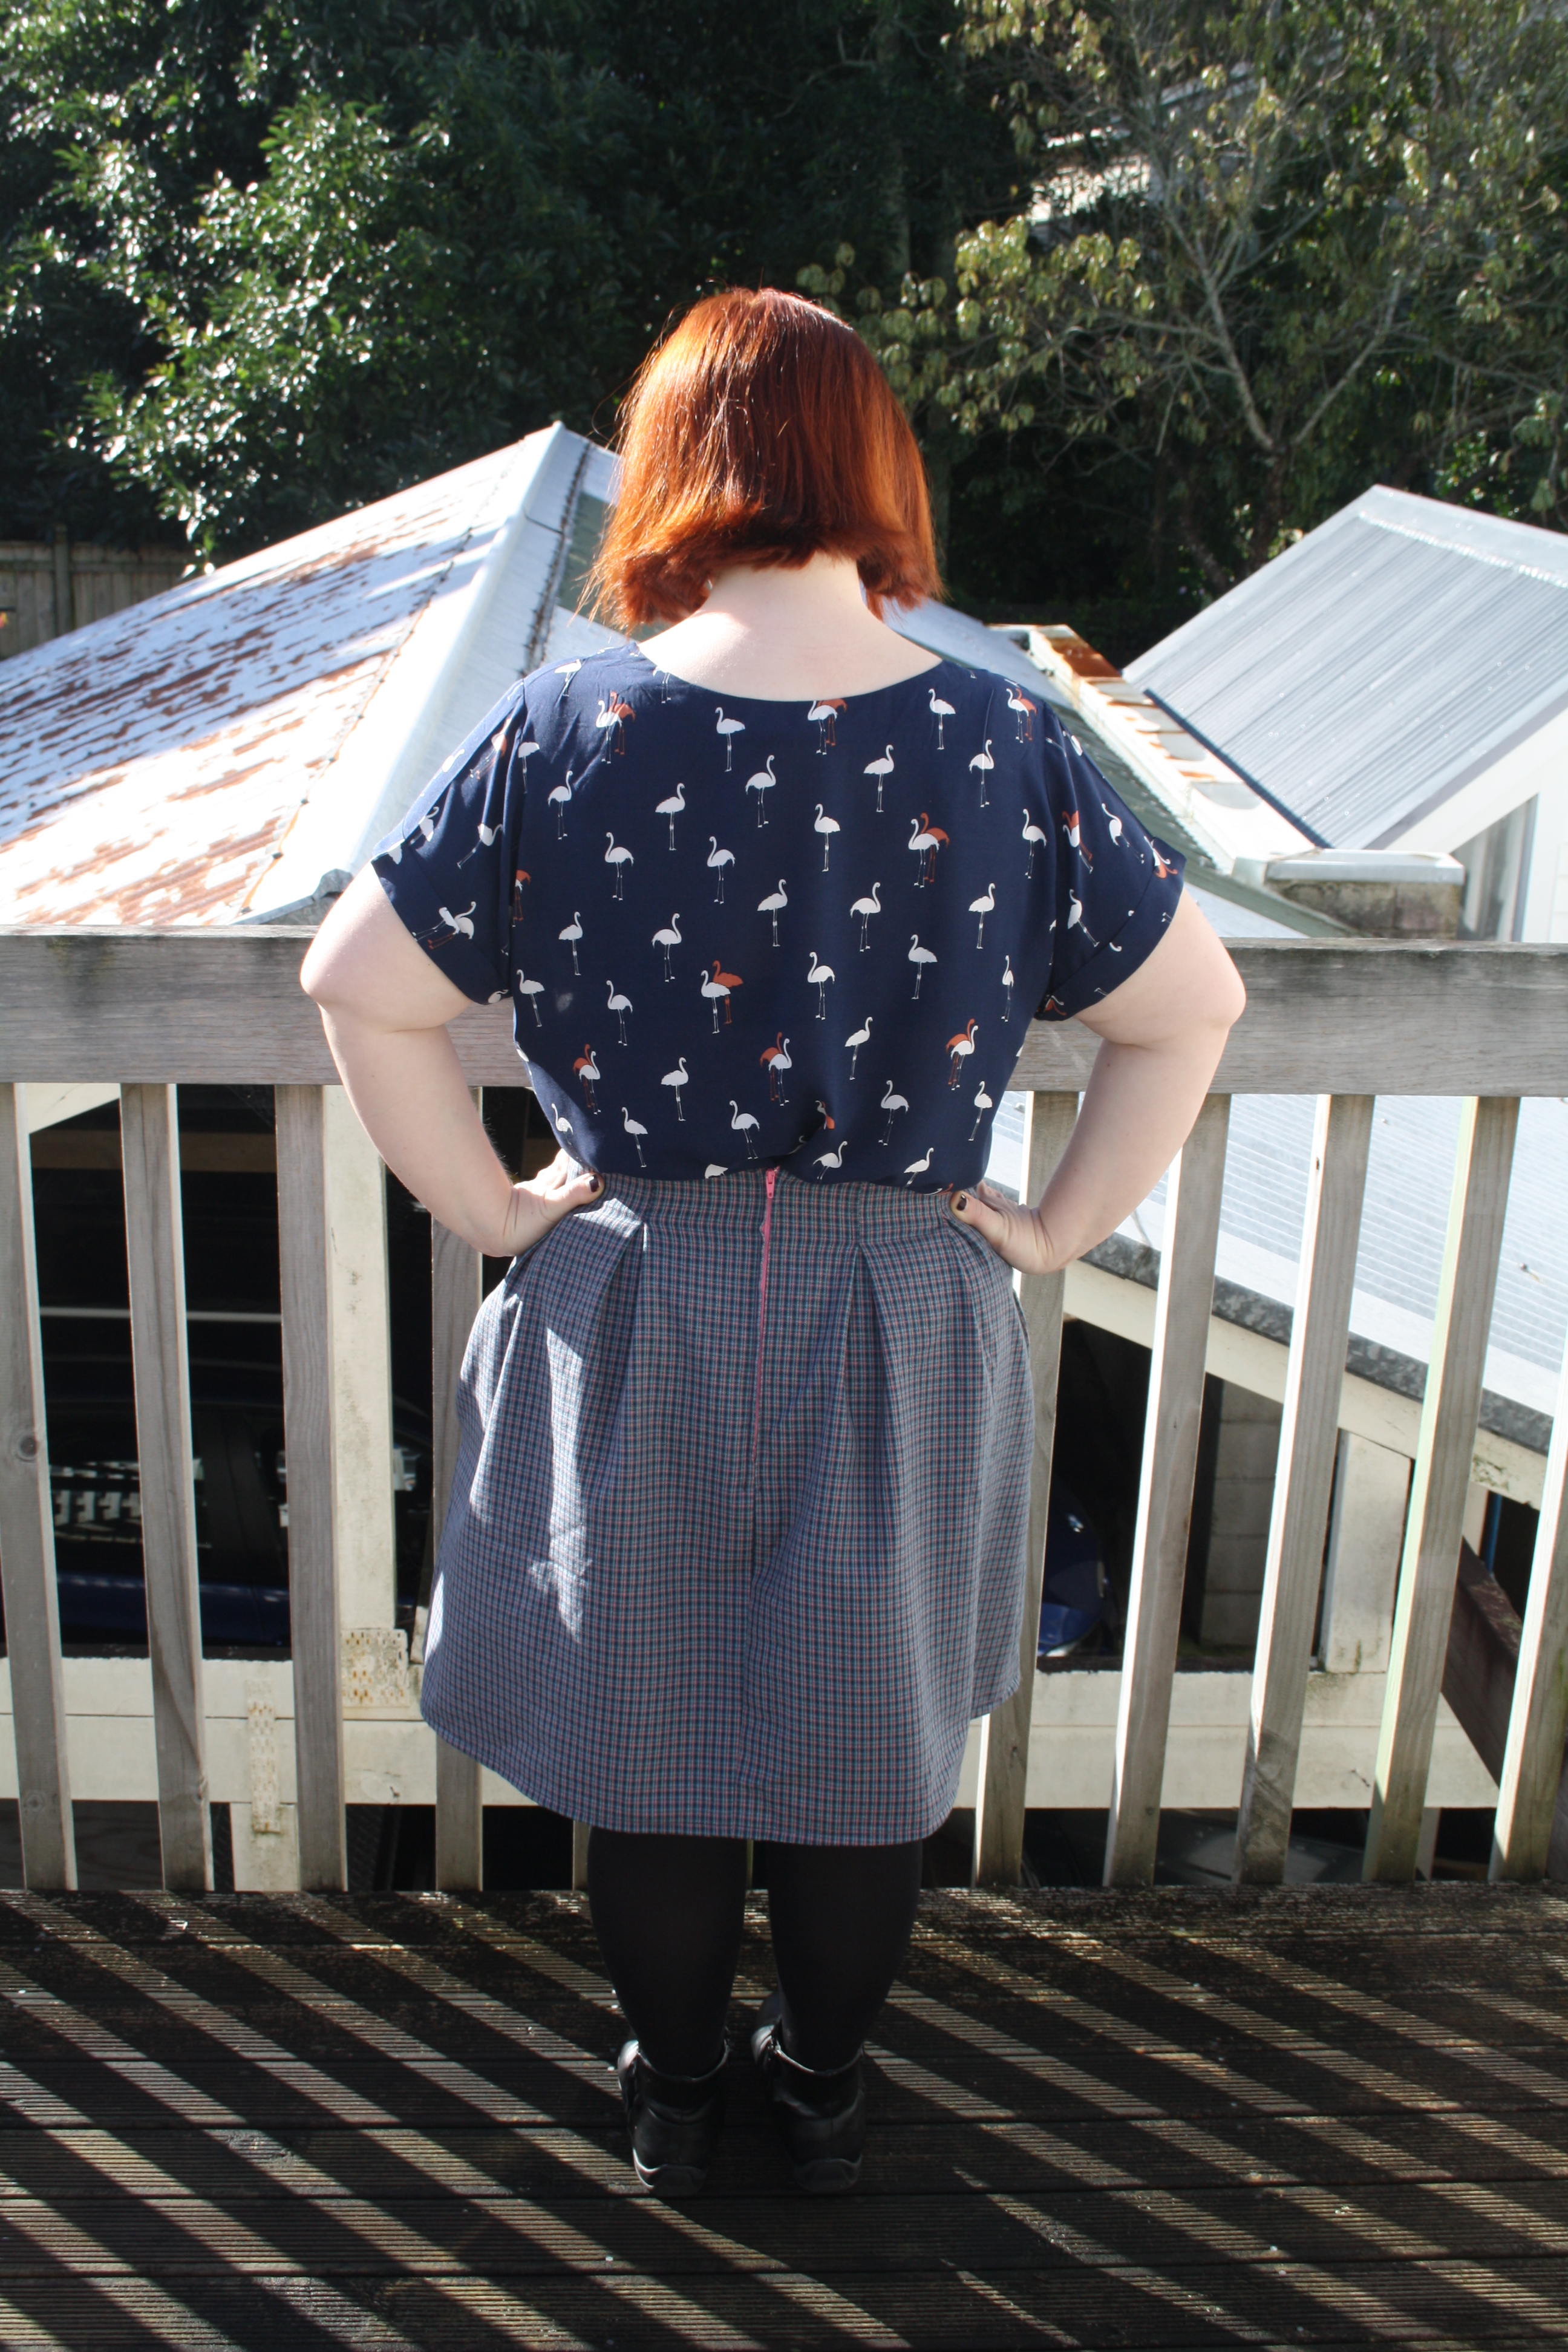
I used a pink zip from my stash because it was the only zip that was the right length, and I liked the little peep of pink that matches the pink stripe running through the plaid. It was very easy to make this skirt, and I made it in a day. I already have fabric lined up for two more, including one that’s going to be repurposed from an old kimono! I’m excited.

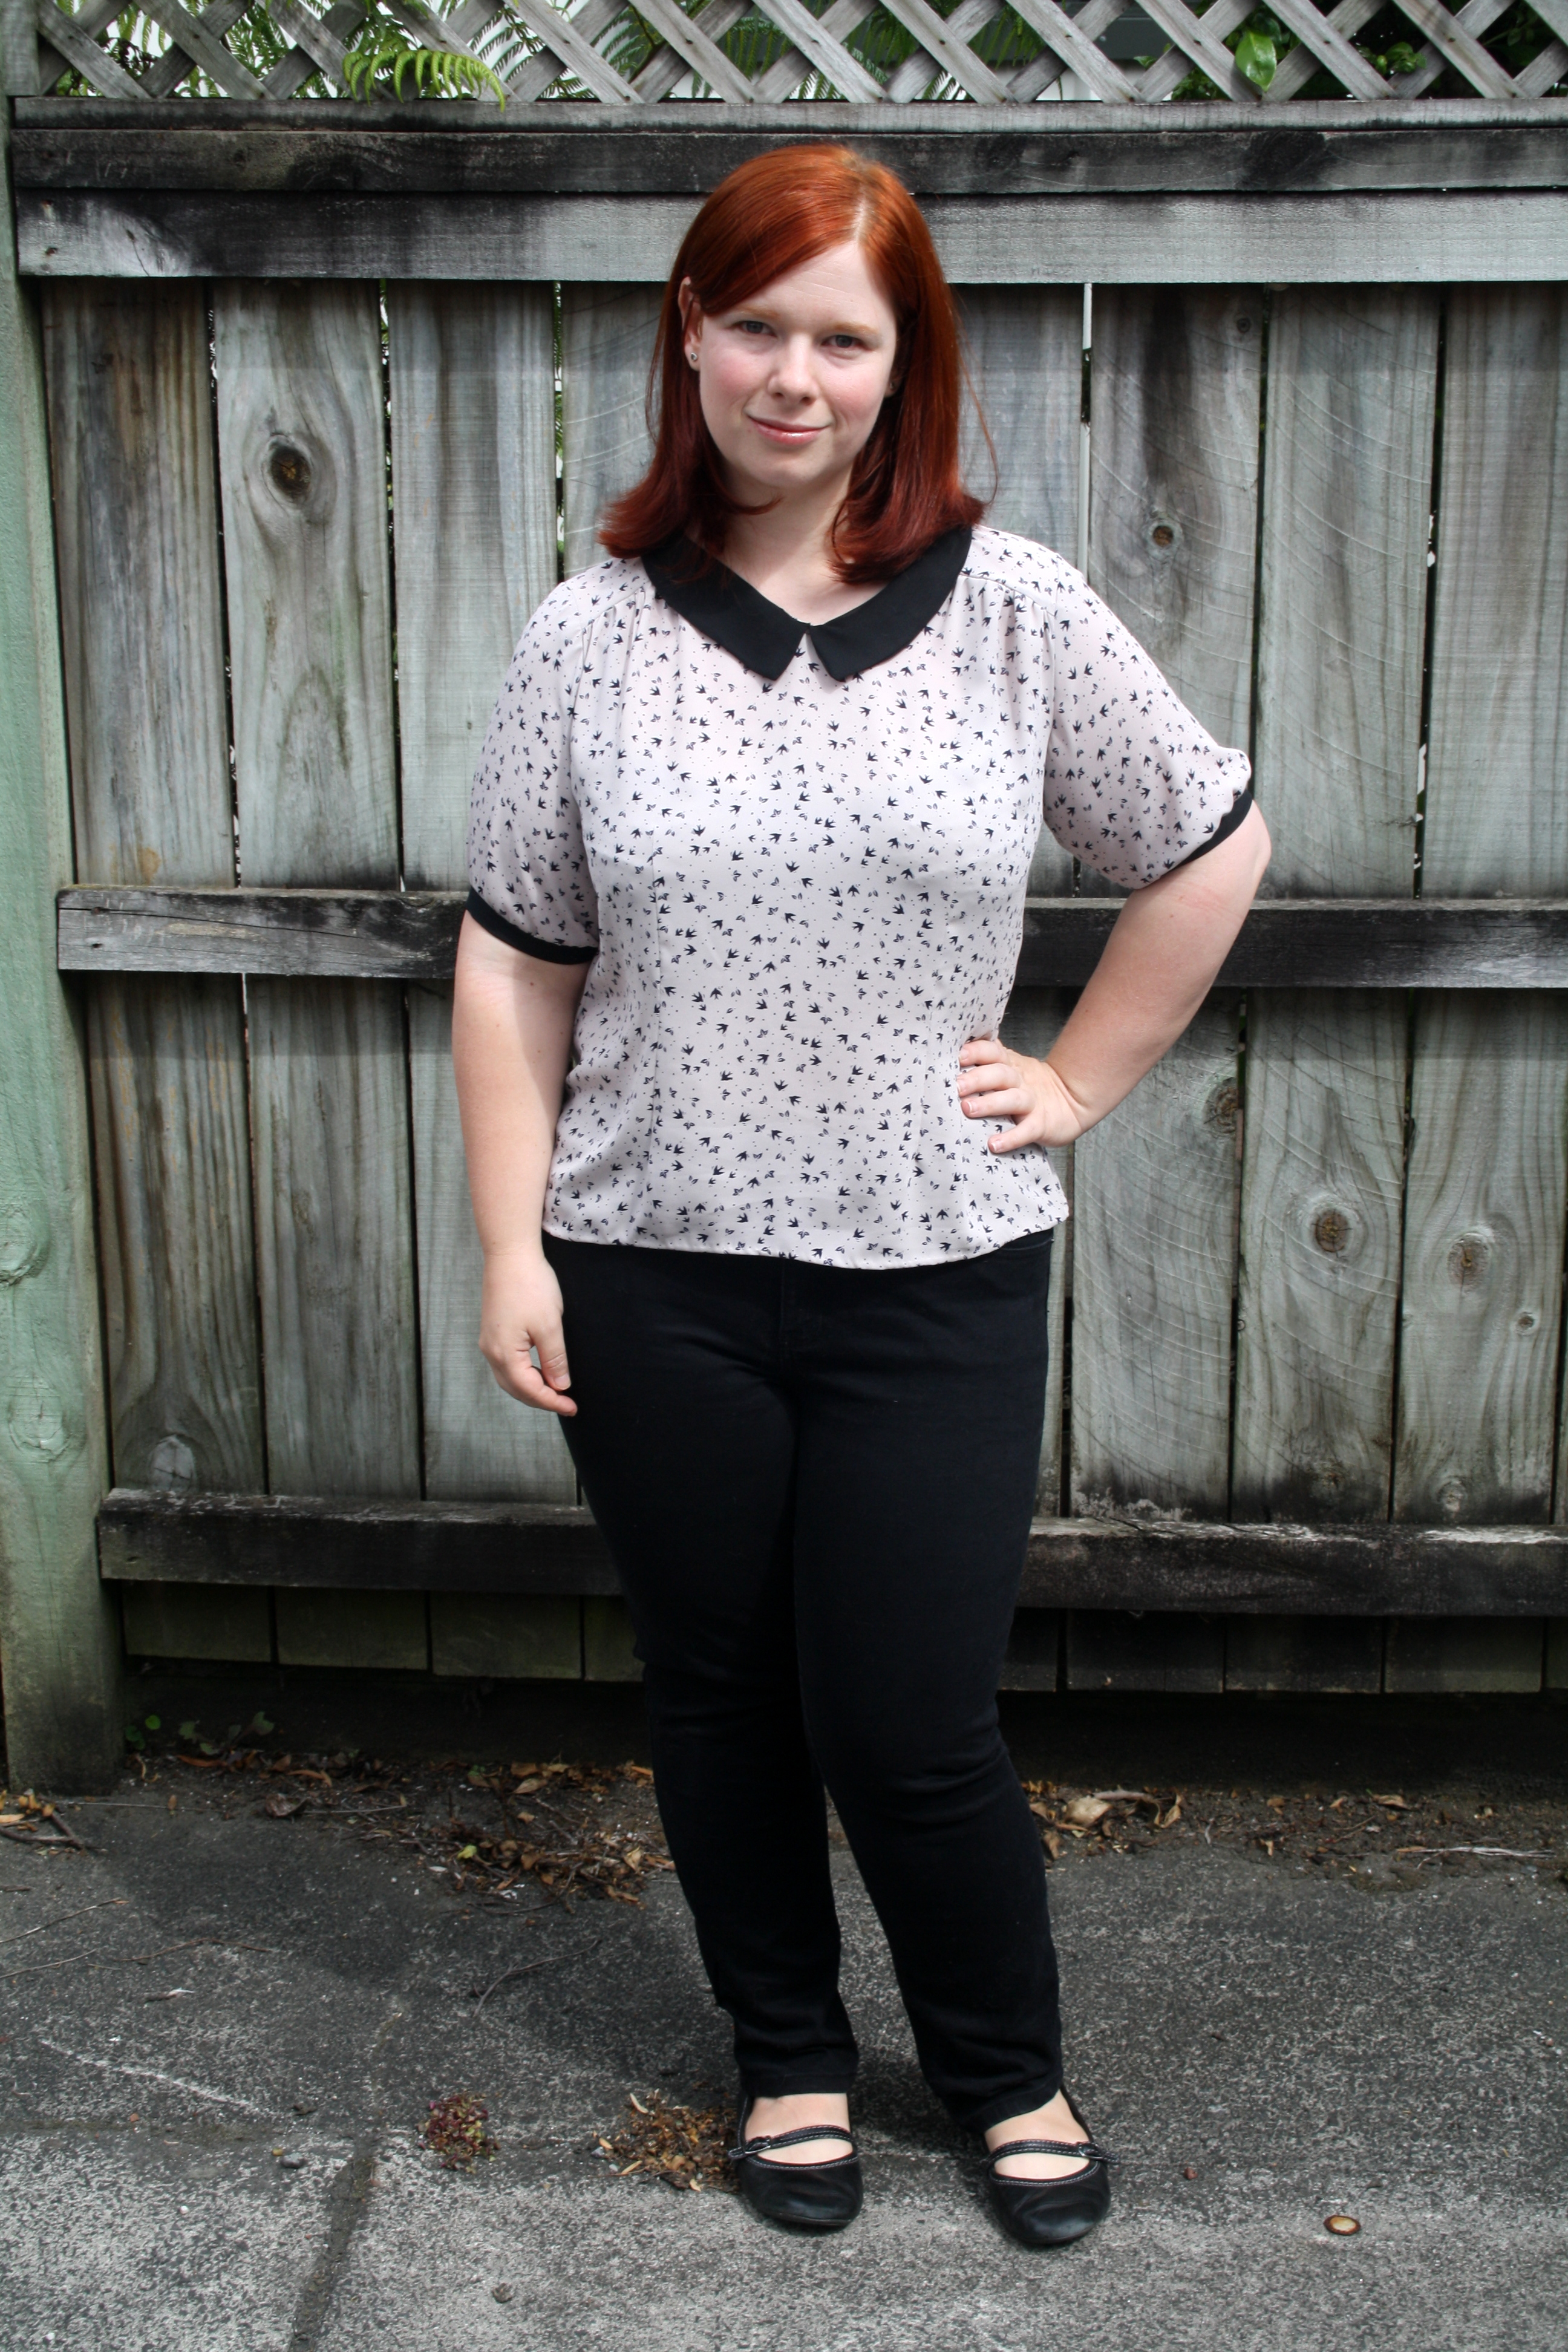
The blouse is a pattern I’ve used before, from Bootstrap Patterns – I thought I had blogged about it, but apparently I only posted it to Instagram. Oops! It’s called Tunic with Long Back, and it’s become my go-to blouse pattern. Here is my previous version, in a $3 buy from Fabric-a-brac:

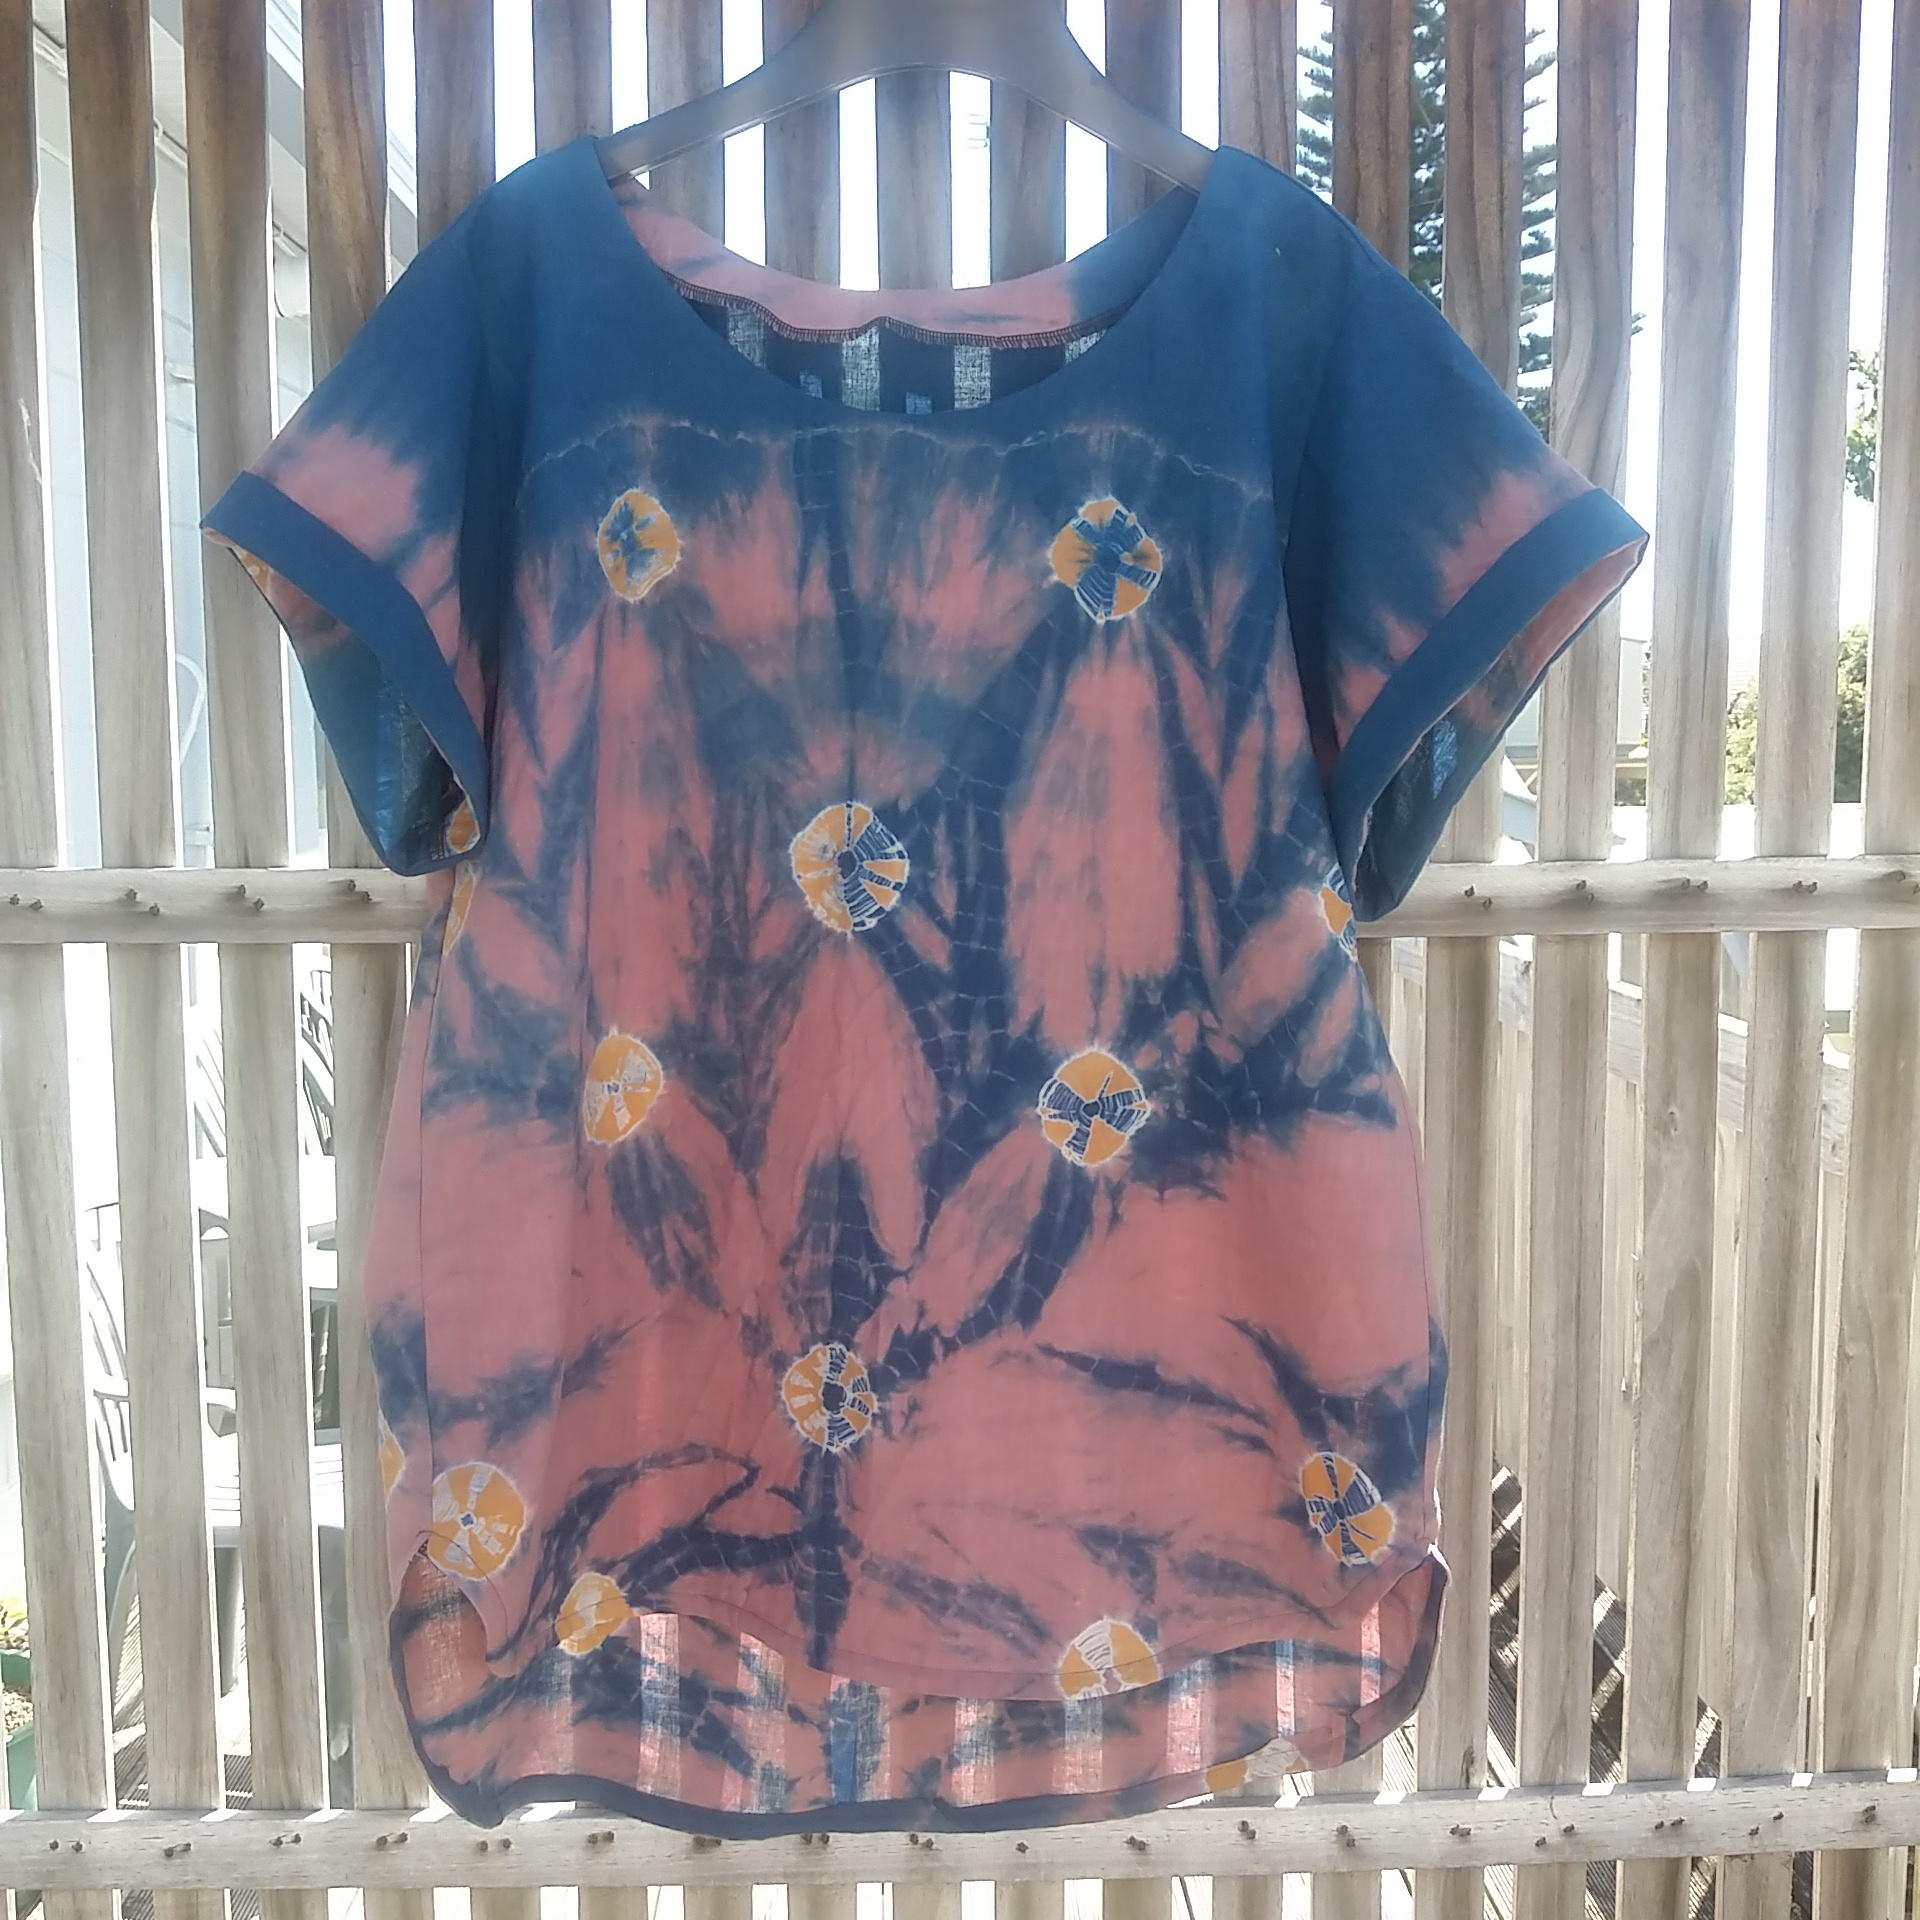
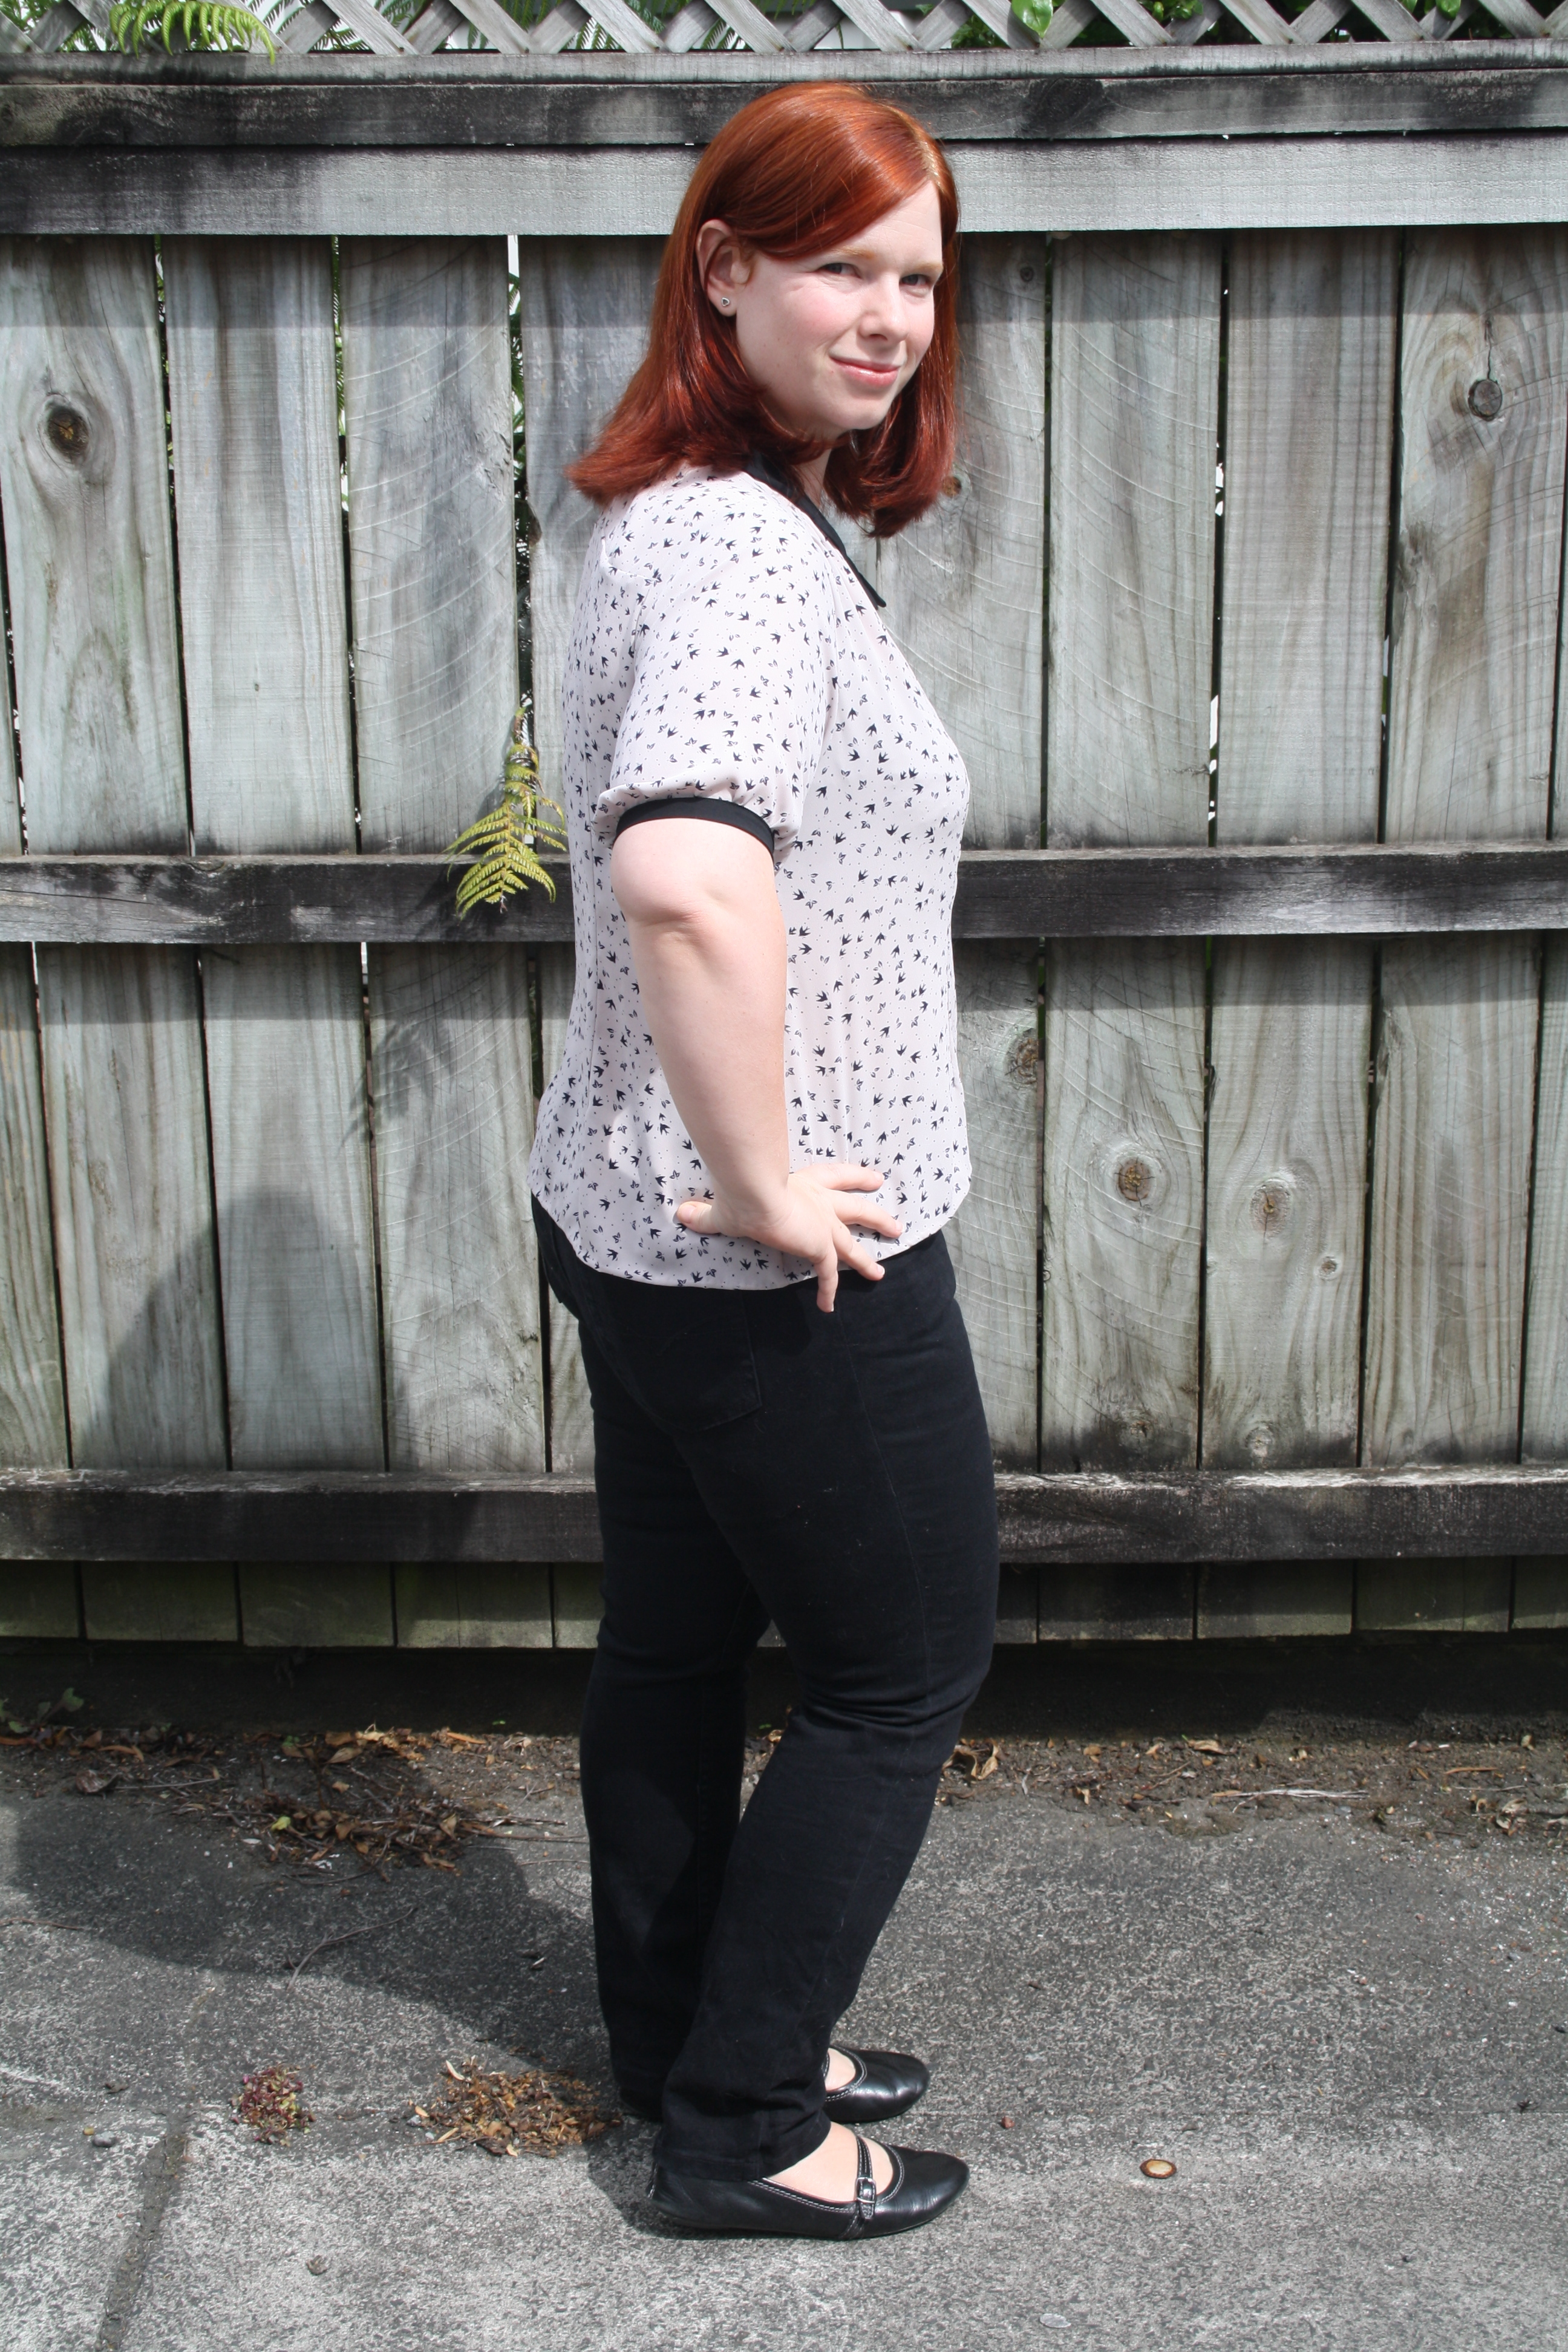
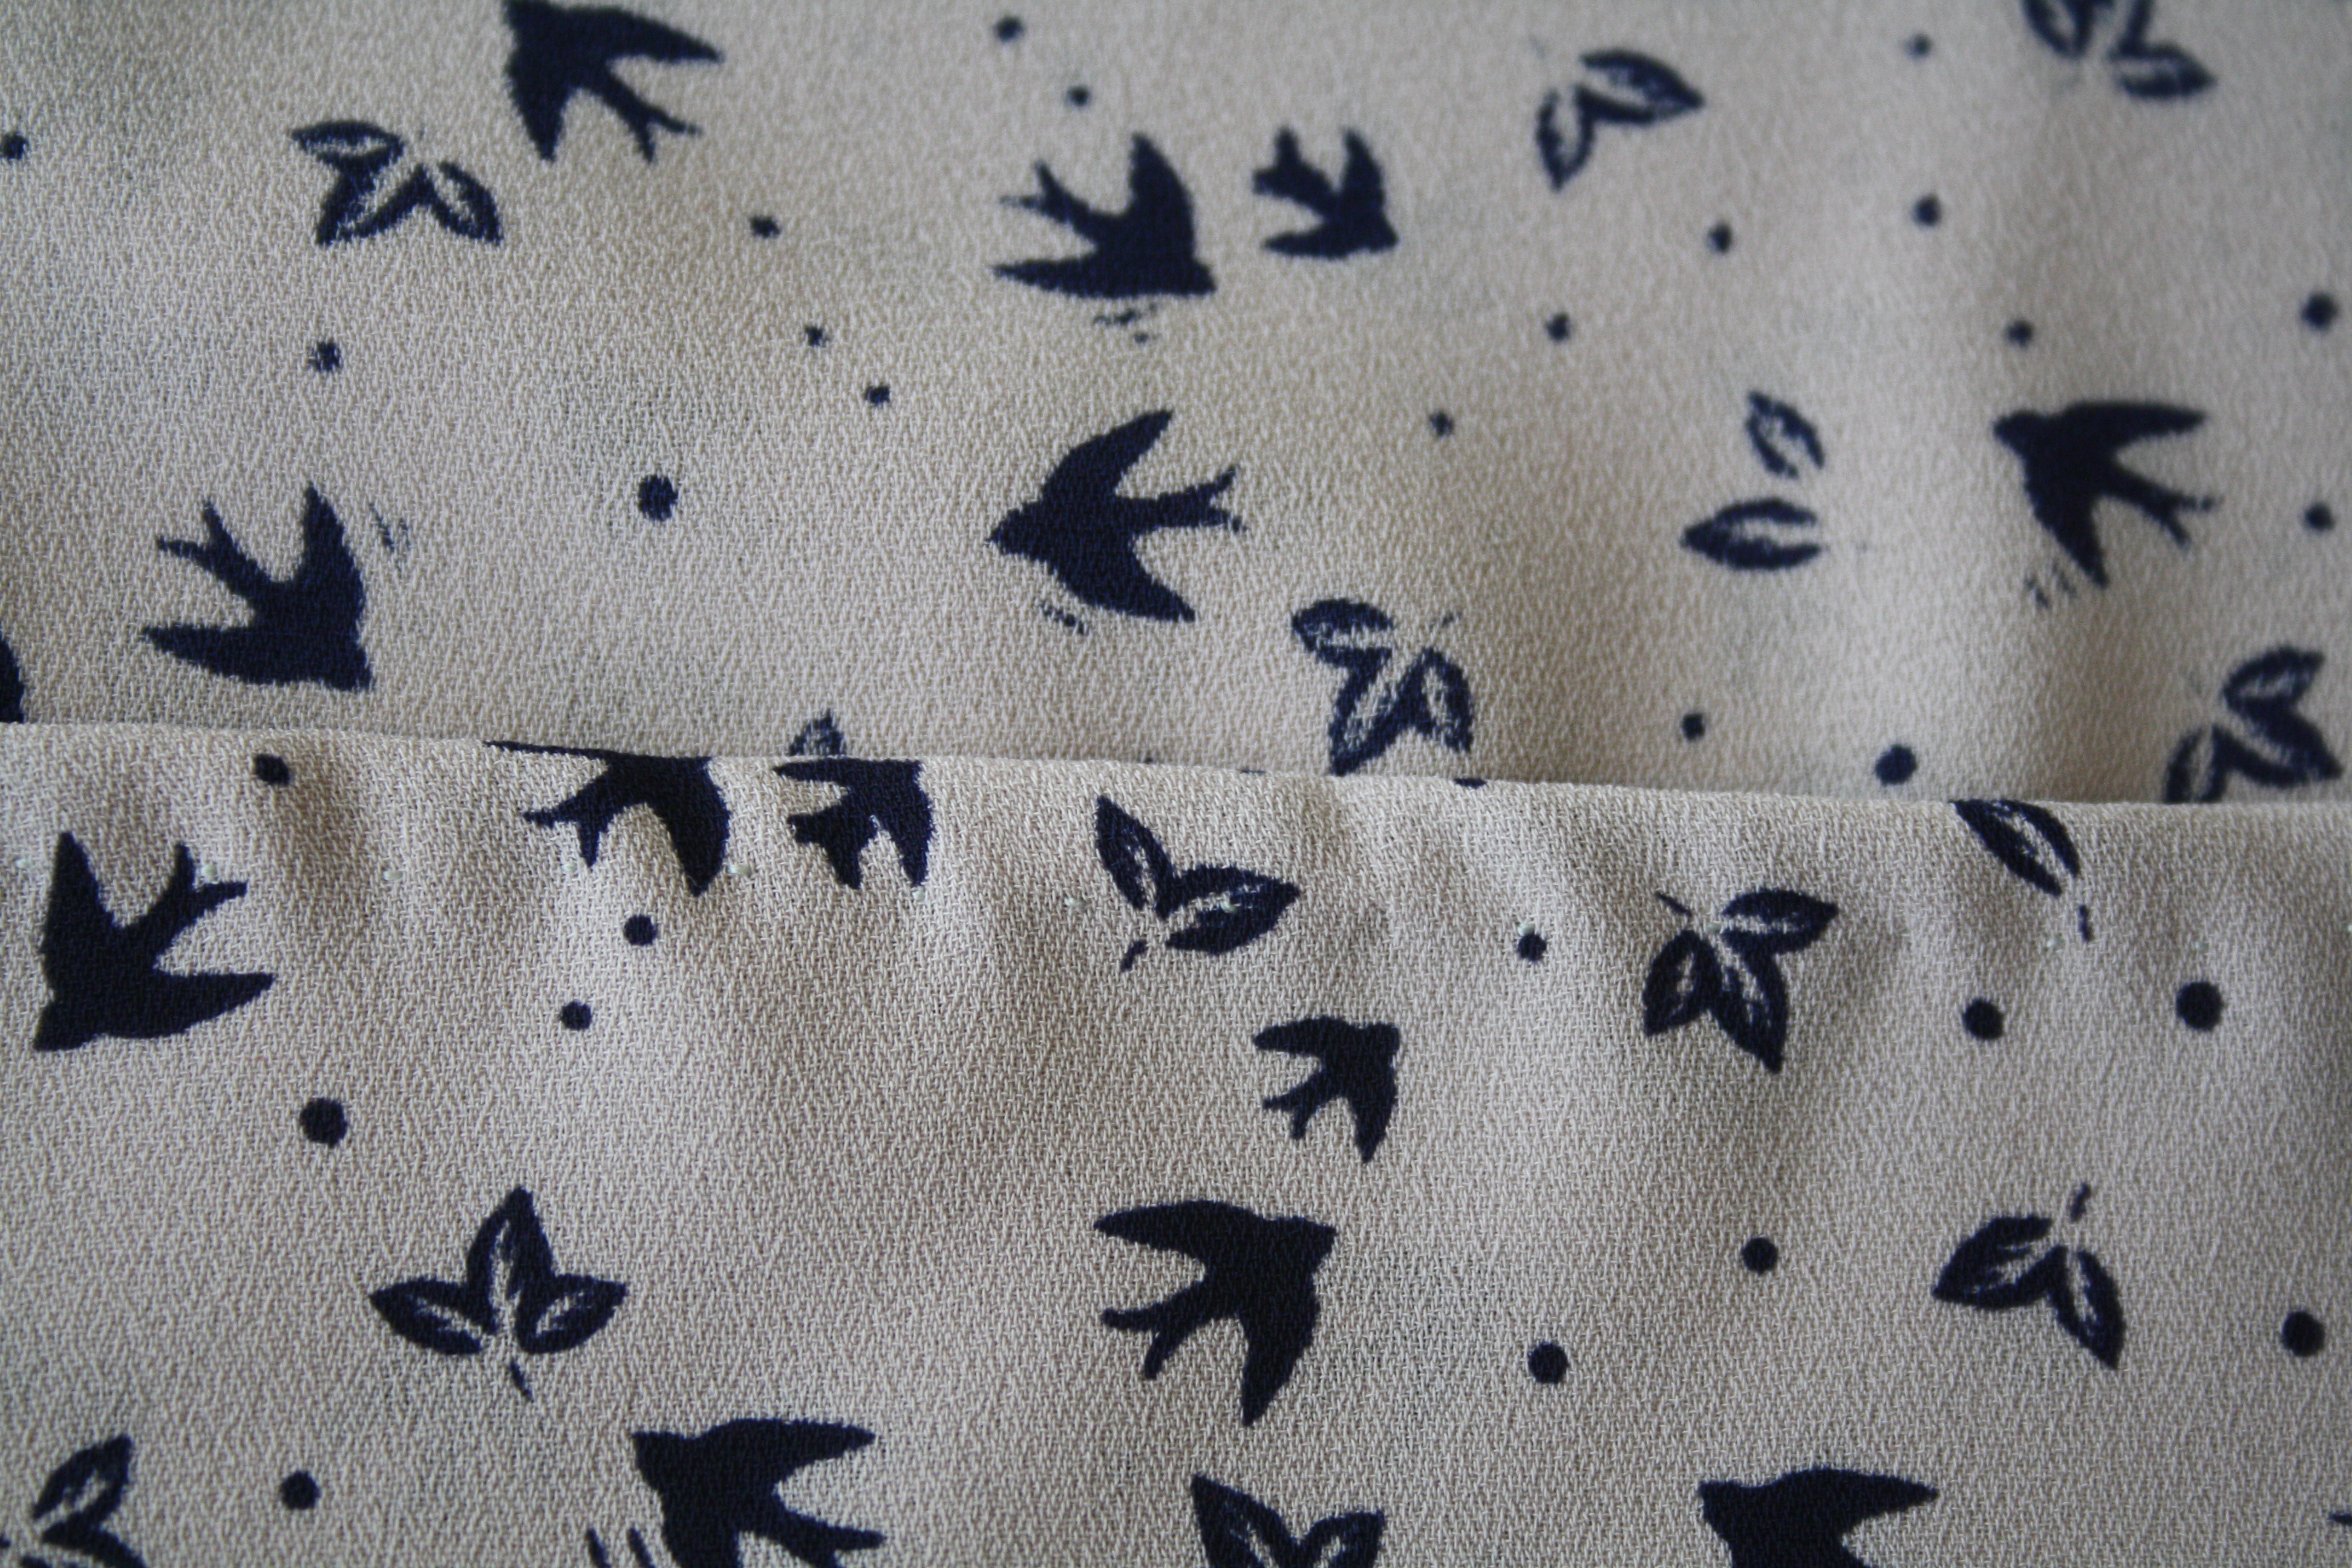
I wear it quite a bit with jeans, but I wanted something a bit flowy for my next one, and also without the hi-lo hem. I bought a gorgeous flamingo-print rayon voile from Hart’s Fabric earlier this year, and decided it was the perfect candidate for the next blouse. Sadly, it seems they’ve sold out – the fabric felt so soft and drapy, it’s honestly the nicest fabric I’ve ever touched! I need more rayon voile in my life. I don’t usually wear the blouse with the checked skirt as above, I have a navy blue midi skirt with pleats I bought from Uniqlo in Japan that suits it perfectly. Or, I wear it with jeans as pictured below:

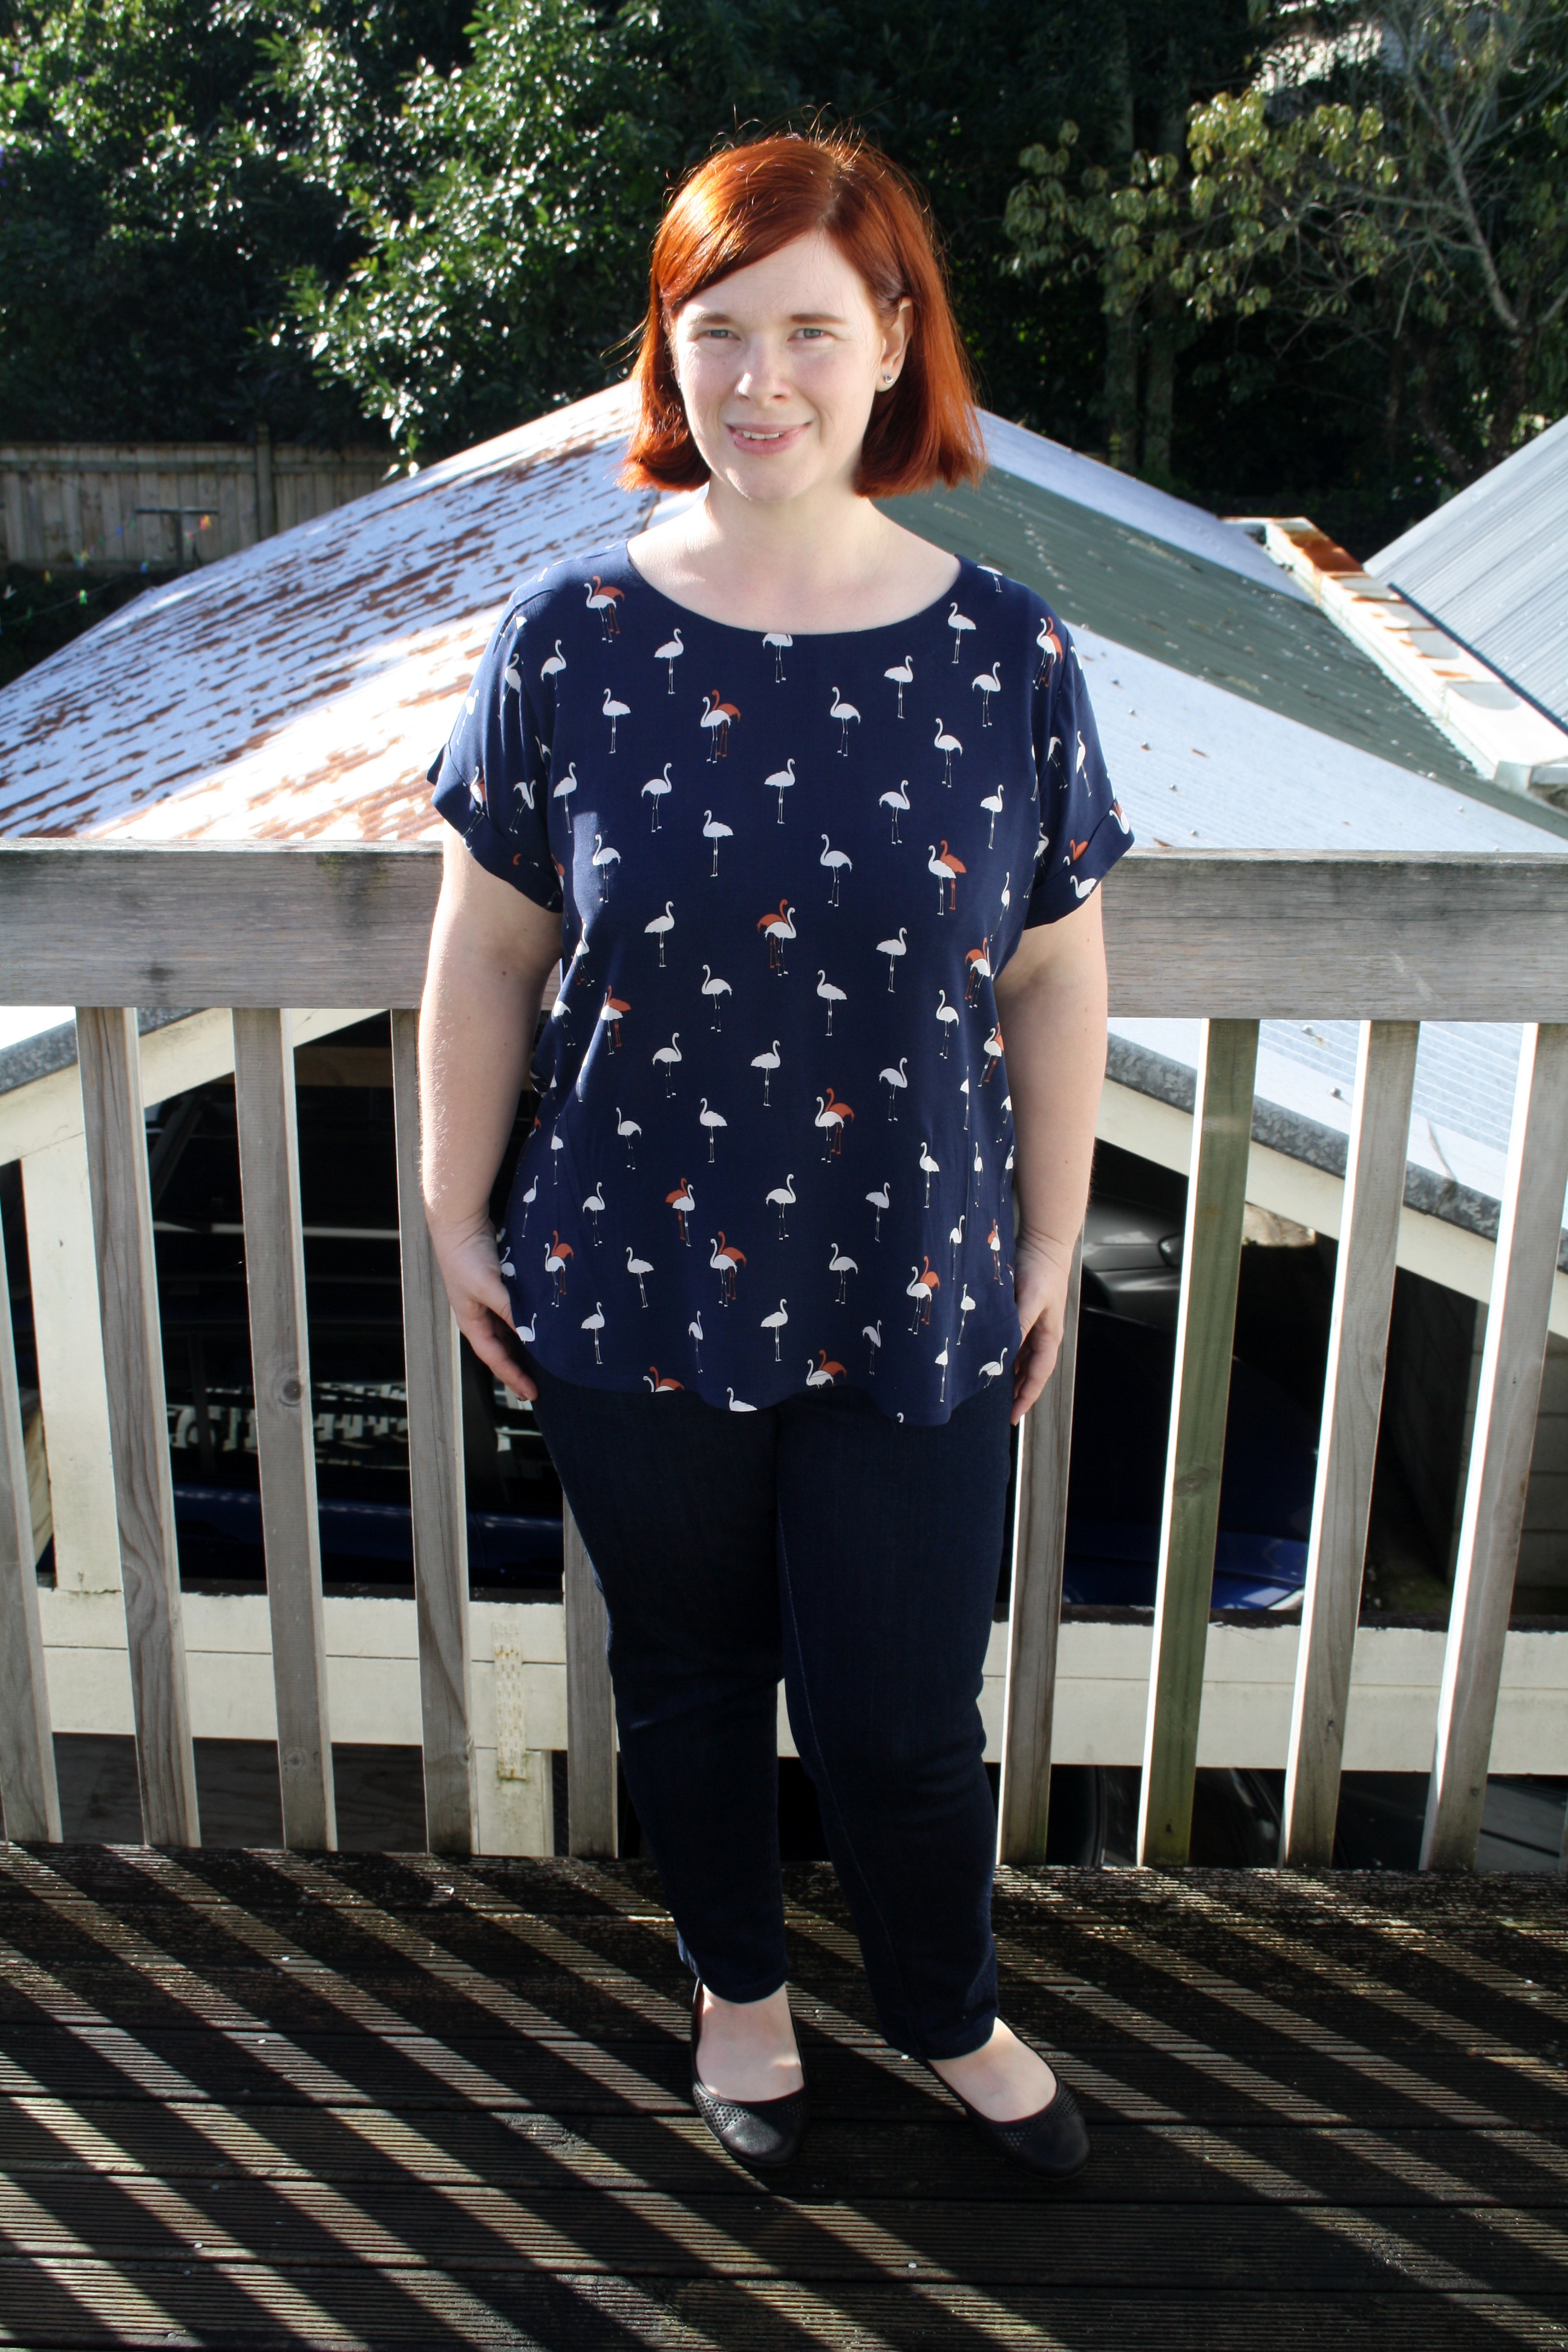
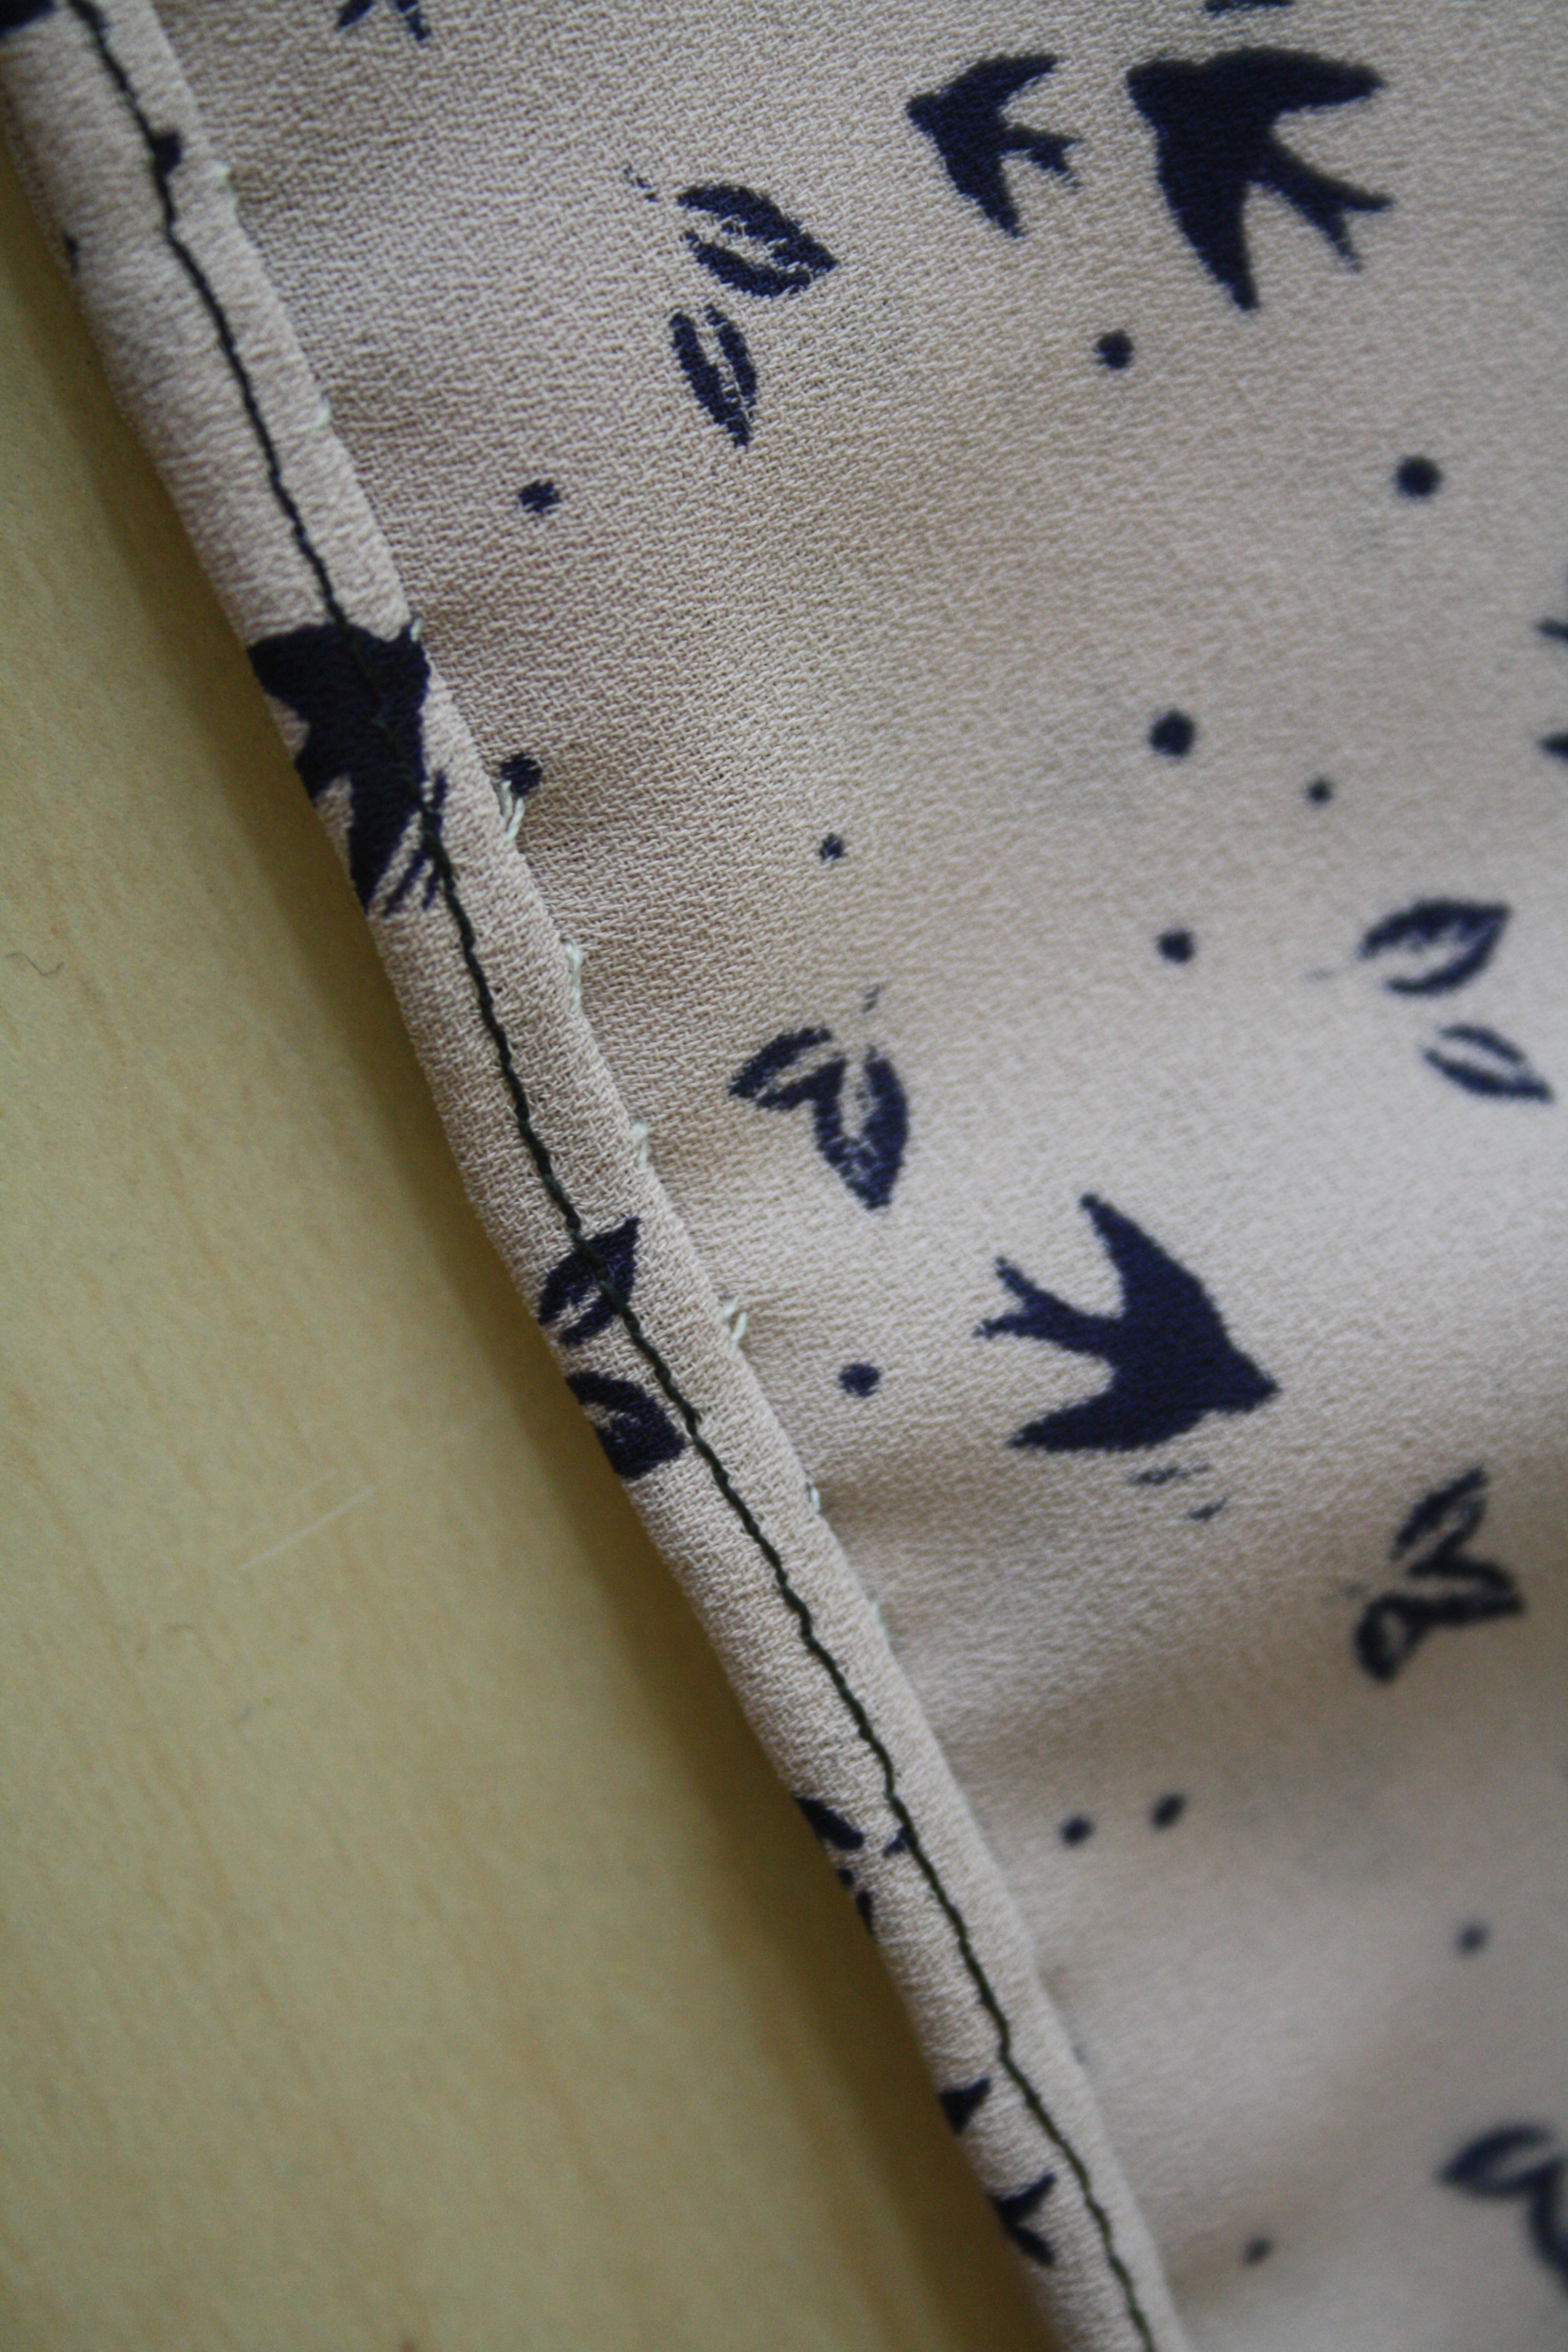
I made bias binding from the same flamingo fabric to hem it, since it has quite a curve on the sides and it made it much easier to deal with. Making the binding was a bit time-consuming though as it was too floaty to put through my Clover bias binding maker and kept slipping everywhere, so I had to do it the old-fashioned way – pressing it in half and then pressing each half towards the middle. Worth it though! The blouse has facings, which tend to flip out in thi fabric, so I tacked them to the shoulder seams and catch-stitched them in a few strategic places. Any tips on how to secure them further would be great though!

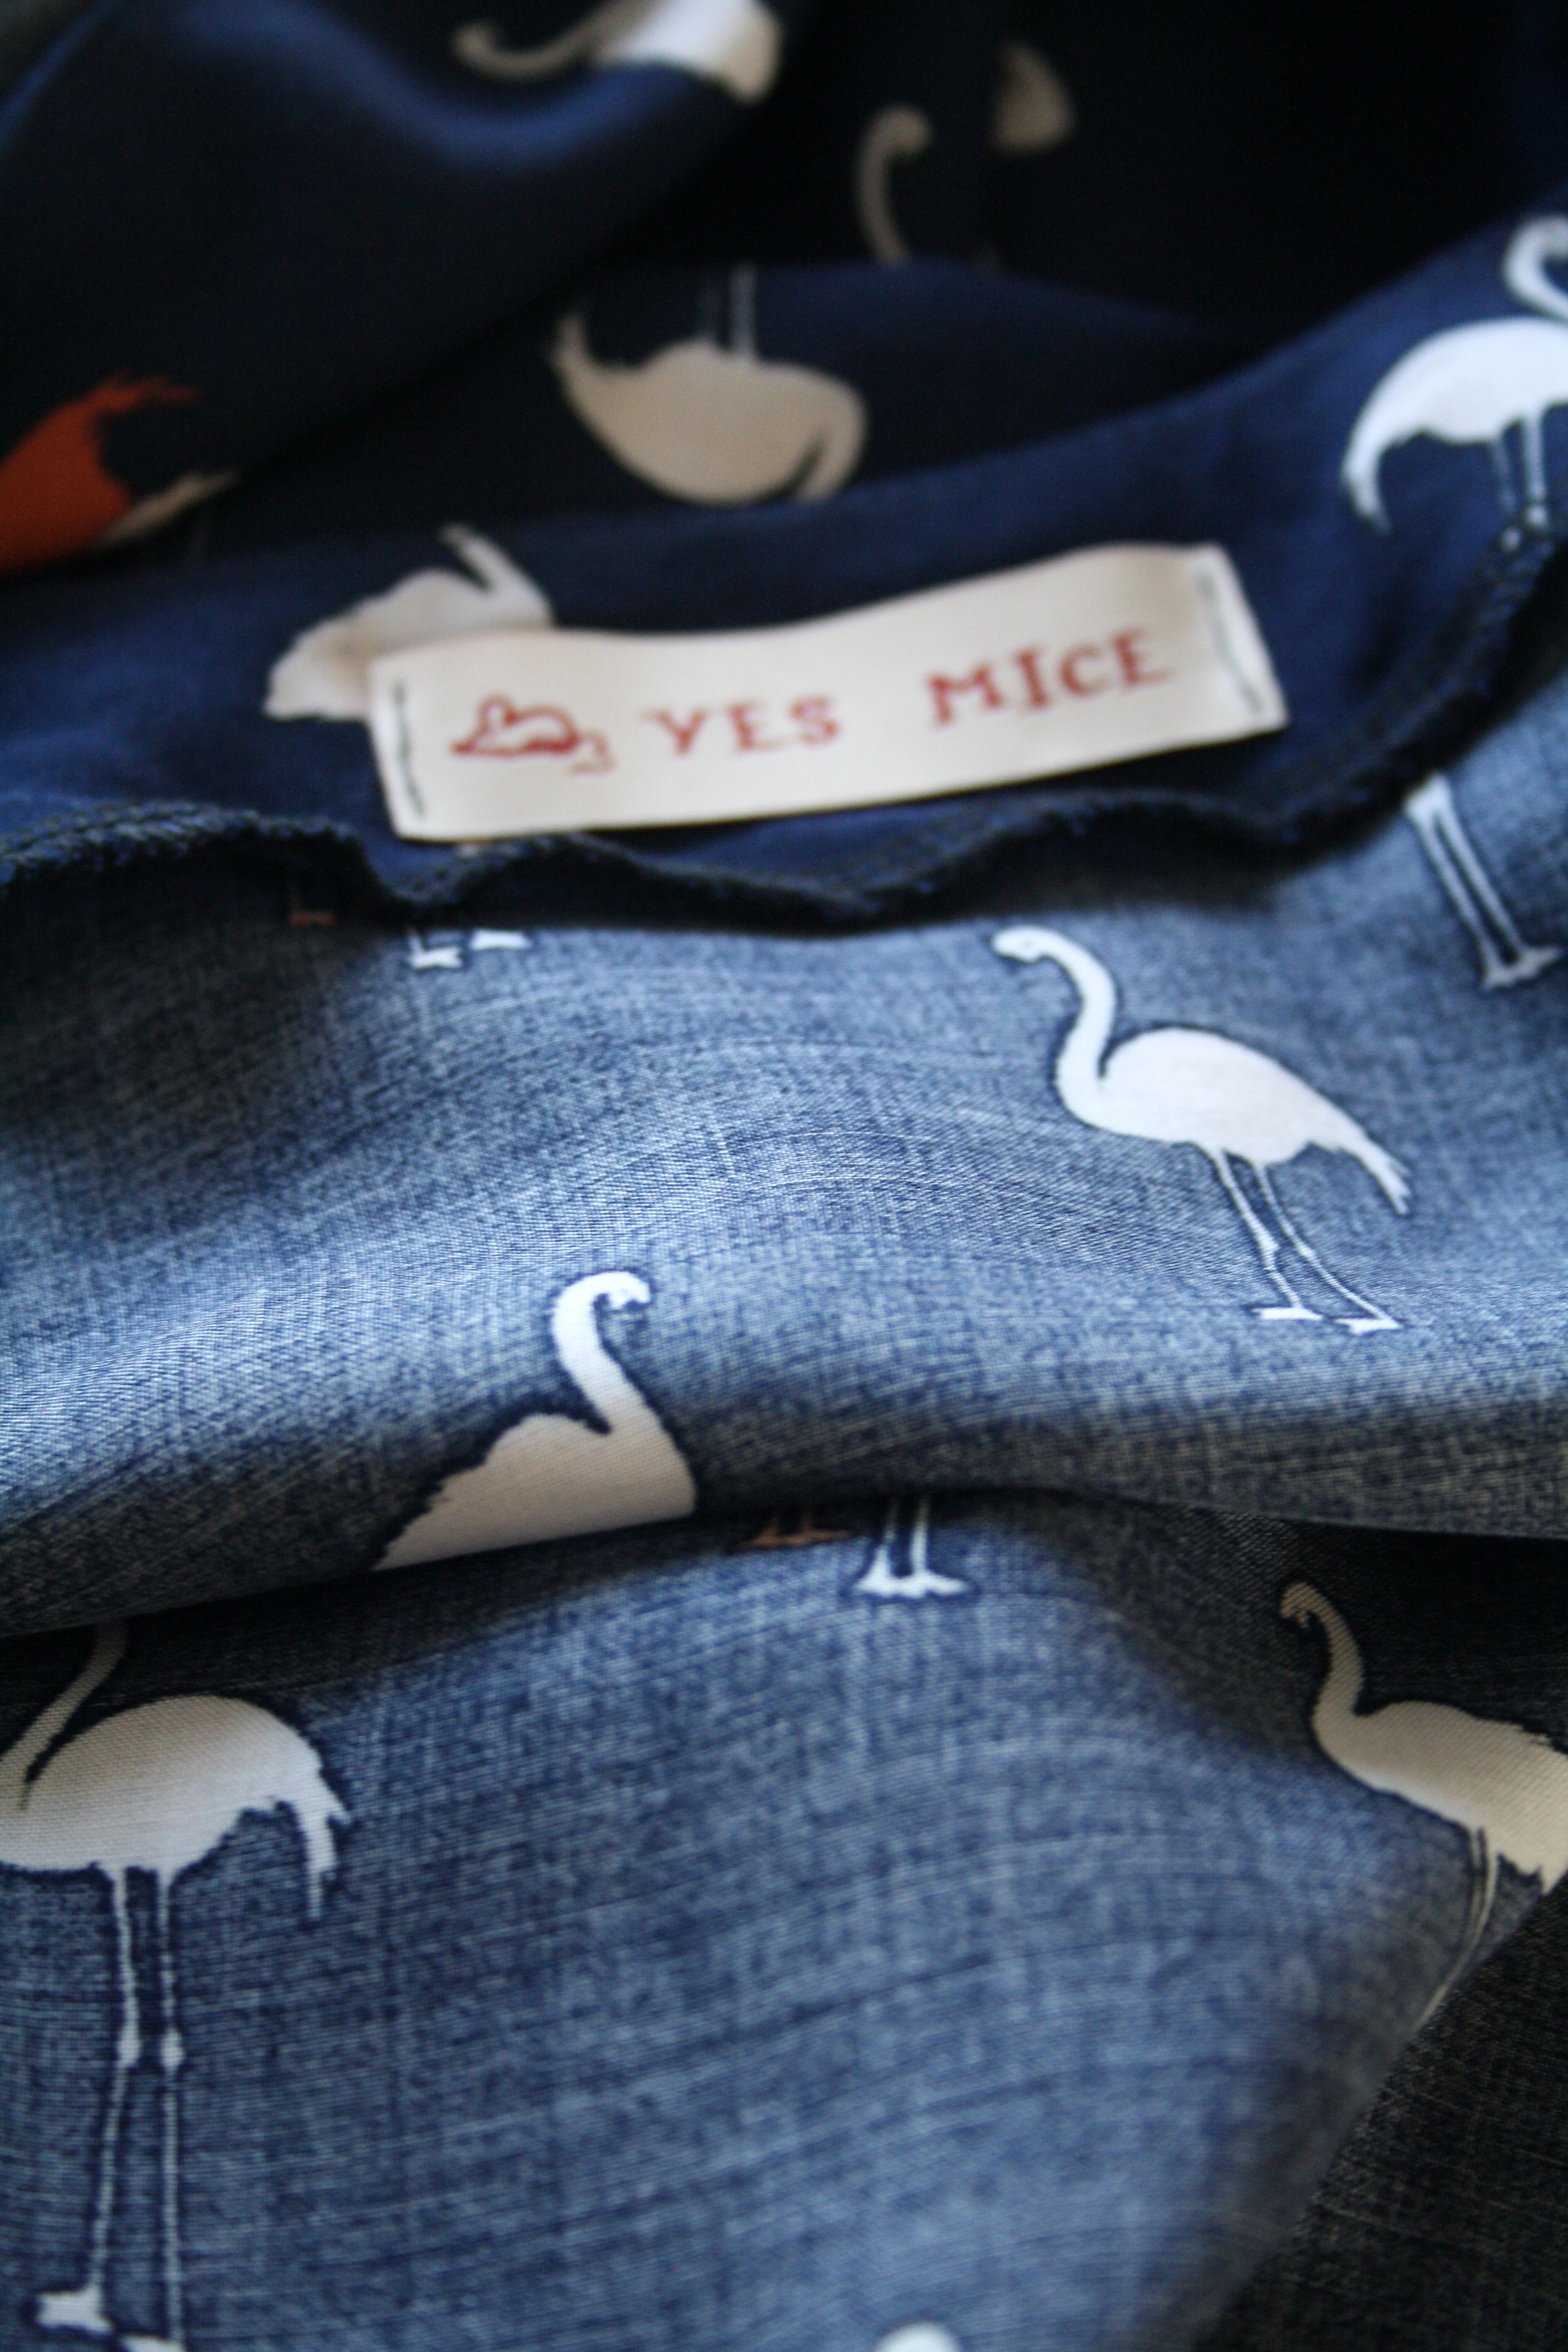
Of course, I had to add one of my labels to this blouse, since I love it so much! I’ve worn it to an indie gig, to lunch with friends and out to dinner with the family – and I’ve got more planned too, in a kitty plaid and another rayon fabric I’ve had stashed!

Advertisement
Standard
sewing

Put a bird on it – Deer & Doe Airelle Blouse

Front
I bought this fabric from fabric.com about two years ago (!) with the idea of making a nice, floaty blouse of some kind. However, still being relatively new to sewing, I was too scared of the idea of actually sewing with it to actually do anything with it, and it sat in my stash in Berkeley before being packed away to come to New Zealand with me.

I’m not very organised with my sewing plans – I tend to buy pretty fabric and patterns with an idea in mind, but it gets pushed to the back of the queue as soon as I see something else pretty. This year, I’m trying to slow down and actually make some of the things I bought fabric and patterns for, one at a time. So I got out my untouched Deer & Doe Airelle blouse pattern and my bird print chiffon, and got to work.

Side
Deer & Doe patterns seem to fit me without an awful lot of adjustments, for which I am thankful. I made this in a size 46, which is the largest size. The fabric has fantastic drape, and I wanted it to be a bit looser than what I normally wear. I did a 1cm narrow shoulder adjustment, and I shortened the sleeves quite a bit (a tad too much, I think in the end). I also did a full bicep adjustment to the sleeve of about 2cm, I think. The sleeve fits fine, but the cuff is a teeny bit tight, so if I made it again I’d lengthen the cuff slightly and just have less gathers in the sleeve.

I should have lowered the darts – this is something I’m coming around to seeing that I always have to do, as I have a low set bust – but I didn’t. You can’t really see the darts in this fabric, and as it’s a looser fit I don’t think it’s obvious they’re a bit higher than they’re meant to be. I’ll move them down for next time, though.

Back

The fabric was as difficult to work with as I feared. I stabilised it with my trusty ironing aid, but it still moved wherever it wanted at every opportunity. However, it held a press surprisingly well, particularly with the darts. I marked the darts on the fabric with a light lead pencil, as my chalk liner just dusted right off it and I didn’t have anything else on hand. It came out in the wash, thankfully. For the collar and cuffs, I used a black georgette I bought 5 yards of from Fashion Fabrics Club for a crazy low price and had yet to use any of. I sewed everything with a 70/10 needle and a stitch length of 2, which seemed to work well.

Guts

Here is a photo of the inside of the blouse. I went on a kind of construction journey with it, really – I started off with lovely French seams, until I got to the facing. I hate facings at the best of times, and for some reason, my facing was bigger than my neckline. Like, a lot bigger. So I had to recut it, and then I had the bright idea of finishing the raw edge on my overlocker. The overlocker I’ve only used twice. Yeah, curved chiffon pattern pieces are quite beyond my overlocking ability, it turns out, and it got pretty mangled. So I thought stuff it, no one will see it but me, and sewed it on anyway, but it kind of ruined my desire for a neat finish on the inside, and I didn’t bother French seaming the armhole seams, because that’s a difficult task at the best of times.

But then I tried it on, and absolutely loved it, and felt renewed desire to make it pretty, so I French seamed the side seams and took care with the rest of it. So, it’s kind of most of well finished.

Hem

I consulted Twitter for the best hem finish, and the lovely Natalie (who has no blog I’m aware of) advised me to turn up the hem 1cm, stitch close to the fold, trim excess, turn up another 3mm and restitch. I didn’t do this exactly – I did the first part, but after trimming the excess, I did a hand-rolled hem and stitched it myself with a slipstitch. I rather like hand sewing, and I didn’t trust my machine to not just eat the hem when I tried to restitch it at 3mm.

Hem2

It turned out a tiiiny bit puckered on the other side, but I feel like it’s not really noticeable when I’m wearing it. I’m happy with it, at any rate.

I’m thinking of making another one in a light cotton lawn, maybe – I’ll have to search through my stash and see if I have something appropriate. I need more separates in my wardrobe!


Standard