sewing

Puttin’ a bird on it

A while back, I bought a bird-print scuba fabric from Backstreet Bargains, with the vague intention of making the Deer & Doe Arum dress. Then I didn’t touch it for ages because in my mind it was a Good Fabric and we all know what happens with Good Fabrics – they sit in the stash because we’re too afraid we might ruin them! Luckily for me, I’m moving to Finland at the end of May and thus am facing the prospect of using it or losing it, as I can’t take all my fabric with me! This has spurred me into action, and am now digging gaily through my plastic tubs and making all the things.

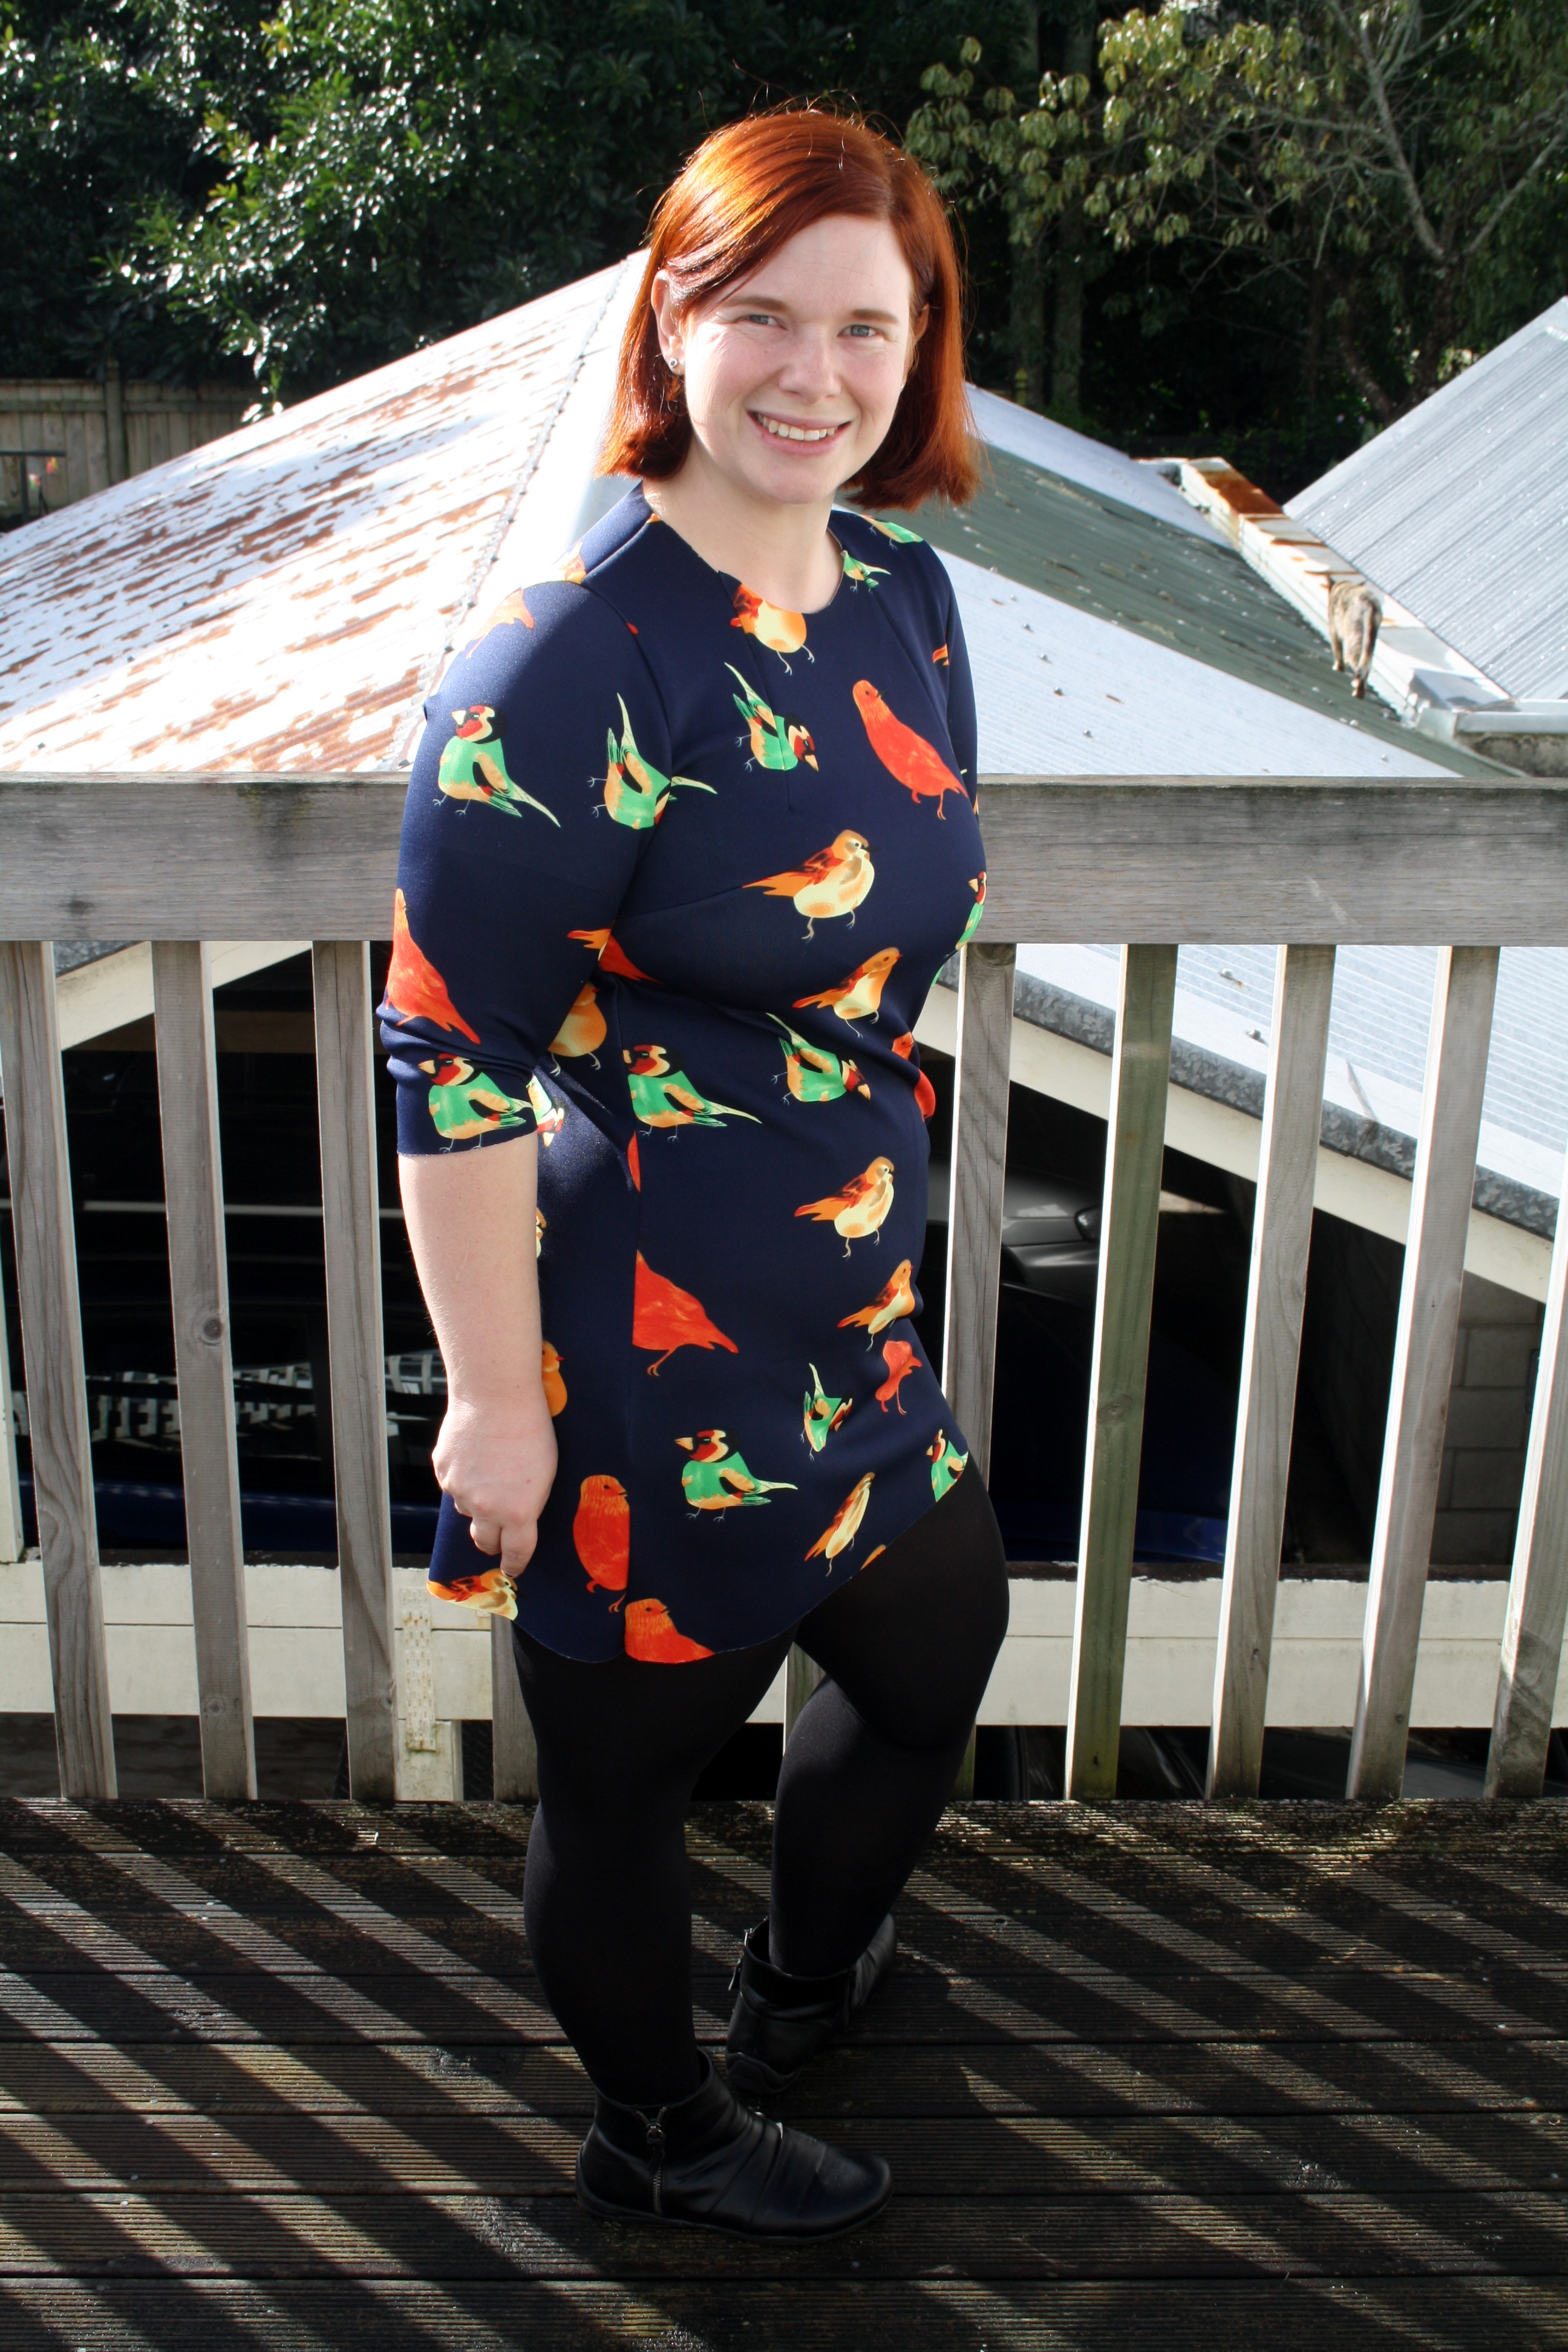
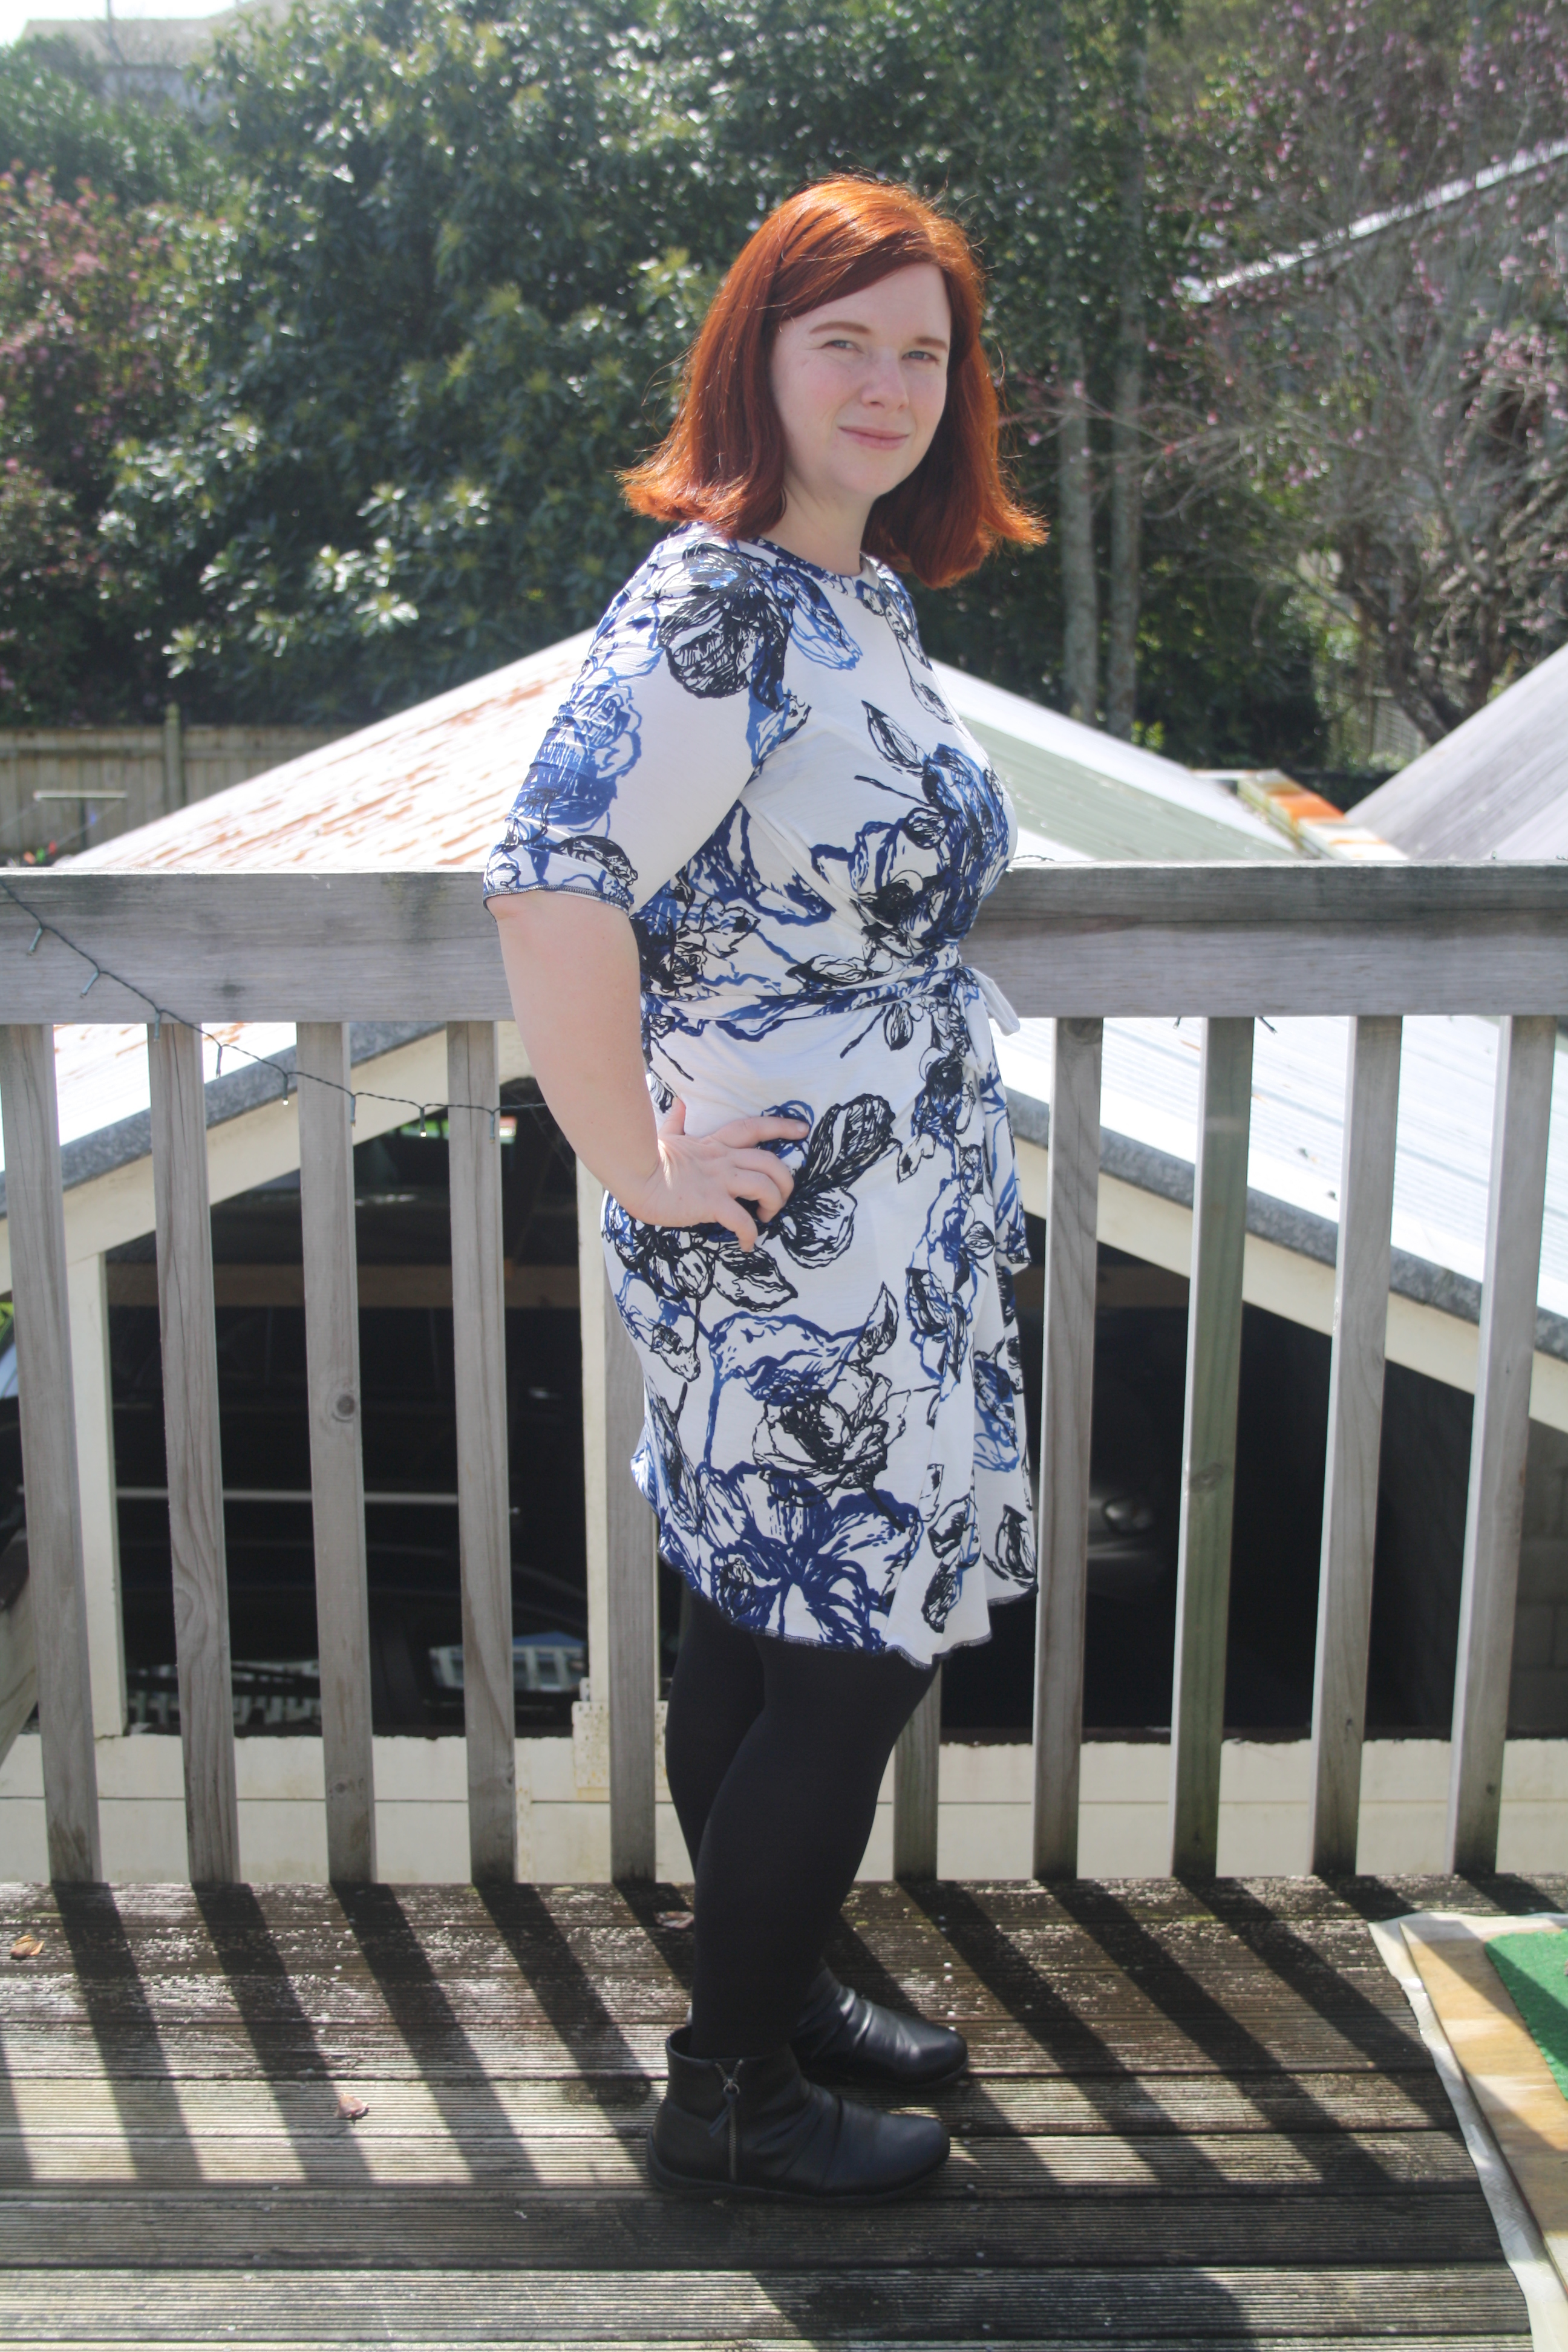
However, this is not the Arum dress. I was worried that the style of sleeves of the Arum wouldn’t suit the scuba fabric, so I decided to pick a different pattern. Unable to decide, I asked my sewing peeps on Instagram to help me choose between a faux two-piece dress or a more simple knit dress, both from Bootstrap Patterns. The simpler dress won out, just barely. In all honesty I preferred the two-piece dress, but as someone wisely pointed out, I would get more wear from the simpler one. I’ve used Bootstrap Patterns before, and I’m a fan of being able to put my measurements in and get a good-fitting pattern, no muss, no fuss. Except, well, that’s not quite what happened this time.

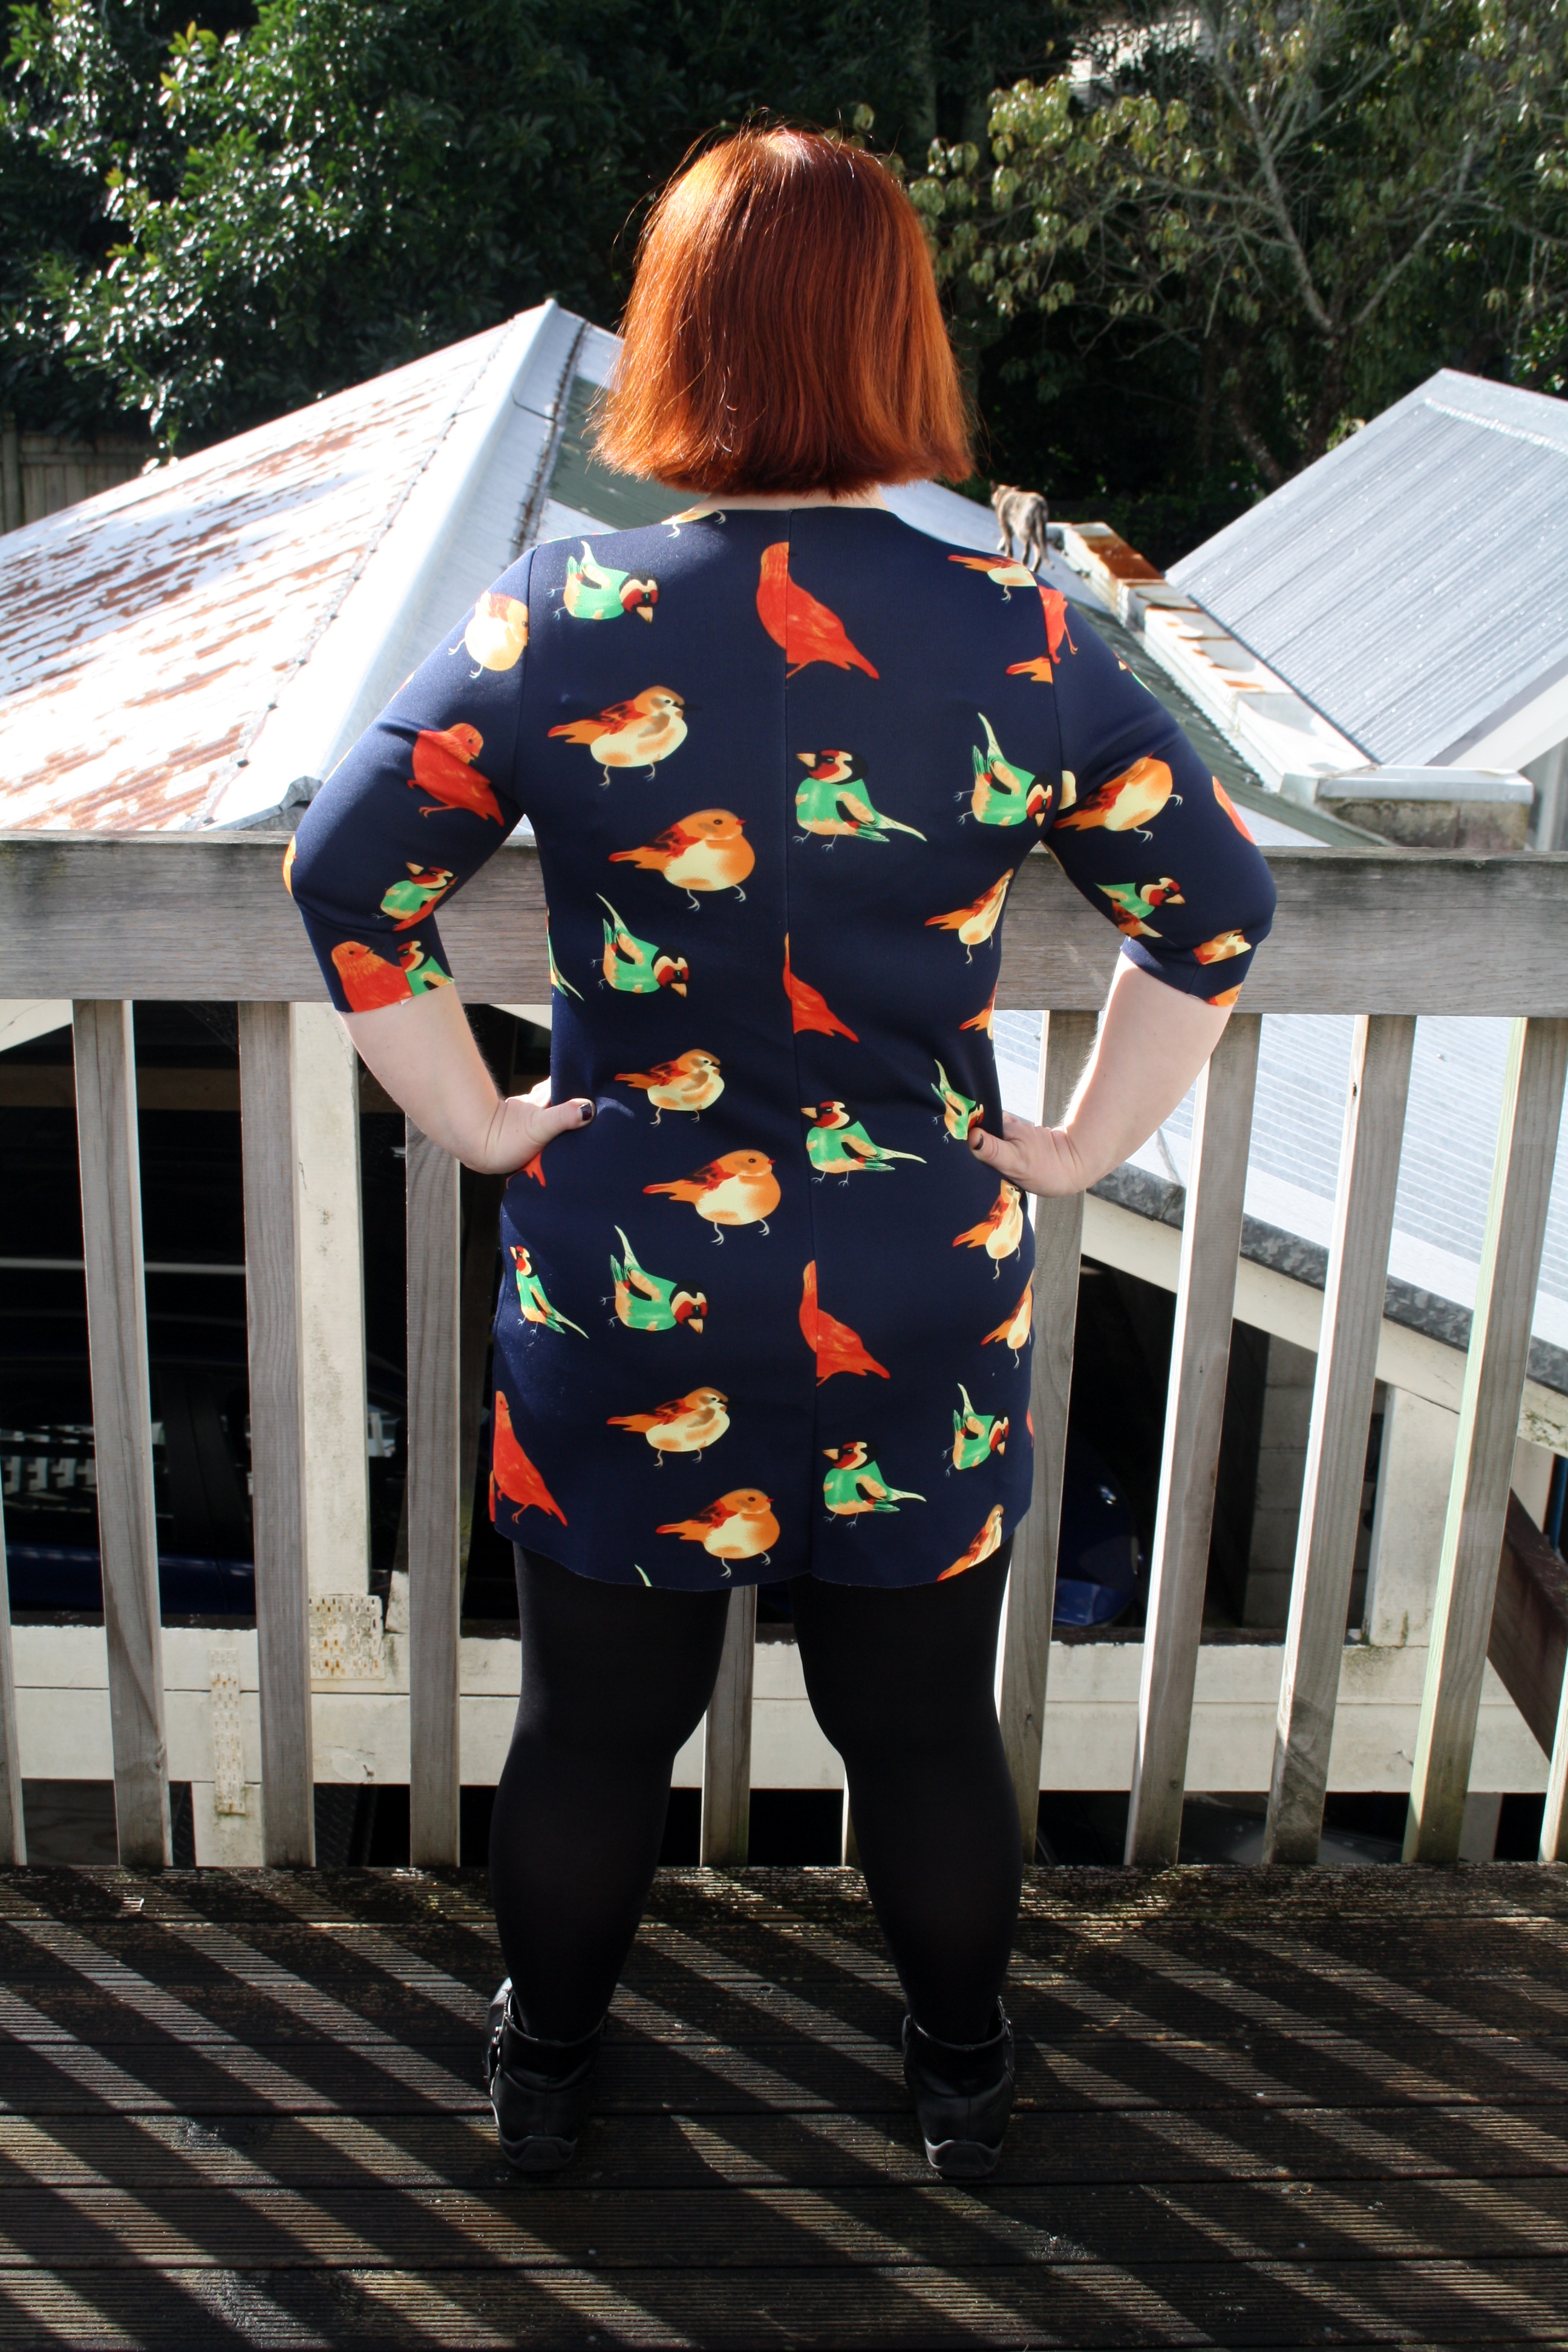
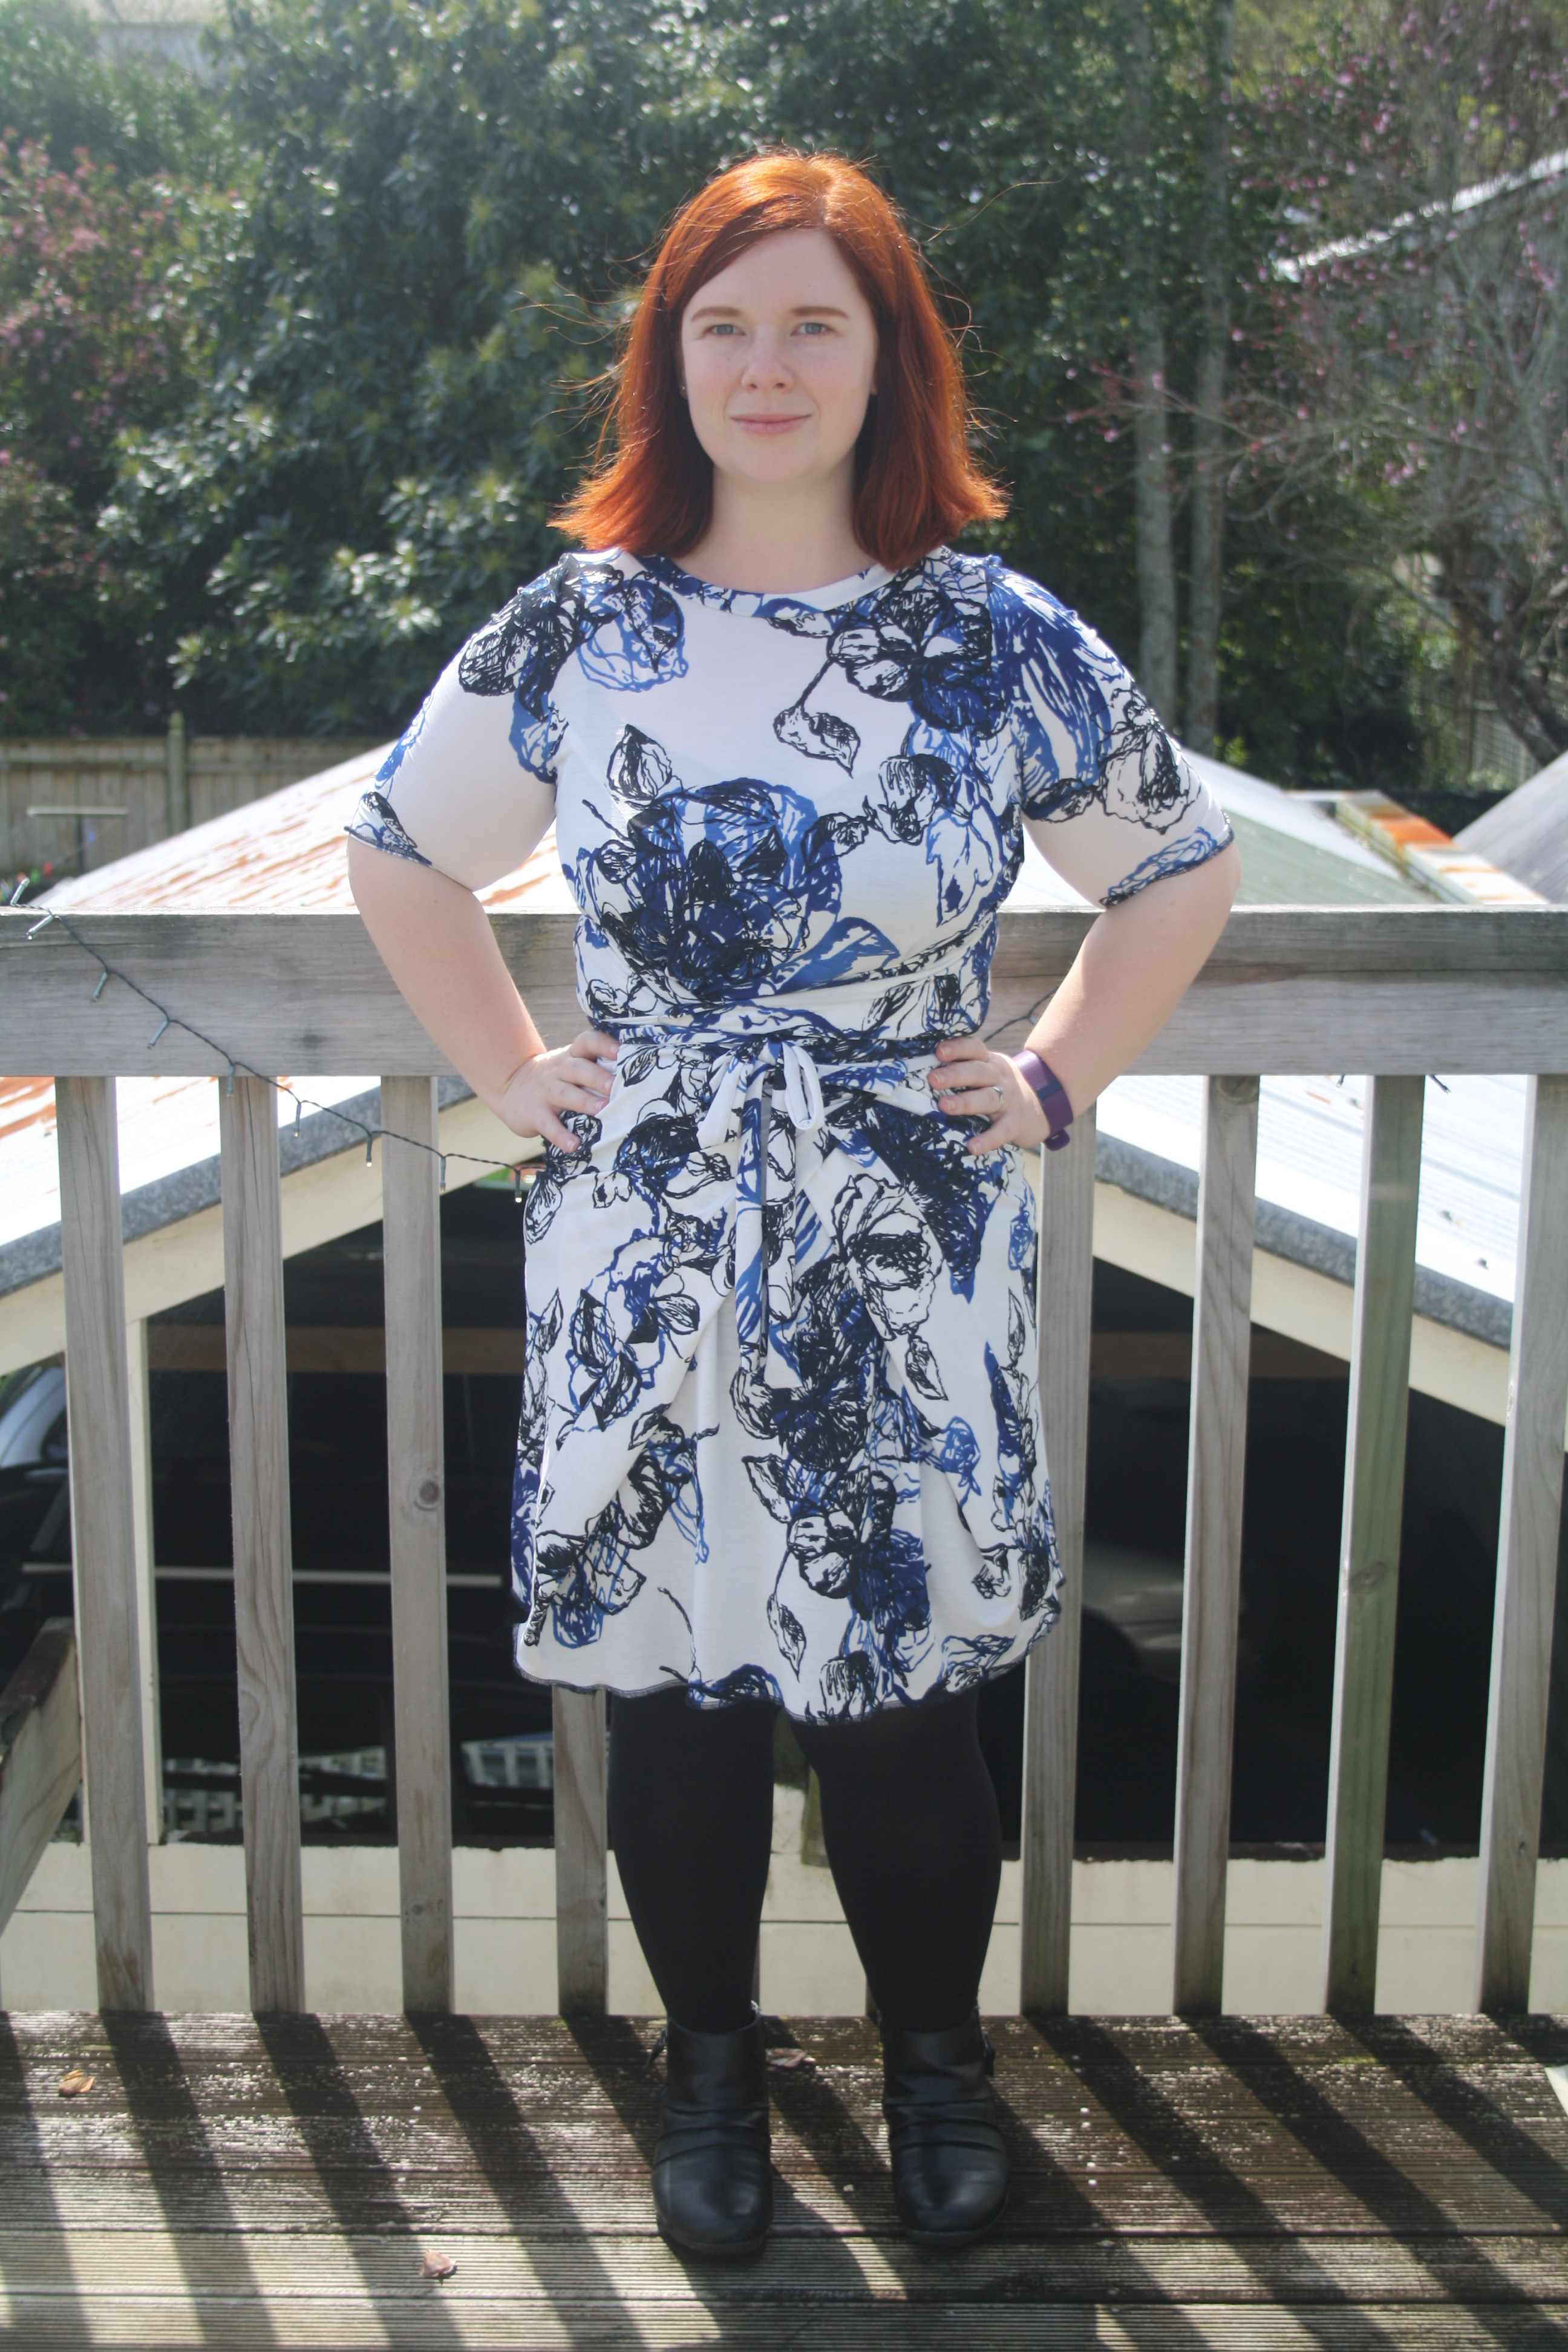
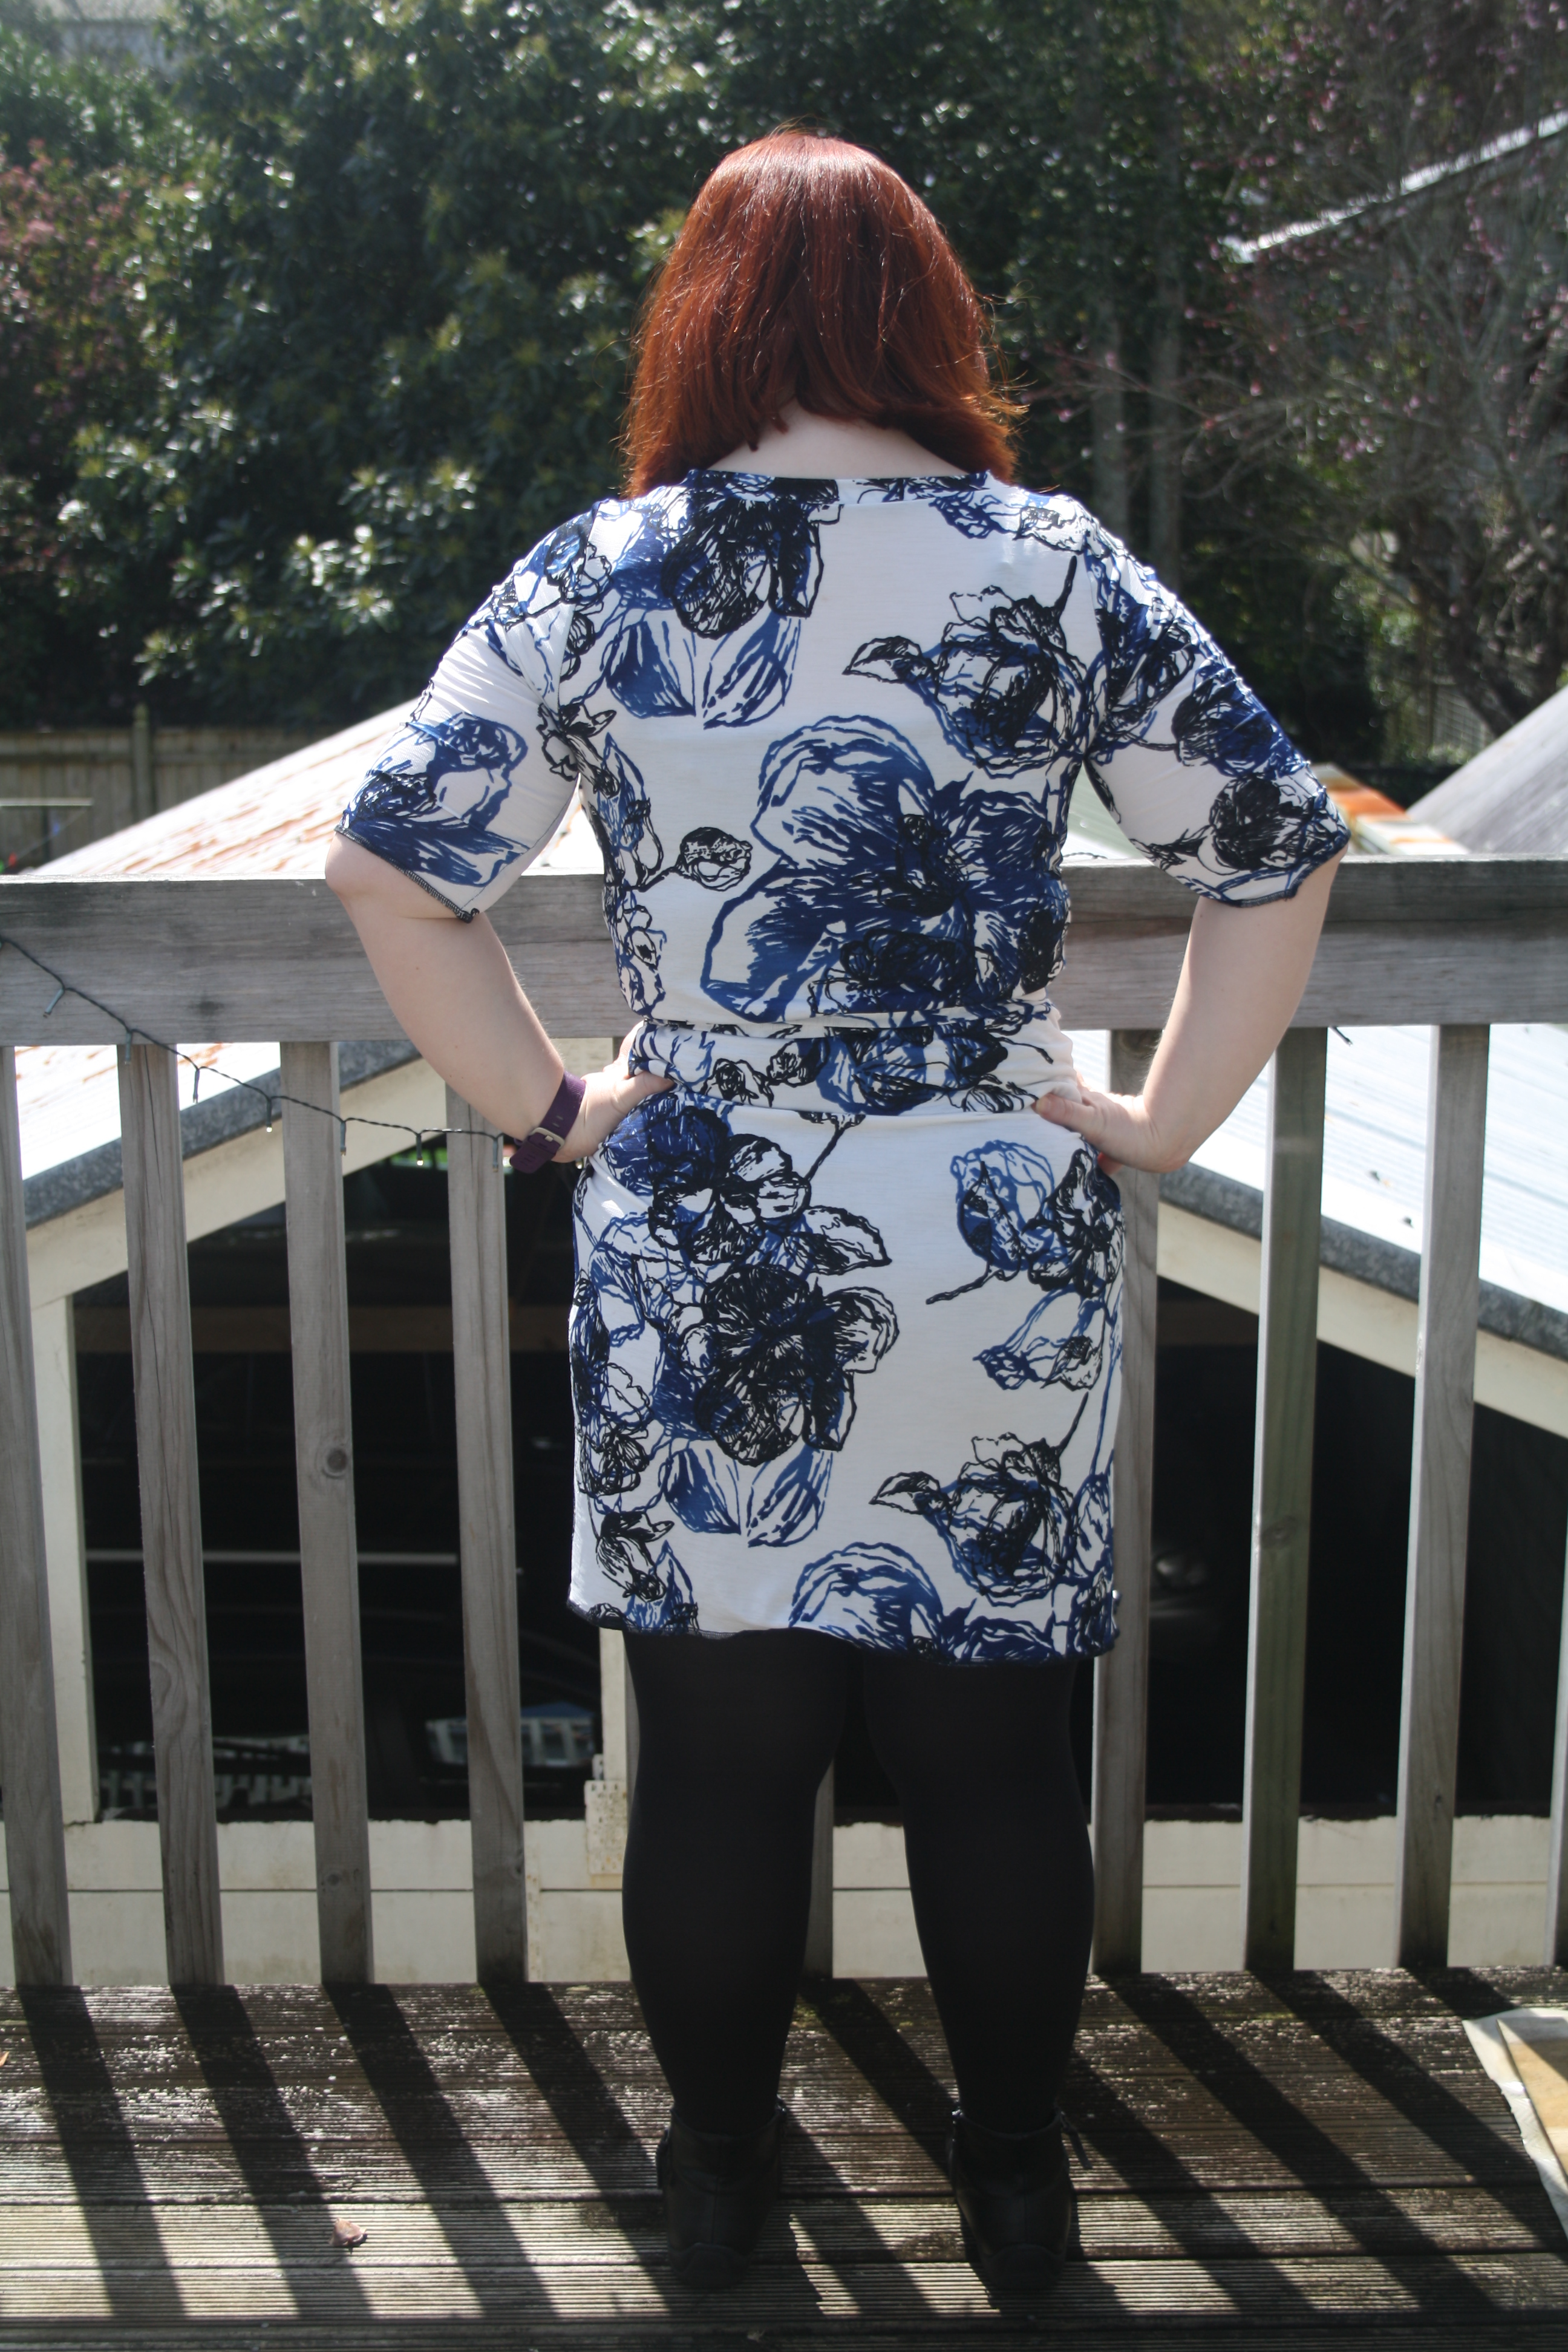
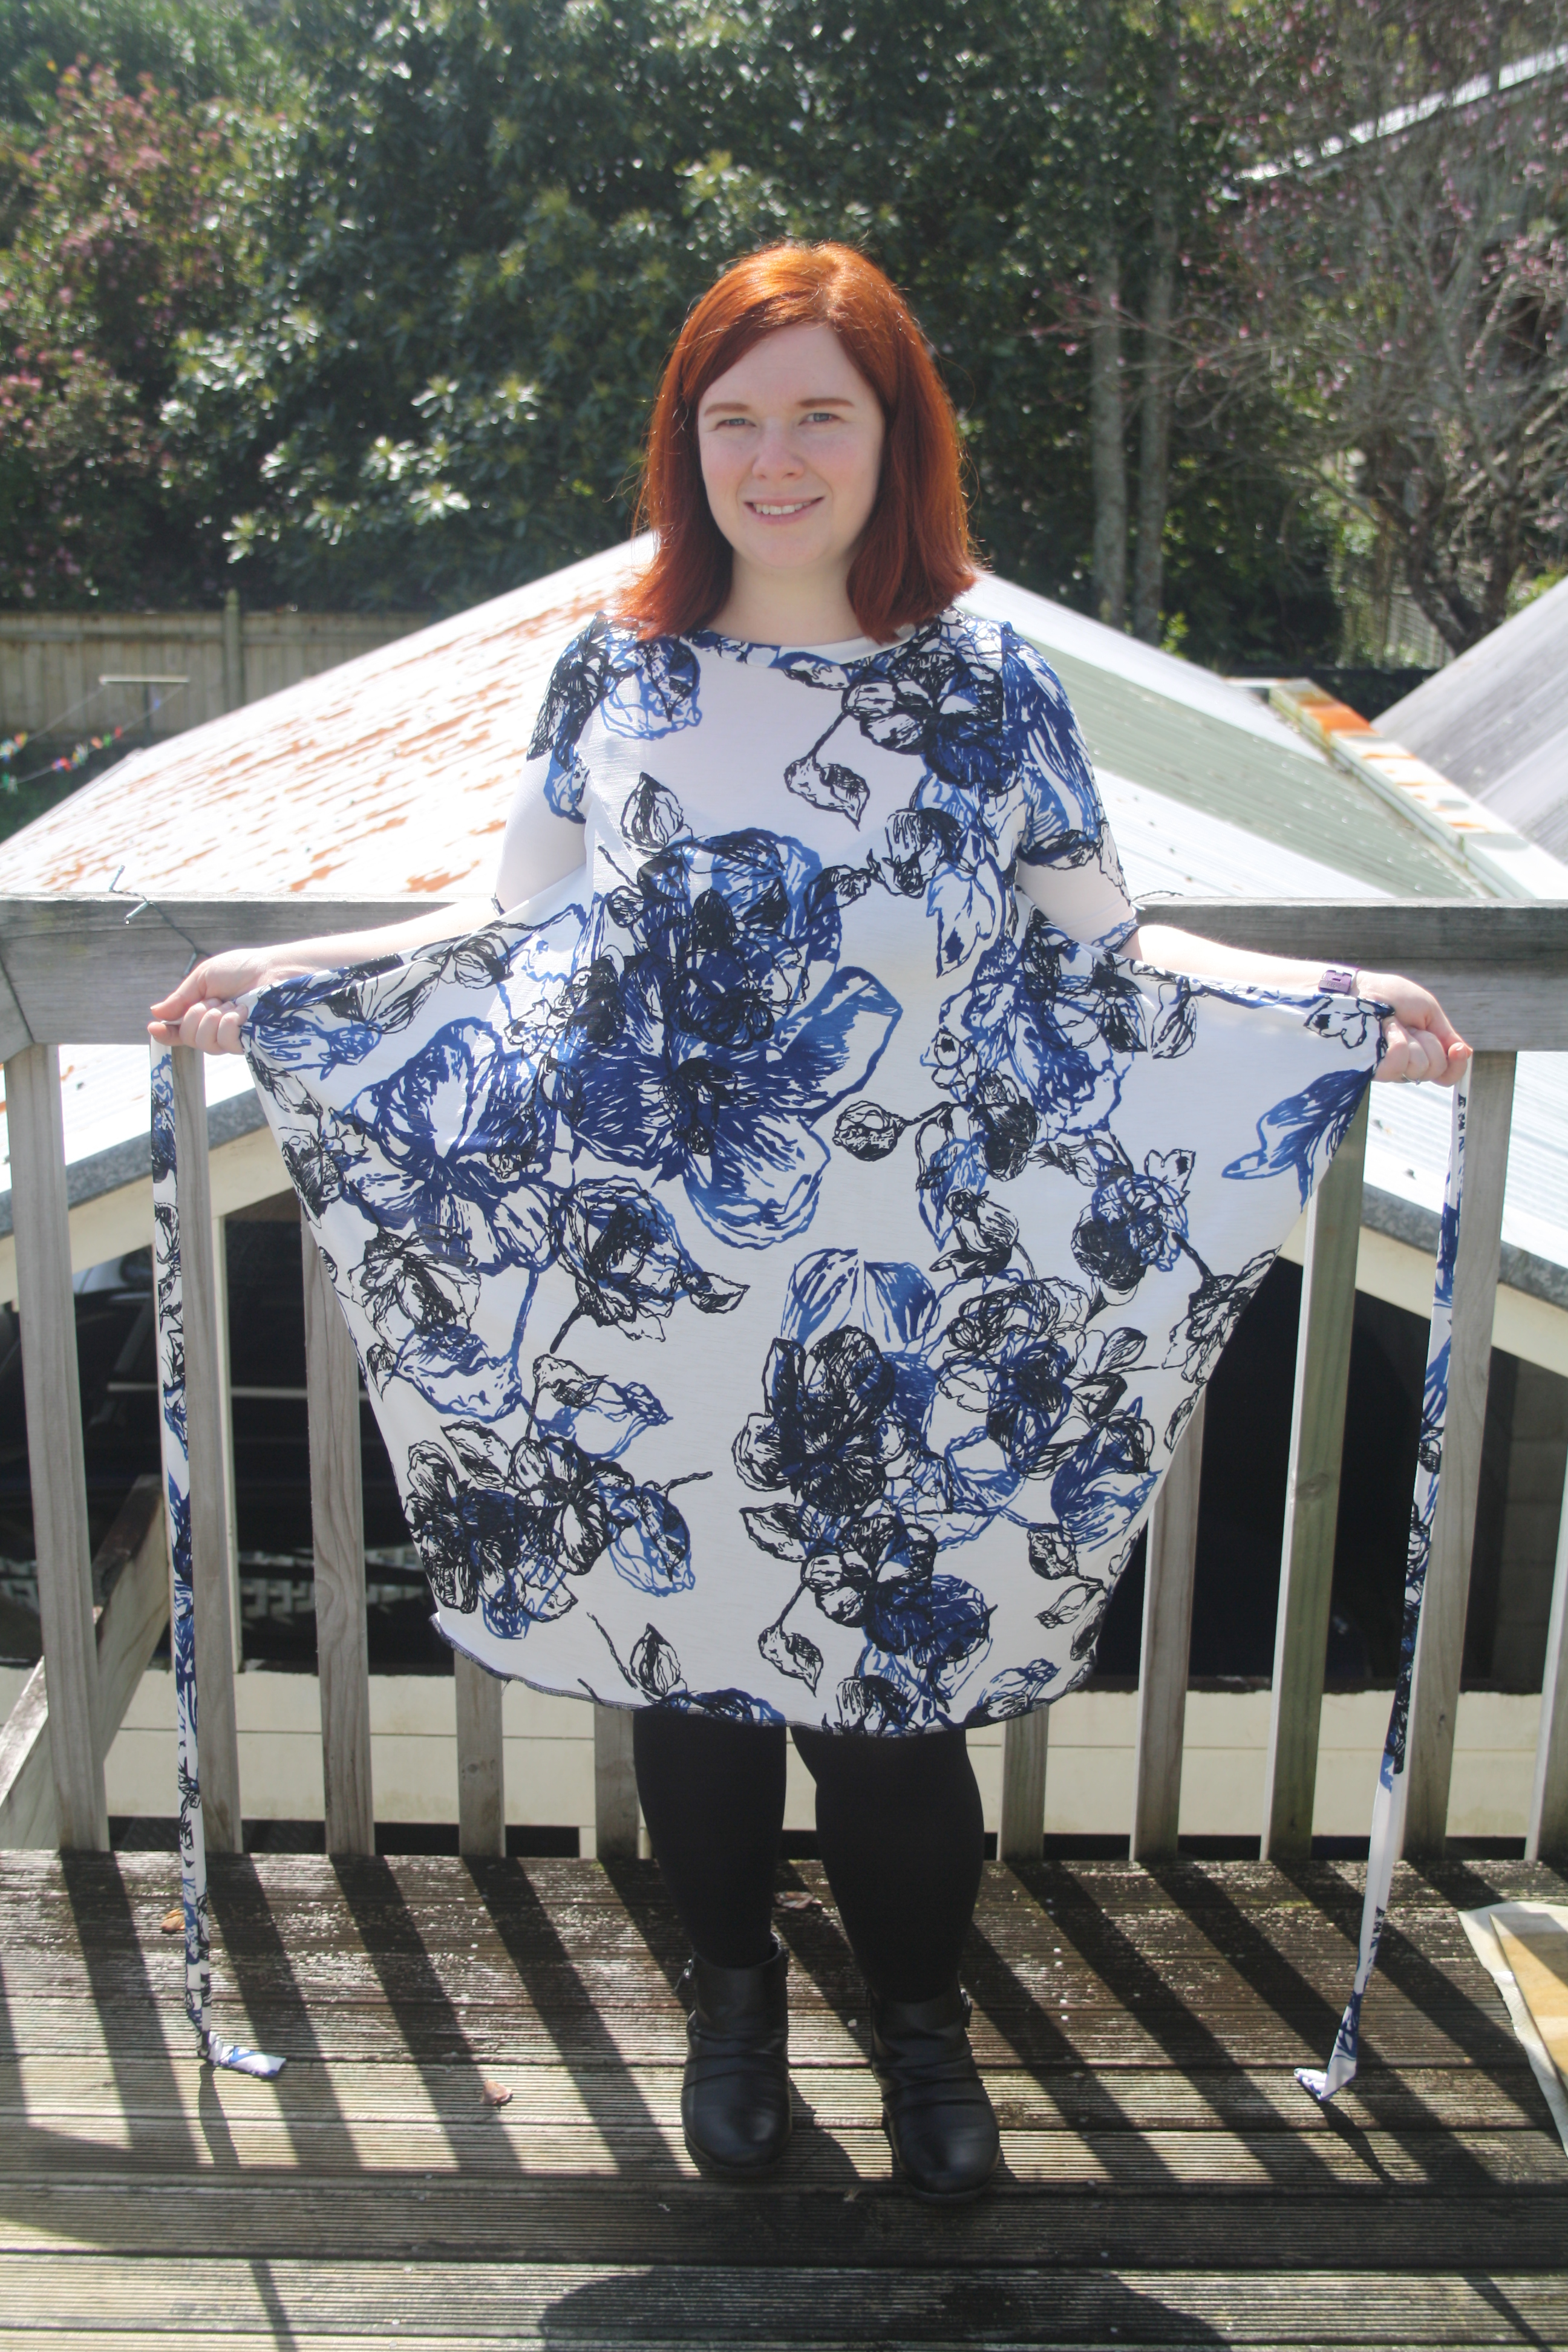
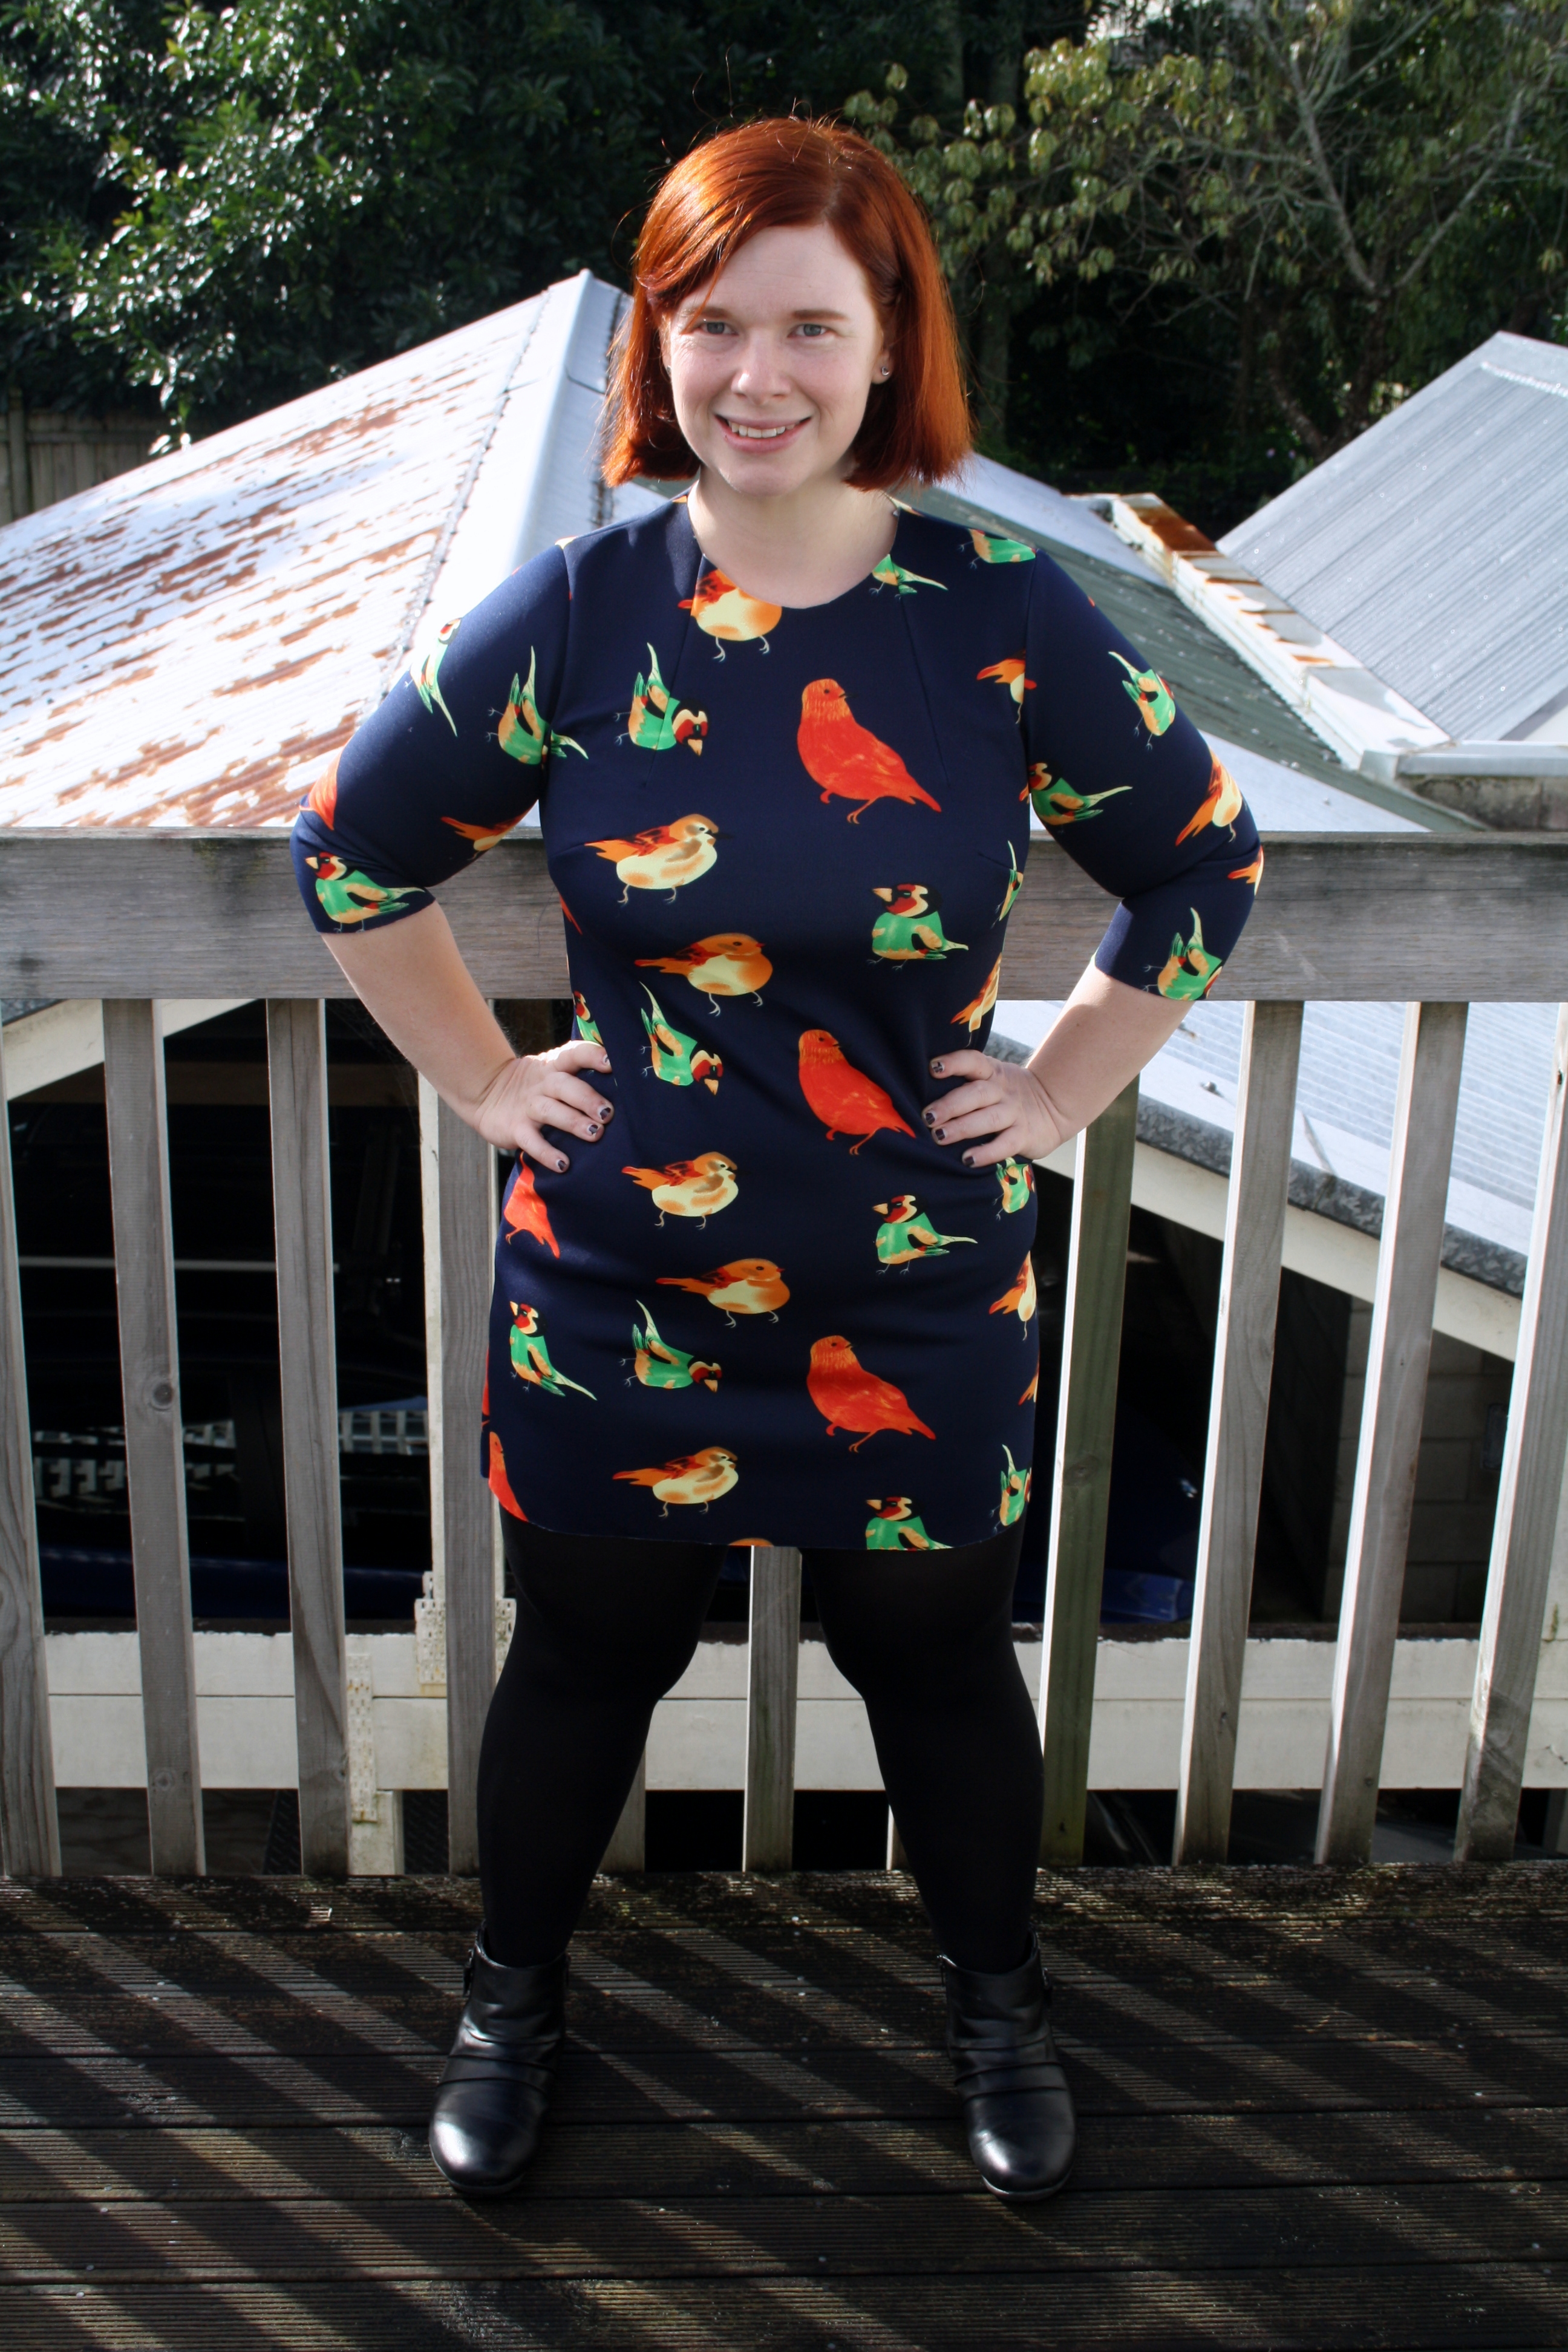
Nothing about the line drawing of this pattern or the sample photo on the model indicated that this would be a tight, short dress – but that’s what I got. I feel like these photos do not adequately convey how short this dress is. Maybe I’m becoming a prude in my old age, but I don’t want to be pulling my dress down every few minutes or worrying about whether my undies are on display. No thanks! Luke tried to insist that it wasn’t that short – until I bent down to pat the neighbour’s cat and he said “Oh…I can see a good two thirds of your knickers.” Fantastic.

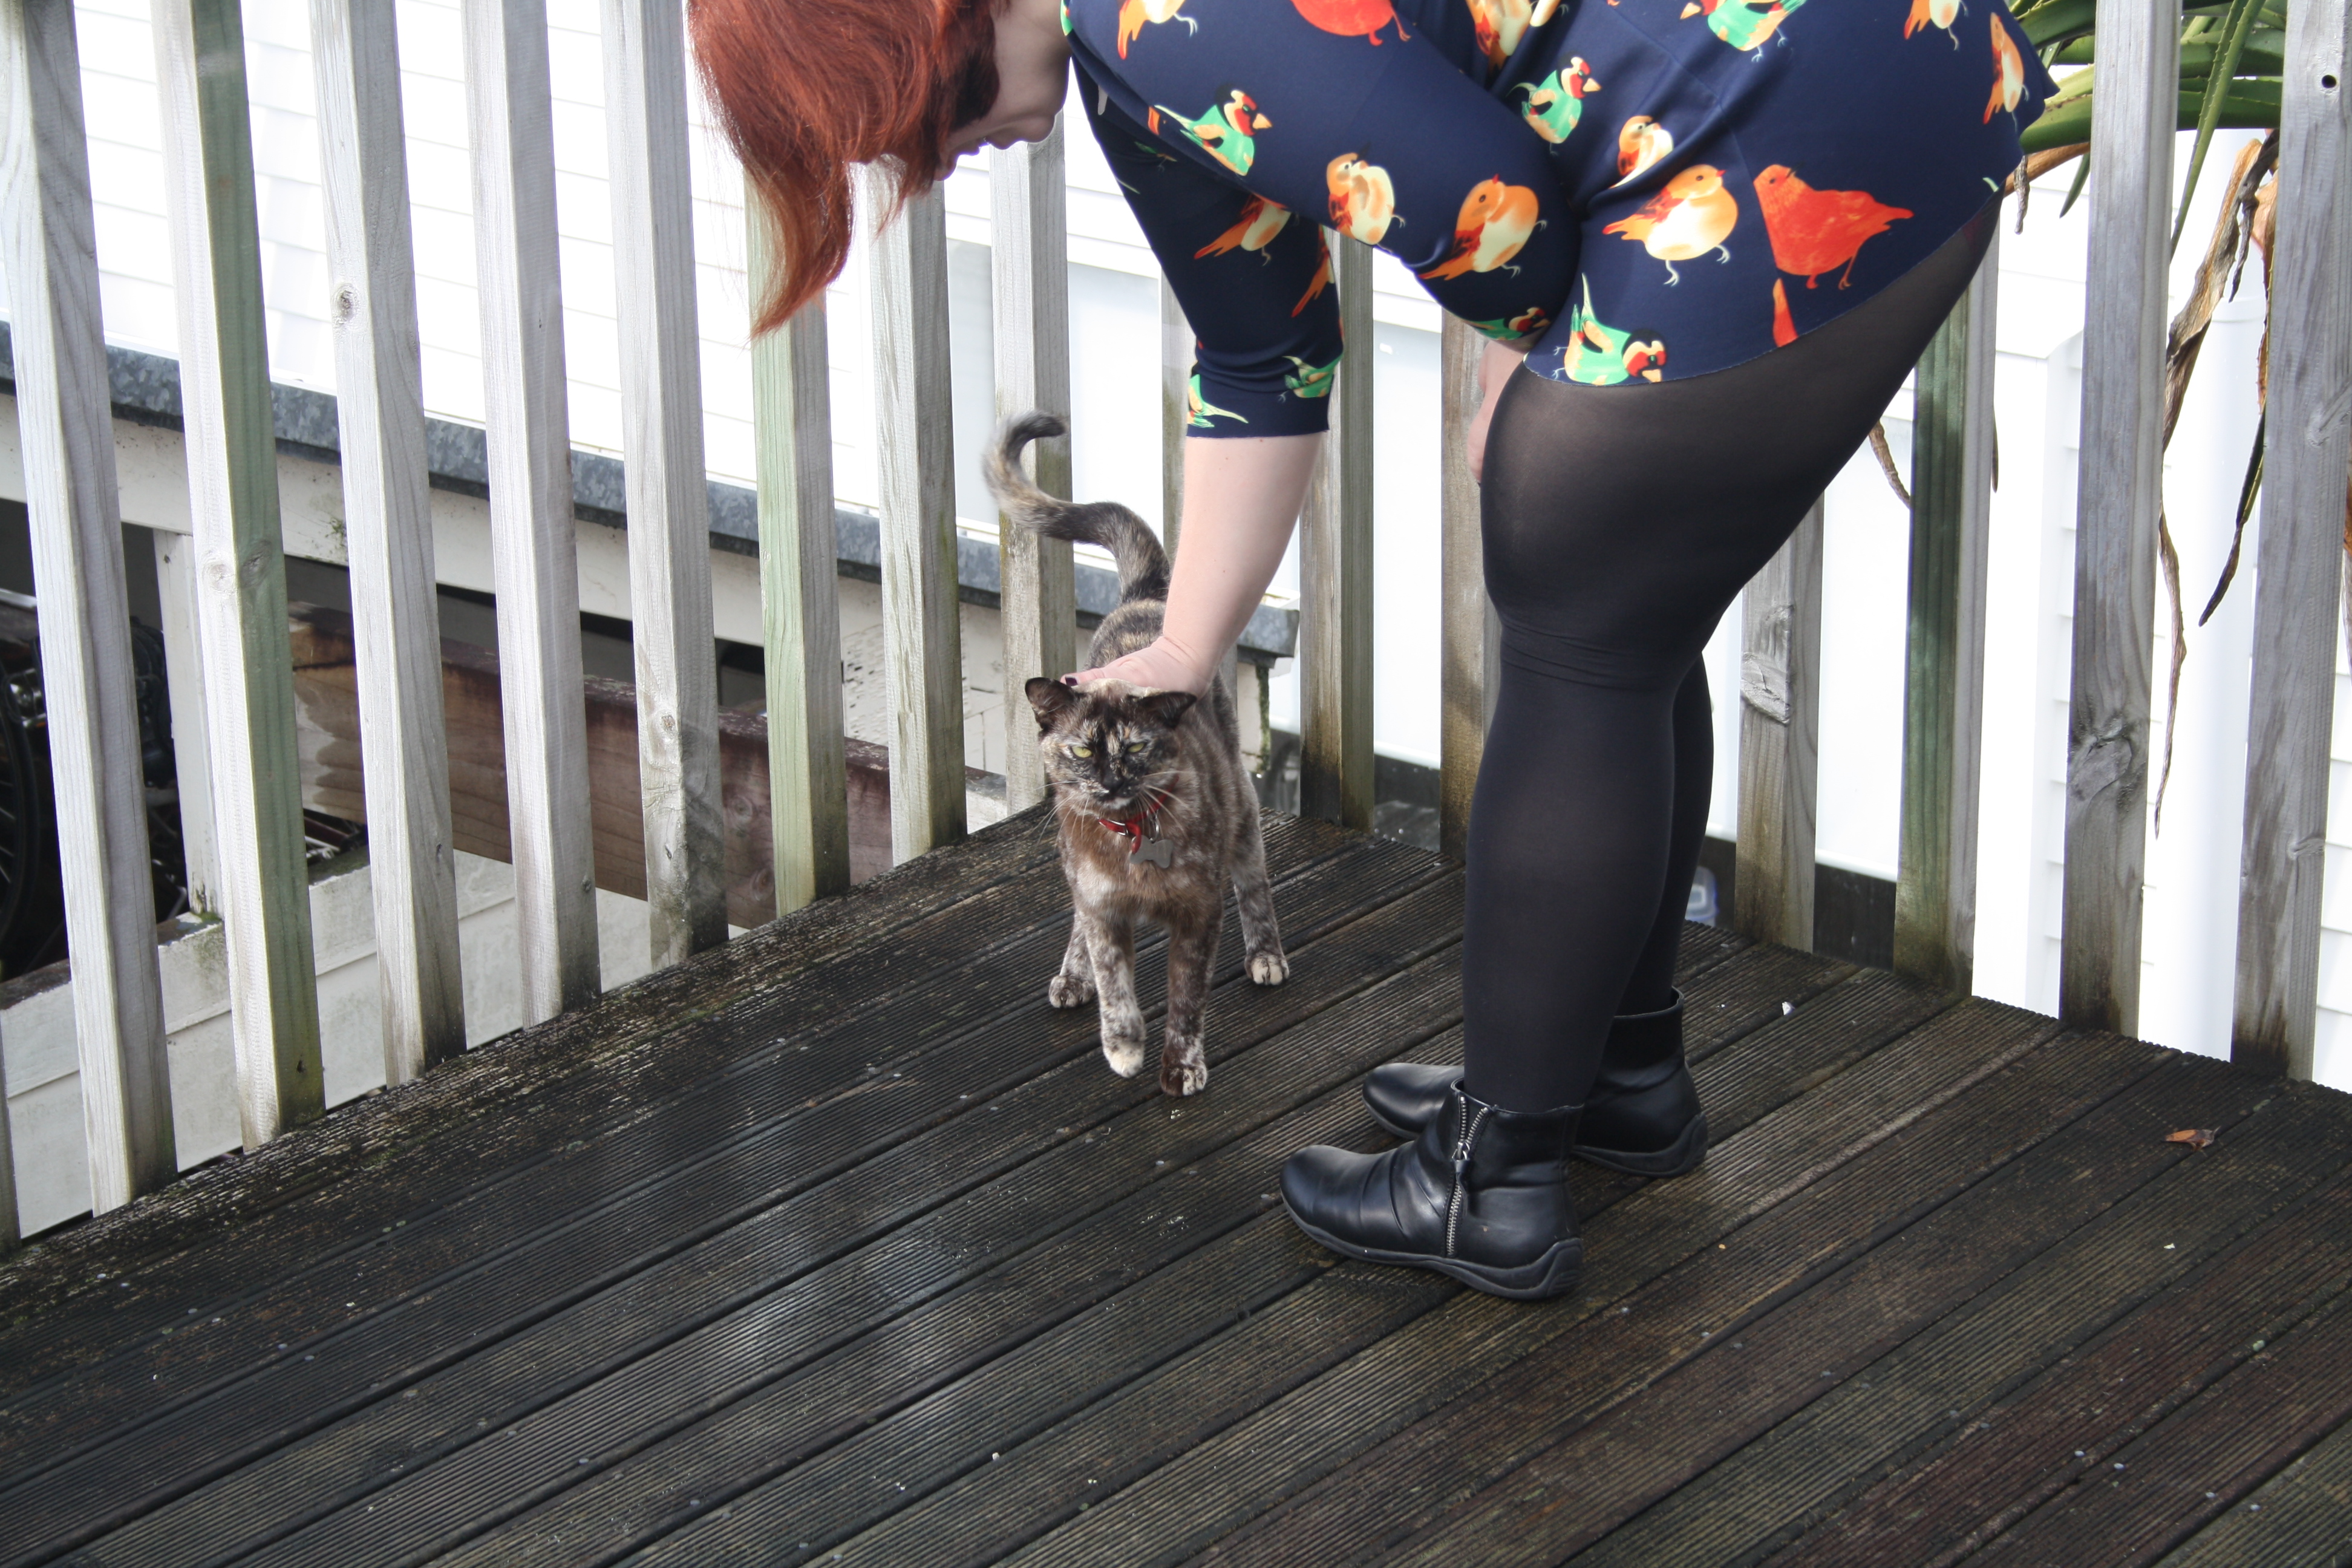
Too short!! As you can see from the above photo. By the way, that’s Zambesi, the neighbour’s very vocal cat that likes to poo in my vegetable garden -_-

So unfortunately, this dress will be stuffed in the op shop bag. Not everything can be a winner. It’s a shame, because it’s cute and fun and I love the print, but I’m not sacrificing comfort and practicality. Have you made anything disappointing lately? Commiserate with me!

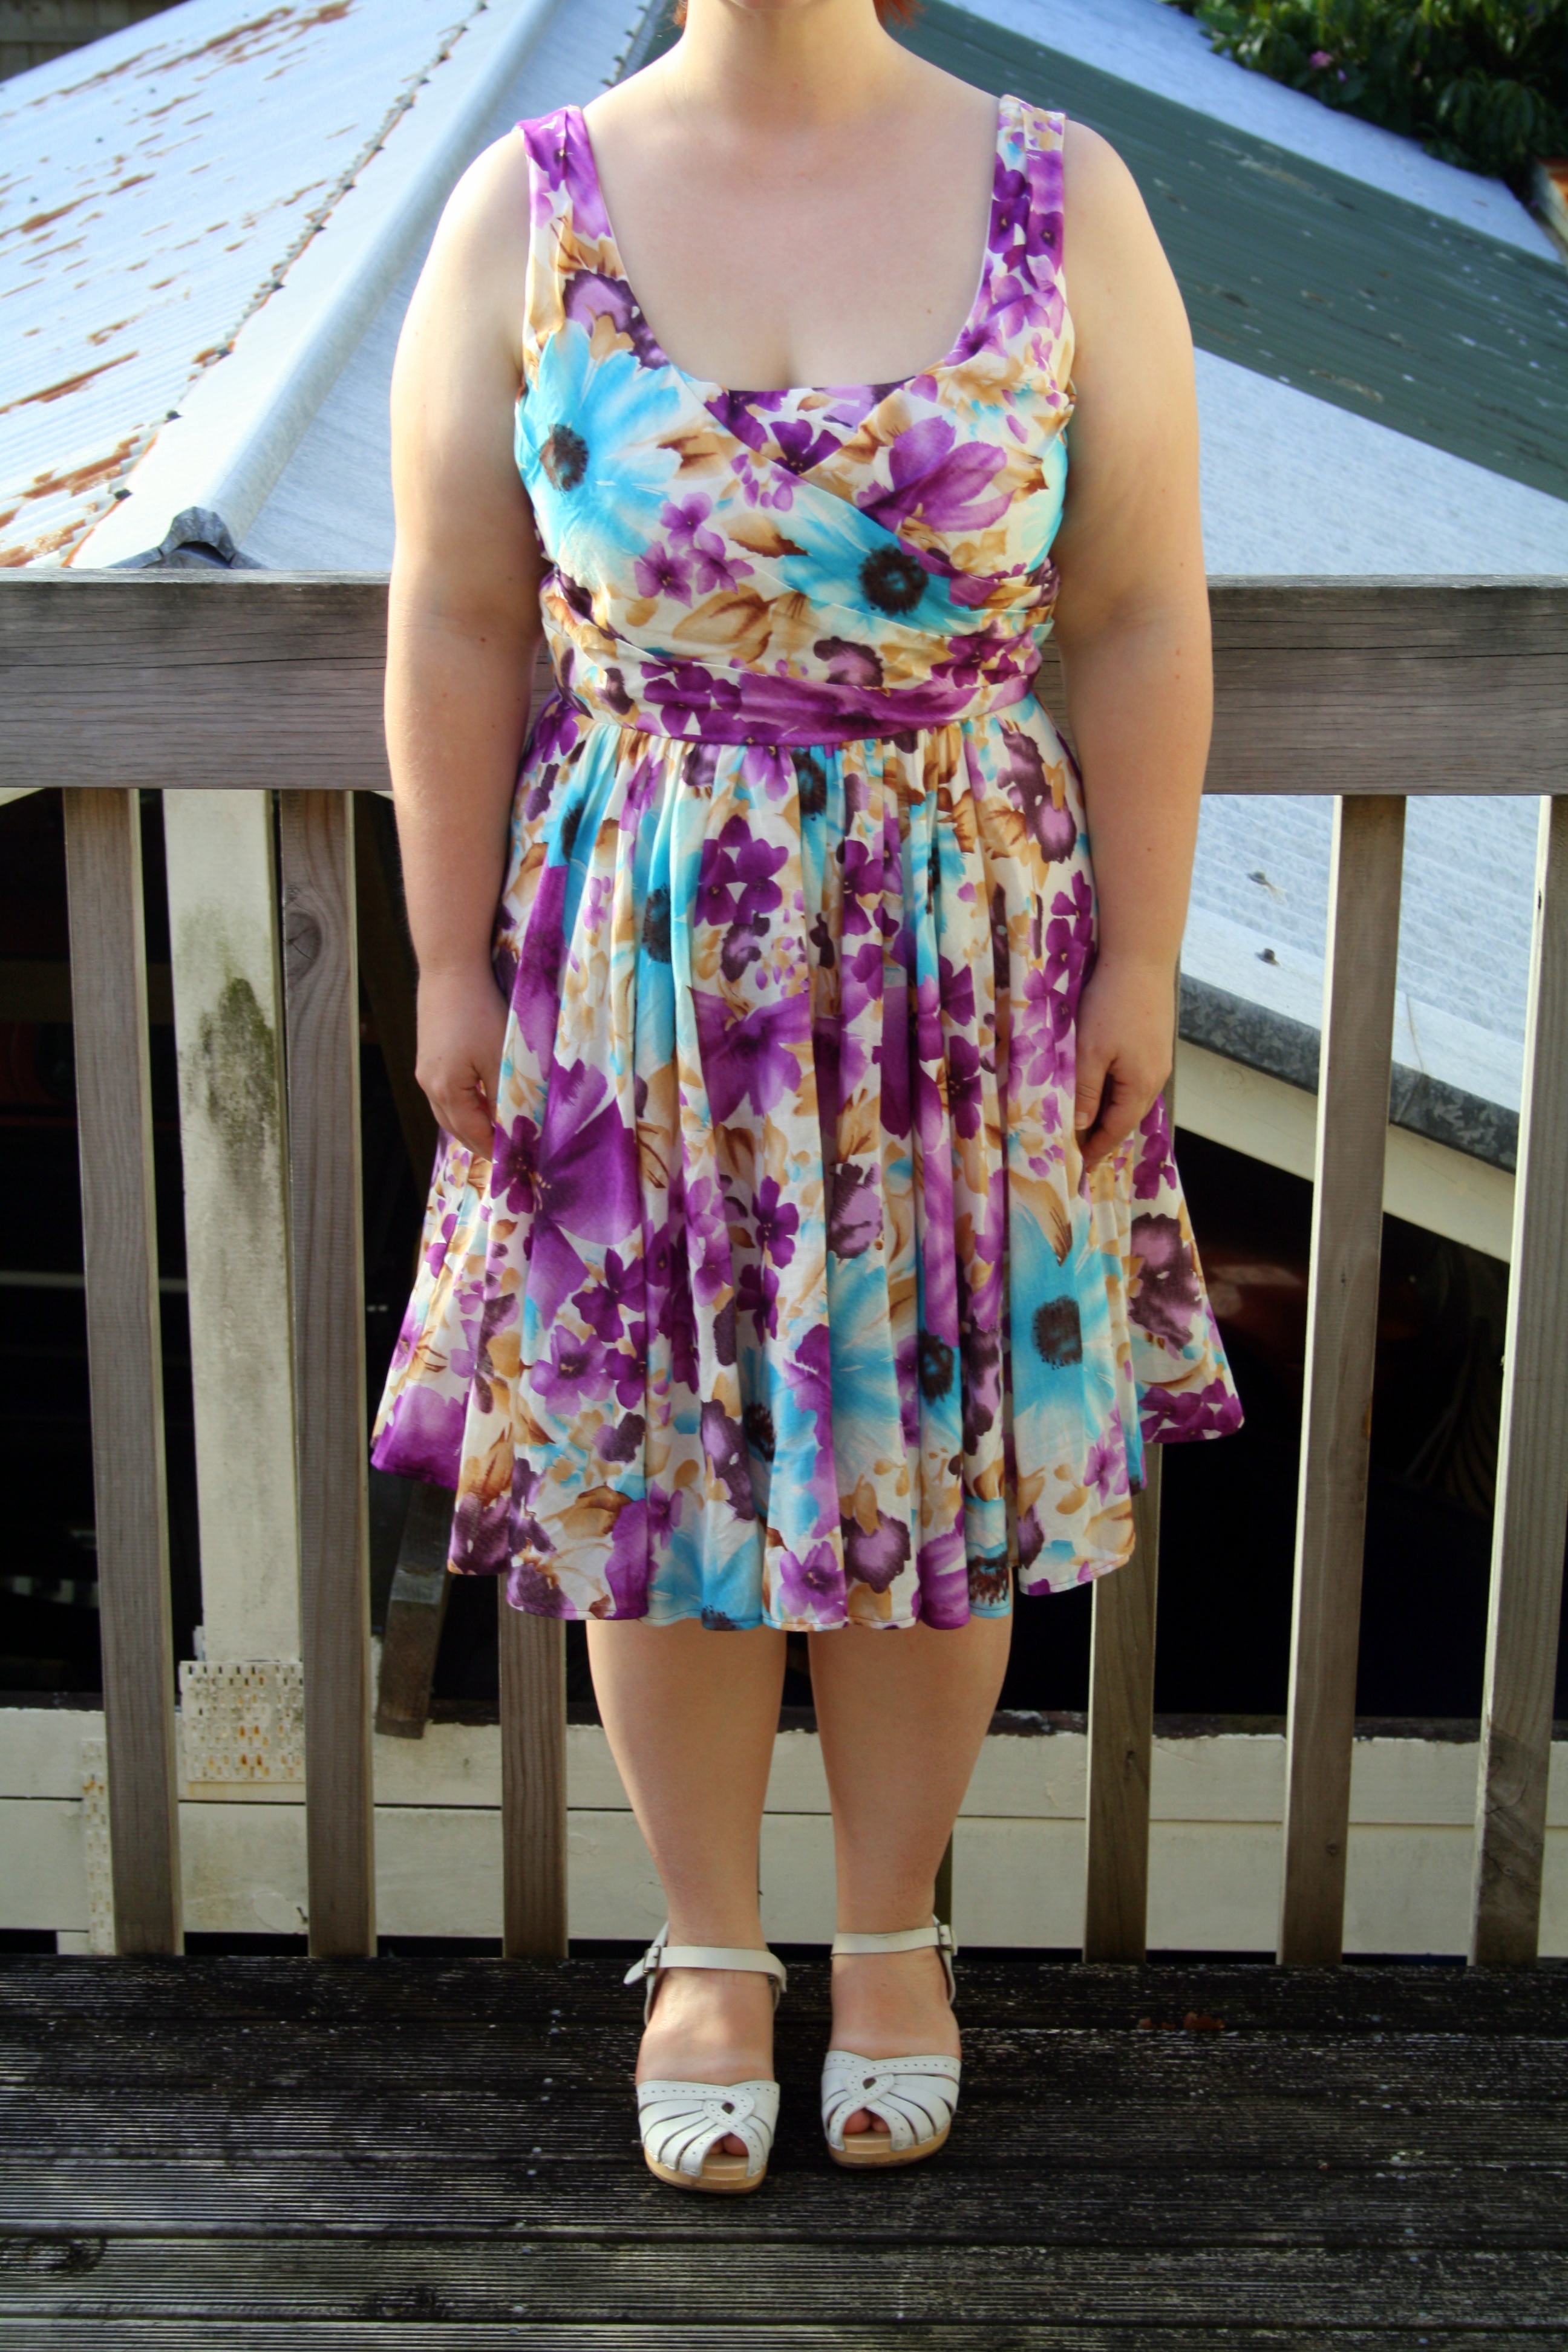
PS: I have some definite winners to share with you in the coming week that I’m very happy with – my sewjo is at an all time high!

Advertisement
Standard
sewing

Foray into Japanese sewing patterns

I’ve got a bit of a backlog of sewing projects to share – last year before our trip to Japan I churned out a pair of Ginger jeans for me, another pair of Jutland pants for Luke and a merino Ensis tee for me, thus proving to me once and for all that I work best with a deadline in sight! But since it’s summer here in NZ and I’m not currently wearing jeans or merino tops, here’s a project I sewed up today instead.

img_6374

The pattern is one I bought from Miss Matatabi last year, on a whim. I hadn’t heard of the pattern company before, but it was cheap and something about it intrigued me. It seems right now she’s only stocking the blouse in a kit, however. It consists of 3 pieces – the front and back are identical, and then the sleeves/yoke are a separate piece for front and back. The pattern is entirely in Japanese, however there are diagrams to help. I have been teaching myself Japanese for a while now (and previously studied it for a year at University) and so my prior knowledge together with Google Translate helped me to understand most of what was going on. Unfortunately I’m never very good at visualising how to rotate pattern pieces and how everything comes together in English patterns, let alone Japanese ones, so there was definitely some head scratching at first.

img_6366

The end result is…well, it’s different. Japanese fashion always looks effortless and elegant on Japanese people, but on me? Not so much. I’ve wanted to give Japanese sewing patterns a go for a while, and I own a couple of books, but up until quite recently I’ve been larger than the largest size, and I can’t be arsed grading up. This particular pattern is one size, but that size is huge so no worries there. I haven’t altered it at all. I’m carrying some extra kilos from eating ALL THE CAKES in Japan, but hey, I could be 6 months pregnant under this dress and no one would be any the wiser.

img_6368

It’s a very simple silhouette – a bit kimono-esque. The sleeve/yoke pieces are joined together to make the entire top of the dress, there is no shoulder seam, and they’re just rectangles. The first front seam hits across my high bust, the second somewhere across my upper back/shoulders, and the third around my armpits. The inside is very neat, everything is overlocked, turned and stitched in place. And, in a minor miracle for me, all the notches and hems lined up everywhere. Seriously, this never happens!

img_6372

The fabric is a rayon challis (most likely) bought from a fabric bin at my local Red Cross op shop. It’s got fantastic drape, and is light and flowy – perfect for the sudden onset of warm weather Auckland is having. All that said, I’m a bit on the fence about it. I mean, it’s not flattering. At all. But it is supremely comfortable, and I feel weirdly stylish wearing it. I ventured out to my local dairy (convenience store) this afternoon in it and felt a bit confident, even. I don’t think I’ll make it again though – for starters, I think 1 muumuu in my wardrobe is enough, and I have a list of things I want to sew that just keeps growing, so no time for repeats!

img_6110

Just one of the delicious treats I ate in Japan – already wondering when I can return!

Standard
sewing

Scribble Flower Named Kielo Dress

img_5038

Hello hello, how’re we all doing? Another inadvertent break from blogging, but I’m back with a new dress – the Named Kielo wrap dress. I’ve been aware of this pattern for ages, but I didn’t think it would suit me, so I didn’t pay much attention to it. But after a few failed projects that I *did* think would suit me and ended up being swiftly donated, I threw caution to the winds and decided to go in a different direction. And you know, I’m so glad I did, because I love this dress!

img_5042

I hesitated over what size to make – my measurements put me at a size 44 in the bust, but my fabric was quite stretchy and I wanted a flattering fit, so I went with a 42 in the end. Speaking of the fabric, I really struggle finding nice knits in NZ, but I liked this scribbly flower one I found on Trademe because it’s not your typical floral. It’s polyester, but it does drape nicely and that was my main concern. Unfortunately it’s also a little sheer, so I have to wear tights and a camisole underneath (or a slip, if I owned one) for modesty.

img_5044

I didn’t want a maxi dress, so I cut a whole heap off the length. I don’t even know how much, even if I’d wanted a maxi dress I would have had to cut heaps off as it’s drafted for tall people and I’m 155cm. I also cut length off the sleeves, as I wanted them elbow length rather than full length. I sewed the entire thing on my overlocker, because I got a new one that I can actually use! I was using some janky old Babylock previously that was a bitch to thread and frequently snapped threads and other business, so I sold it and bought a Brother 1034D second hand (which came with an instructional VHS!) that I love. I paused when it came to finishing the neckline and the hems though, as it’s quite a drapy knit and not very stable. I didn’t want it to stretch out, and I was out of that fusible knit tape everyone thinks is so great. I came across a blog post somewhere about making your own out of fusible interfacing cut on the bias, so I overlocked all the raw edges and applied the interfacing to the hem, turned it under and tried sewing it with a twin needle, but just as I was thinking it was going well, my machine had a fit and refused to deal with it any longer. I tried rethreading it several times, but nothing worked, so I unpicked it all and peeled off the interfacing and just left it as an overlocked hem – the same with the sleeves. I kind of like it, honestly, so I’m leaving it that way.

I just made a binding for the neck from self-fabric, and made it 3/4 of the length of the neckline and attached it with my overlocker, gently stretching it the whole way. I’m very happy with that finish!

img_5046

I think my style is changing a bit. Before this I tried making another Colette Moneta out of a purple jersey from The Fabric Store, but I forgot how wide the neckline is on that dress and hated it the minute I put it on, and it was way too purple. Before that I made a Sewaholic Granville shirt from a grey linen with contrast orange birds, and I hated that too because it looked stupid and didn’t flatter my figure at all. It can be hard to find motivation to keep sewing when everything turns out badly and you start to wonder if you can even sew properly or make trustworthy decisions about your wardrobe, so thank goodness for this dress – a much needed win.

img_5035

It’s perfect for hugging the neighbour’s cat, too!

Standard
sewing

Floral Watercolour Butterick 5750

Front

I’d like to apologise from the outset for the headless photos. I’m currently suffering from some rather dreadful cold sores, and no one needs to see that. I did think about delaying taking the photos until they subsided, but I wanted to take advantage of the last of the warmish weather, and besides, it’s been positively ages since I’ve updated this blog!

But lack of head aside, look at this dress I made! Last month Luke and I attended a dear friend’s wedding back in Australia, and I seized the opportunity to make myself a pretty dress. The pattern (Butterick 5750, now out of print but still able to be purchased on the Butterick website) is one I had actually made once before, but sadly I was still a little bit new to sewing and I ended up making it too small. Which was such a pity, because it was lovely. I made it up in a red and white crepe that I got for $1.99 in a crazy US sale, and it was swishy and delightful. And, most definitely, never going to fit. Someone in Berkeley is probably swanning around in it right now. C’est la vie.

Back

The fabric came from Centrepoint Fabrics, and was simply labelled as “cotton print”. It is light and floaty, and absolutely perfect for this dress. Let me tell you, you need a lightweight fabric for this dress. I would not have wanted anything heavier. Even in this fabric, the pleats still drooped more than I would have liked. The lining is a cream cotton voile from Spotlight. I was very lucky to avoid rather dodgy print placement, as I didn’t even think about that, but luckily I didn’t end up with a big blue flower right over the ol’ nipples. Though they’re still a bit closer than I’d like.

Side

I made a toile of the bodice in a size 18, which matched my measurements. It was too big in every way, so I made another in a size 16, which was almost perfect. There was some very slight gaping on the left side of the front, however on the finished garment, with all the lining and staystitching, it disappeared. I made no adjustments to the bodice – this dress is oddly short in the waist, which suits me just fine. I took about 10cm off the hem of the skirt though, as I am short and this dress had a looooong skirt.

However, the thing about this pattern is, as I briefly mentioned above – it’s supposed to look like a wrap dress. However, once I had basted in all the pleats and surveyed the result, I wasn’t happy. They sagged terribly, everywhere, even under the minimal weight of this fabric. After I sewed the bodice together, but before attaching the lining, I unpicked all the pleating basting stitches, and pinched and folded and tucked and pinned until I was happy with the way they sat. I then painstakingly, with colour-matching thread, made tiny invisible tacks in strategic places along my folds, until they were all secure and I was satisfied with the way everything draped. It wasn’t 100% perfect – to achieve that, I think some serious shifting of the pleats is in order – but it looked so much better.

Inside Bodice

It’s very pretty on the inside – it’s lined, of course! I slip-stitched the lining to the waist seam, and alongside the invisible zip, that went in beautifully with my new metal invisible zip foot. I was careful to understitch as much lining as possible, too, to stop it peaking out. I used a pale purple invisible zip, but I painted the zip pull a fuchsia colour with nail polish so it matched. And I just found out I’ve been spelling fuchsia wrong my whole life. What a revelation!

Twirl

I got quite a few compliments on the dress at the wedding, and Luke was eager to tell everyone that I made it – more eager than I was! I’m really happy with how it turned out, but I can’t say I’ll be making it for a third time – for one, my life isn’t so exciting and full of garden parties that I need more than one of this kind of dress, and two, all those pleats are way too fiddly. Incidentally, I also made the shirt Luke wore to the wedding, which will be featuring in my next blog post…stay tuned!


Standard