
Luke and I have spoken quite a few times about me making him some clothes. He’s expressed interest in having a handmade wardrobe, and I’ve been excited to do it for him, but it’s taken a long time to come to fruition. I have, in the past whipped him up some pyjama pants and underpants, but they haven’t really been blog-worthy and, quite frankly, were not my best work. But, finally, I have completed the first proper item of clothing for him – the Colette Negroni!
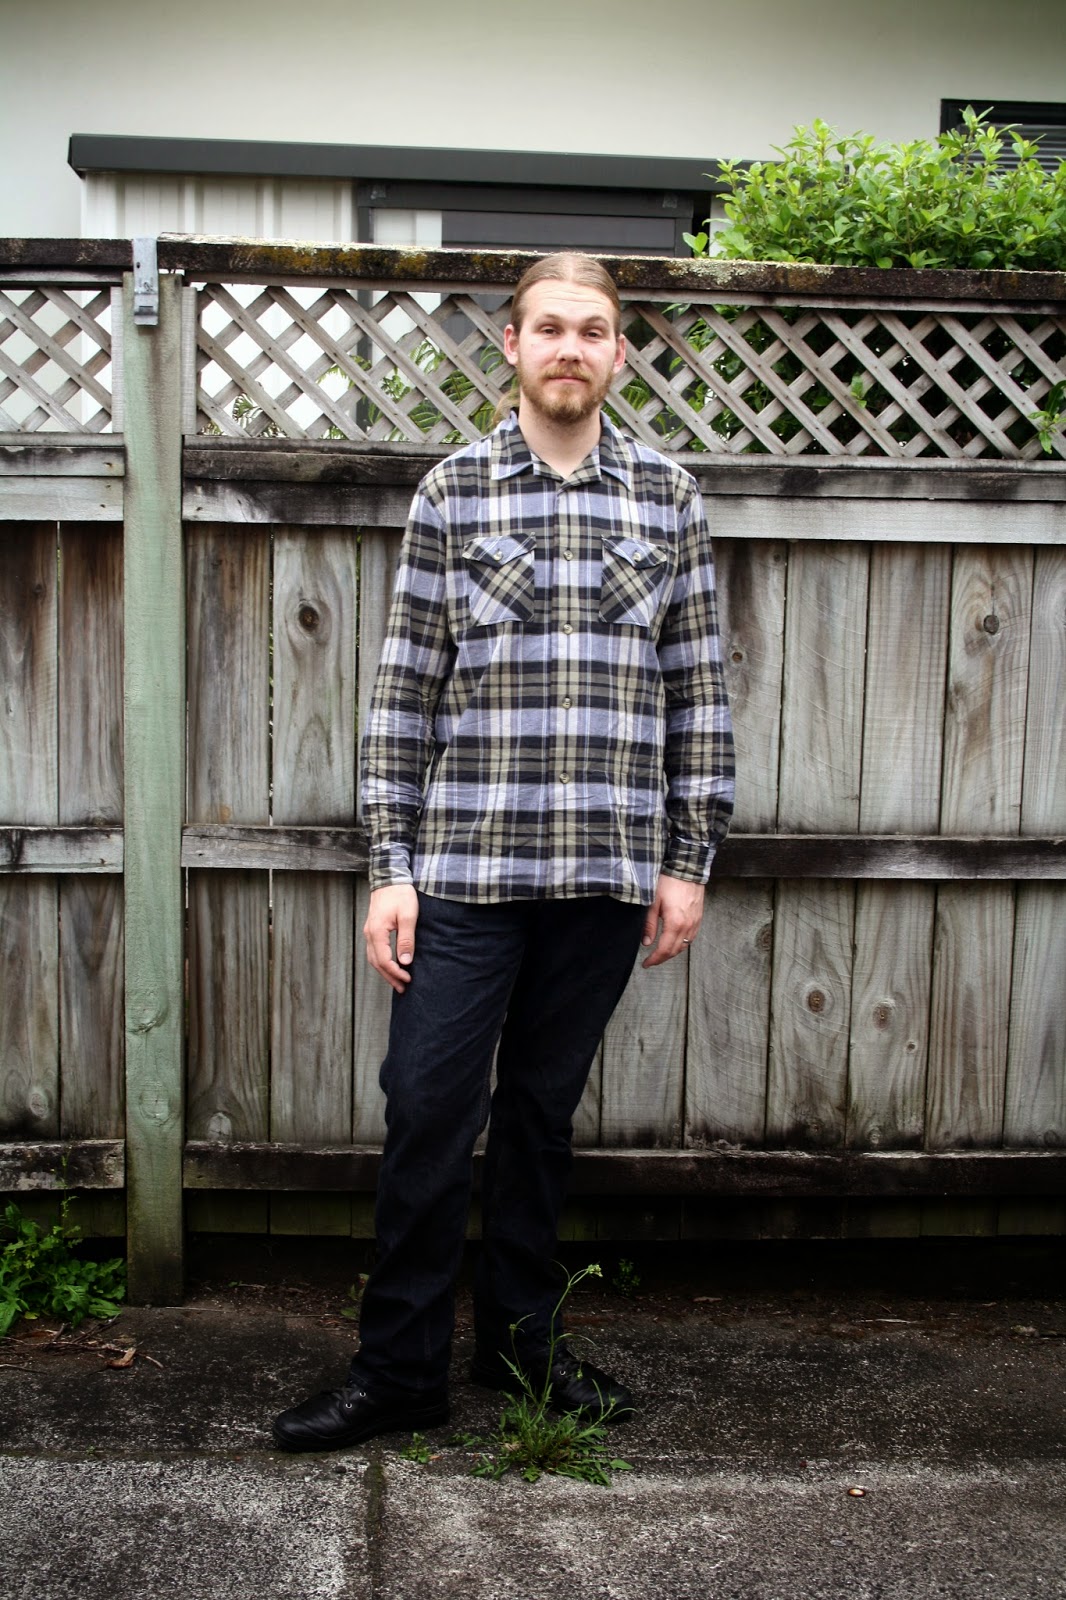
Excuse wrinkles, this was the second day of wearing. Luke picked out the fabric himself, and we got it from an Etsy store called landofoh based in Korea – it’s a lightweight cotton shirting, and it was a dream to work with. It pressed perfectly and felt soft to the touch, and light enough for summer wear. I tried my absolute best to match the plaid, and I’m pretty proud of how well I succeeded. I did want to cut the yoke on the bias, but unfortunately when ordering the fabric I didn’t take into account extra for plaid matching, so that idea was scrapped. In the end, only the pockets were cut on the bias.

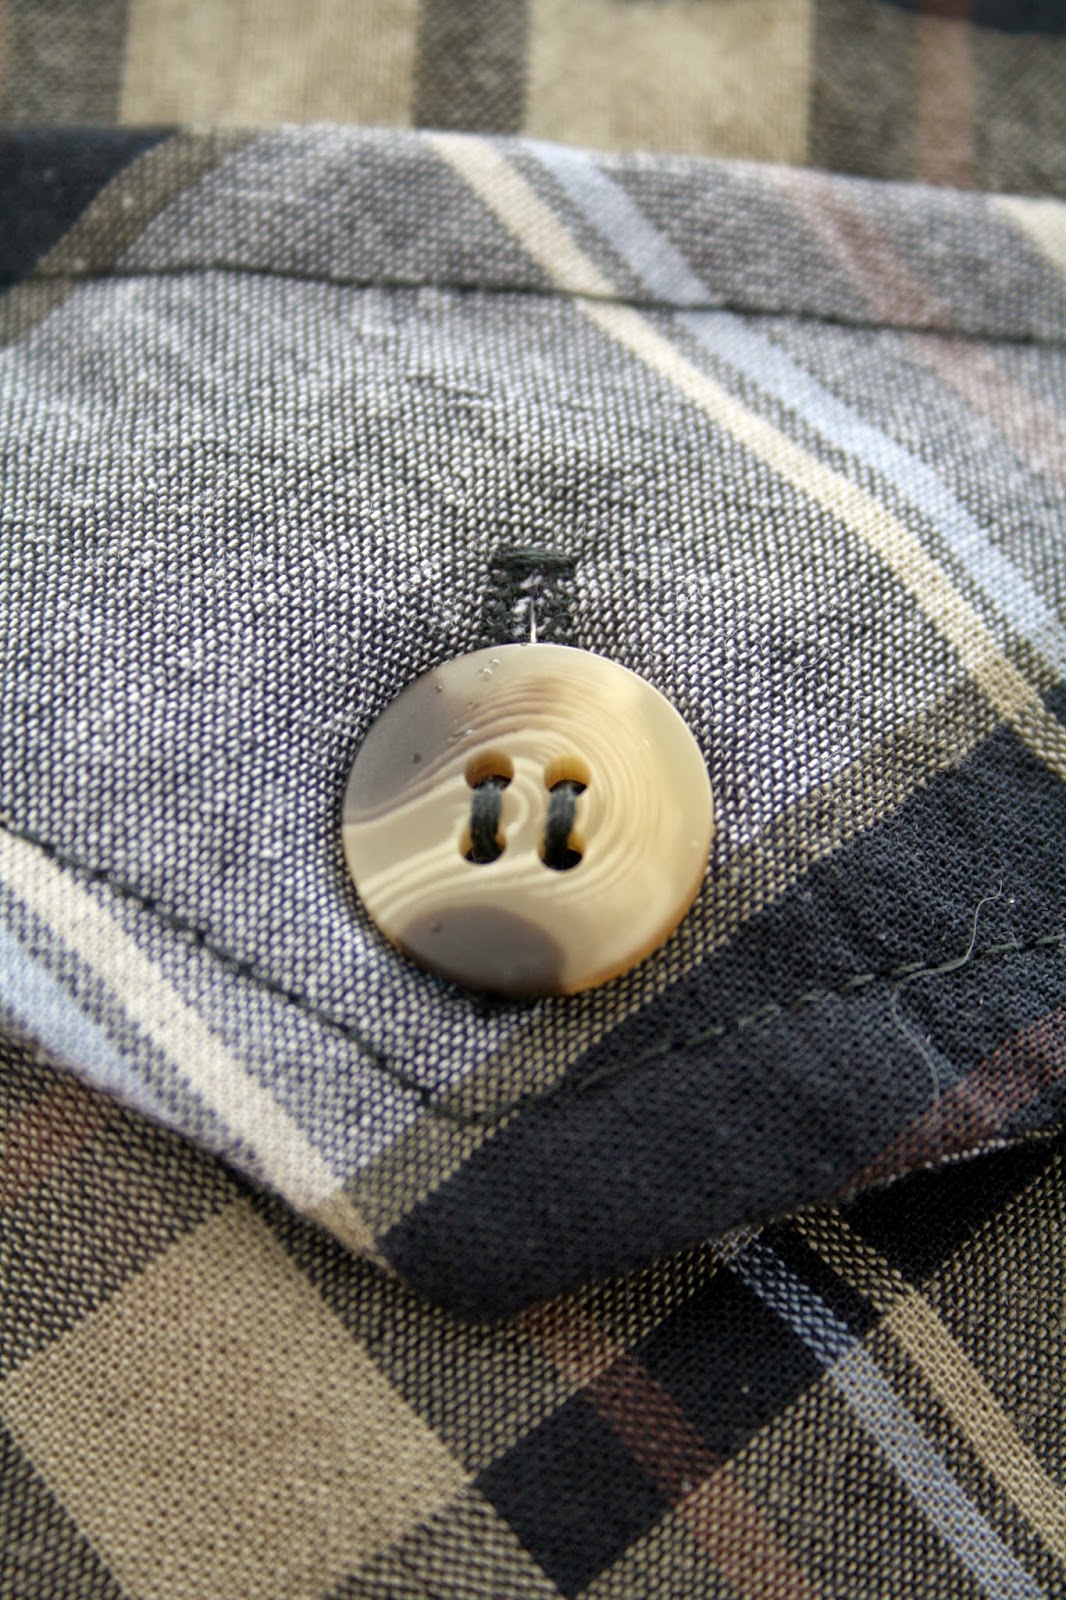
We looked through my stash for buttons and found these perfect brown ones! A while back I bought a big bag of zips and buttons from the Salvation Army for $5, and these were hiding in there. I added an extra button + buttonhole to the front of the shirt, as I felt it ended too soon and would flap open in the breeze without it. As an aside, I nearly threw my sewing machine out the window in a rage when I couldn’t get my one-step buttonhole foot to work. I tried everything, read the manual from cover to cover, but it just kept stitching in place and not, you know, moving forward to create a buttonhole. Turns out, you not only need to pull the little lever down, but you also need to push it back. I felt pretty silly when I finally worked it out, but in my defense, the manual doesn’t mention that! Luckily I practiced on scraps first.
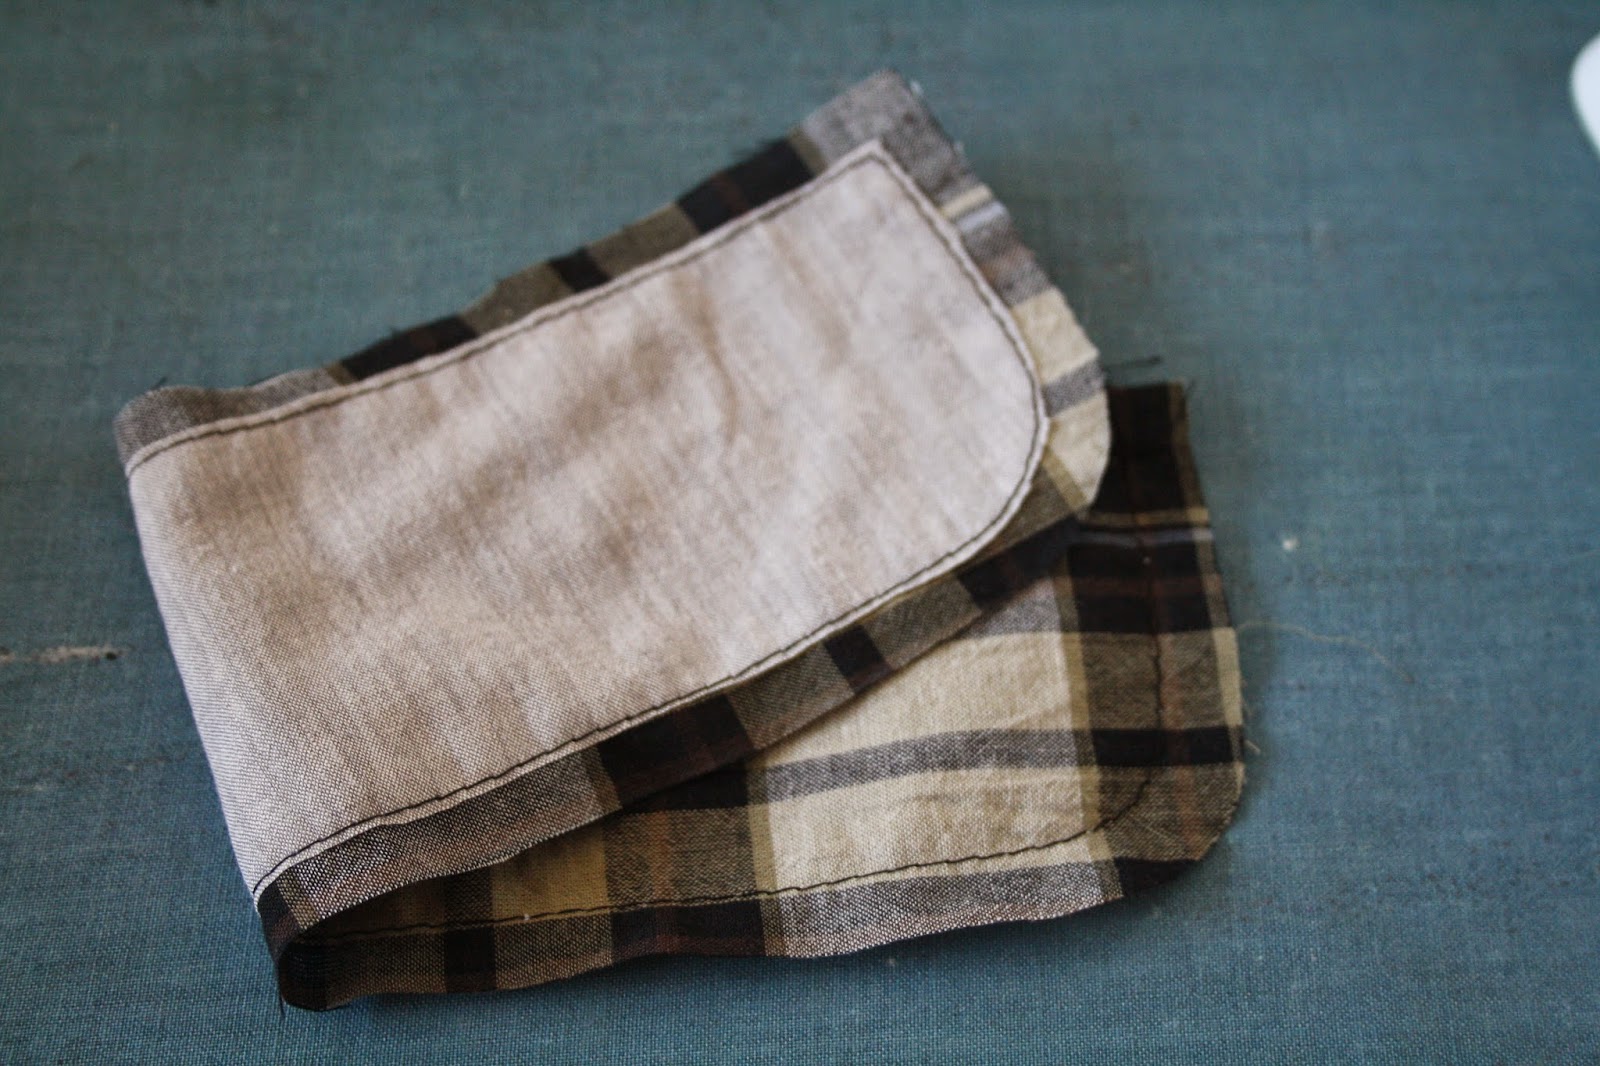
I’ve fallen in love with using fabric as interfacing recently, and as a result I don’t think I can ever go back to fusible. It always bubbles in the wash, and just generally looks like crap. For this shirt, I found some grey lightweight cotton in my stash, and I used this for the interfacing for the collar, cuffs (pictured above) and facings. I also used it for the inner yoke as a contrast, and on the inner cuffs. The cuffs were kind of an accident – I somehow didn’t realise I had to cut FOUR cuff pieces and only cut two, and by the time I realised, there was almost no plaid fabric left (I really had to Tetris that shit to get all the pieces cut out in the first place). So contrast cuffs it was! I sewed the interfacing on with a 3/8″ seam allowance, and then I trimmed the interfacing from the seam allowance as closely to the stitching as I could to reduce bulk. It worked so well, and gives just the right amount of structure to the shirt – I couldn’t be happier with the result!
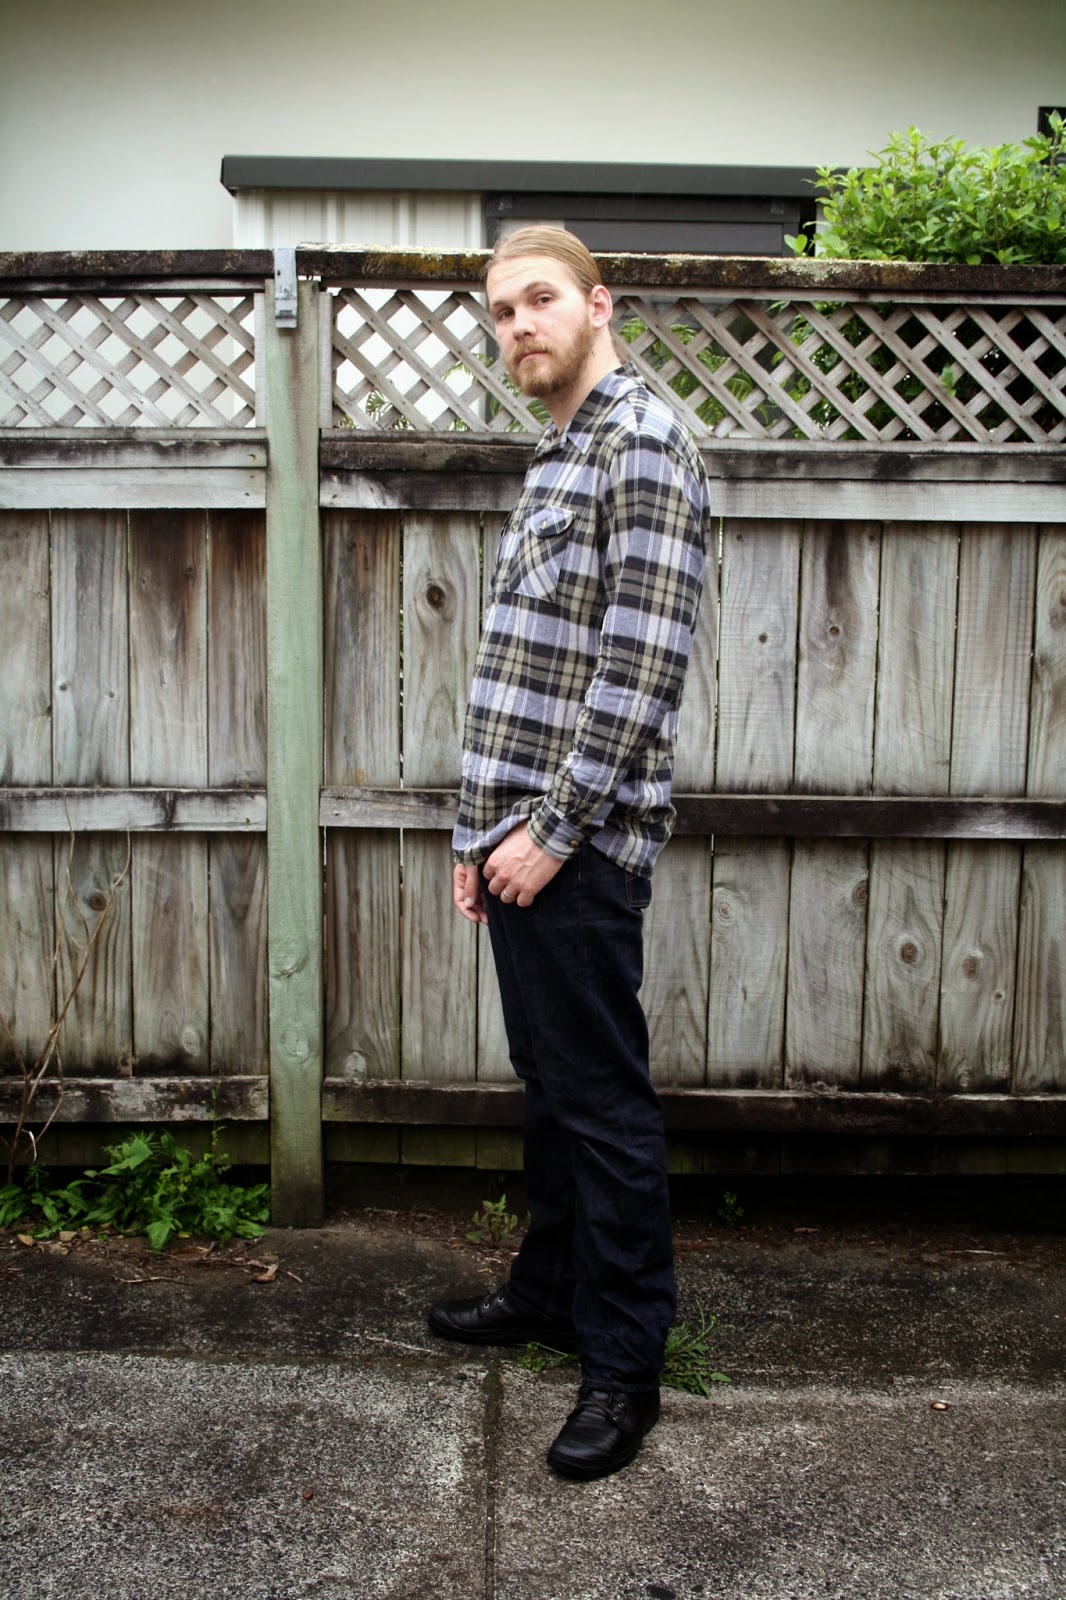
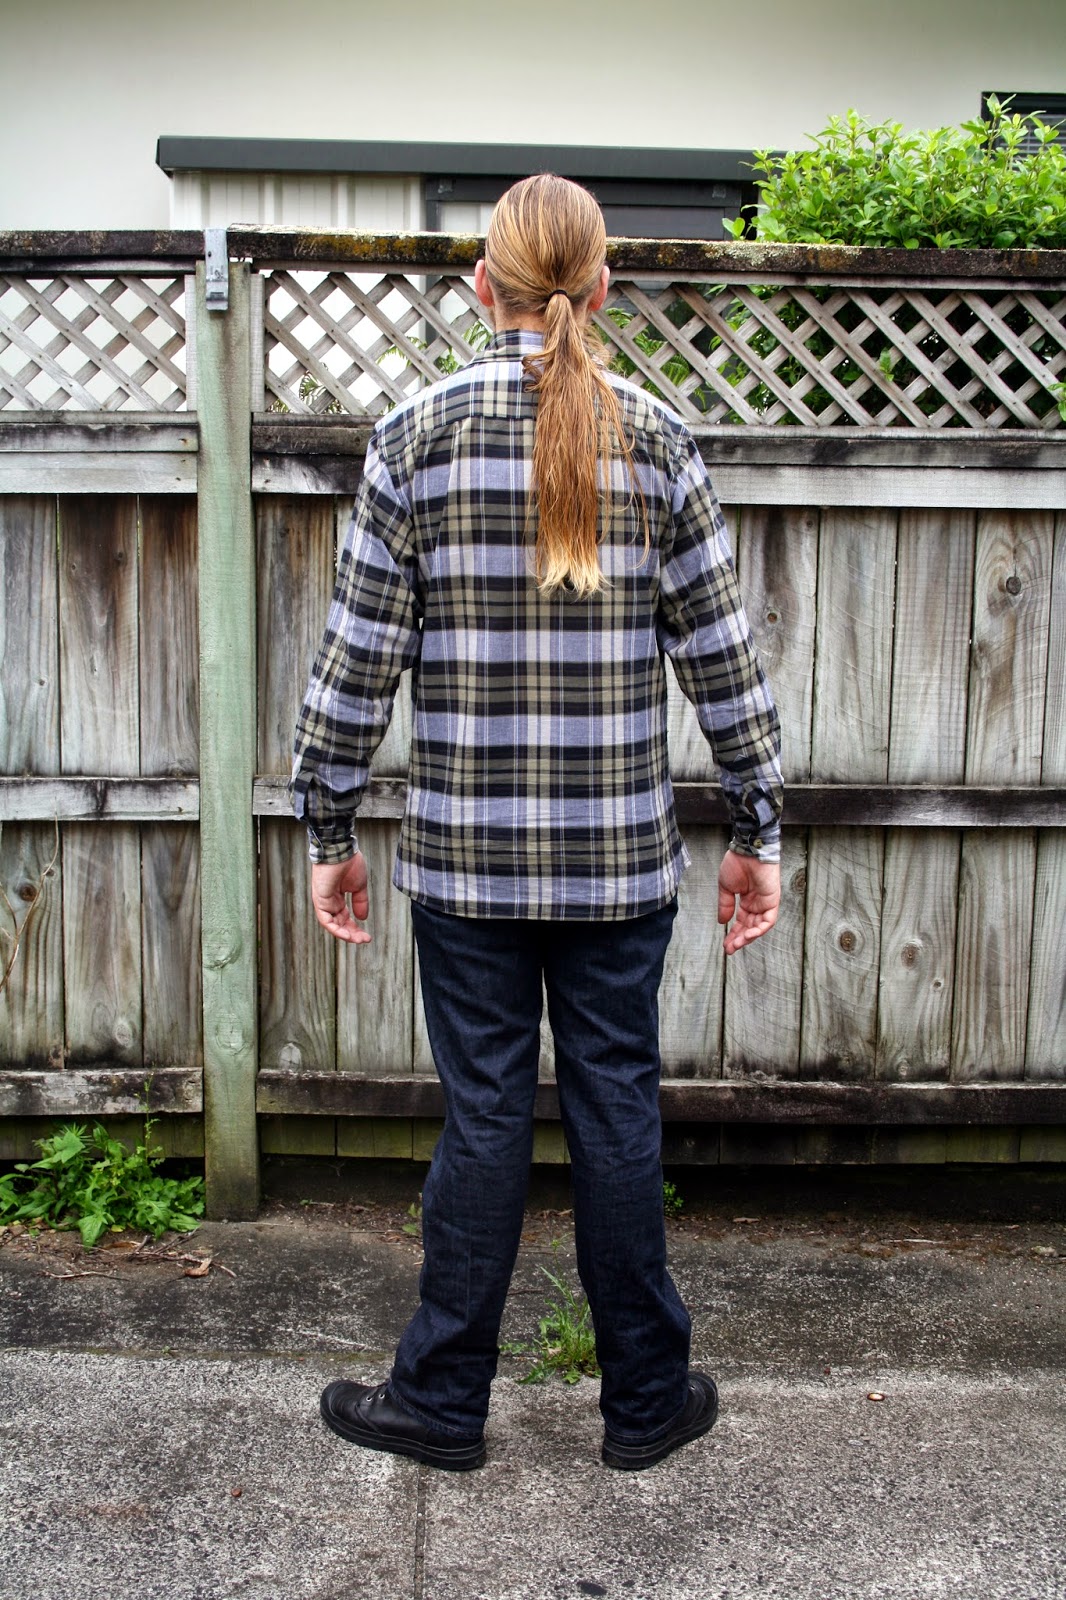
Despite appearances (I wish he’d smiled in these photos!) Luke loves the shirt, and to me, that’s the best part. I get a real kick out of seeing him in it, and I’m really excited to make him more clothes! Next in line is a pair of shorts, out of some blue drill I bought. He’s not very keen on shorts, but as I pointed out, when you live in the southern hemisphere and summer comes around, you want shorts!

It looks really great! I've been put off trying a Negroni because it a more pajama style collar rather than a collar stand and I associate that style with old men shirts and I didn't think my husband would wear it. But in the check/plaid fabric I don't find that feature as noticeable as on other's I've seen made up, and my husband likes to wear checked shirts, so maybe I could get away with it….
Thanks for the interfacing tip, it never occurred to me that you don't have to use fusible interfacing, I don't know what I thought people did before it was invented!
I got so frustrated with the fusible stuff that I googled for alternatives! I always assumed the sew-in stuff would be harder to work with, but I actually found it easier. I was worried about the collar, too, but I actually think it doesn't look too bad. You should give it a go!
Looks really good! Maybe the reason you had to shorten the sleeves was because the shoulder seams are slightly too wide for the shoulders? It does seem the shoulders could be taken in a little. This is such a nice shirt though. I keep thinking I'll make one for my husband but well he's still waiting. Well done!
He SO need shorts and probably a short-sleeved shirt, it's so muggy! Awesome job 🙂
Thanks Jo! The shoulders could account for a little bit of length, but not 4cm worth! I read somewhere that mens' shirts shouldn't sit exactly on the shoulder like womens' do, but that may be poppycock for all I know. I just followed the fit of his existing shirts. But I agree, they could definitely stand to be taken in a little.
I wanted to make this one short-sleeved, especially when I barely had enough fabric, but he was adamant he wanted long sleeves and would just roll them up if it got hot. He's a fussy one!
Pingback: A Fittingly Floral Aster | teaandrainbows
Pingback: Sewing for the husband: Simplicity 1544 | teaandrainbows
Pingback: Sewing for the husband: Colette Negroni Mk II | teaandrainbows