
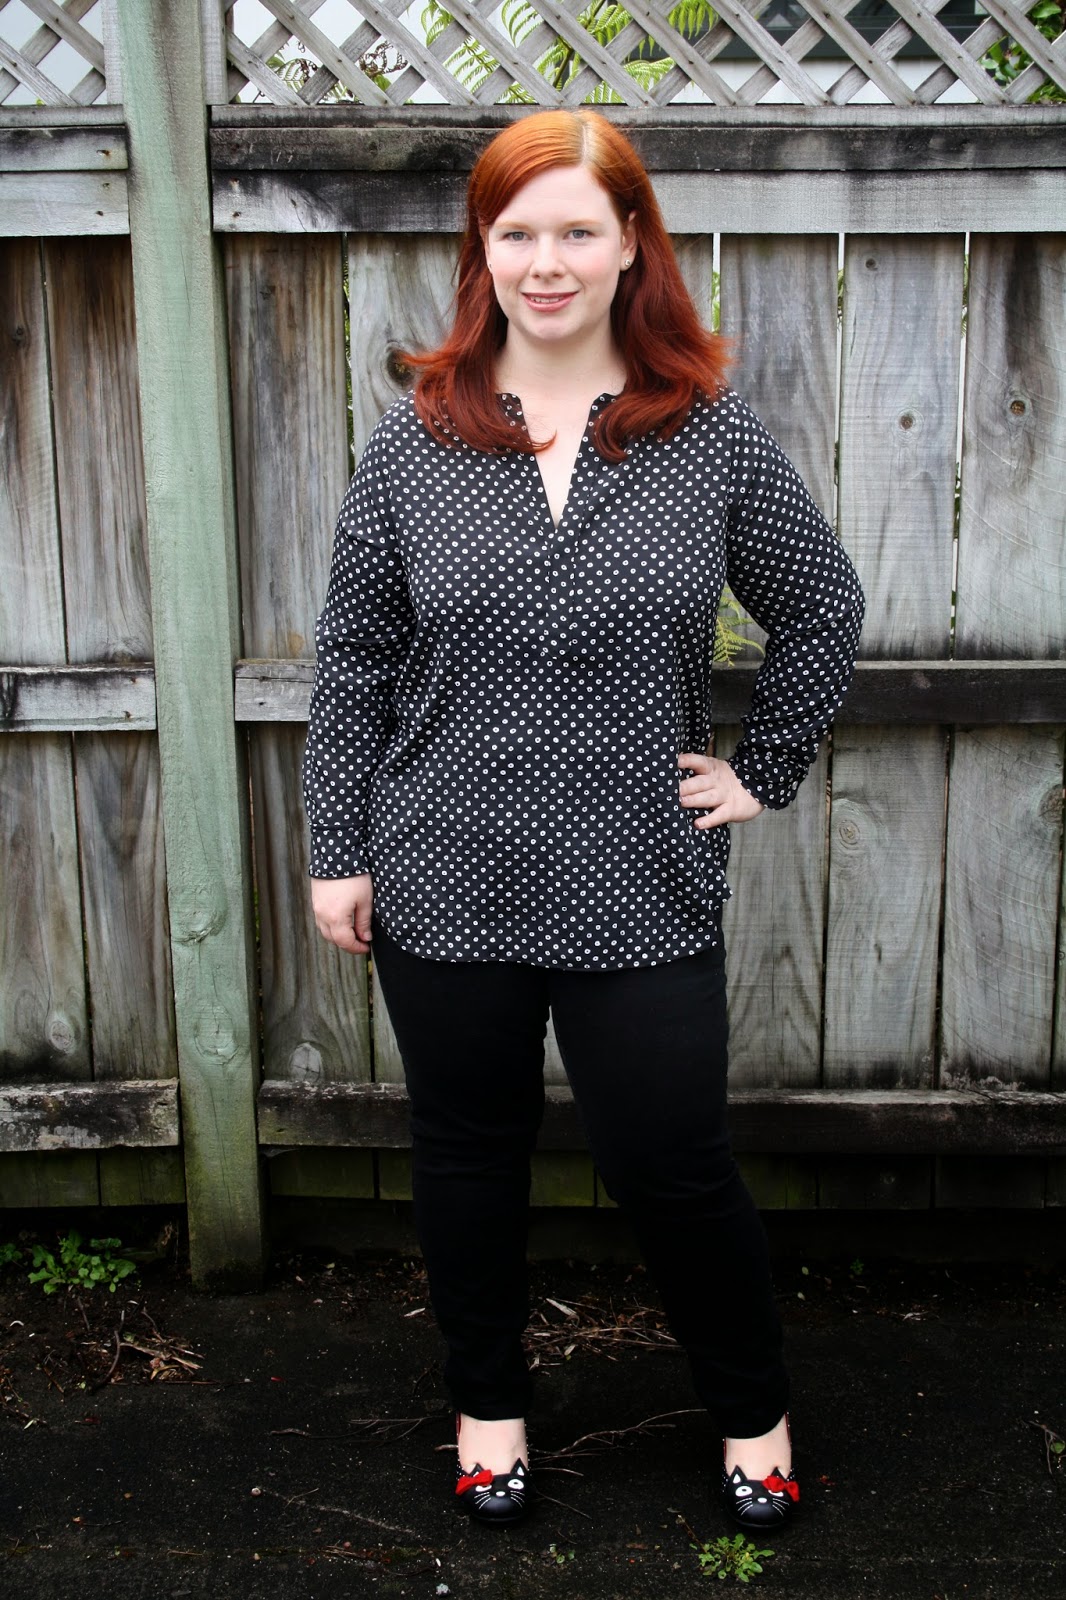
After battling with this blouse since August (!), I am so, so pleased to finally be finished with it. It is, by far, the most challenging thing I have ever sewn, due to a combination of pattern, fabric choice and sizing, but I’m pleased to say that I really like the finished version.
This was my first time using a Style Arc pattern, and it’s their Camilla blouse. Style Arc are an Australian indie sewing pattern company, and they have a pretty good variety of patterns. I’ve been wanting a popover style shirt for some time, so I thought Camilla would be perfect. As you may know, Style Arc offer single sized patterns, which was my first problem, as my measurements fell on the border of two sizes, and my upper arm measurement into another, yet larger, size. After exchanging a few emails with Chloe at Style Arc, and giving her my measurements, she suggested a 16, which is what I bought, and I also got the Emily knit top as my free pattern.
So the patterns arrived, and I was immediately a little bit disappointed at the lack of instructions. I don’t need an awful lot of hand-holding in my sewing these days, but for me part of the fun of trying out new pattern companies is to learn new techniques or ways of doing things. The instructions for Style Arc are mostly text, with one or two diagrams. They refer you to their website for further, detailed instructions, which is another issue I’ll address in a minute.
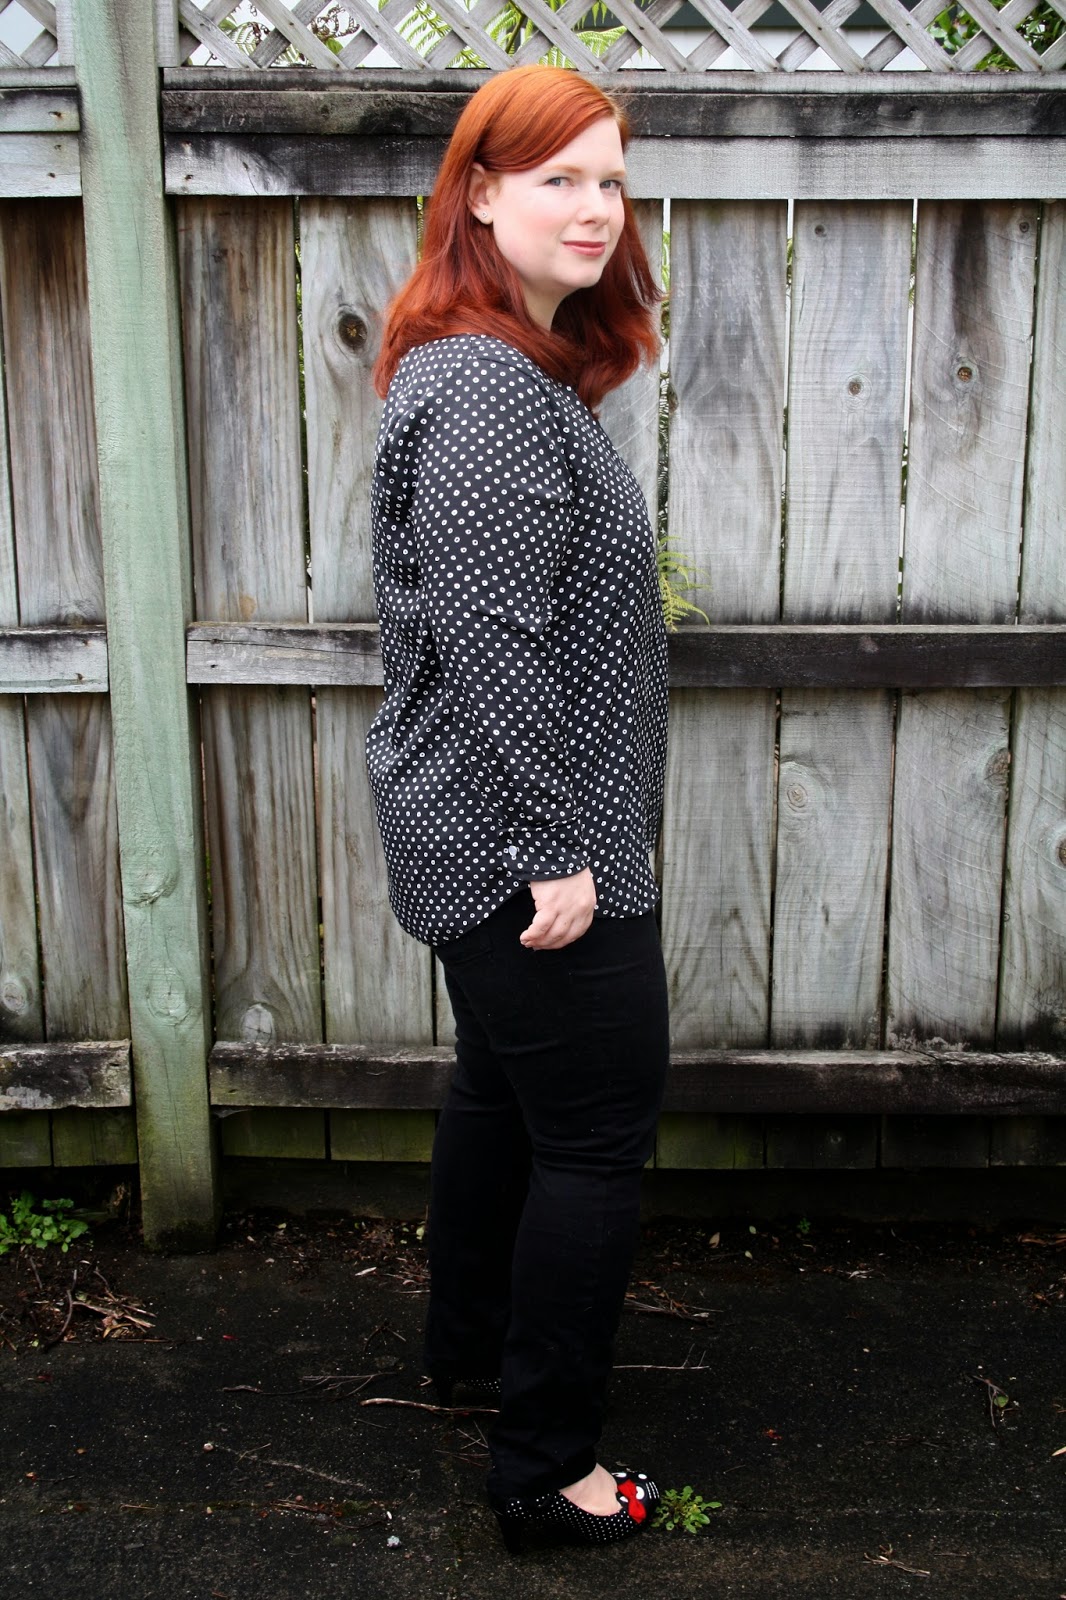
I was also disappointed due to the misleading line art on the website – the Camilla blouse seems as if it has some nice shaping at the waist in the sketches. However, looking at the pattern pieces, that is not the case. It maybe goes in at the waist by a mm, possibly a little more, but really, it pretty much goes out in a straight line to the hips.
The pattern pieces also baffled me – the front and back of the blouse are 1 large piece each – no cutting on the fold here, which to me seems a needless waste of paper. I folded them in half myself and cut them that way. Also, there were errors in the pattern – on the instructions, 11 pattern pieces were listed, but there were 12 to cut out, and the number of pieces to cut differed between the listed instructions and what was written on the actual pieces. The pattern pieces are not numbered, and the names of them are cut off due to, I suppose, there not being enough space, so you get things like “CAMILLE_BLOUSE_SLEEV” on all the sleeve pieces, which further complicates things (and looks, in my opinion, unprofessional). I emailed Chloe regarding this, and she confirmed that I had, indeed, found some errors and to her credit, she apologised and said they would be fixed, and forwarded me some photos of the finished blouse to help me out.
So it’s not all negative, I will say I liked the inclusion of a swatch of fabric as a suggestion for what to use – it’s a nice touch. And despite the errors, Chloe is very responsive when you do contact her, and happy to offer help with choosing your size.
So I made a muslin and asked you lovely people for help, and then, overwhelmed by the number of adjustments necessary, I left it alone for about a month. But it nagged at me, and so I bought more muslin, went back, and started to fix it up. I ended up making 4 muslins in total to get the fit I wanted. My first mistake was getting the 16 – the blouse was too big on the shoulders and upper chest. I should have used my high bust measurement and gotten the 14 to fix those issues, and done a FBA (which I had to do anyway on the 16). I bought Fit For Real People, which despite it’s amusingly naff photos, was a huge help. In the end, I made the following adjustments:
- 1.5cm narrow shoulder adjustment
- 2.5cm FBA, using Marie Denmark’s Easy FBA tutorial
- 4cm full bicep adjustment
- Removed 1.5cm of sleeve ease using the tutorial by Green Apples
- Shortened the sleeves by at least 4cm, I’m not sure of the exact amount as I removed a bit more later
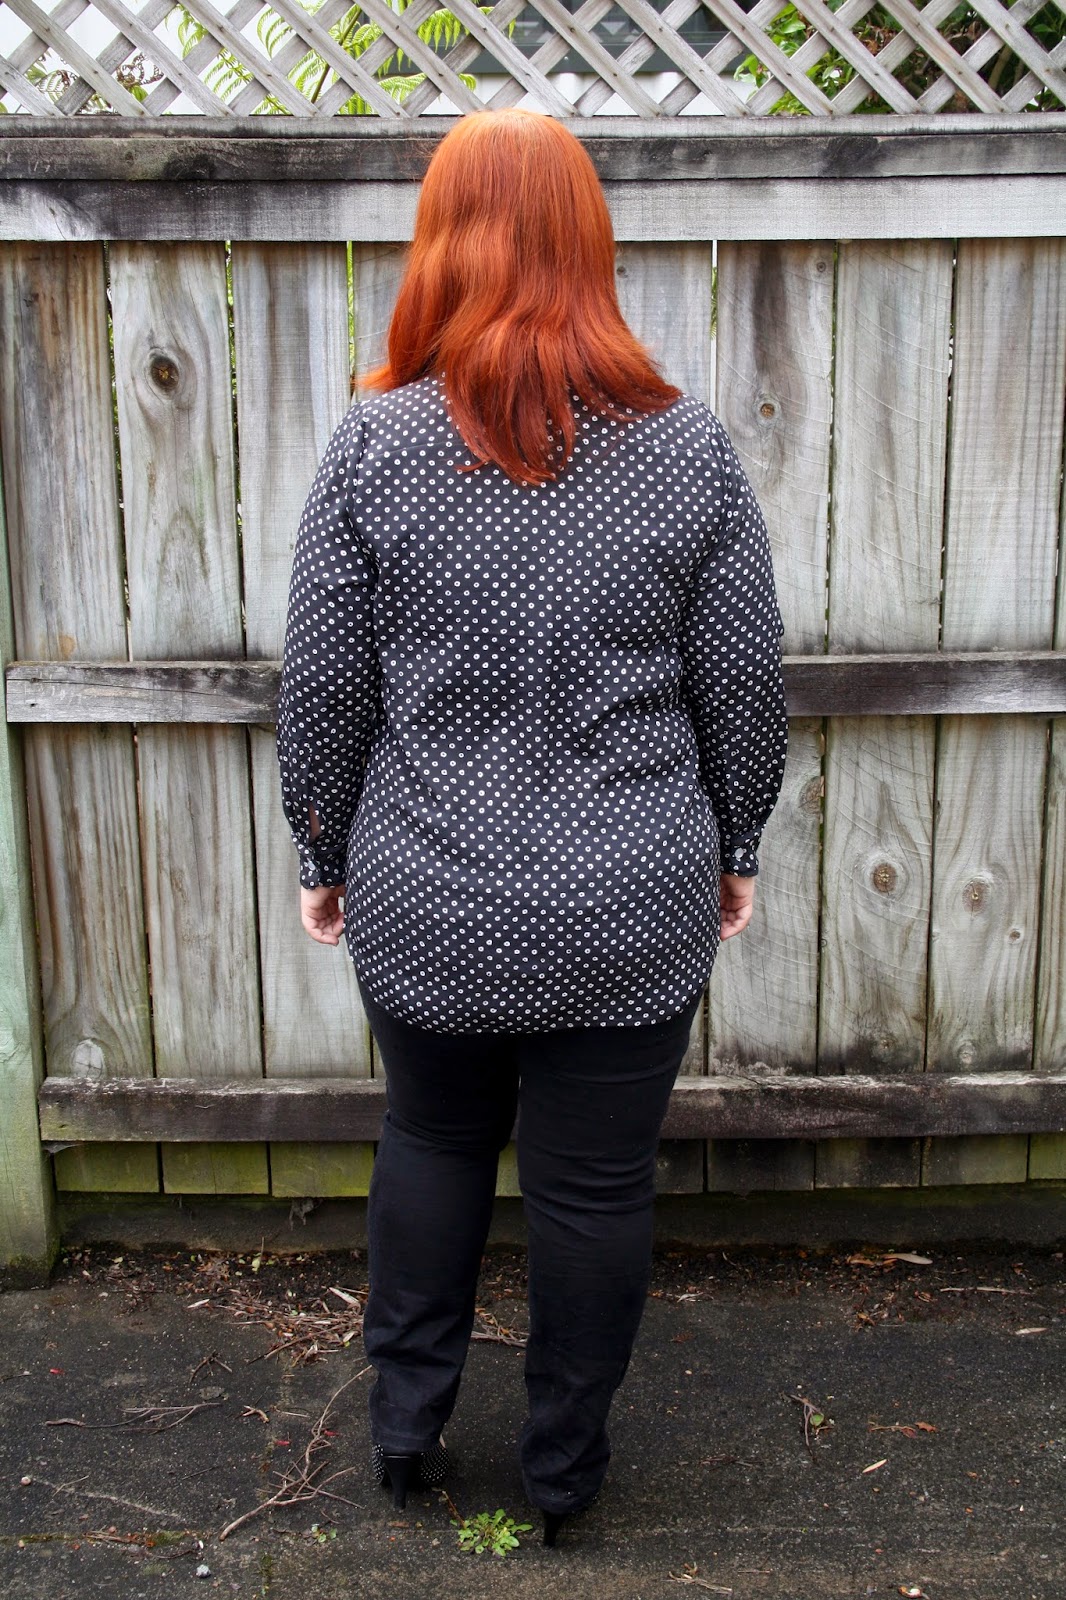
- Removed 5cm from the centre back piece to remove the gathering at the back of the yoke, as it was making it billow out in a weird way
- Added 2cm to the centre back of the yoke piece as it was straining a little across my shoulders when I stretched my arms out and subsequently 2cm to the collar to match the yoke
- Eliminated the pocket
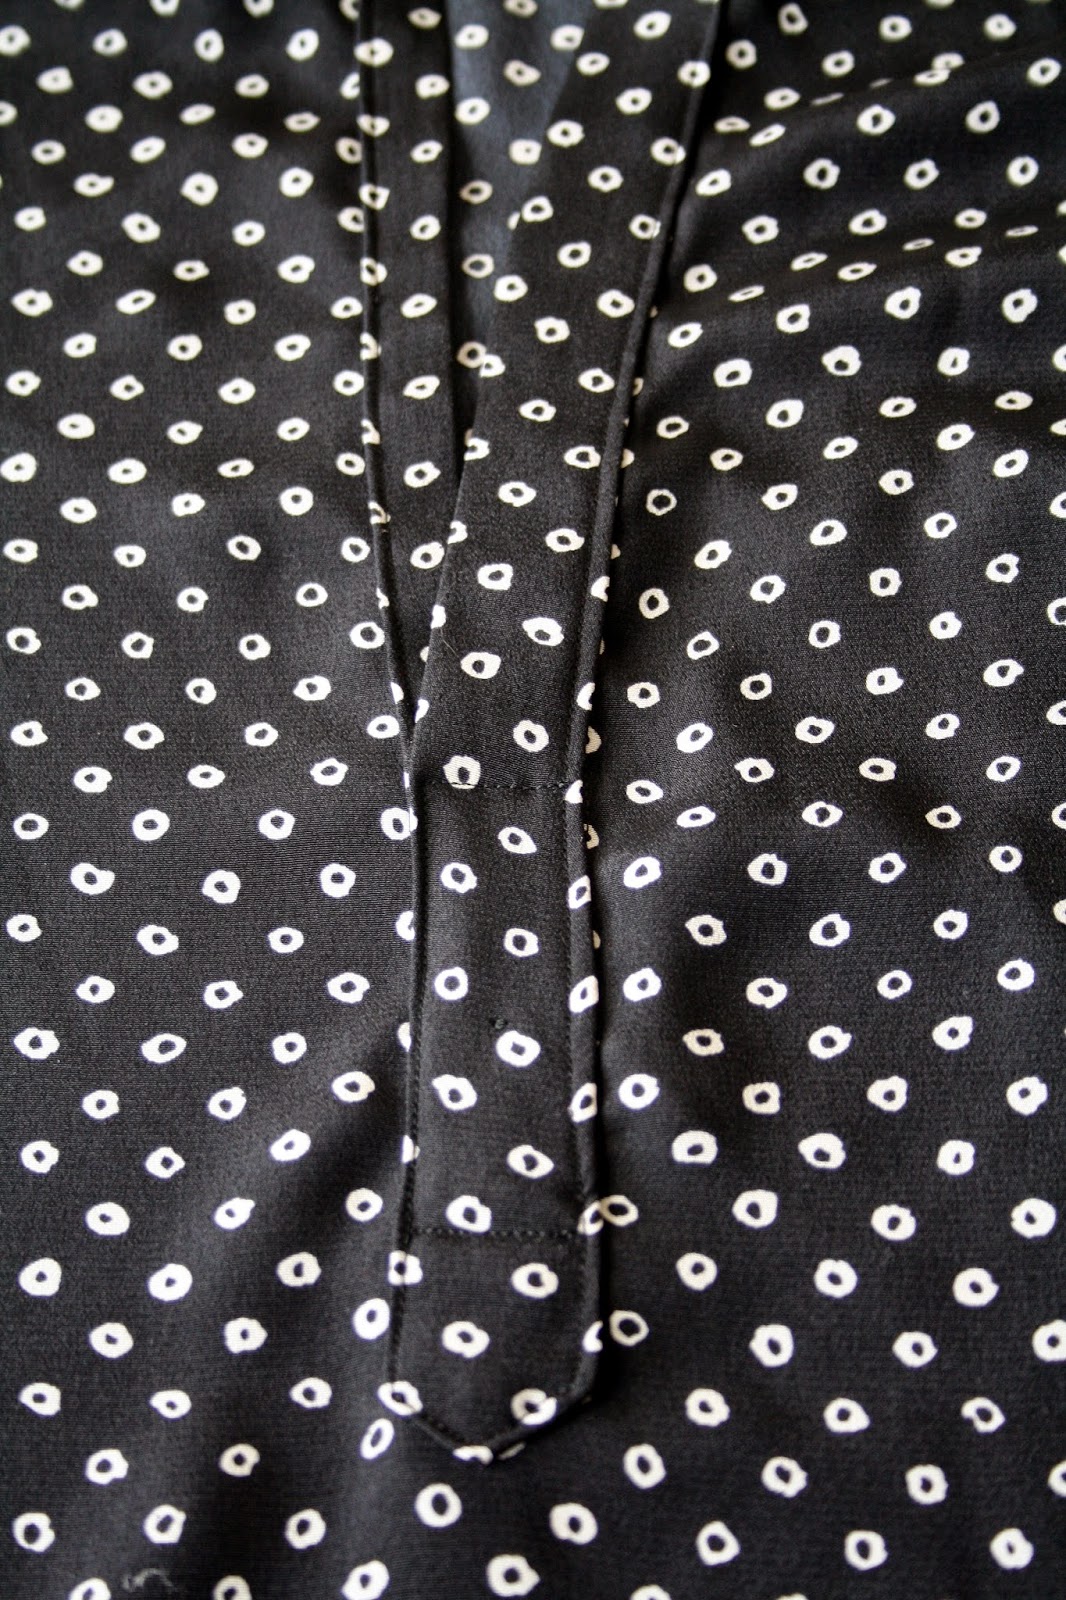
- Shortened the neck split by 3cm
Phew! It was a lot of work, to be honest, some of which could have been eliminated if nested sizing was available. But I learned a lot, and I’m really super happy with the fit I have now. The only thing I would change in a future version would be to lengthen the sleeves just a tad. They’re fine when I have my arms by my sides, but when I stretch them out, they feel a tiny bit short.
My fabric choice made things ten times more difficult, too – it’s not the fabric I wanted to use for my final version. I was anticipating problems the first time I put the whole blouse together, and didn’t want to ruin nice fabric, so I used this slinky fabric from my stash – part of a huge box I bought off Trademe recently. It’s some kind of polyester, I think, and it slipped and slid everywhere, any chance it could. I cut out it with my rotary cutter and a lot of pattern weights (tuna cans), and then I used something called “ironing aid” on each piece, which made it much more stable. For interfacing on the sleeve and neck placket, I used self fabric, as I’m not a big fan of fusible interfacing. For the collar, I used some (quite expensive) tricot interfacing I got locally for a wool skirt, which worked wonderfully. I didn’t interface the seam allowances to reduce bulk.


Thanks for posting an honest review of this pattern. I've had good luck with StyleArc, but my bust/waist/and hip measurements all fall within a single size, and I haven't attempted any particularly complicated patterns of theirs. I do have this blouse pattern, though, and I'll refer to your review when I do.
The blouse looks really nice on you. Kudos to you for sticking with it! Wow. You really persevered – four muslins!