One item of clothing I’ve been wanting to make myself for ages is a pair of jeans. I love pretty dresses and skirts, but a lot of the time when I’m getting dressed, it’s jeans I reach for. When I’m not in pajamas or leggings, of course. I’m in something of a comfort rut at the moment.
I bought Ginger jeans pattern from Closet Case Patterns quite some time ago. So long ago that before I got around to making them, Heather made changes to and re-released the pattern and I lost the download link I originally got and had to get her to resend it. Oops. I probably would have procrastinated for a while longer on the jeans front, but two things forced my hand:
- My previous pair of jeans from Jeans West wore through at the inner thighs, and
- We had a trip to Japan coming up in winter and I knew I would be needing jeans
After buying myself a pair of extremely cheap jeans from Target (sorry, fast fashion, I know) and discovering they had no front pockets, just the appearance of pockets, I got annoyed enough to begin.
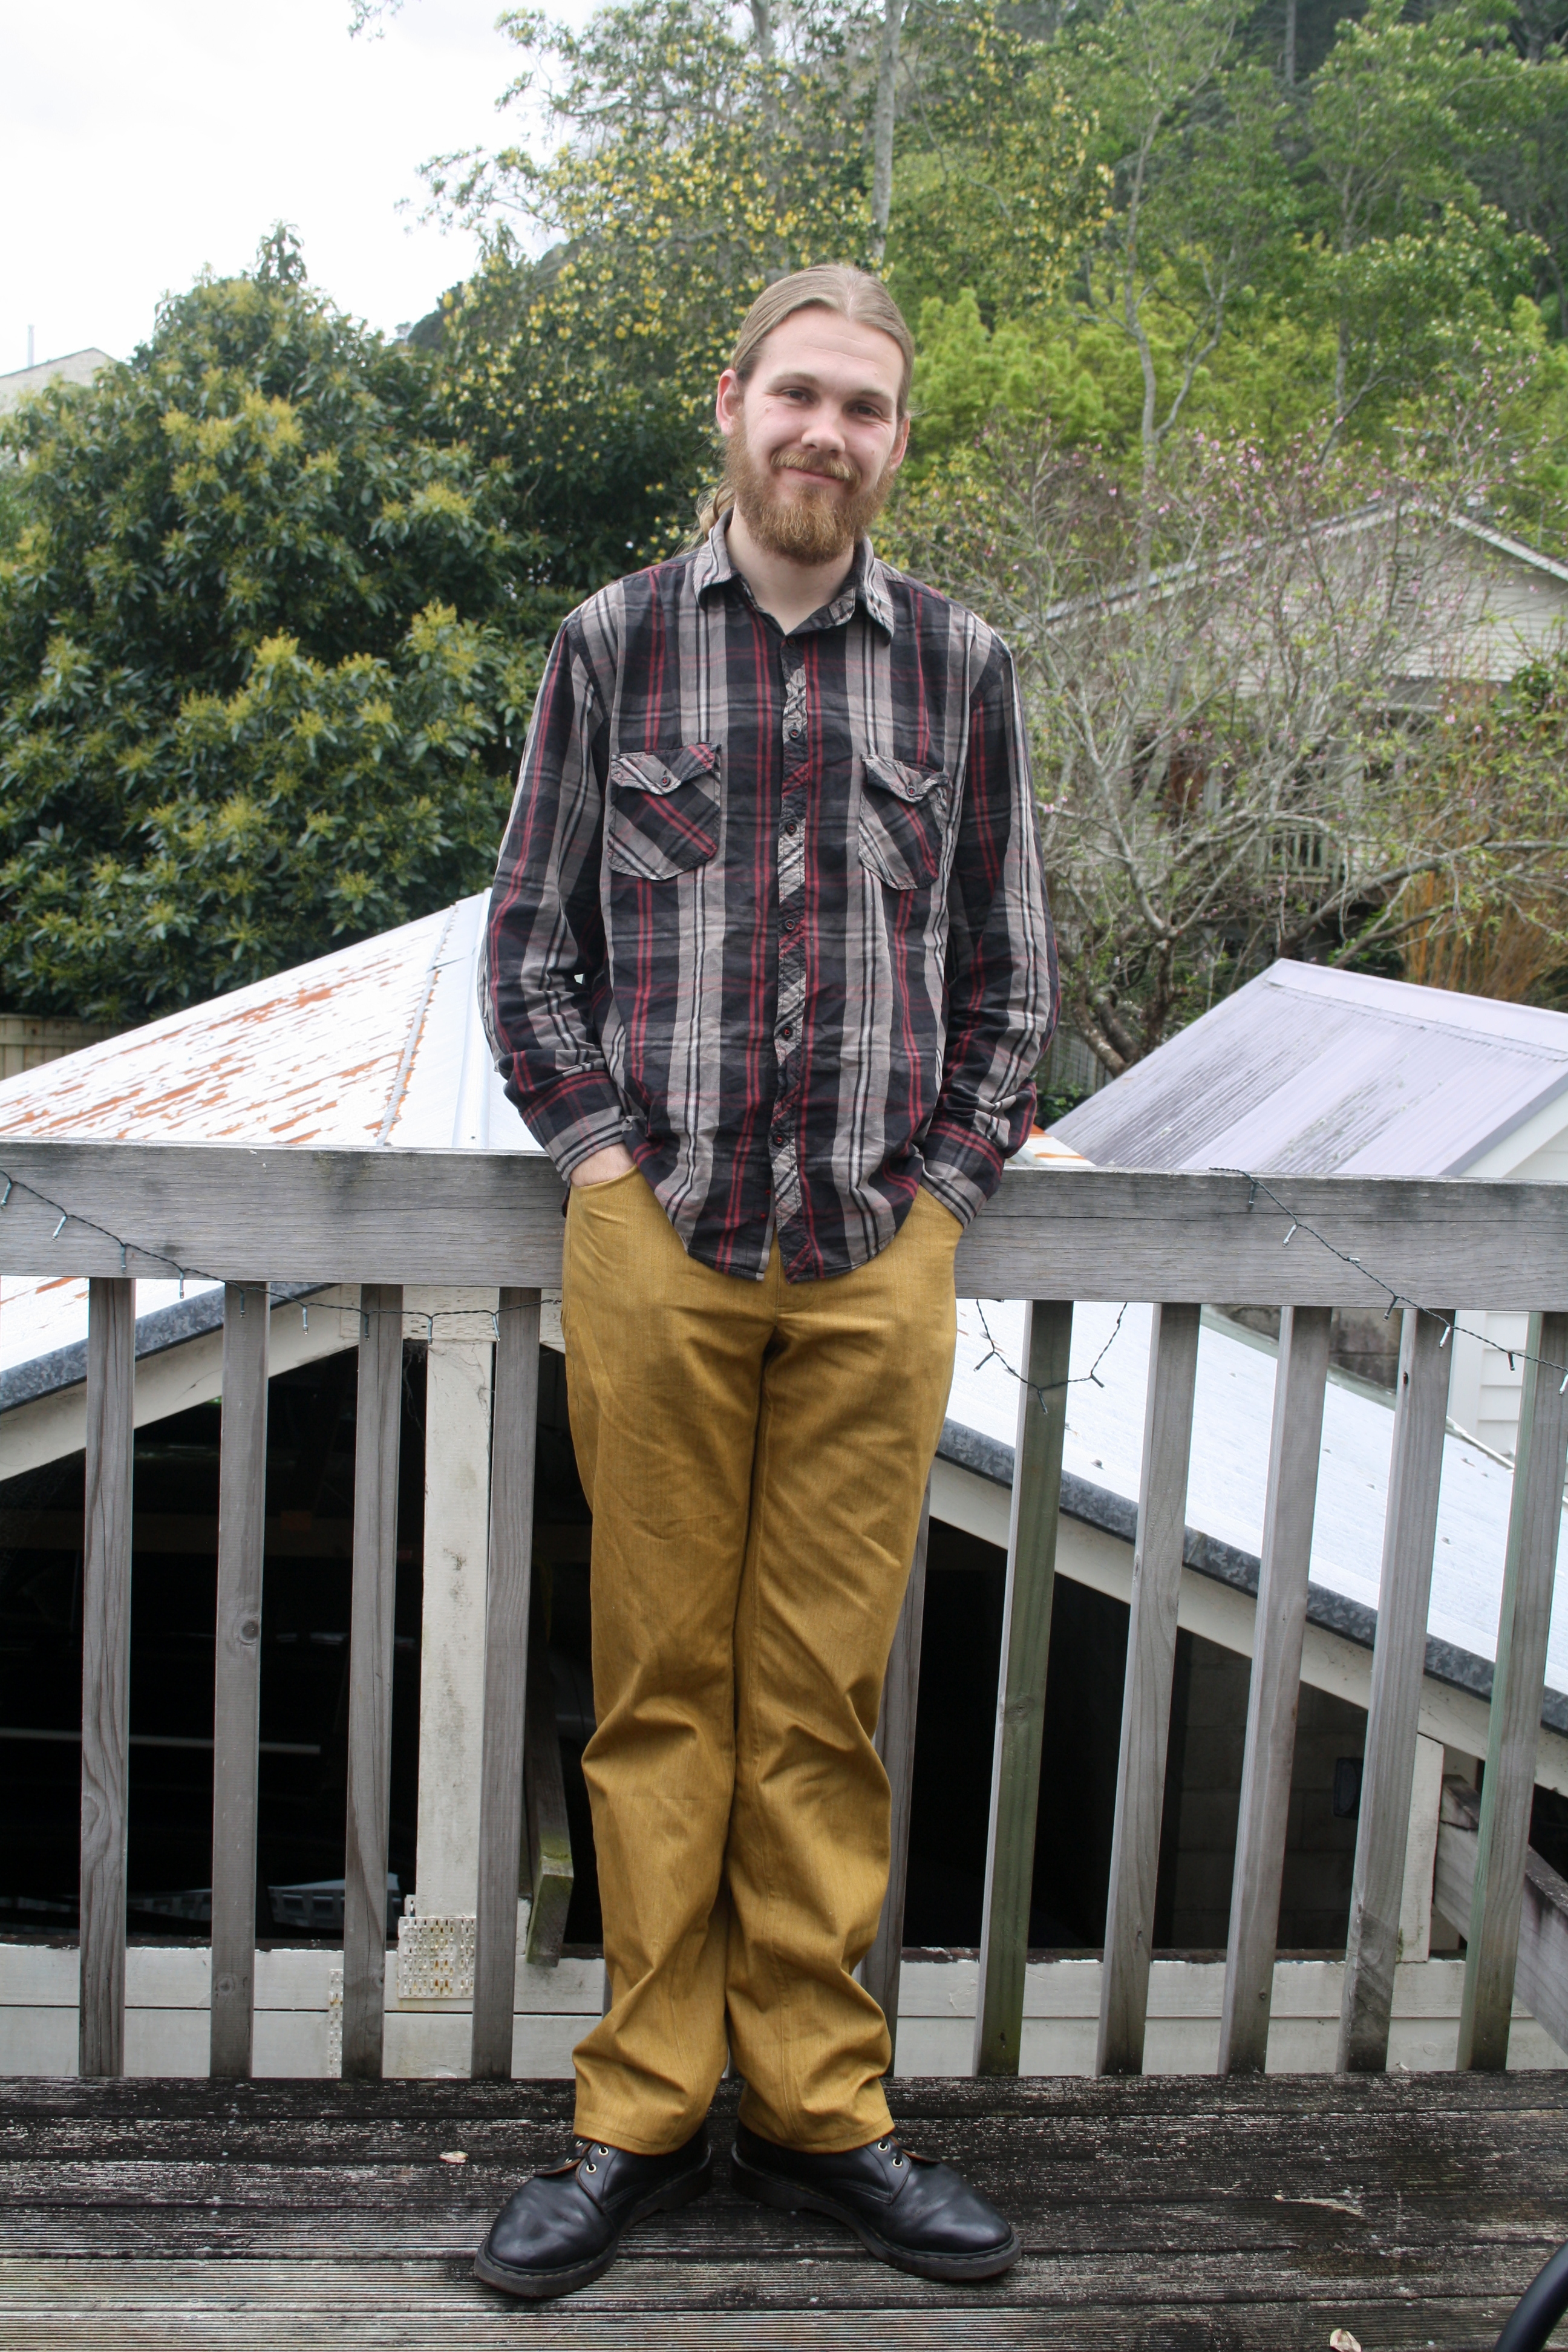
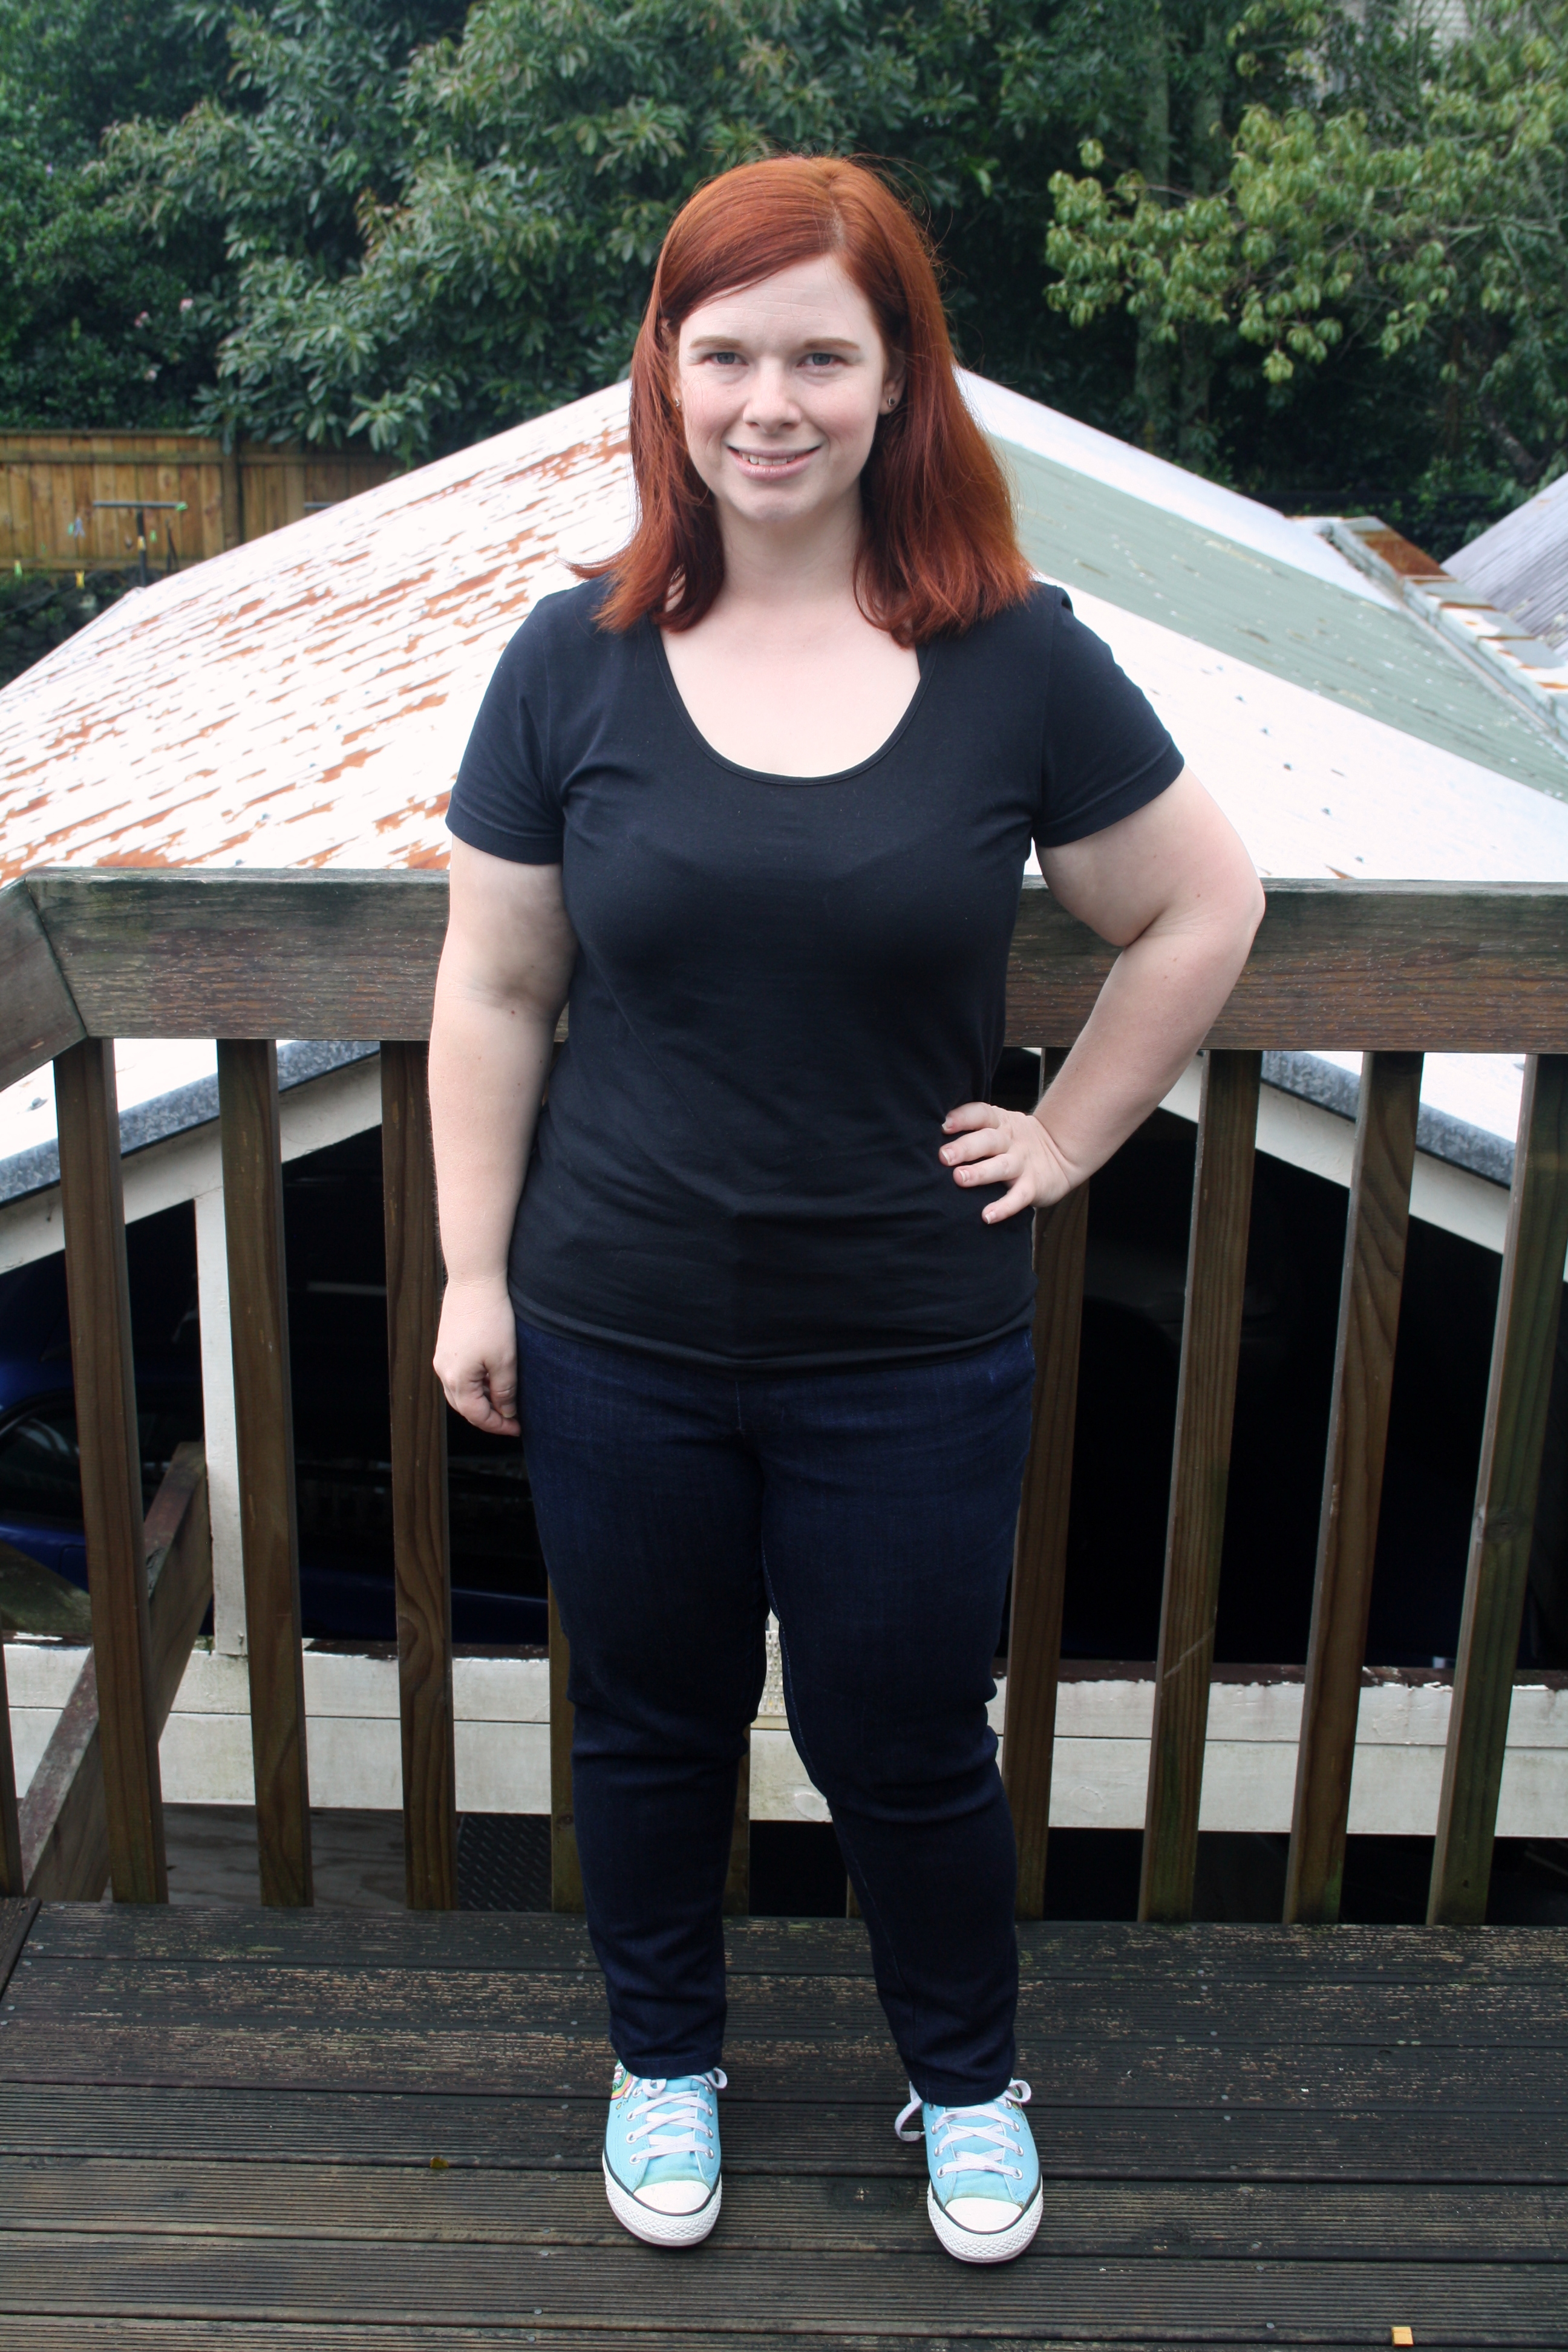
First off, let me say, these jeans are well worn. I wore them for 3 weeks in Japan with very few washes, and have worn them quite a bit since then! I chose view B, with the high waist and skinny legs and cut out a size 14, which was pretty much bang on my measurements. The only adjustment I made off the bat was to shorten the crotch length by 1/4″, because I am short and after measuring the crotch of my terrible Target jeans, I figured that was going to be necessary. I would have done more, but Heather recommends doing 1/4″ at a time as a small adjustment can make a big difference.
Even though I hate faffing around with things like muslins and drafts, I followed Heather’s advice and baste-fitted the jeans first. Thanks to that, I discovered the waistband was gaping terribly at the back. Not a surprise, I have a sway back and this is a common problem for me in jeans/pants and skirts. I took out 1″ in four 1/4″ sections in the waistband pattern piece to make it much more curved, and then recut it. Unfortunately I did not have quite enough of my denim to cut two pieces, so I had to pinch a bit of non-stretch denim I bought for jeans for Luke for the facing.
I had to take these jeans up a huge amount. At least 14cm, and I think then I took off some more after that. However, I am absolutely stoked with the length – I think I got it spot on!
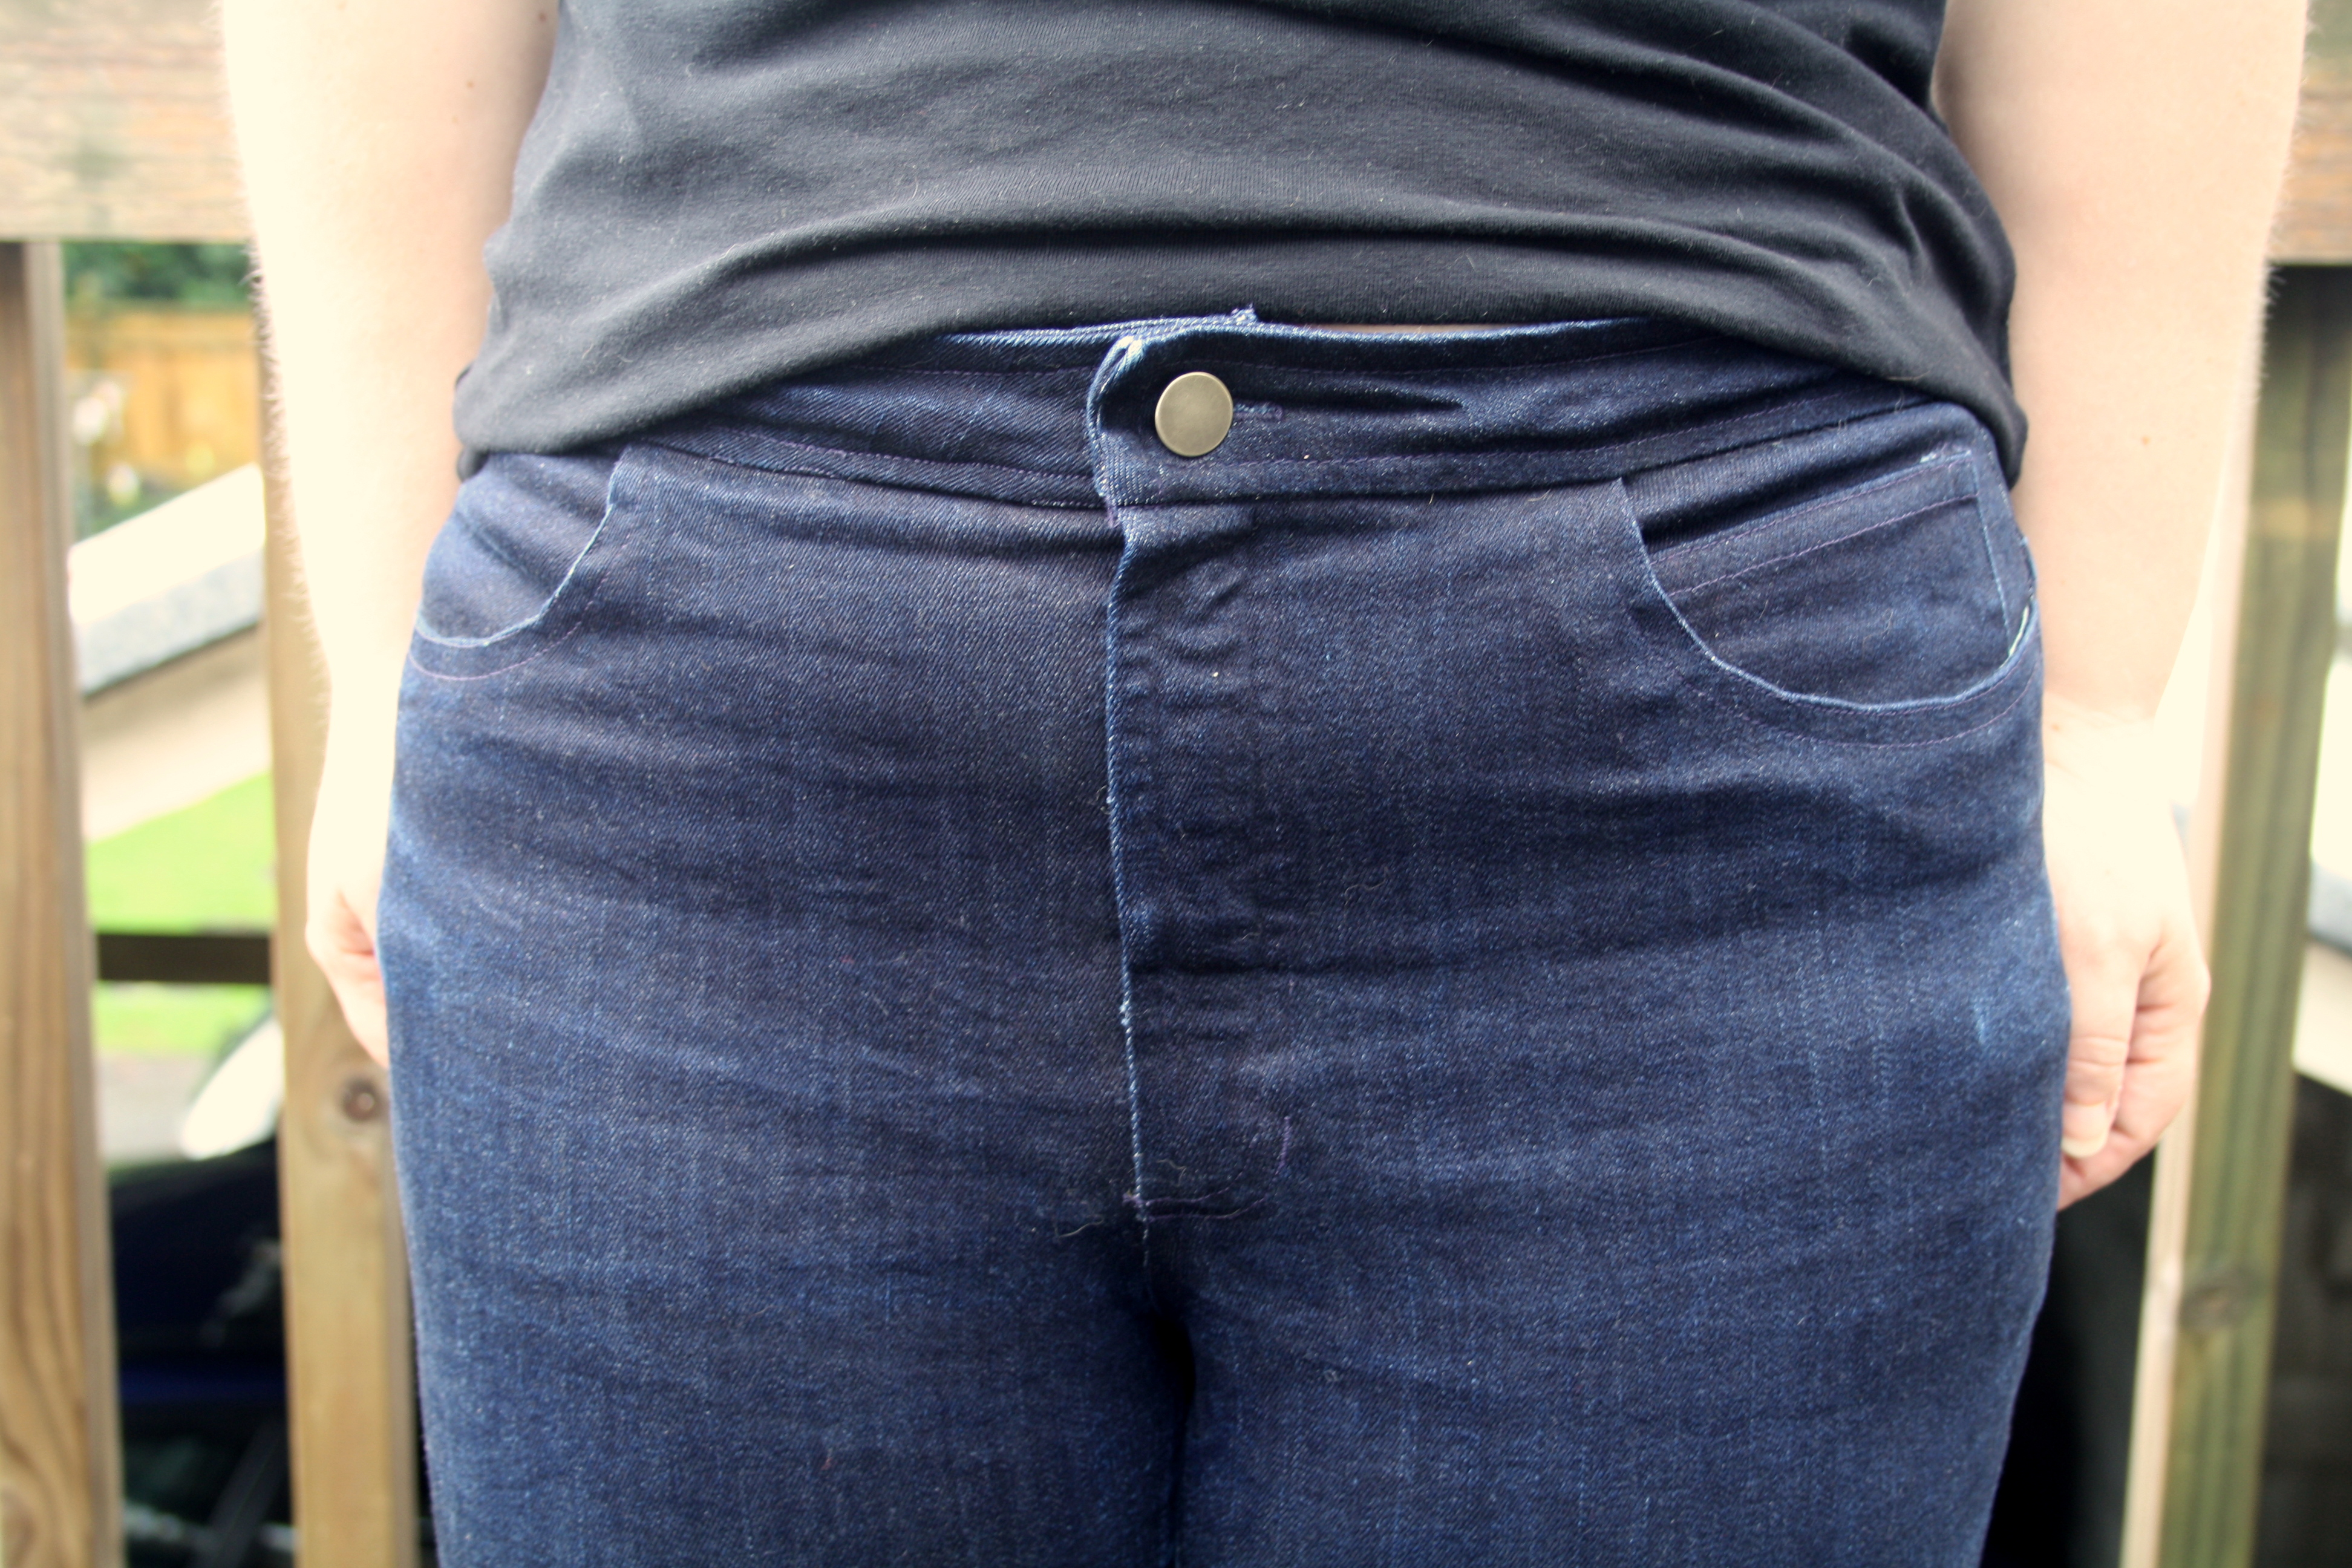
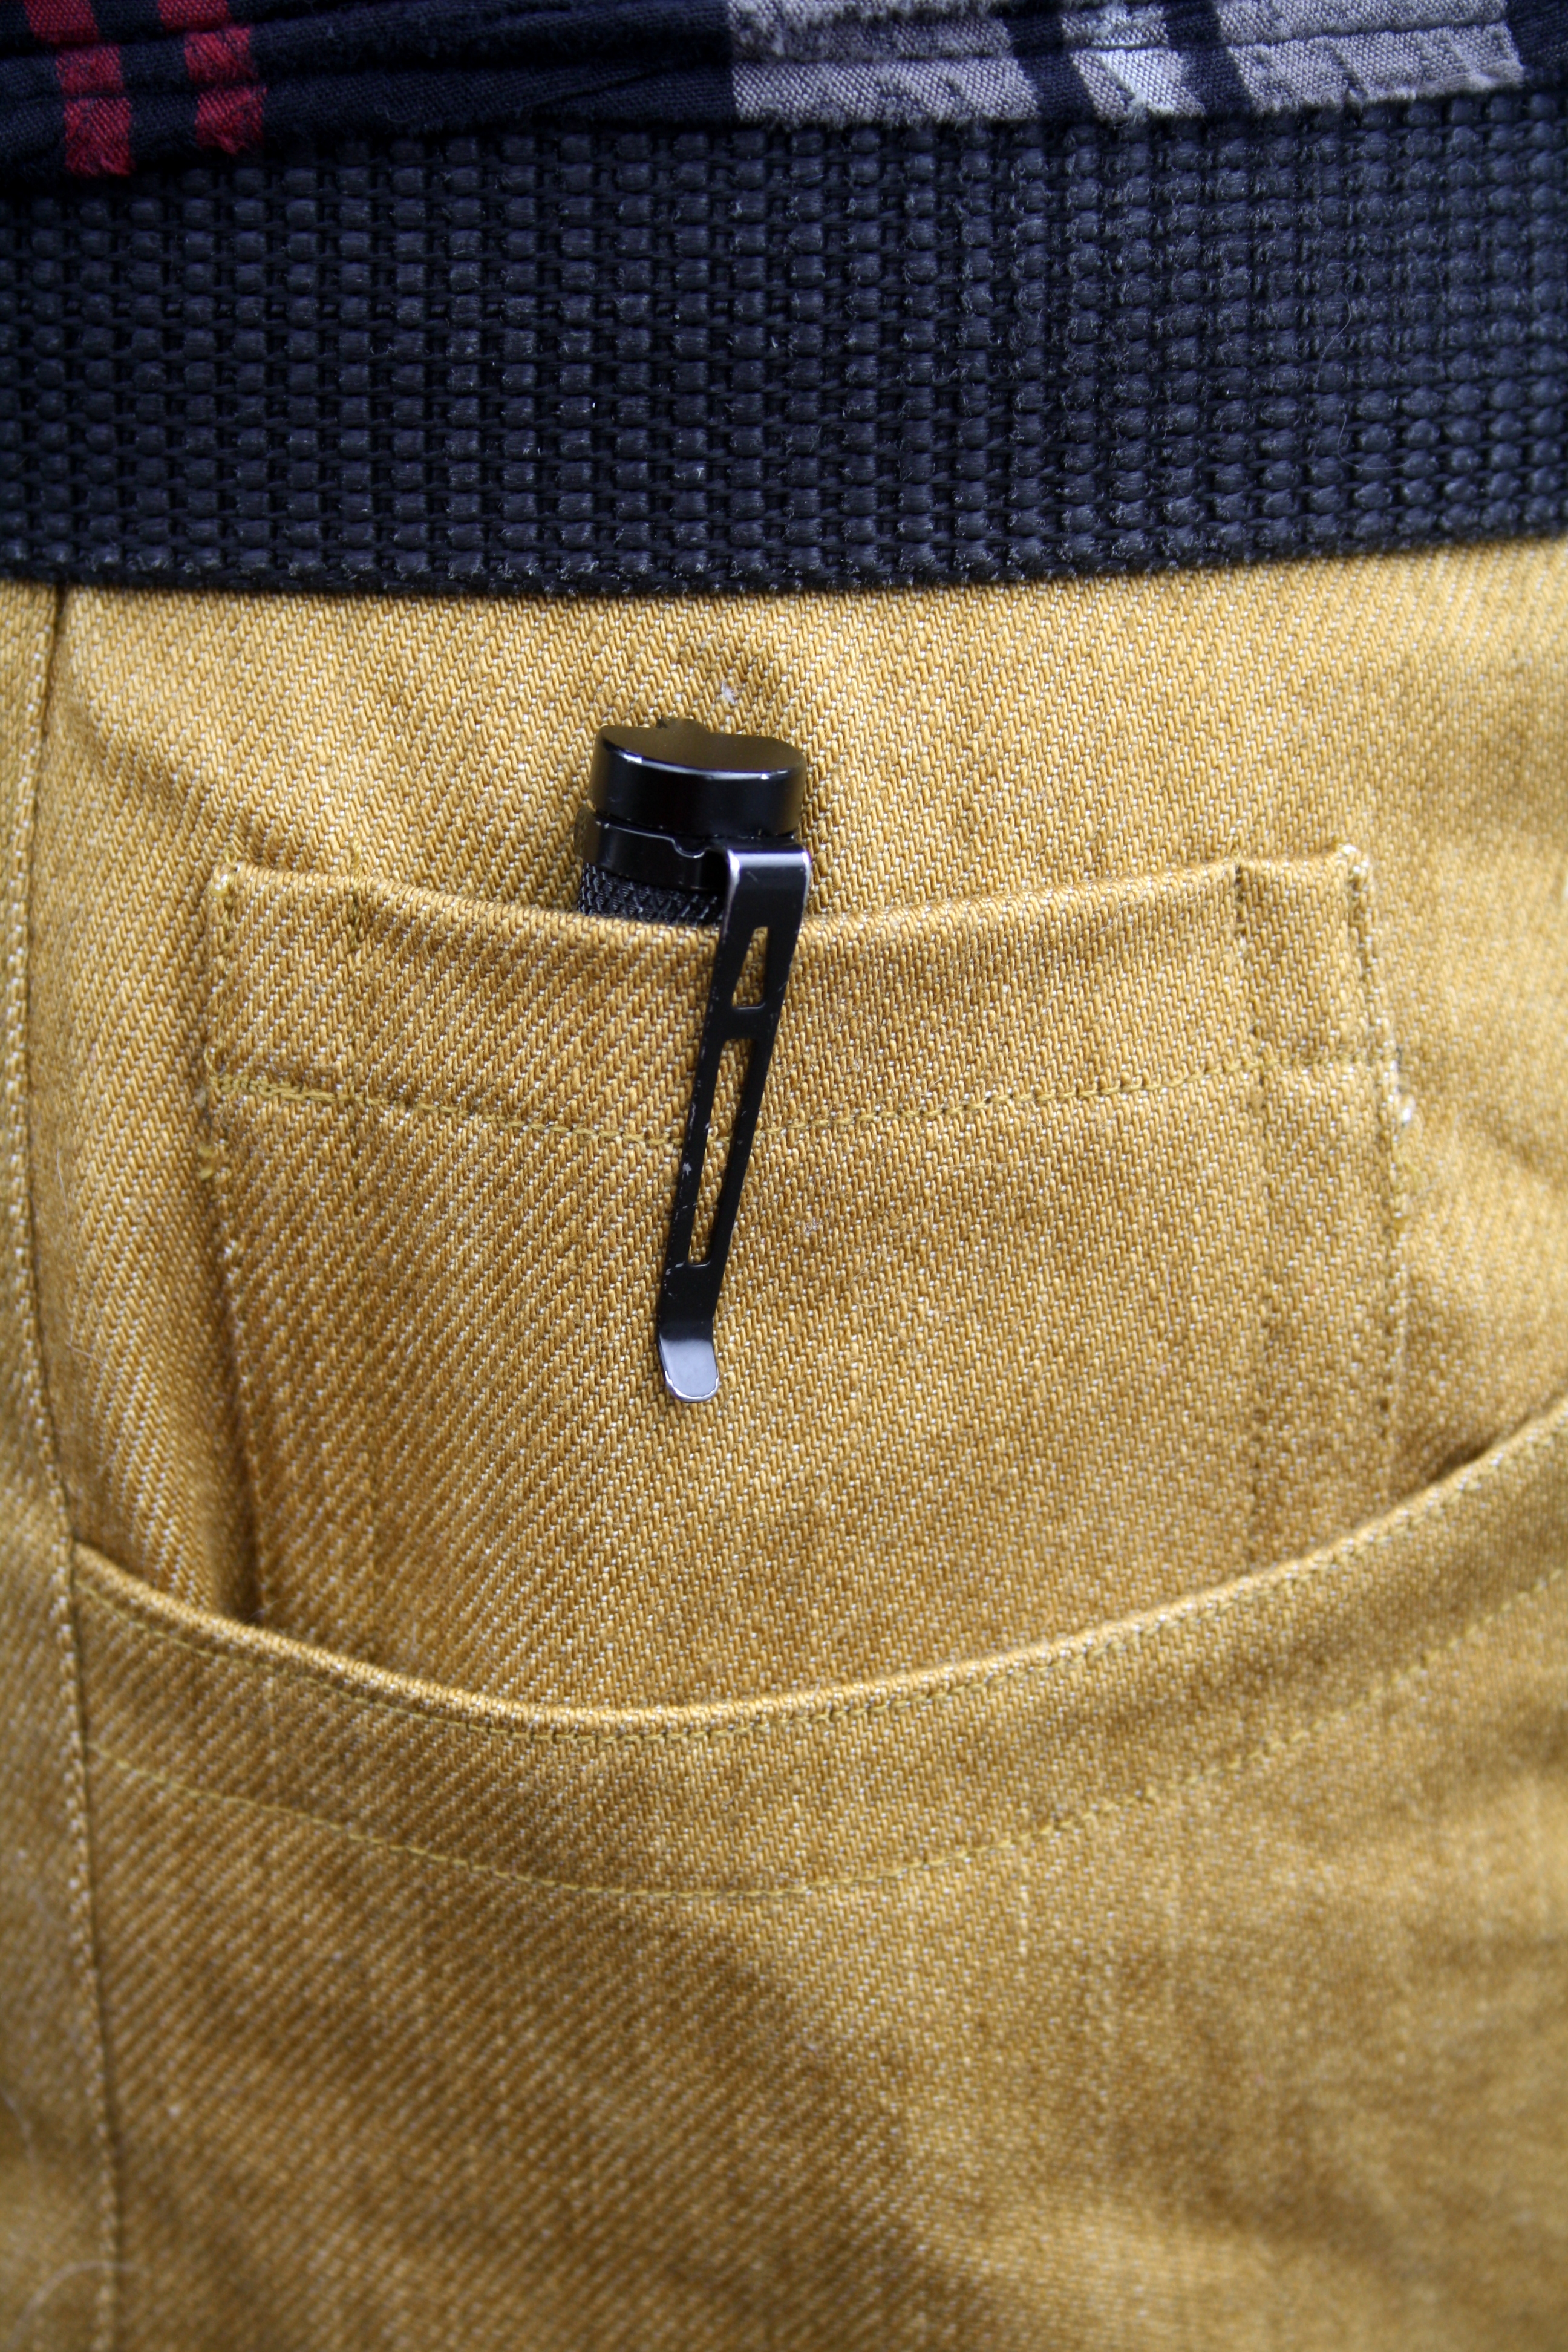
Ah, close-up crotch photos. I think my coin pocket is on the wrong side, but I never use that pocket so I’m not bothered. My fabric was a Japanese indigo stretch denim bought from Drapers Fabric in Newmarket. I also got black at the same time for a second future pair. It’s good fabric, but it does not take kindly to having stitches removed. With the Ginger jeans fly instructions, Heather has you baste the fly closed and then remove the basting at the end. You can see along the folded edge of my fly that the removal of the basting stitches has left little marks, which is unfortunate, but not as unfortunate as what happened on the back when I basted the pockets on!
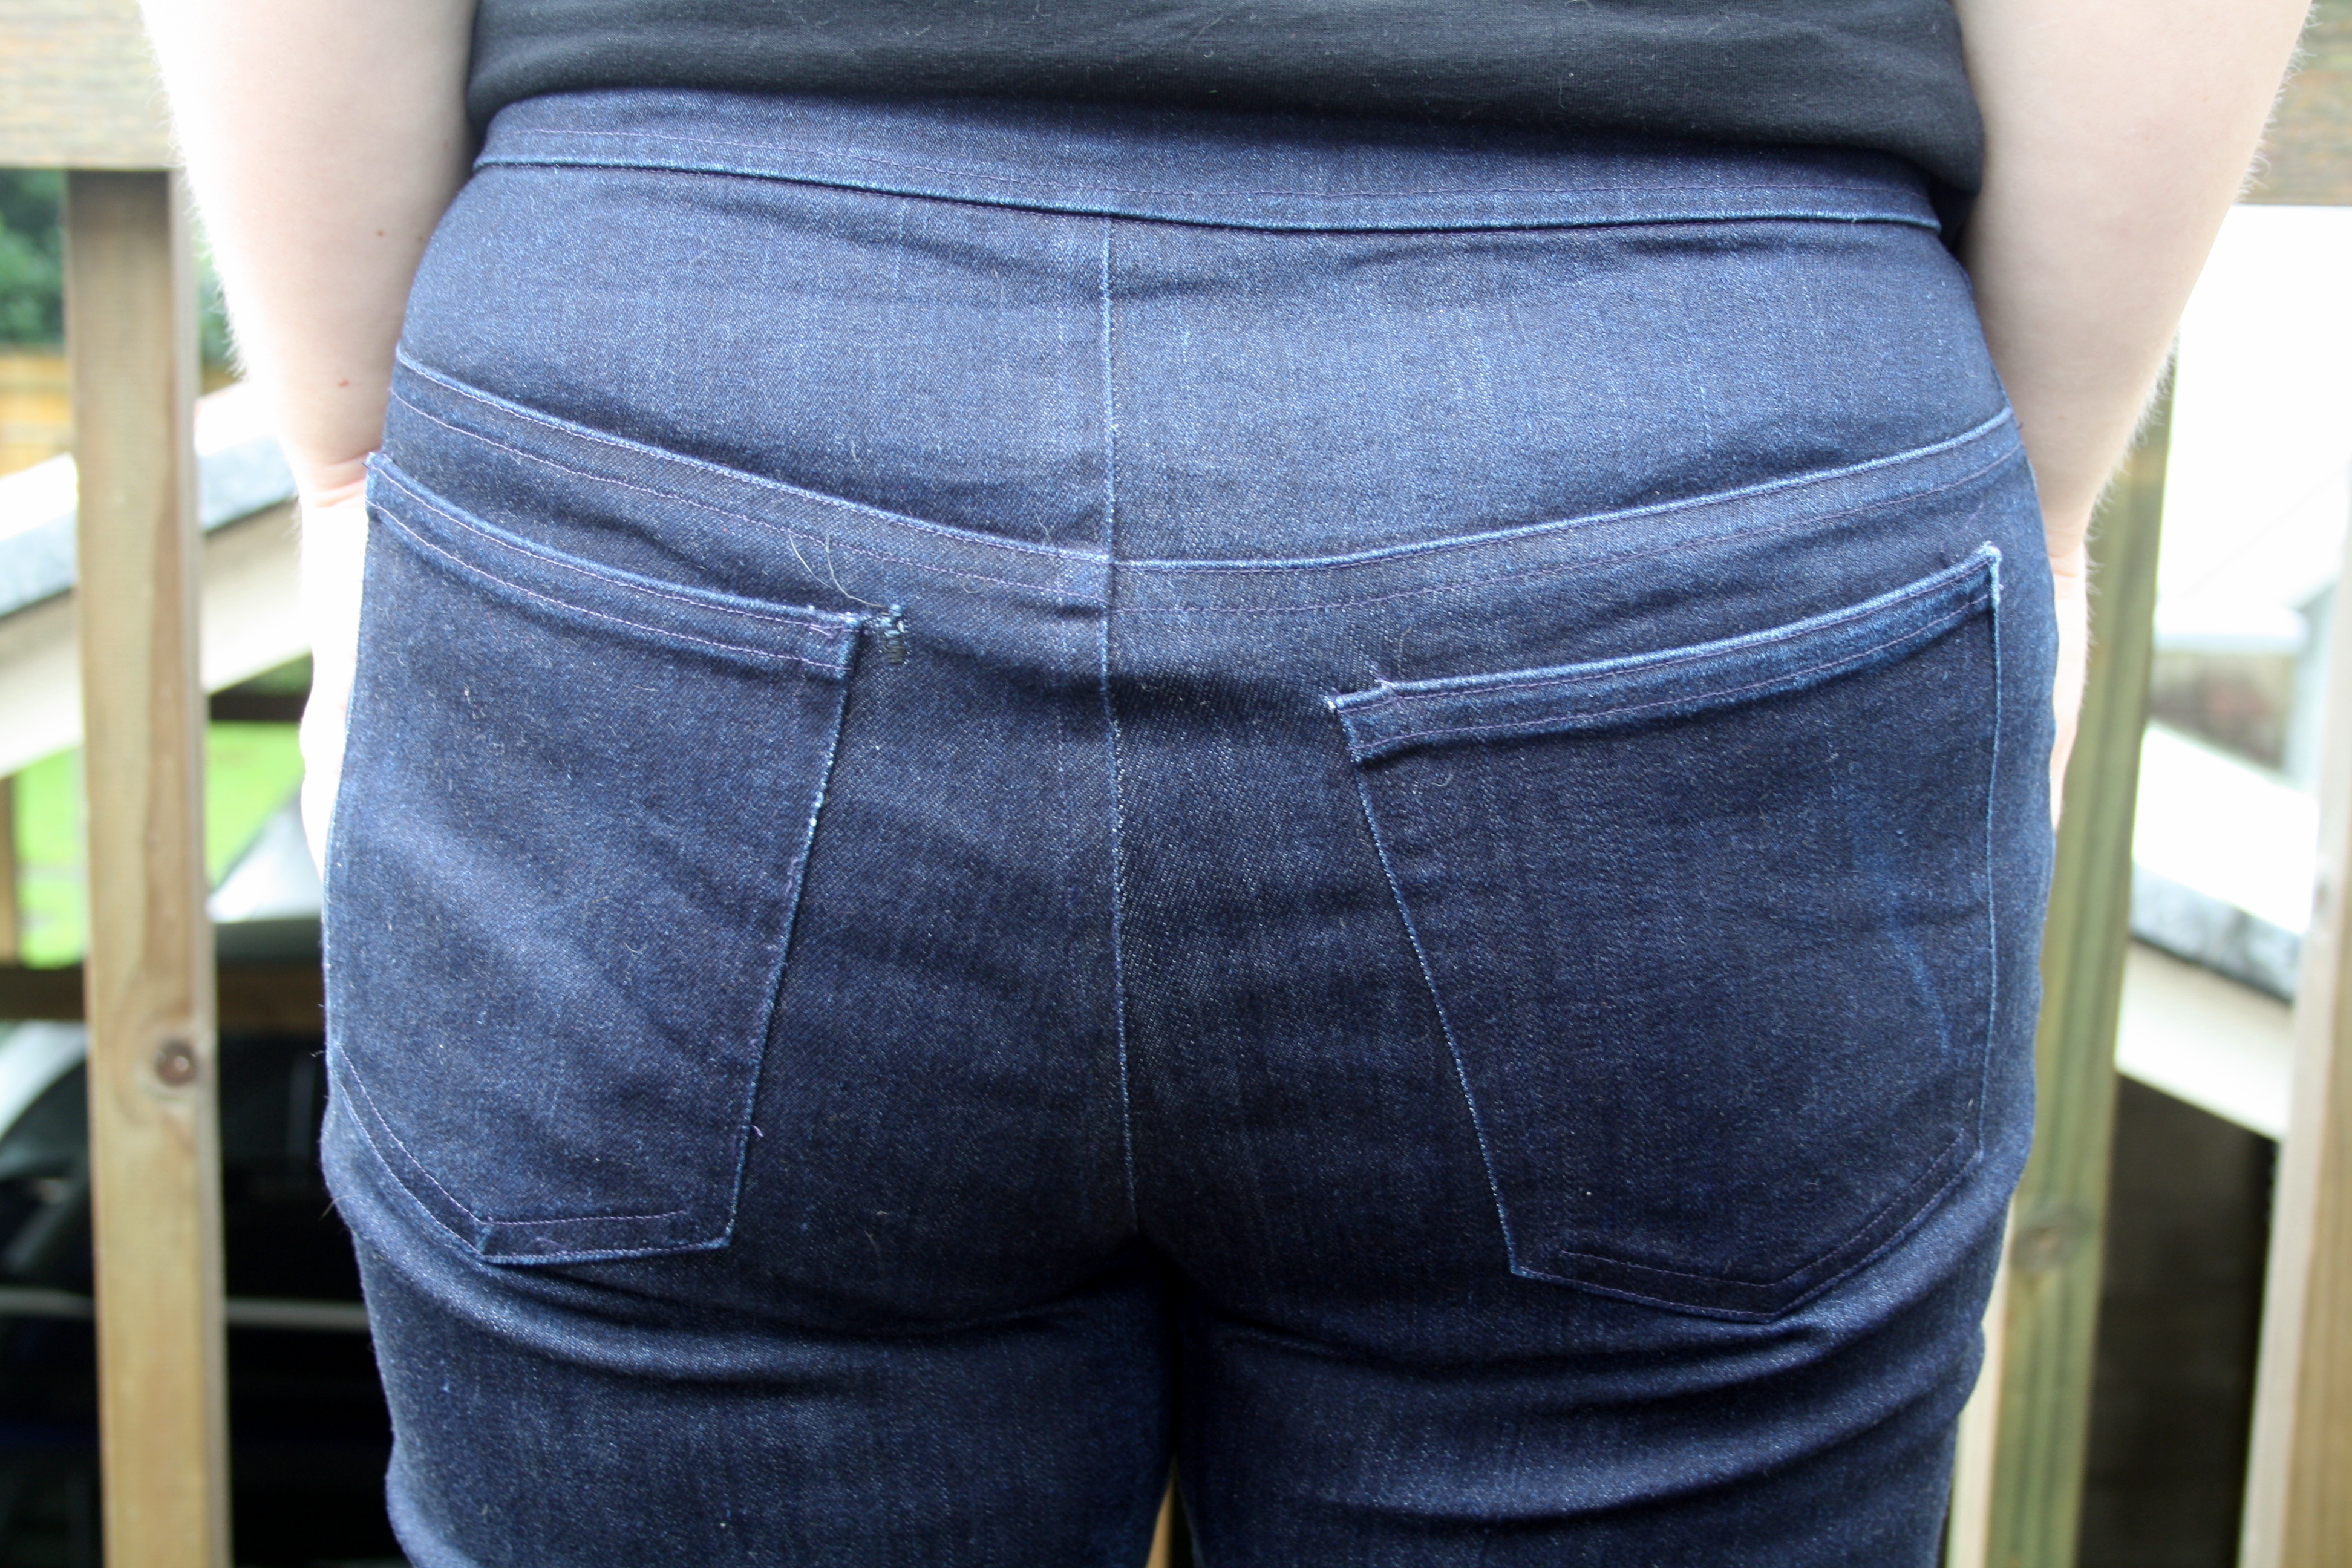
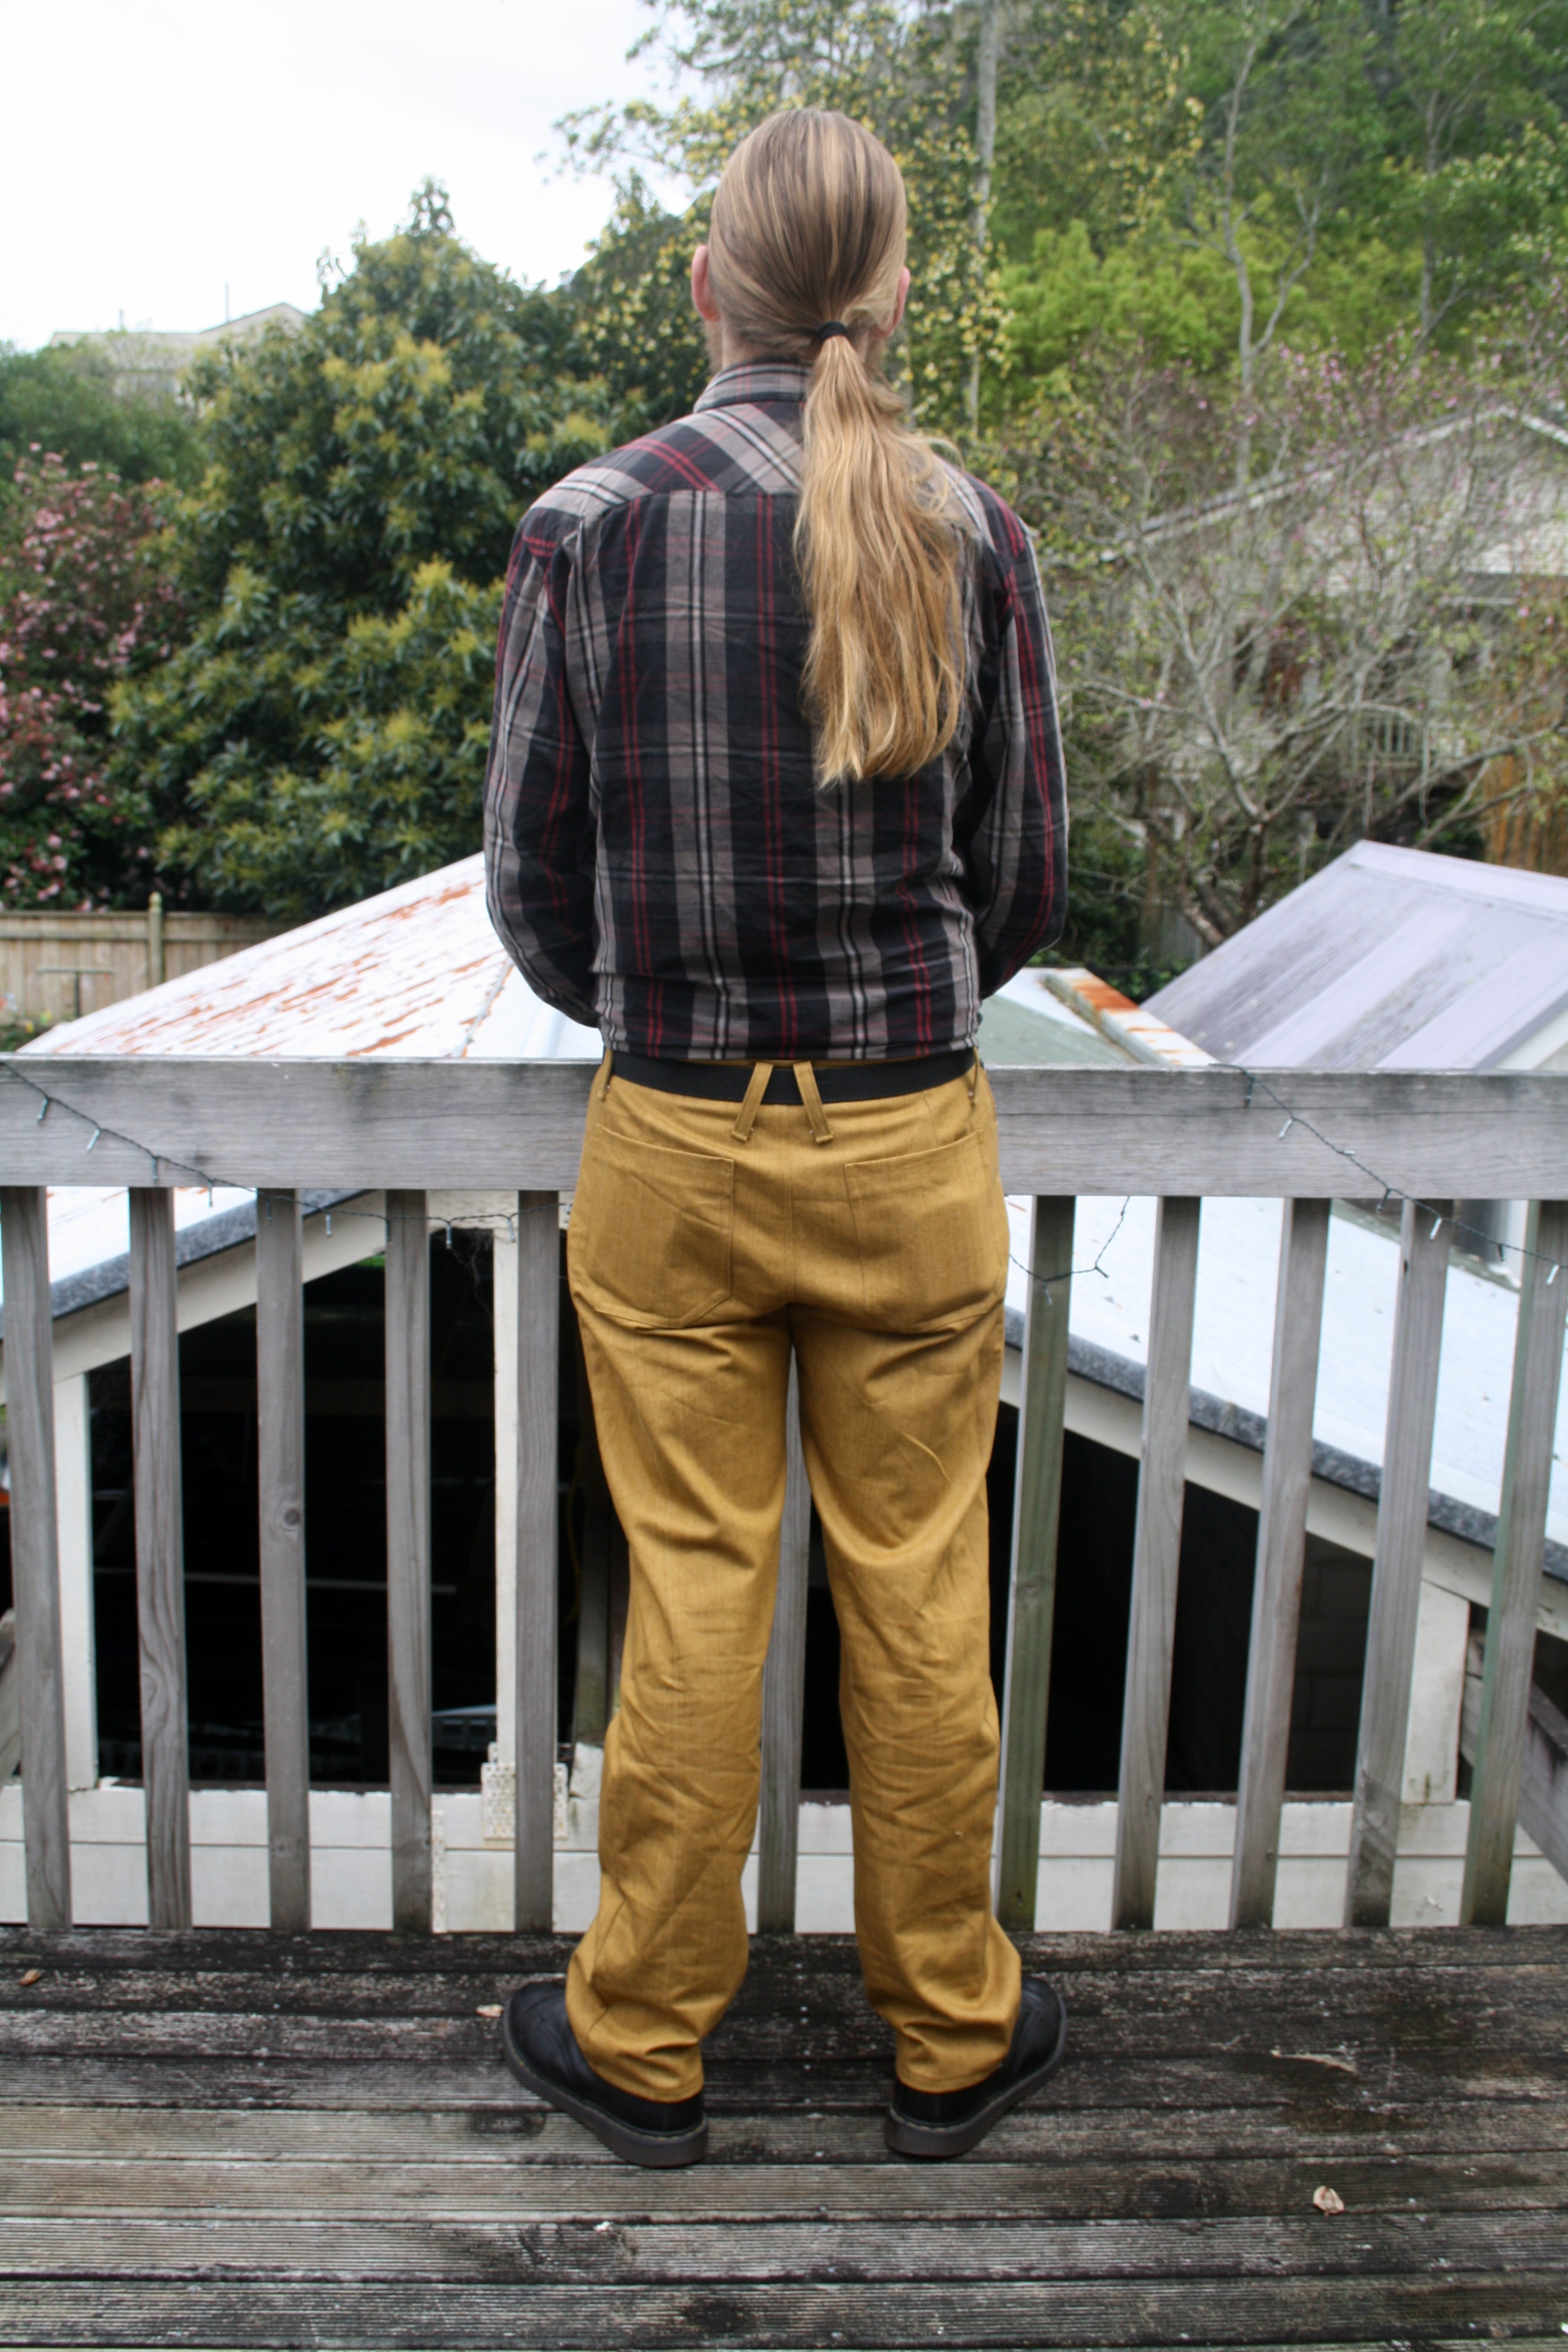
Oh god, this is such a terrible photo of my backside. Anyhow, you can see near the left pocket, there is a small repair. After I basted the pockets to try and check where they should be placed, they did NOT want to be repositioned. Pulling on the stitches at all made marks on the denim, and after a few tries, one area formed a small hole, which I had to stitch up and interface on the inside to prevent further fraying. And now I can see that the stupid pockets aren’t even level with each either (either that or I have a wonky bum). Argh. The pockets were my absolute least favourite part of the whole thing. I hated basting them and trying to check how they looked by getting Luke to take photos of my bum (we have an unfortunately mirror situation in our house and none of them are useful for checking out one’s posterior), I hated removing them and trying to reposition them, and I hated how much time I spent trying to surreptitiously check out the bums of strangers on the street to see how good pocket positioning looked.
Clearly, in the end I did not nail it. I think they’re too far apart? Possibly I even got them around the wrong way, I lost track of which side was more curved and was supposed to be facing the side seams.
While we’re on the back view, I have to say that I find the yoke of the Ginger jeans very wide. It is much wider than any other pair of jeans I’ve owned, and ones I’ve observed in the wild. I notice Heather has now released a mid-rise version that has a shorter yoke, and I’m a little tempted, but also slightly put off by the fact that it’s a whole new pattern and not an add-on. I don’t really fancy sticking all those PDF pieces together again for a new pattern, so I’ll probably just fiddle with the yoke height myself and sort it out.
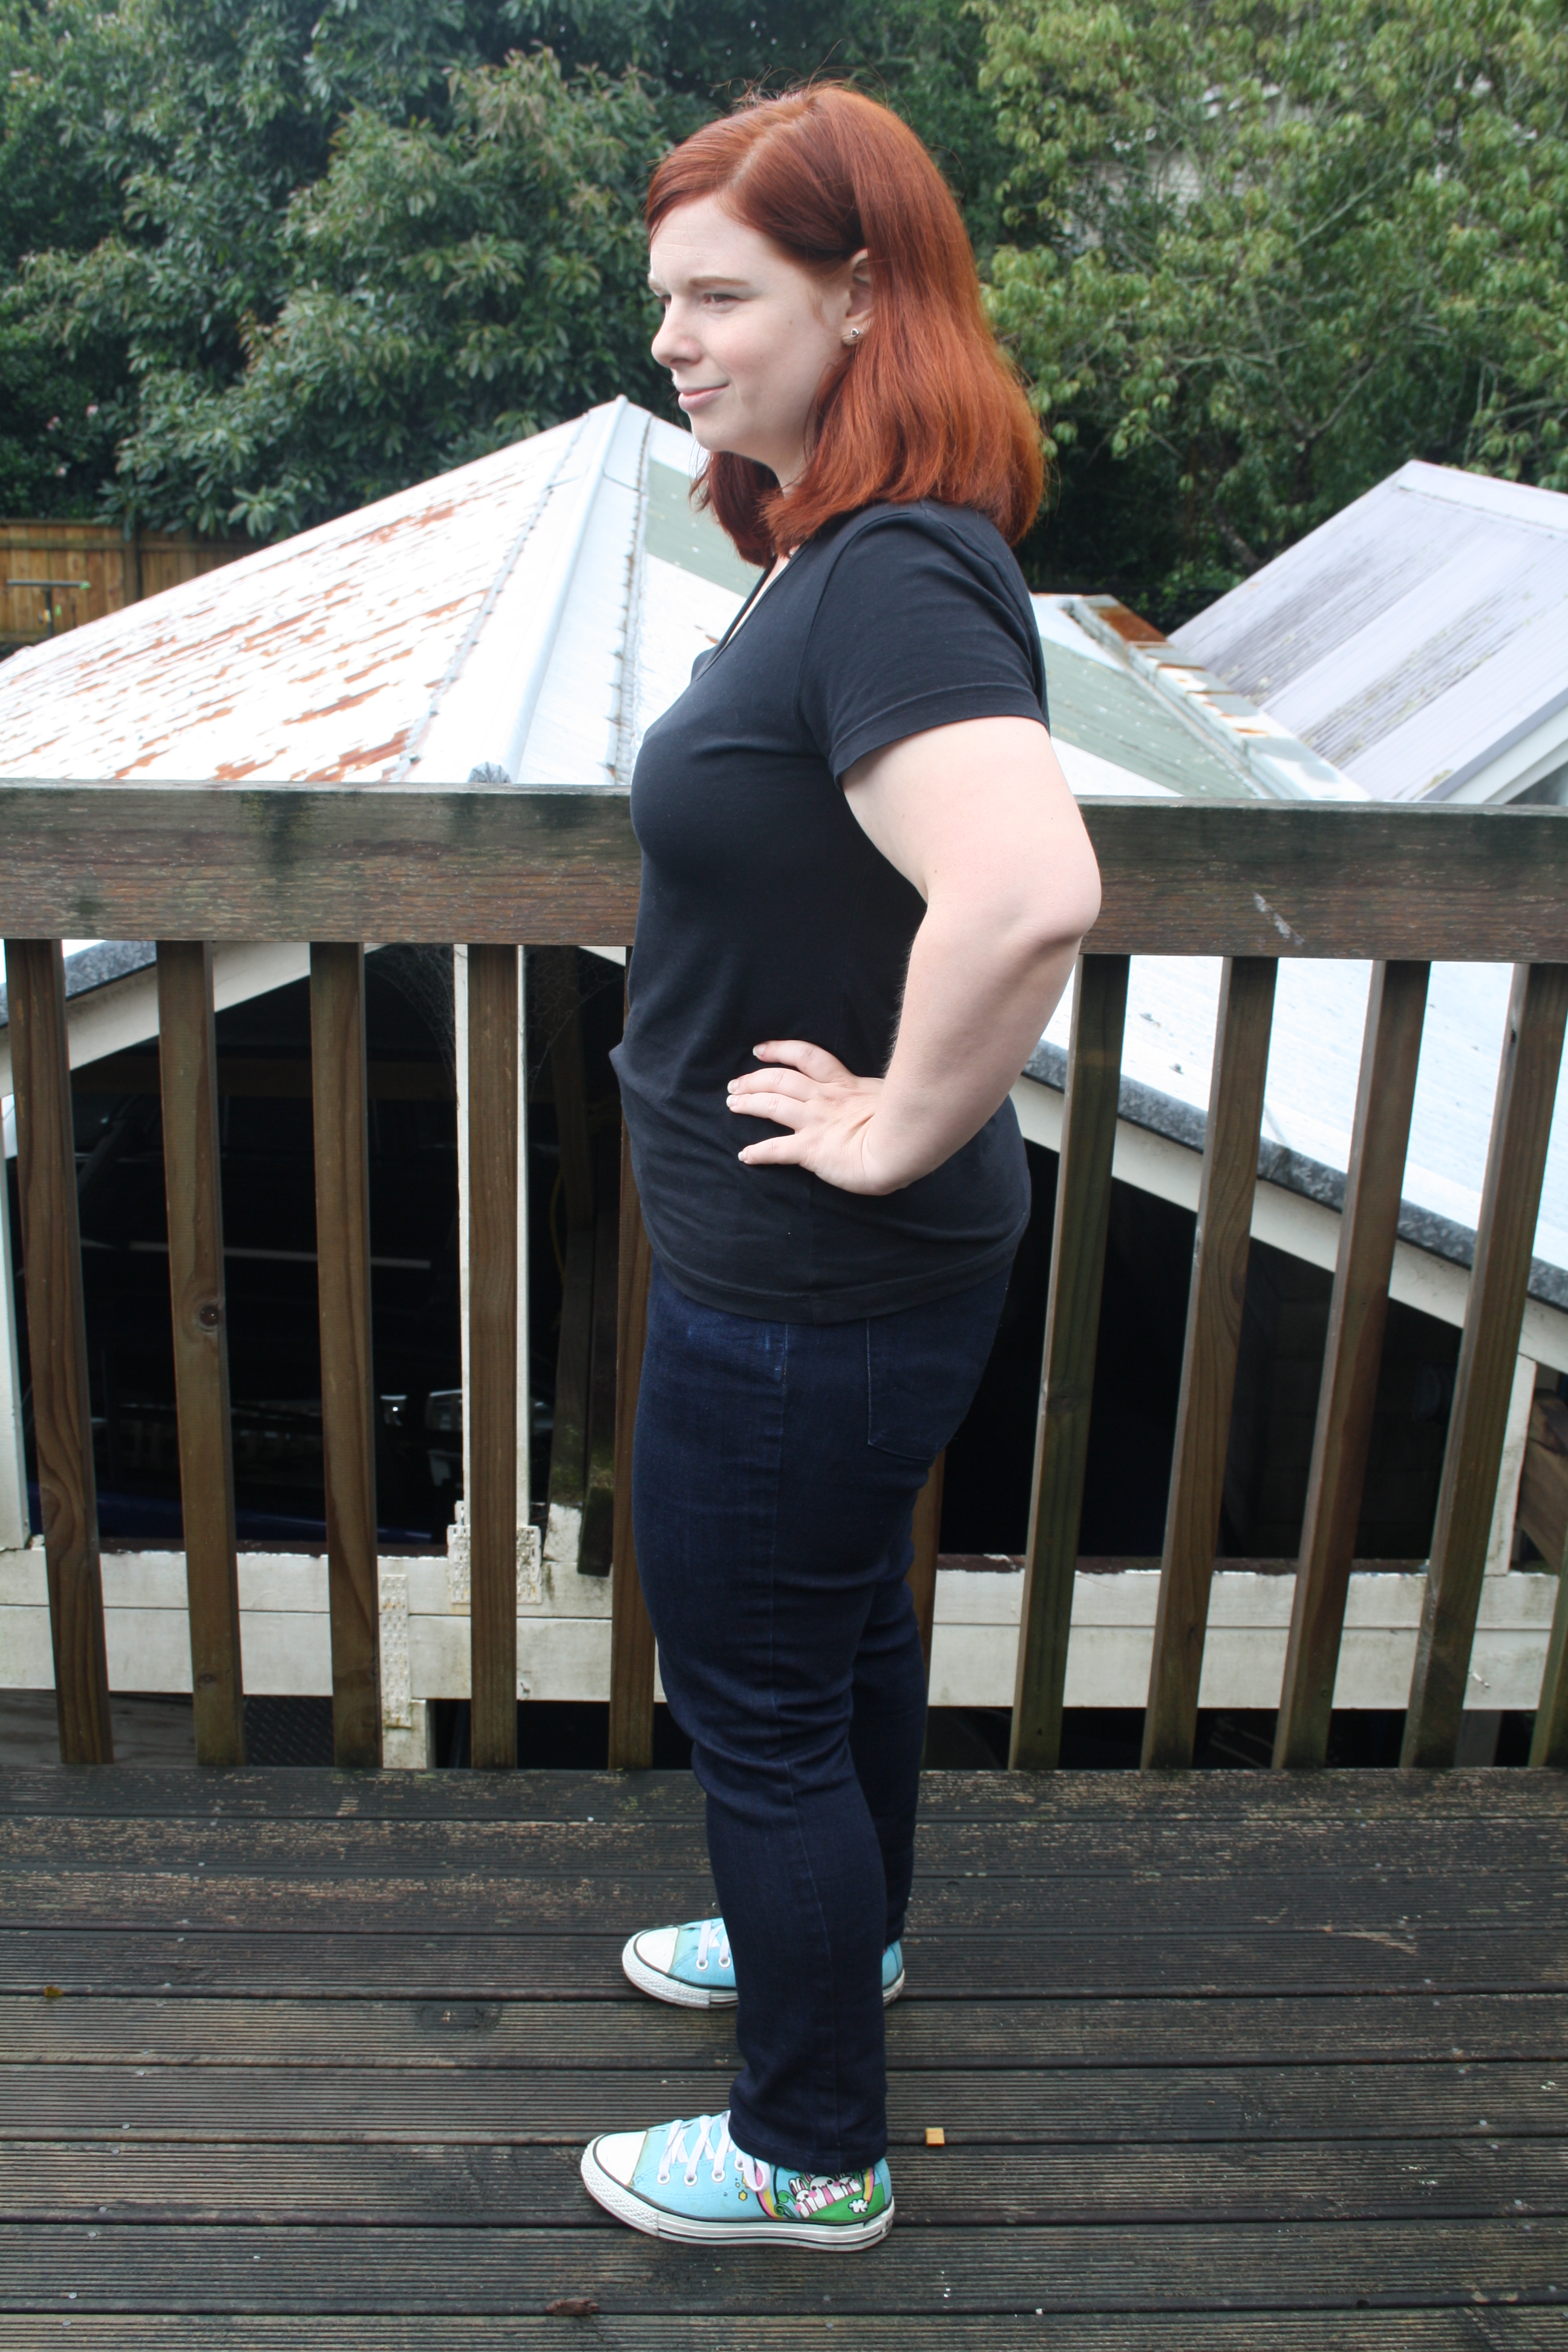
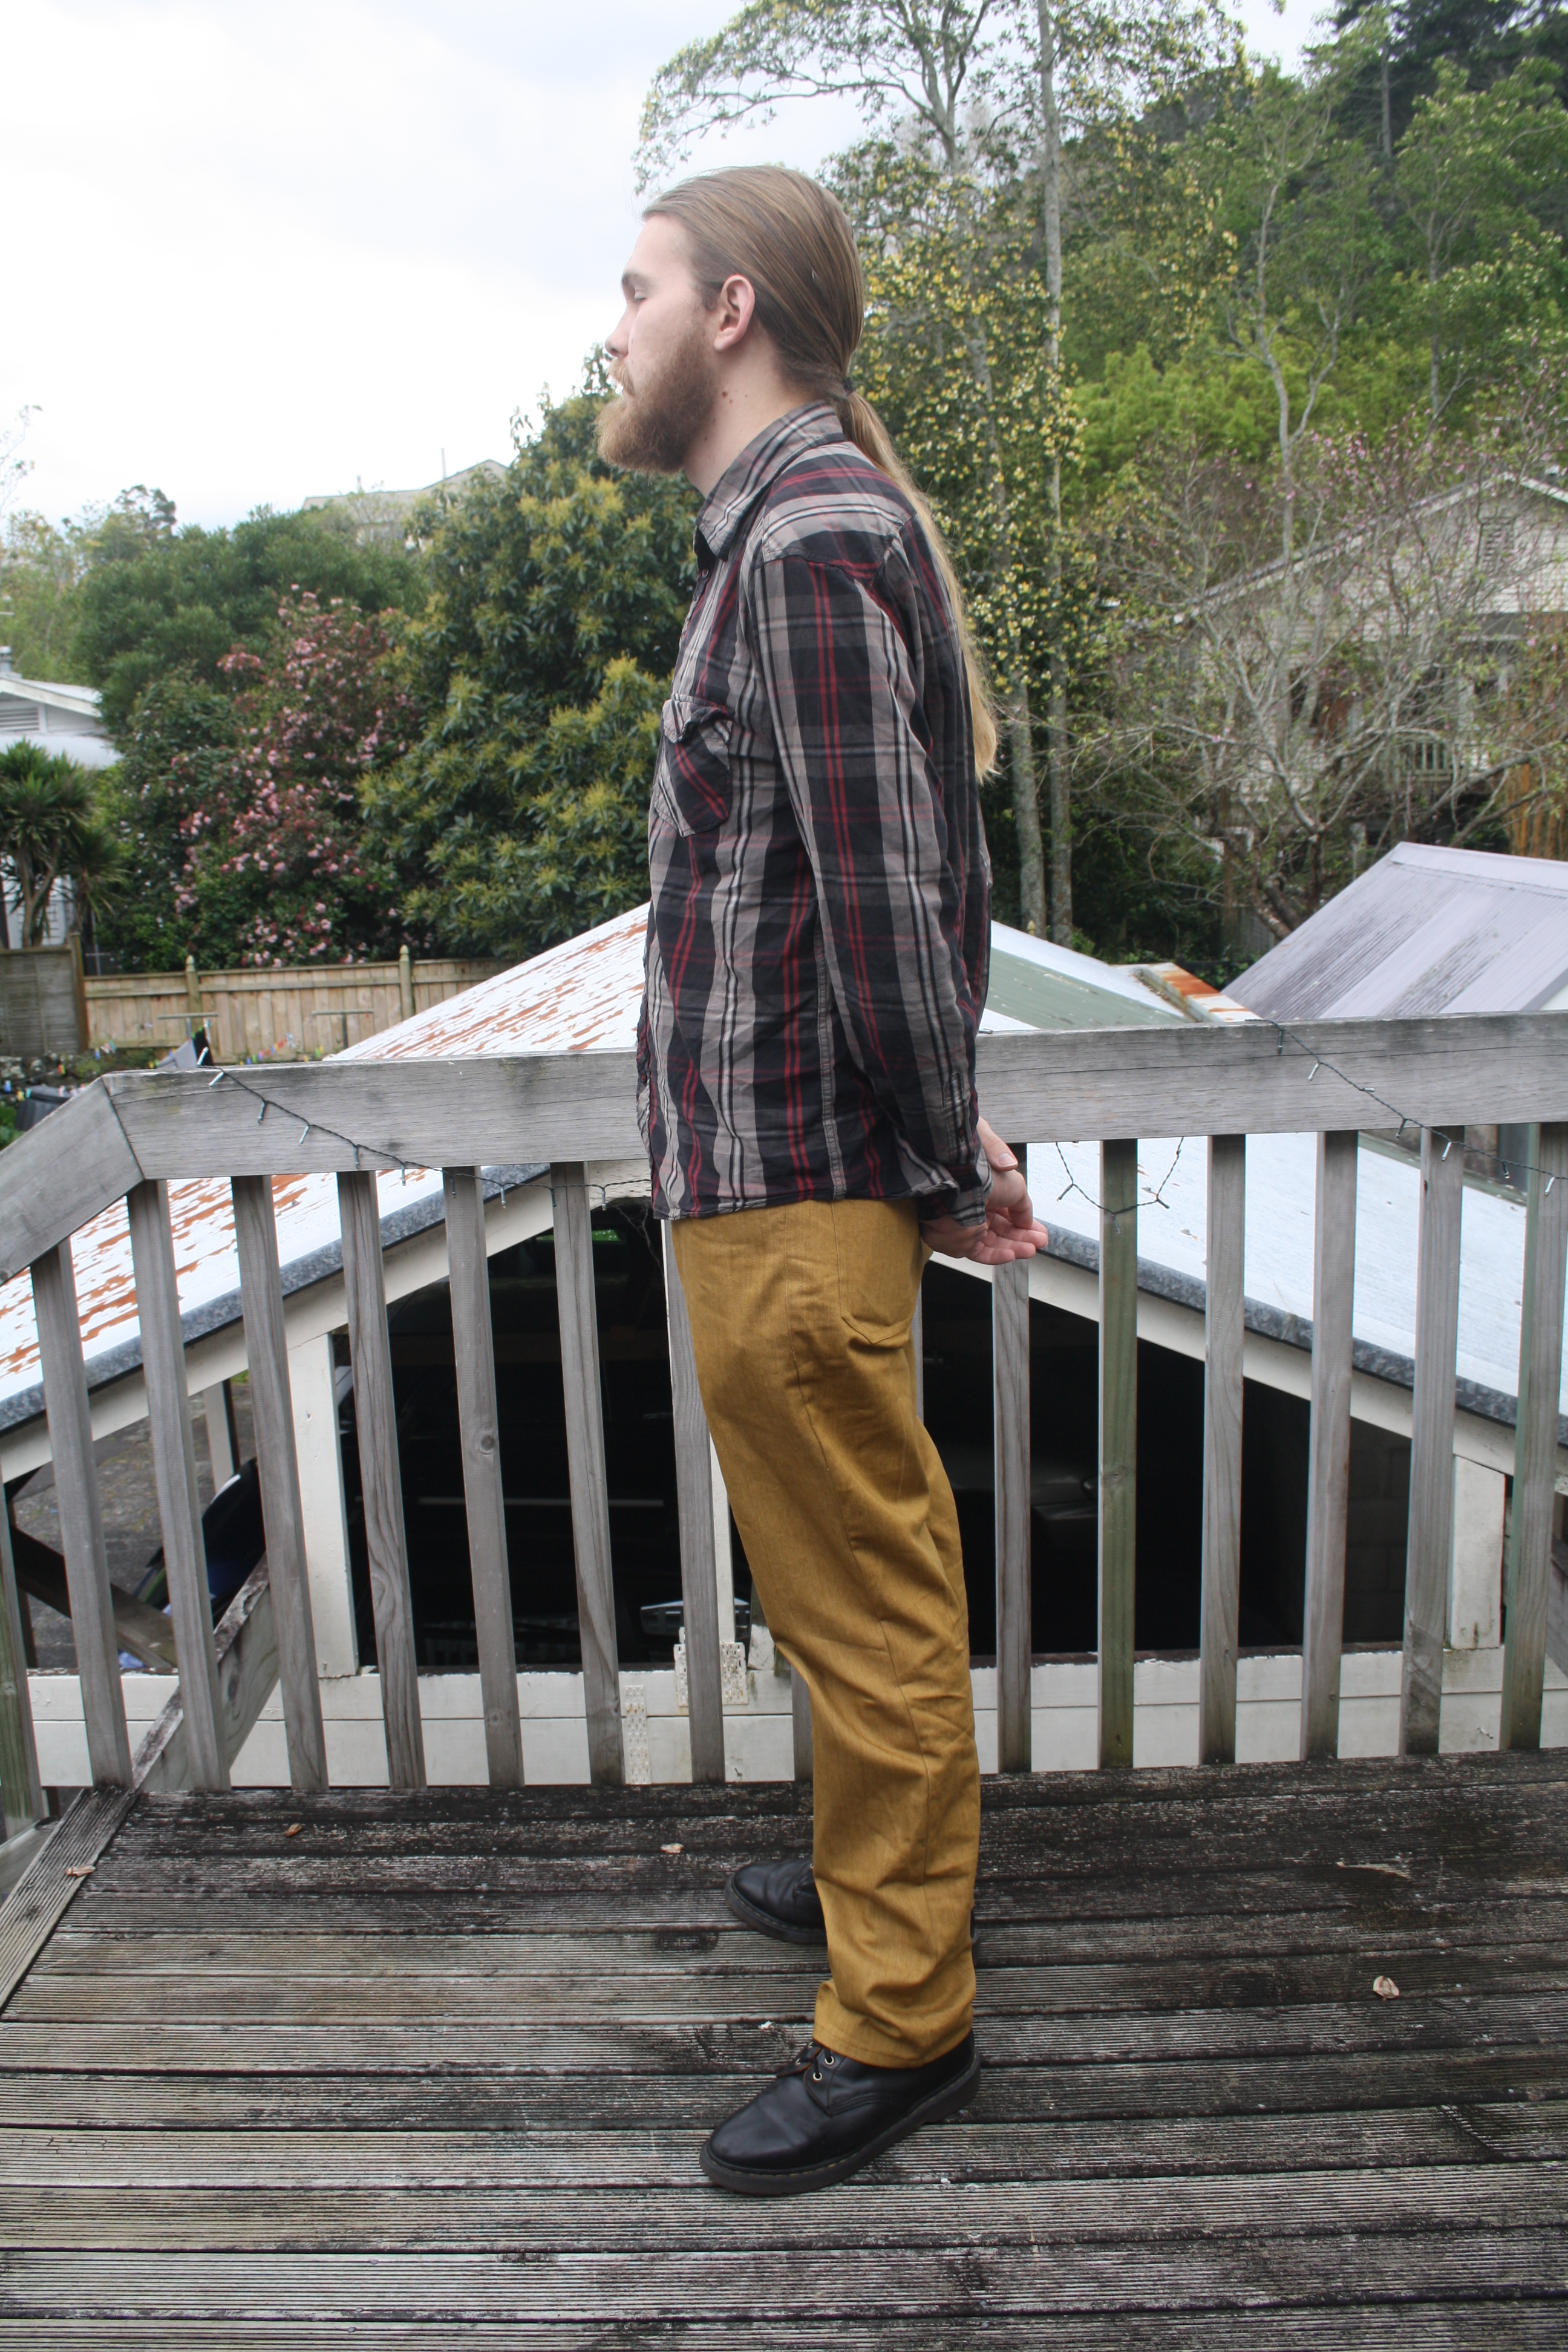
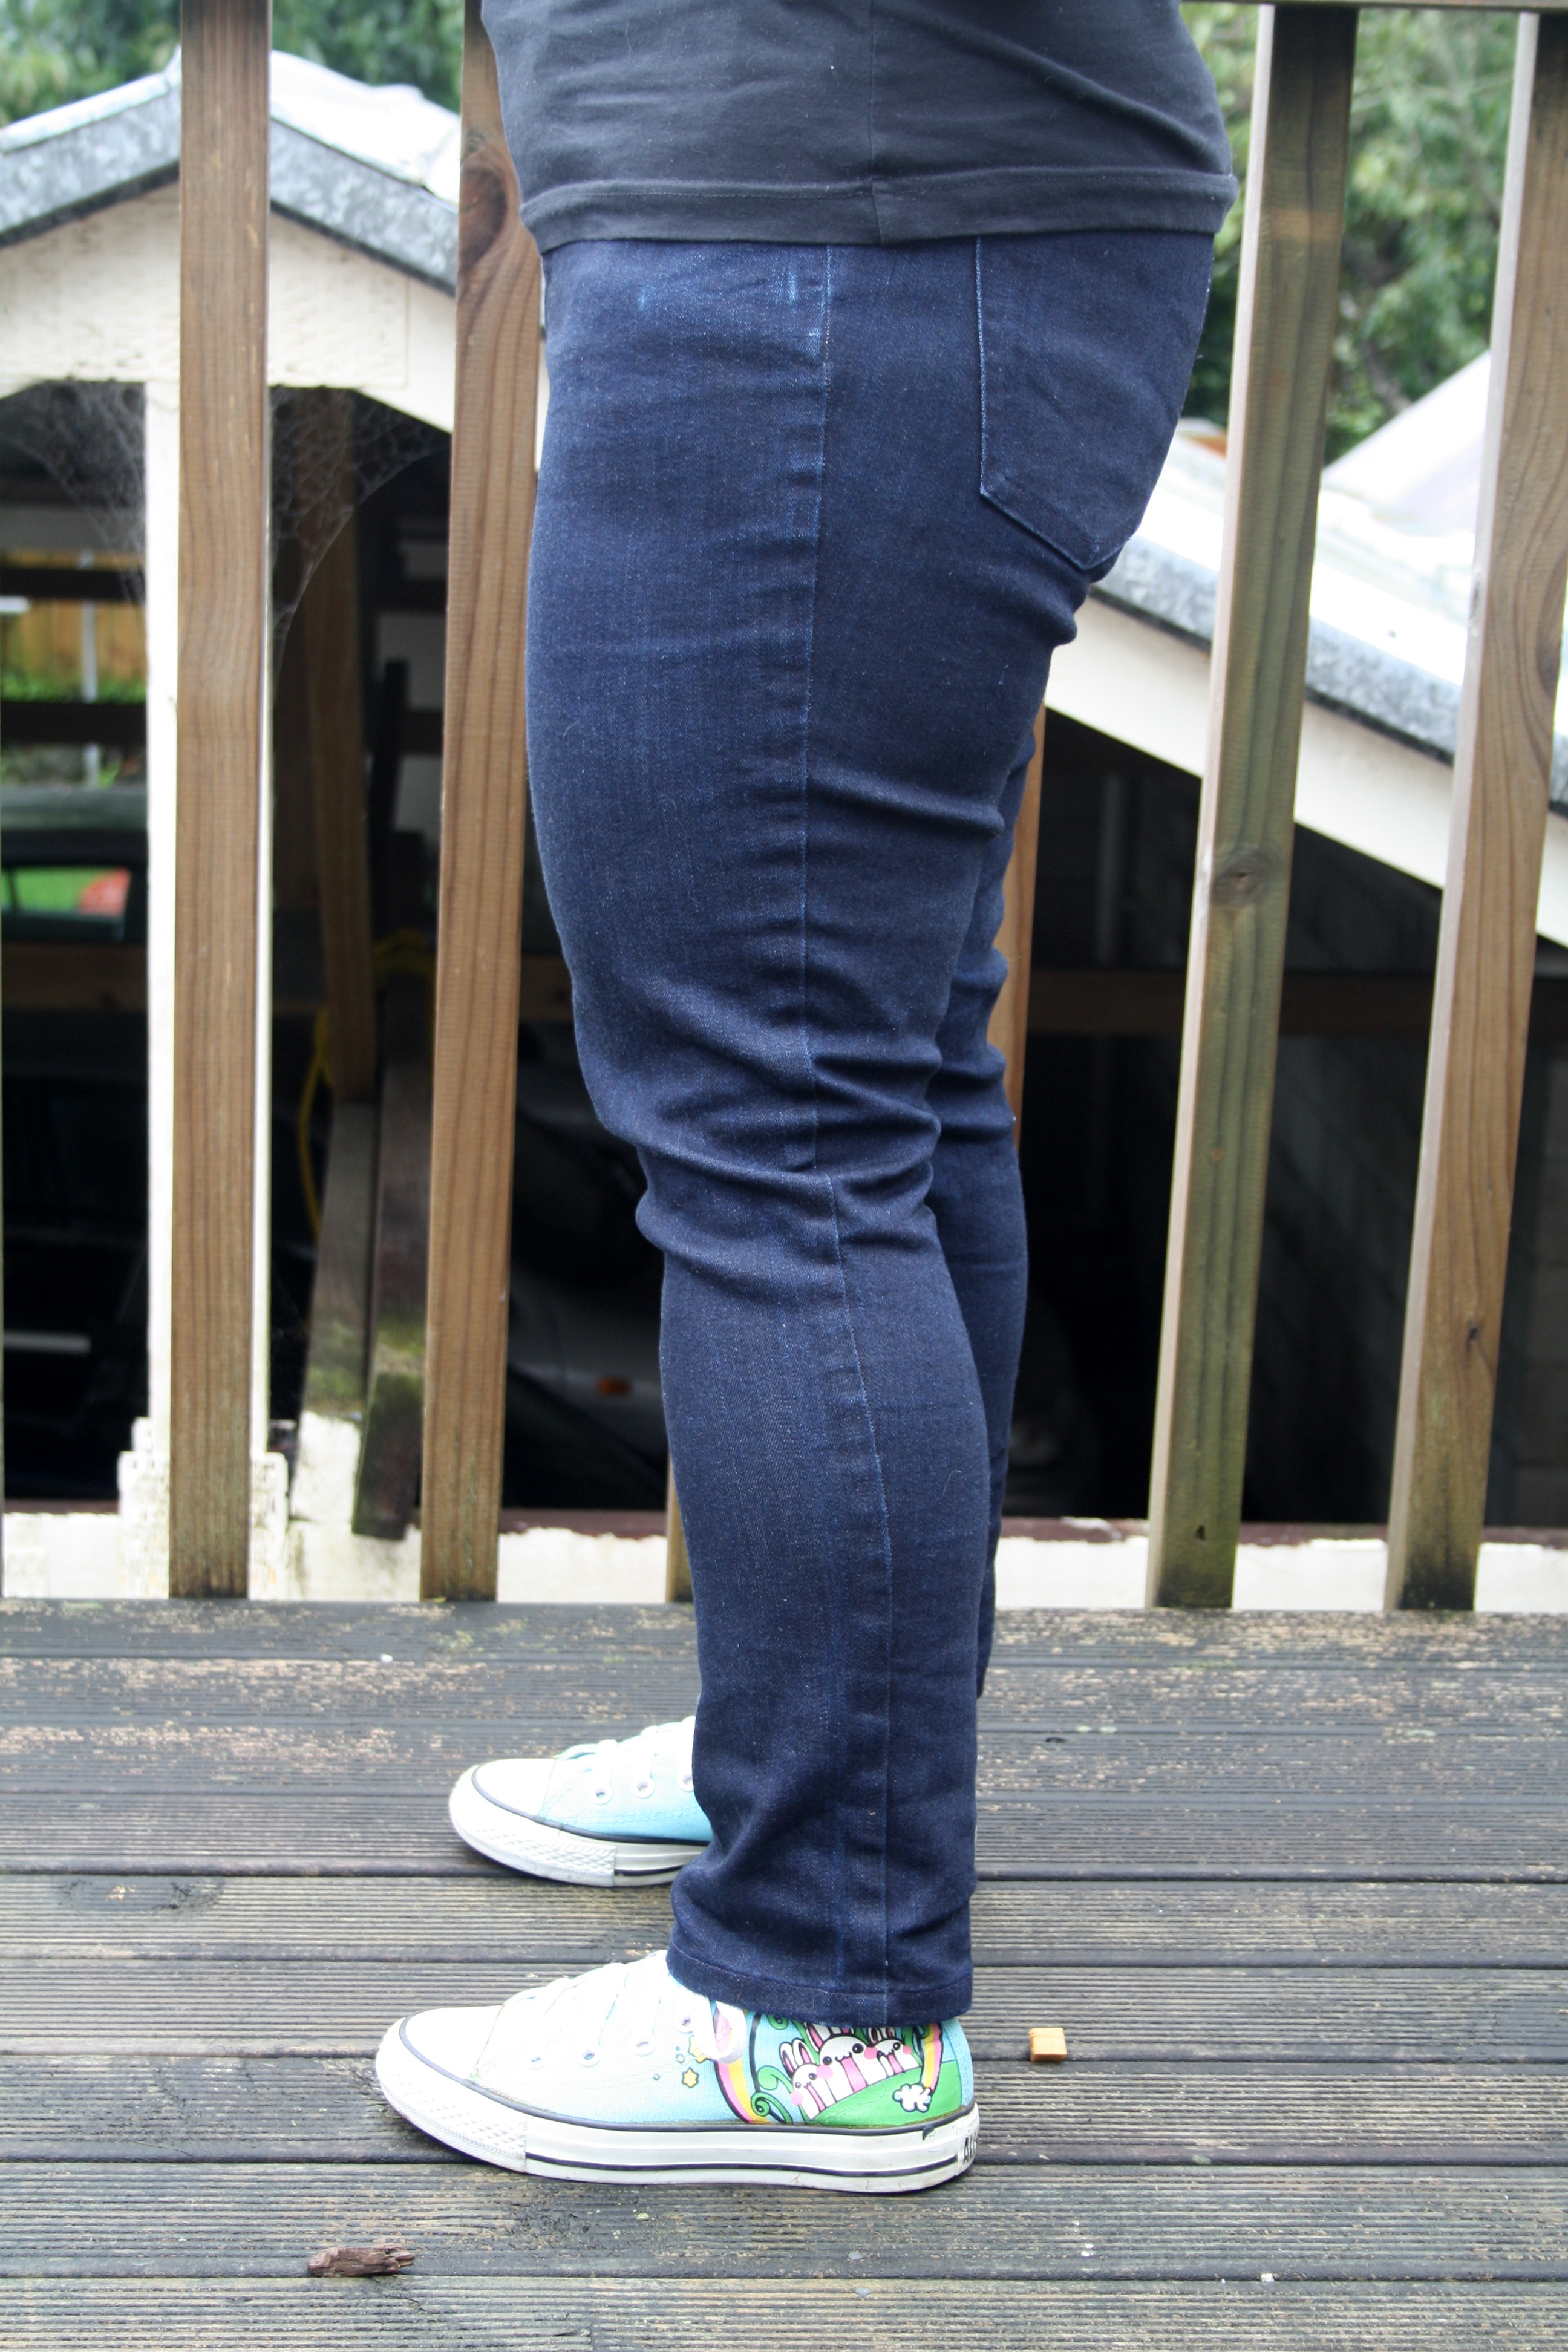
Another issue I had (and it doesn’t seem apparent in the photos) is that the left inner leg seam twists towards the front from the knee down. I cut all my pieces out on a single layer of fabric and was very careful with the grain, so I don’t think that’s the issue. The lovely Amanda of Bimble and Pimble also had the same twisting issue and got lots of useful comments on her post about it, and I’m thinking I might need a knock-knee adjustment. I am a bit pigeon-toed, always have been, and I never thought about how this might affect the fit of my pants! I wonder why just the one leg, though? Bodies are weird.
There are some wrinkles with these jeans, particularly behind my knees and under my butt. I know some wrinkling under the butt is normal and needed to actually sit down in close-fitting jeans, but how much wrinkle is too much?
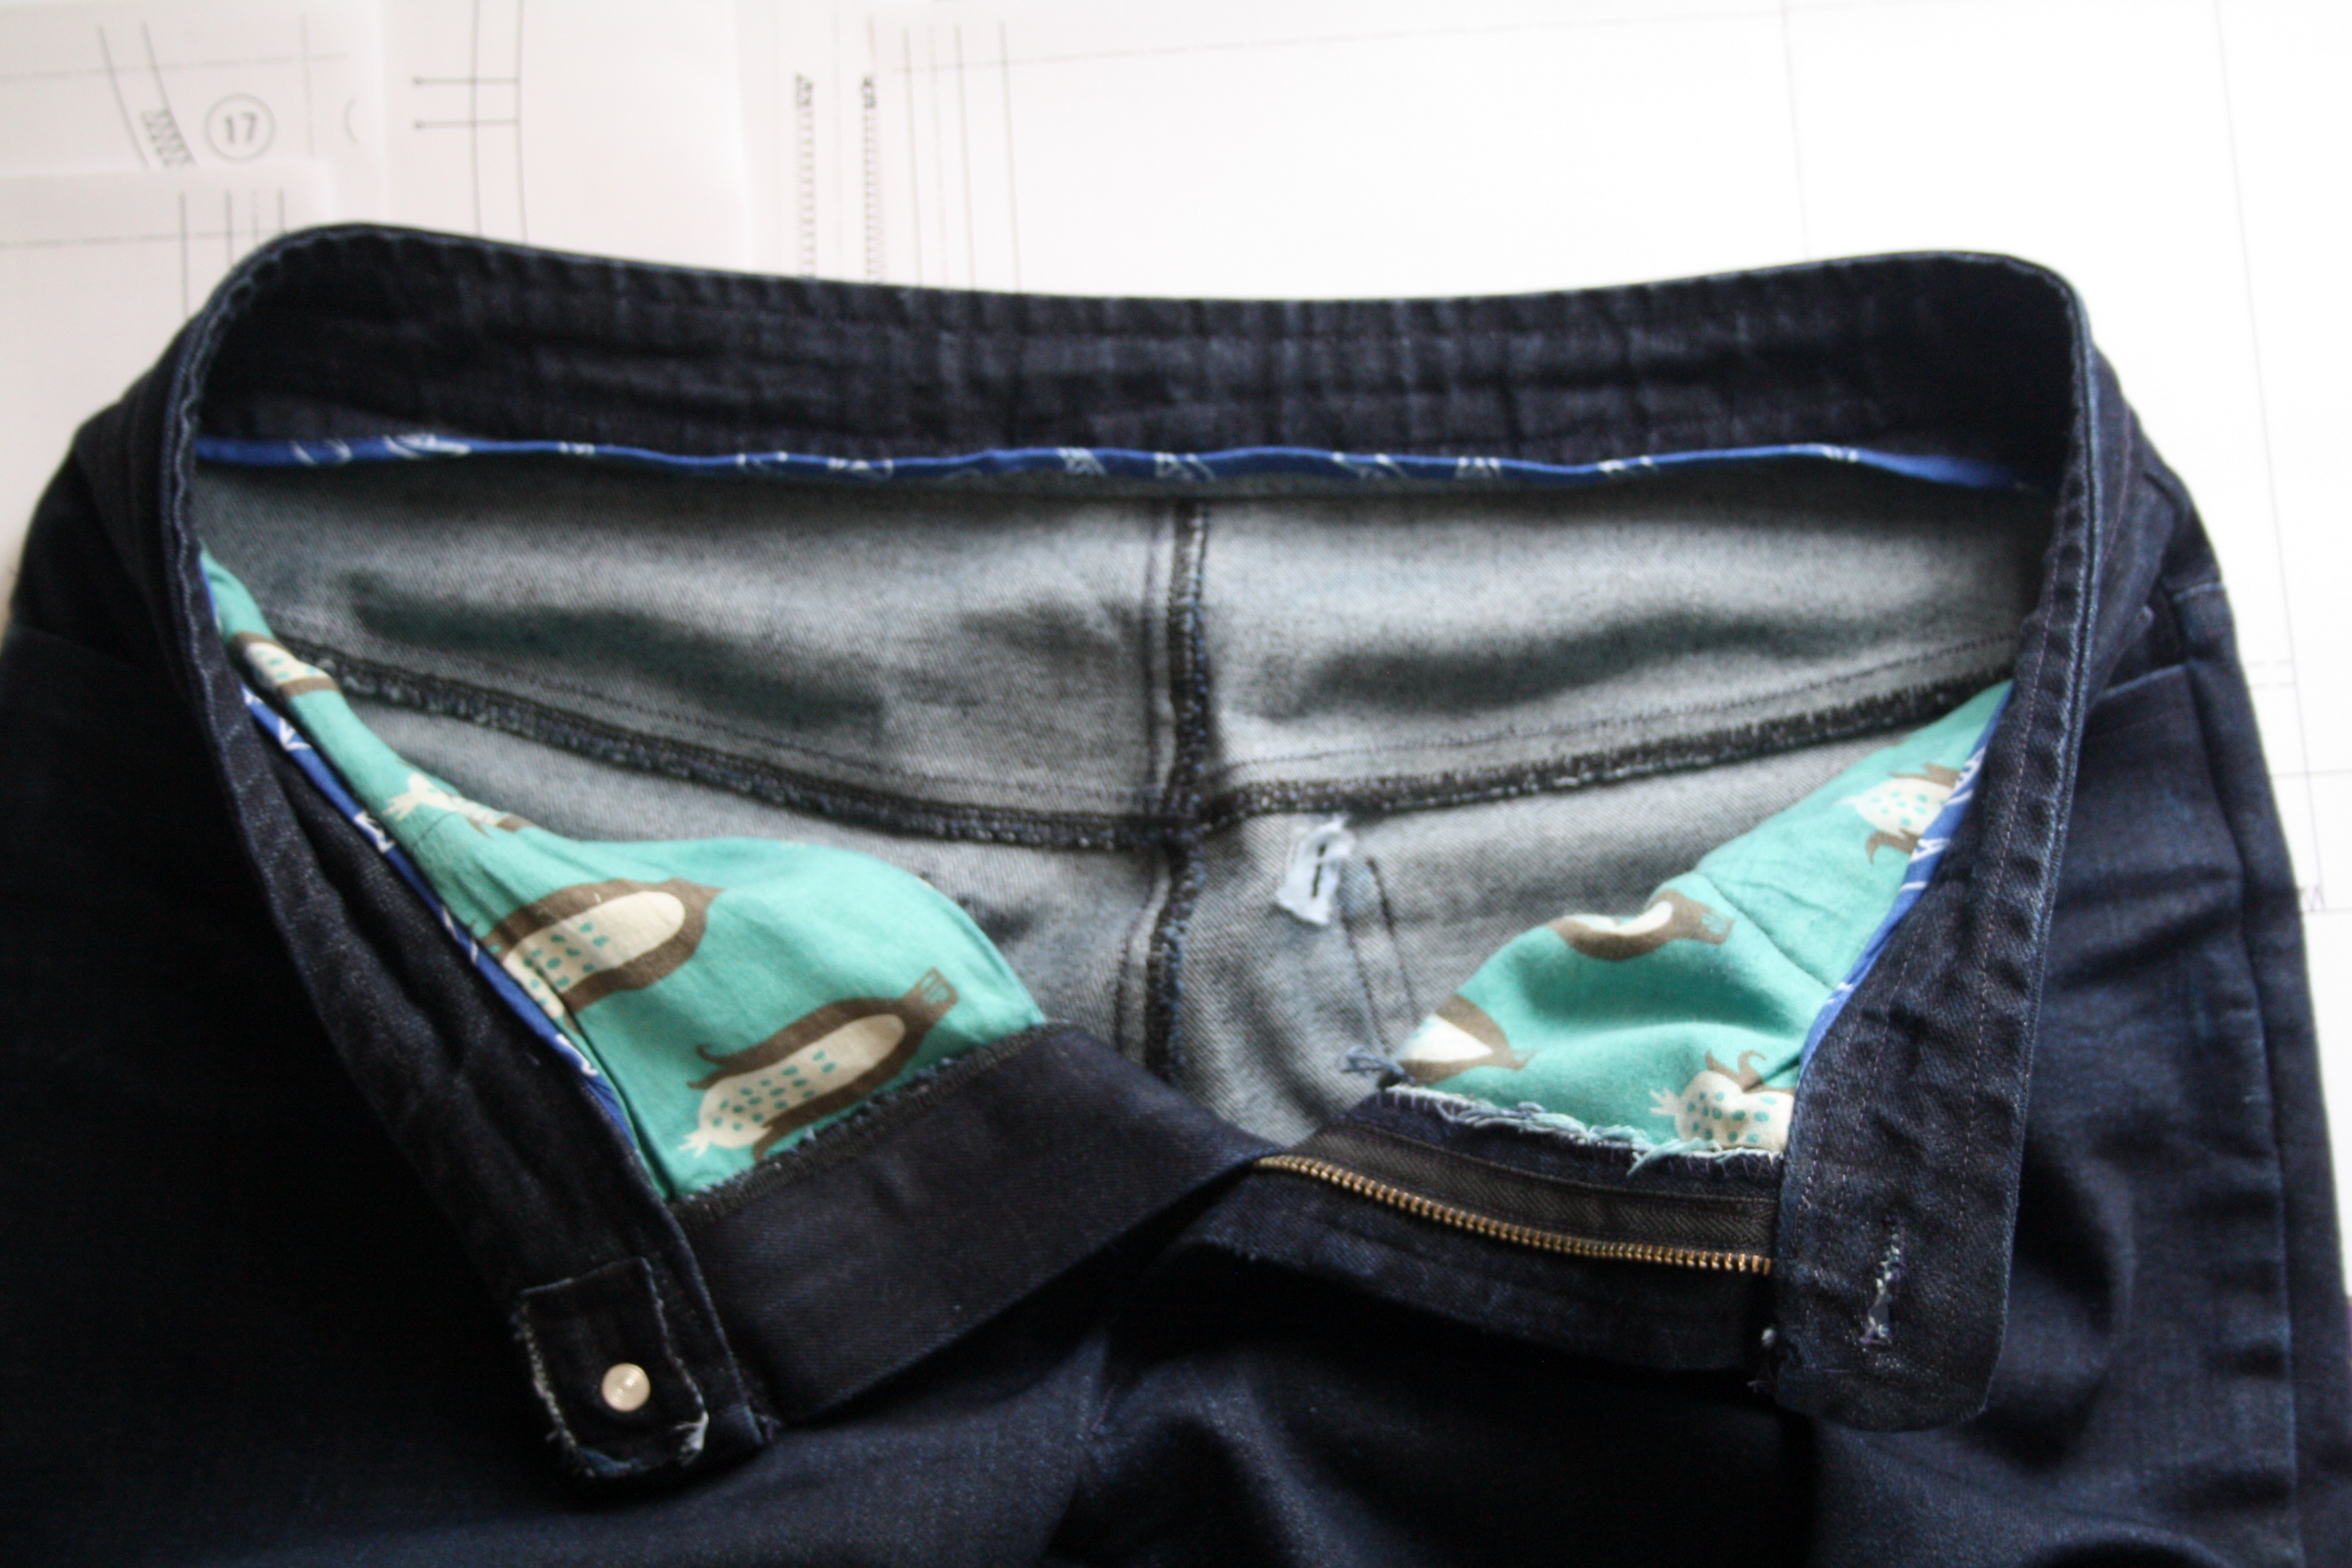
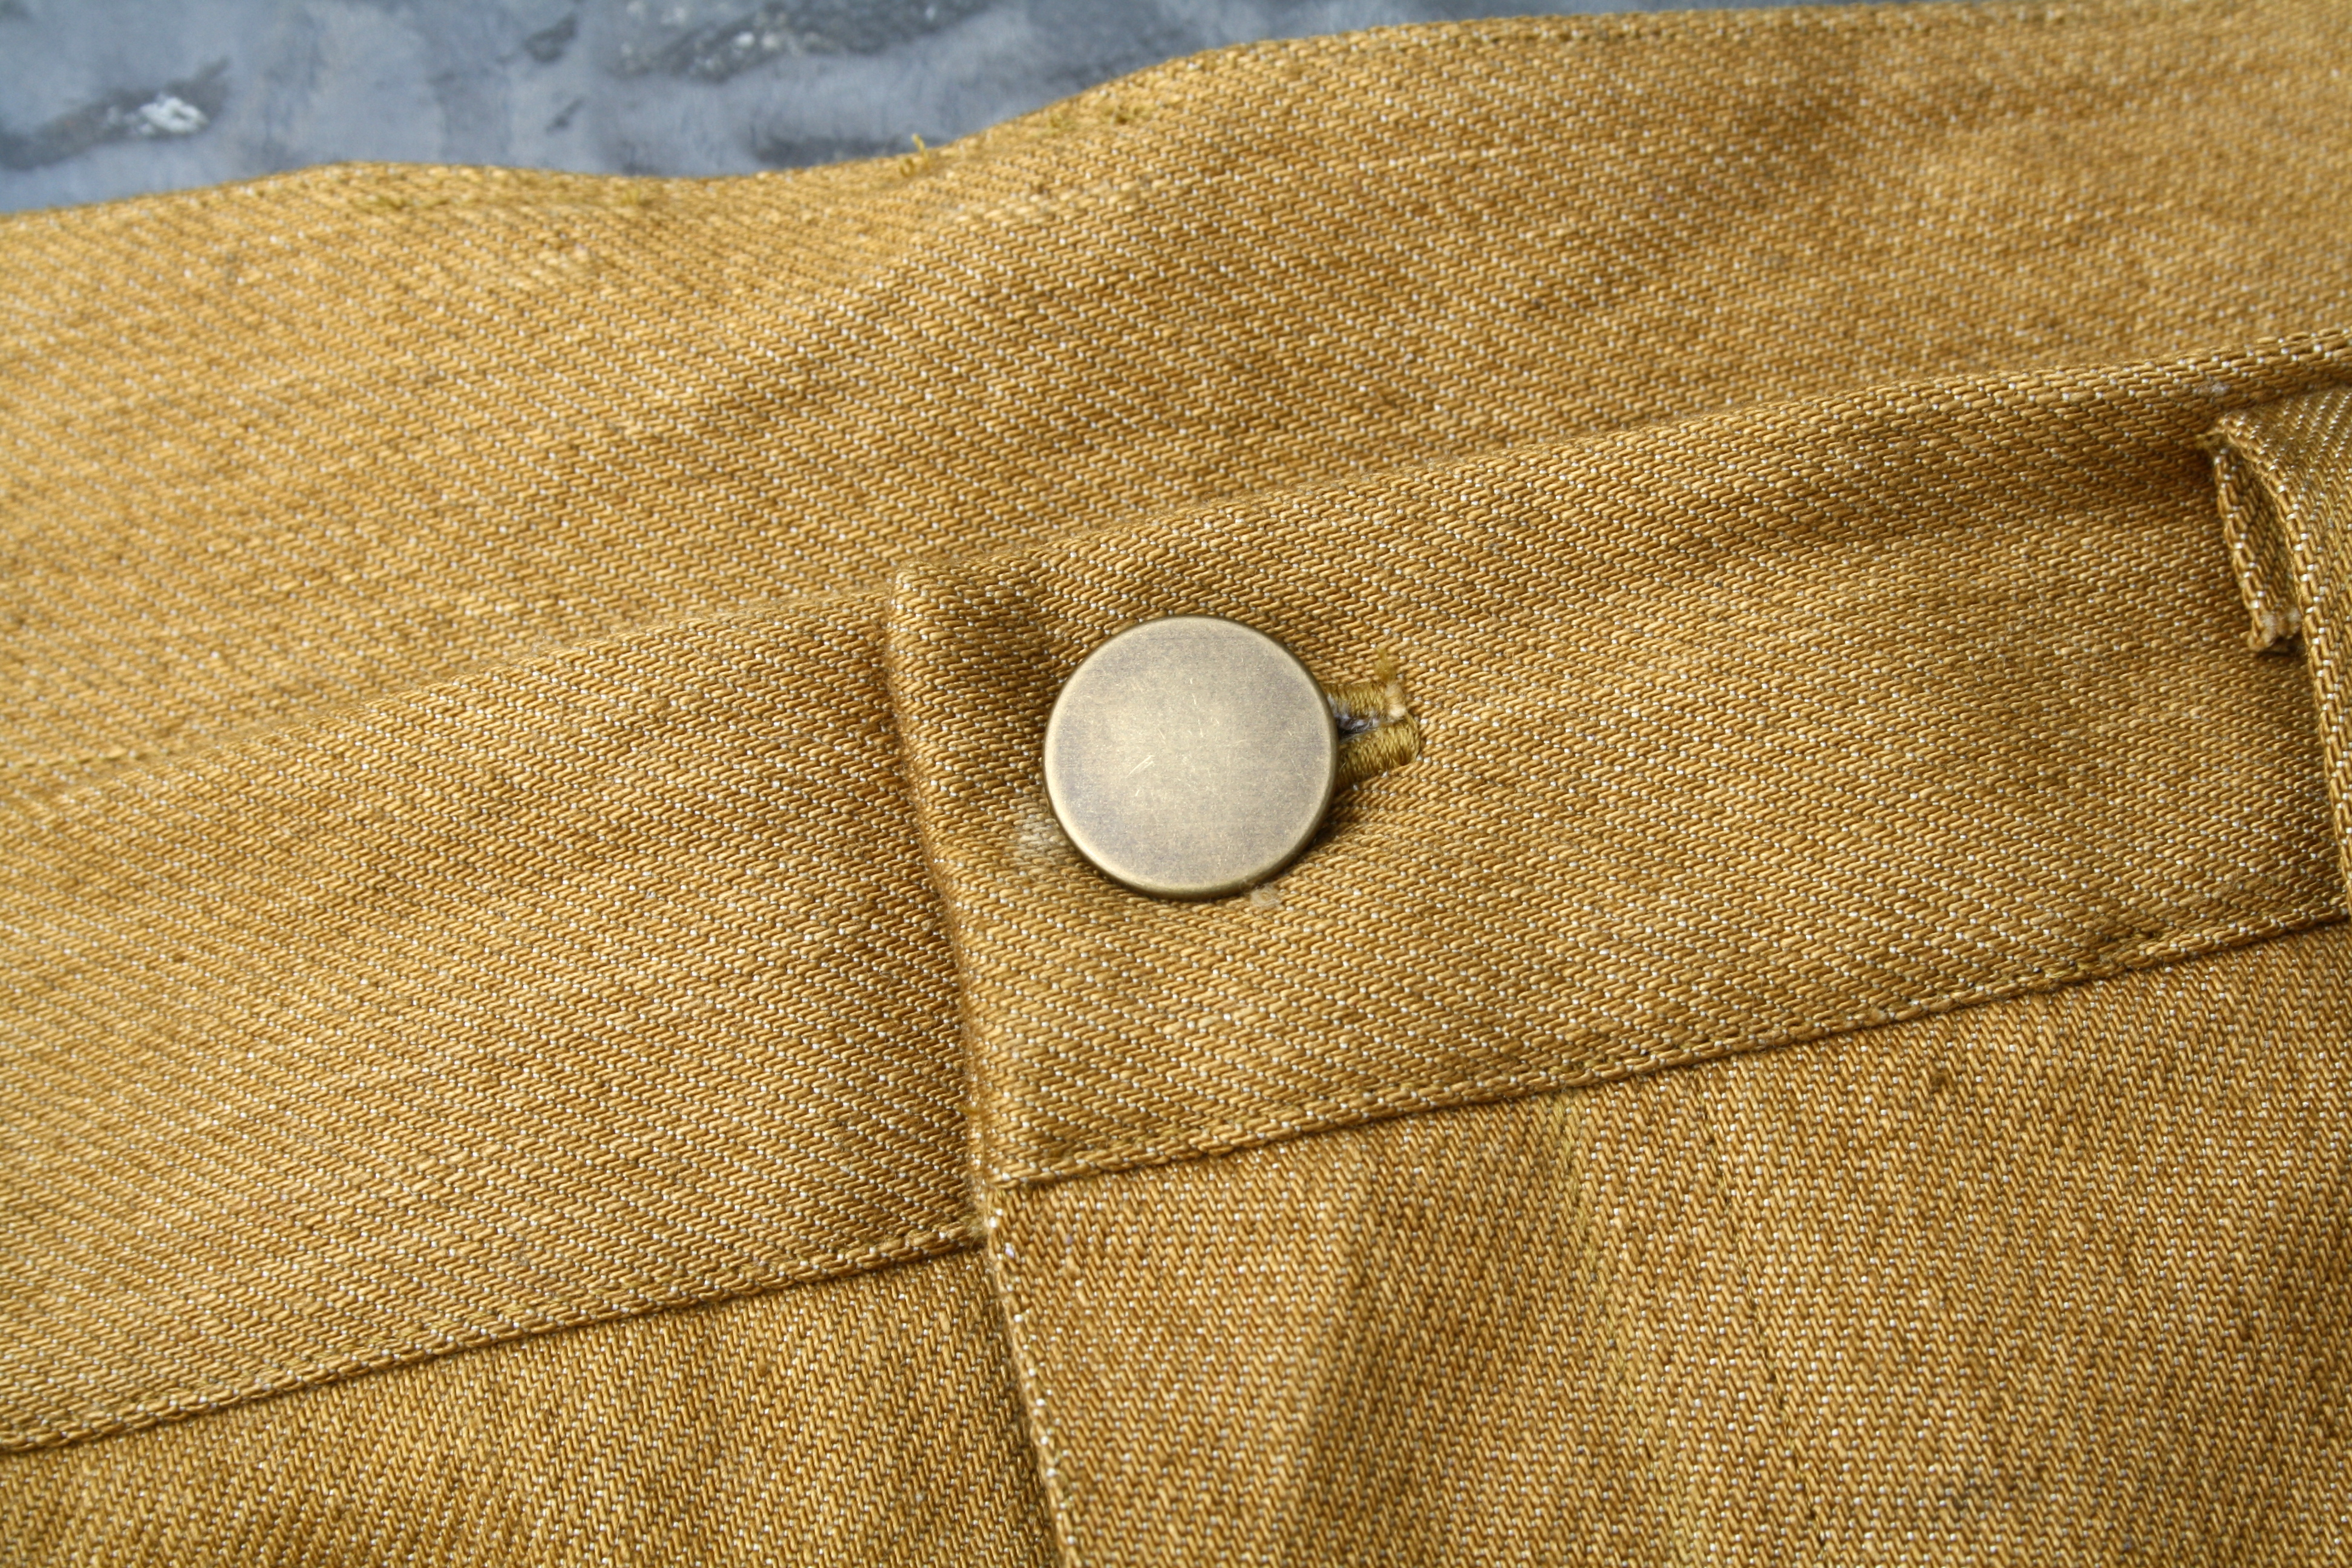
Jean guts. I made the pocket/tummy stays from a Japanese cotton I got from Spotlight with corn on it, in the clearance rack. I’m in love with the corn fabric, and I kept it around just for this purpose. Whimsical corn ftw. I bound the waistband with my self-made bias tape that I made two years ago now. It’s the bias tape that keeps on giving, I still have loads of it left. You can see the interfacing on my back pocket repair, and if you’re wondering what that square of fabric is on the jeans button, well. Let’s just say my first attempt at putting a jean button in these jeans was less than successful. It went on crooked, and I could not get the bloody thing off, and in the process of trying to remove it, the hole for the button got so big it slipped through and I couldn’t insert another one. So I added an interface, fray-checked patch on the inside of the waistband to give it more stability, and attempted a fresh insert with a new button, and thank God it worked. Unfortunately, that corner of the waistband got stretched a little when I topstitched it, and pokes up a bit and is a bit visible under closer-fitting tops. You win some, you lose some.
All in all, I am satisfied with these jeans. I wear them a lot, and I find it easy to forget about the slightly wonky pockets and under-bum wrinkles when I’m wearing them because they’re comfy and I think they don’t look too bad. And I know what to change for next time when I make my black pair! Do you have any jeans-fitting or making tips that you’d like to share with me?