Uncategorized

A thank you, and a new addition

I know I’ve been a little absent around these parts lately, but never fear, I’m back now. I had grand plans for the month of June, including entering every competition for The Monthly Stitch Indie Pattern Month! Although I did get an entry in for the first one, I got buried in work shortly after and had to abandon all sewing for a few weeks.

However, thanks to you wonderful people who voted for me, I did win a prize for the one competition I entered!

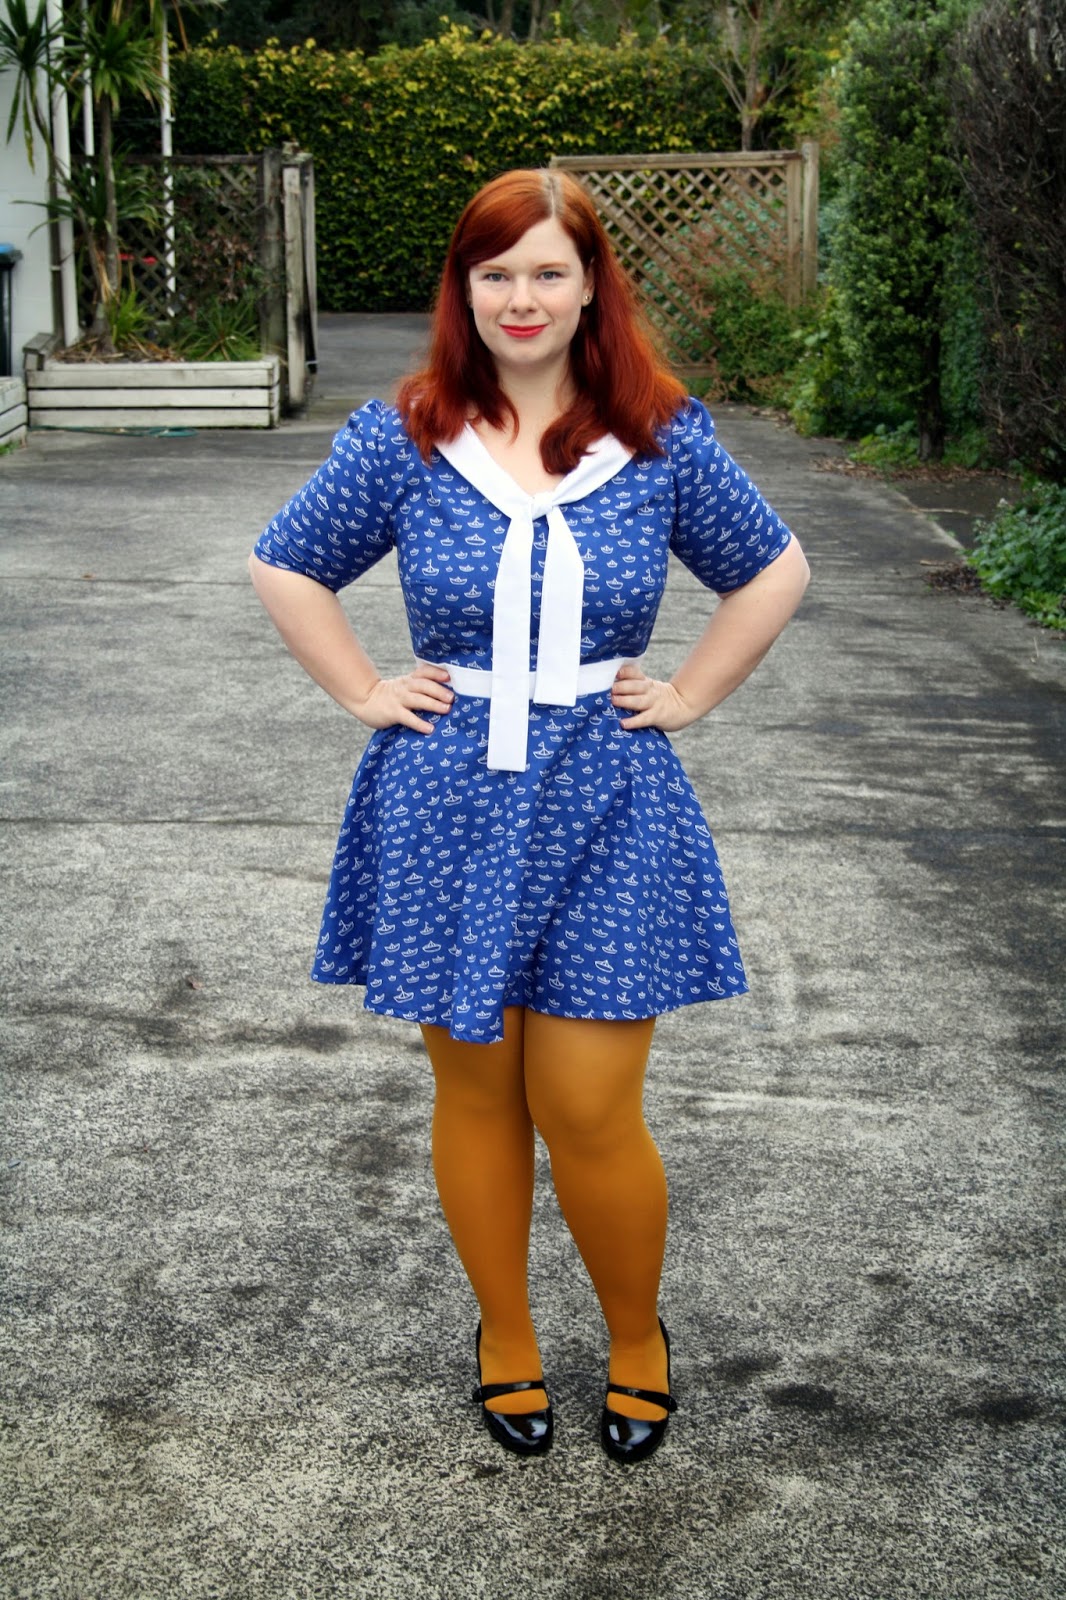
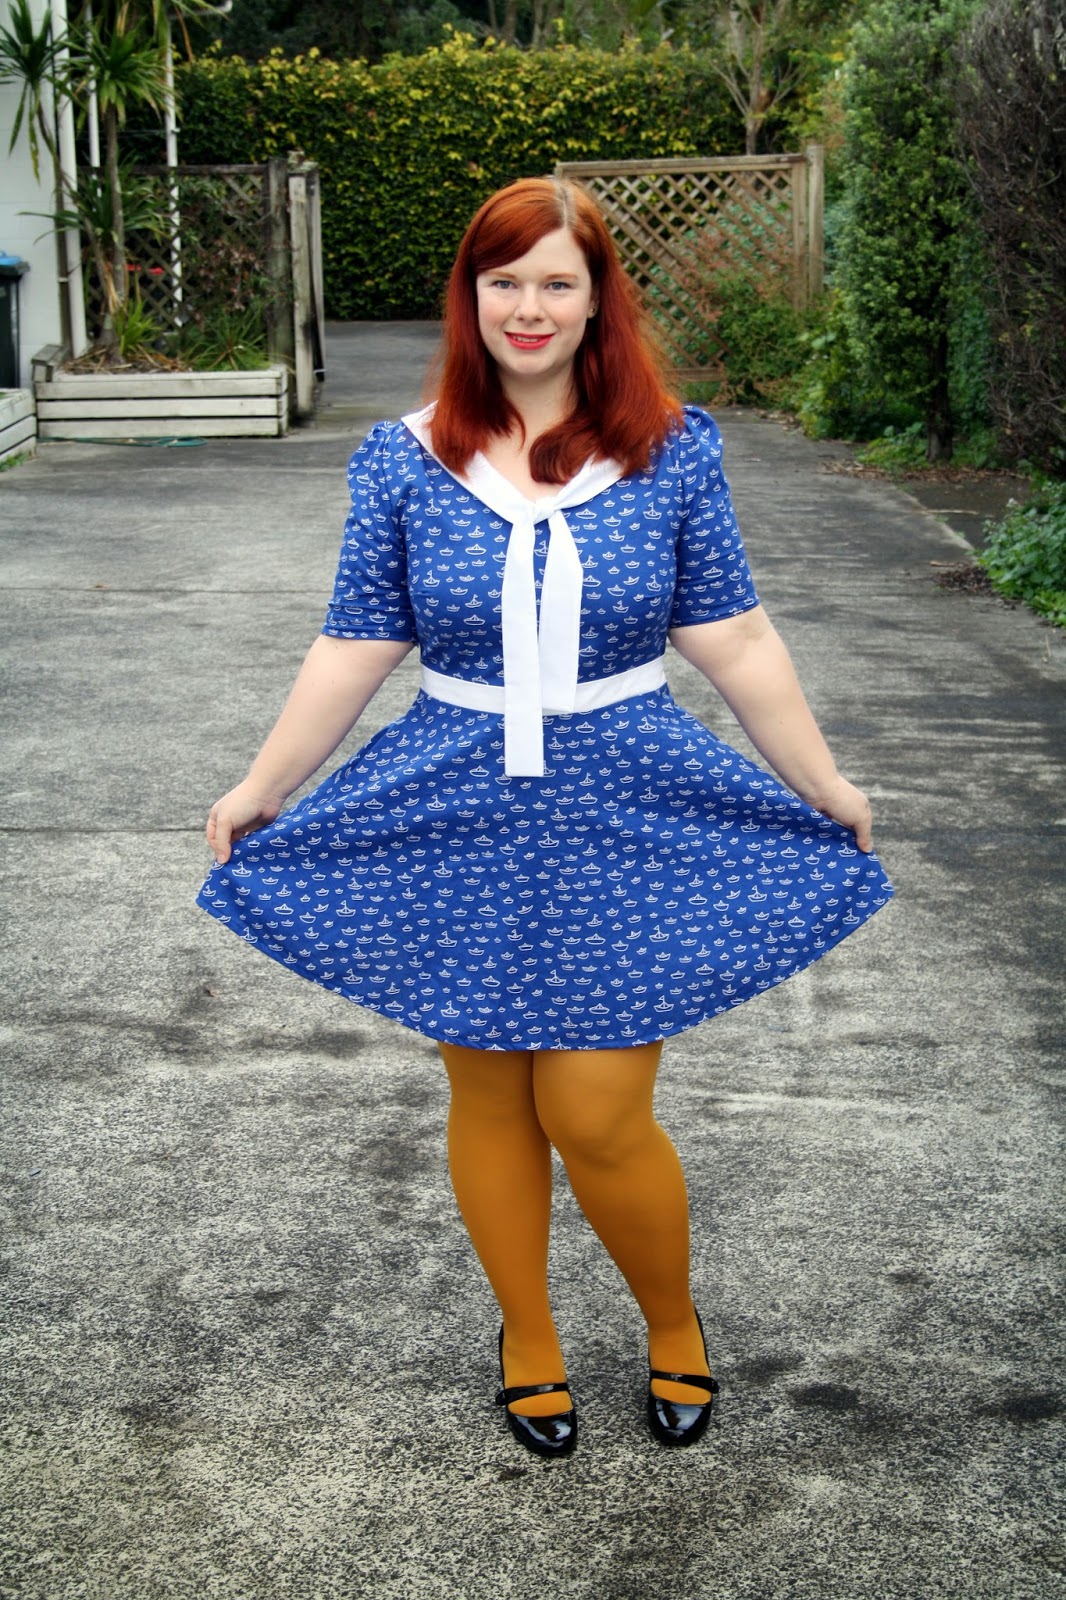
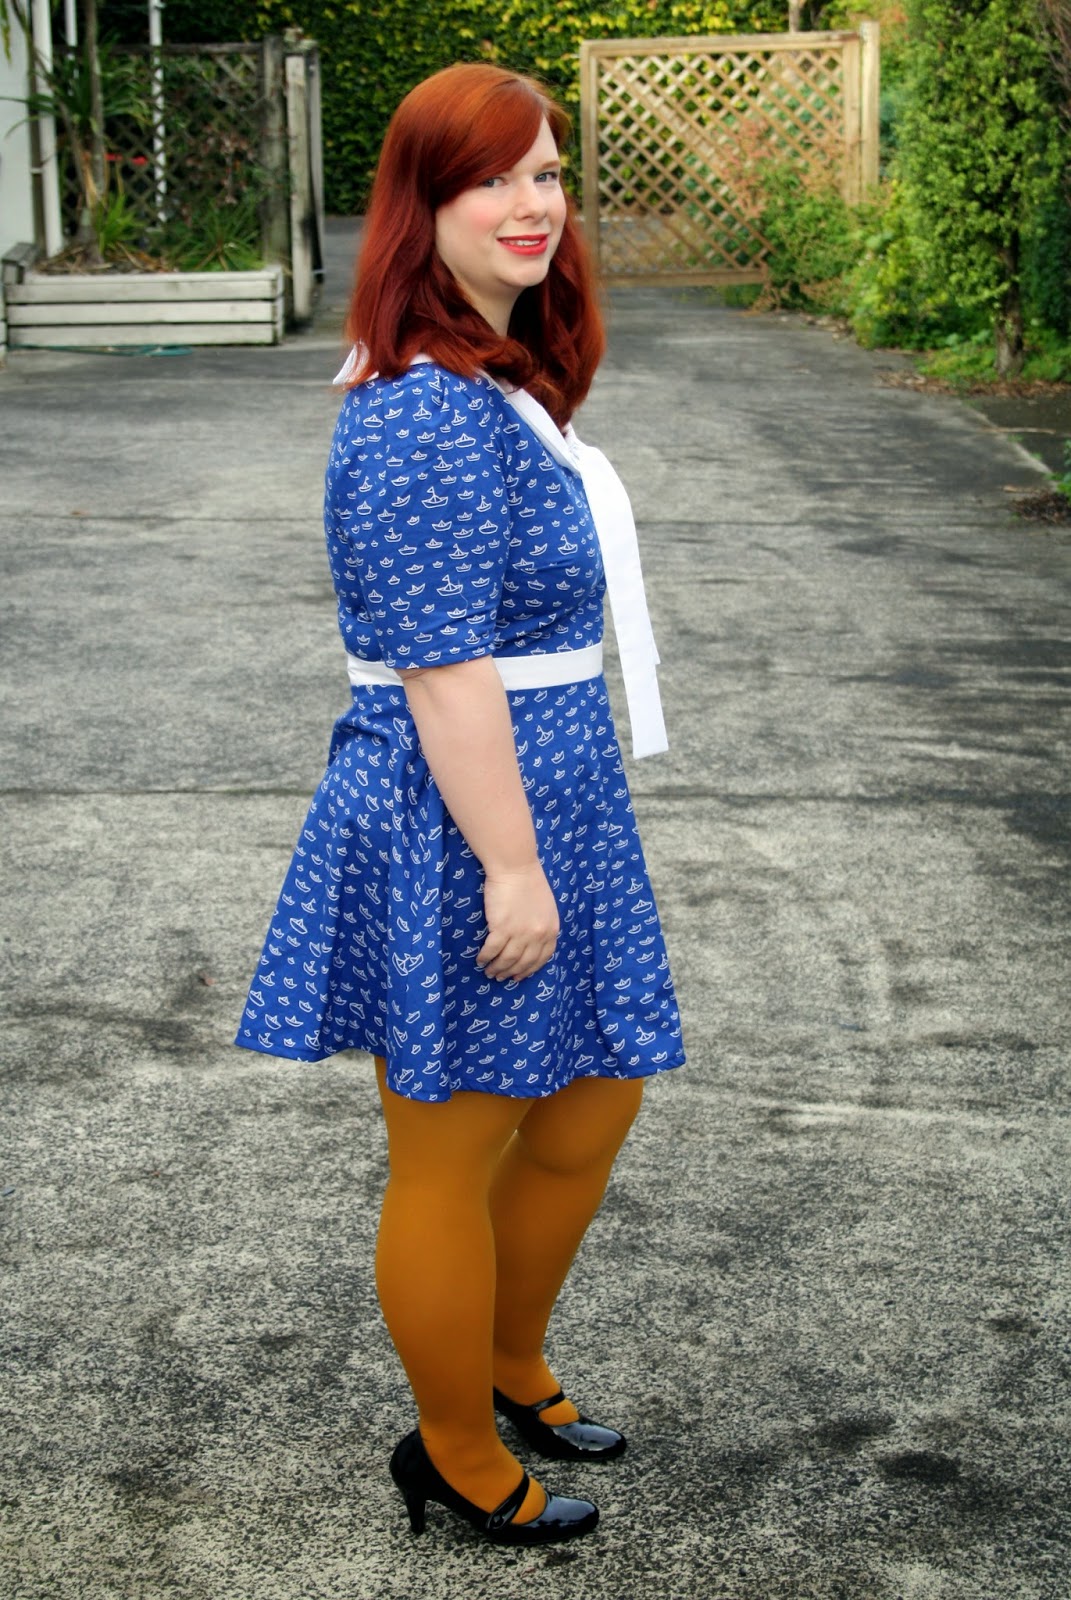
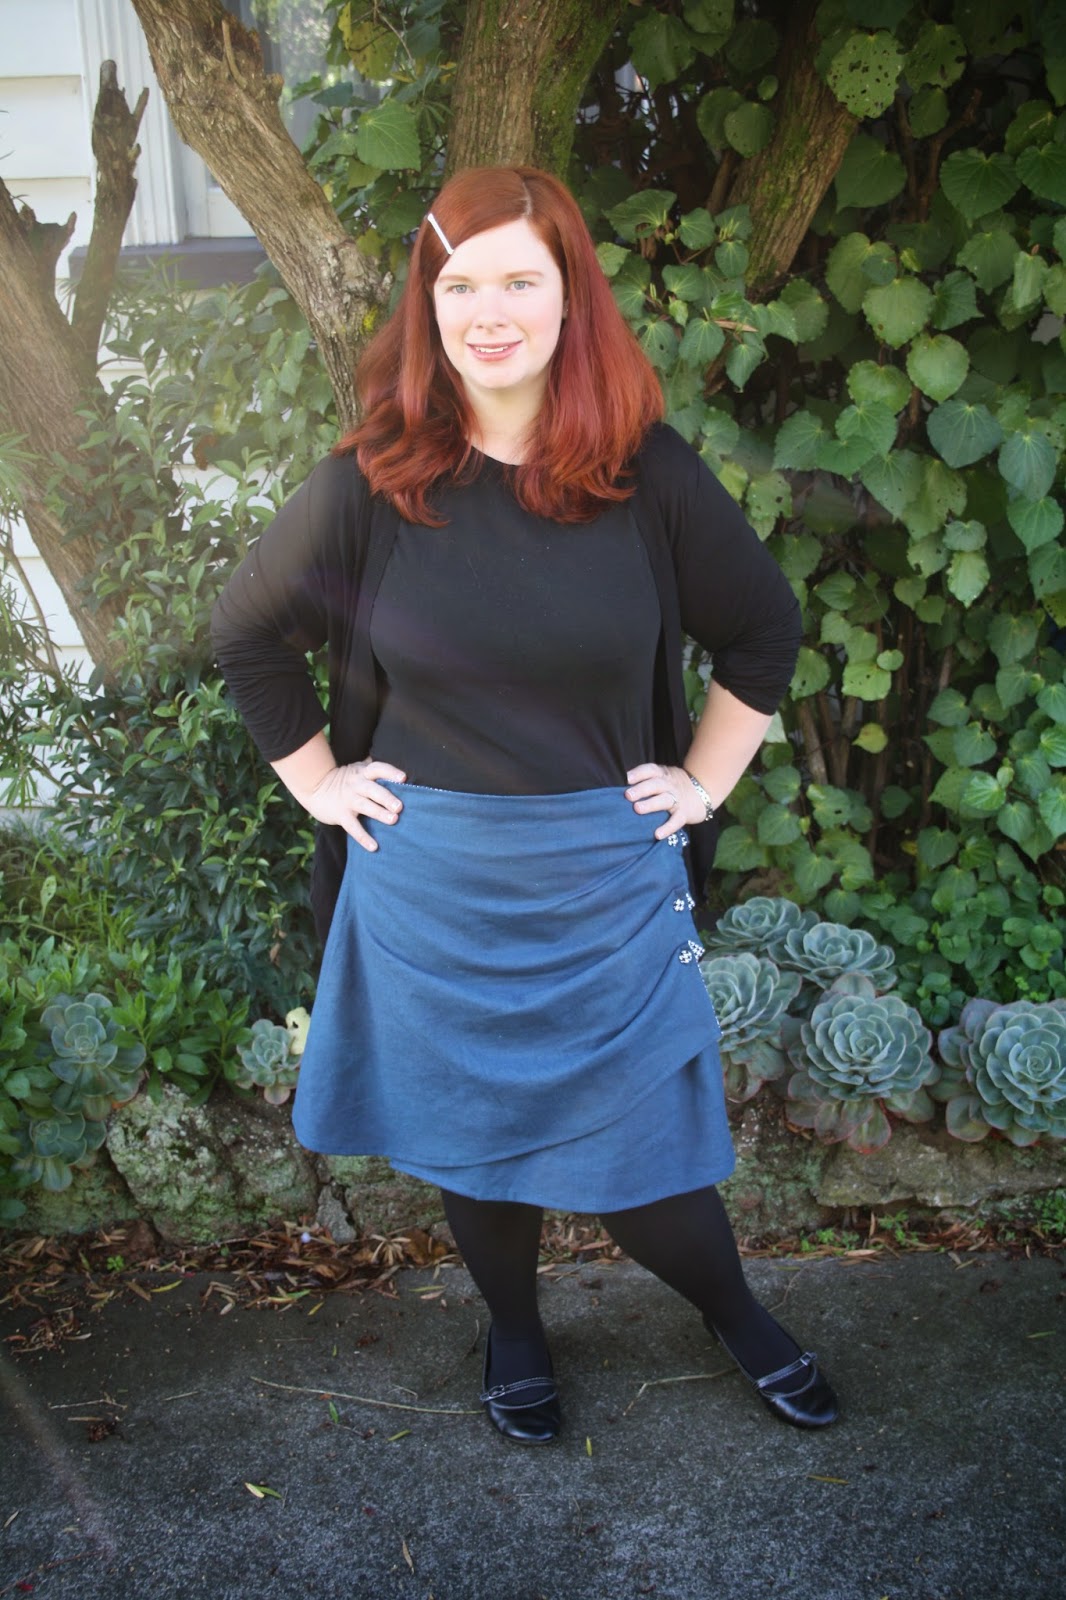
I won the Mortmain Dress and the Tallis Collar, both from Gather. I’m dying to try them out, the Mortmain is just my style! Even though I couldn’t enter any further contests, I’ve had great fun looking at what everyone else has entered, and voting every week. There have been some stunning makes!

And now, I’d like to introduce you to the newest member of my sewing family…

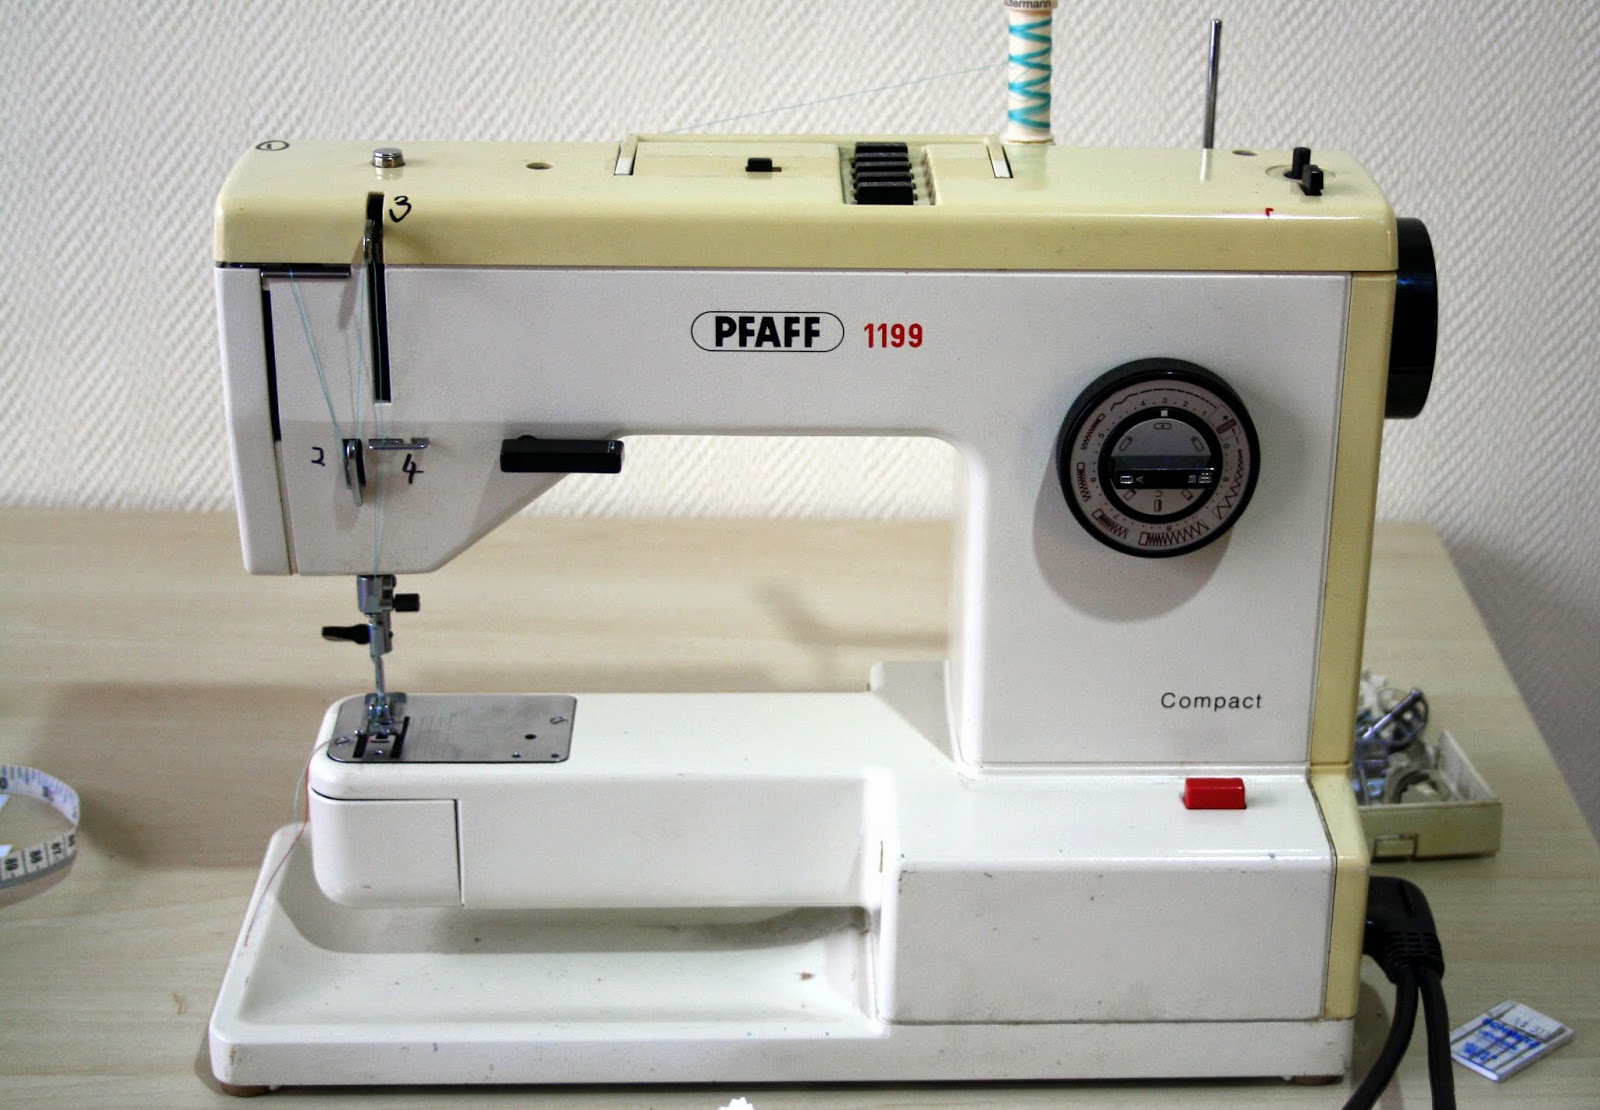
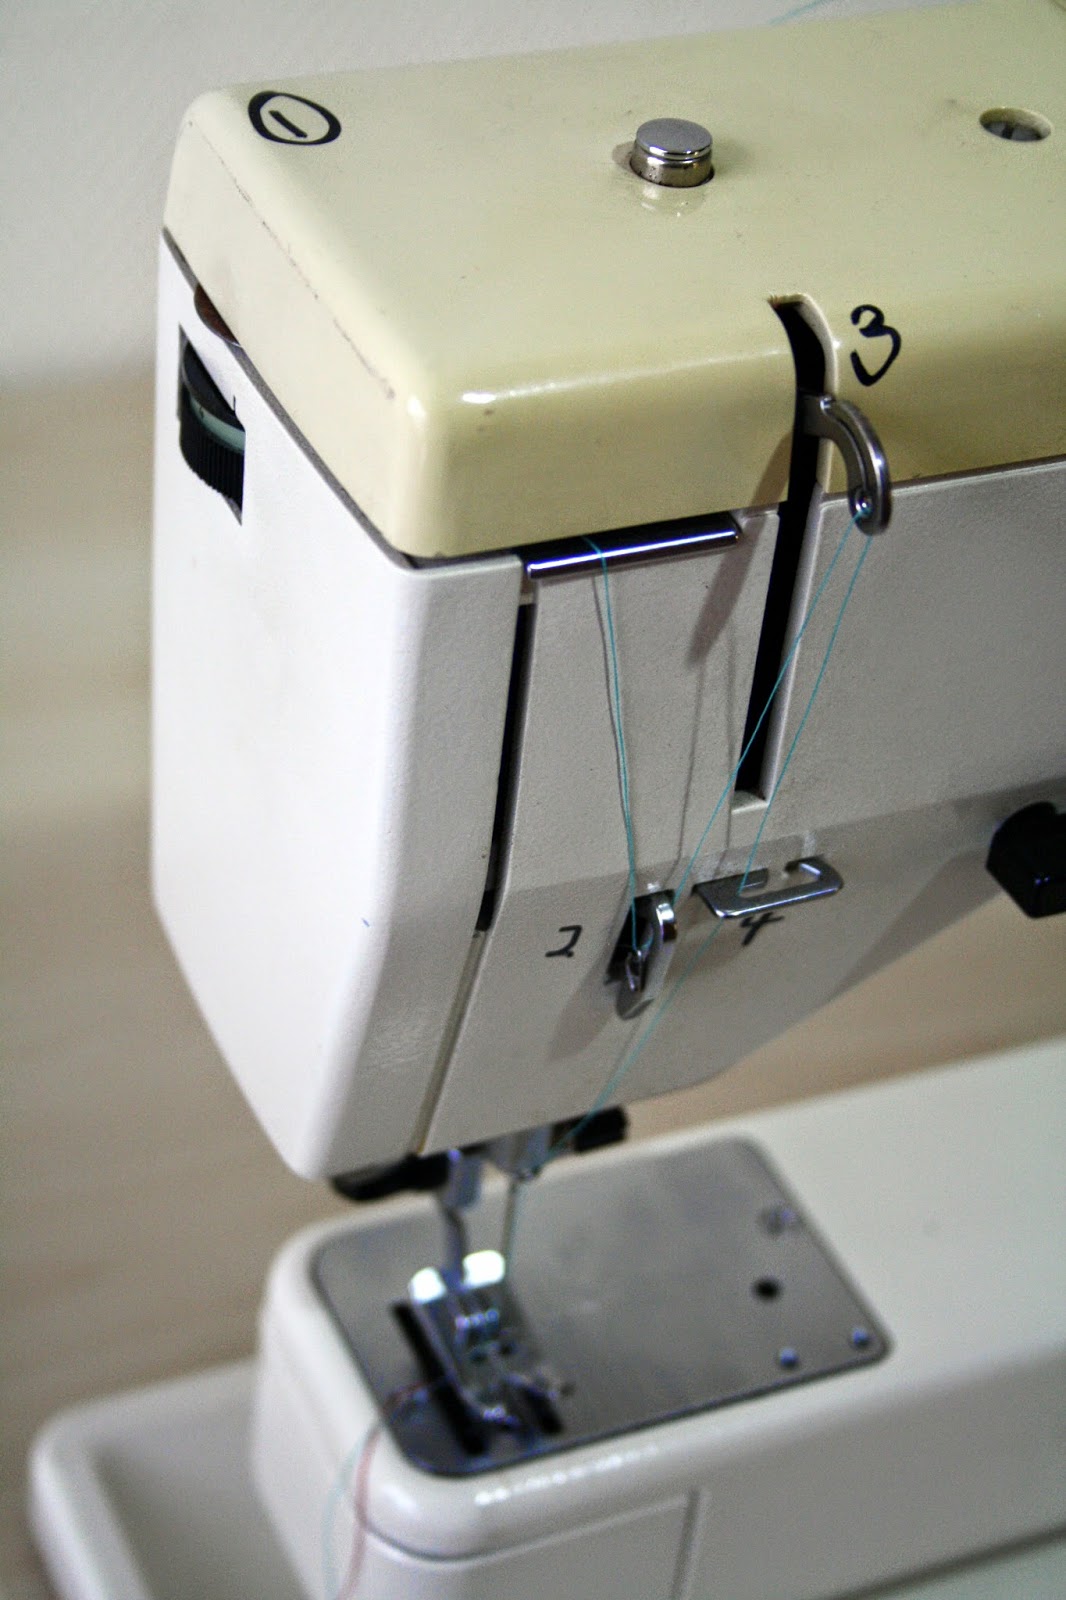
This is a vintage Pfaff 1199 Compact that I acquired yesterday from a truly spectacular secondhand shop. After climbing over ladders and tiptoeing over sodden rugs, I spied this little beauty in a corner of a shelf. The owner let me test it, and all seemed well, so I handed over $45 and it was mine!

I gave it a thorough wipe with a damp cloth, and then unscrewed the needle plate and went to town with a little brush. I got a heap of lint and dirt out, and I was going to oil it, but stopped when I read in the manual that apparently you shouldn’t oil it!

Then, the test…I got some scrap fabric, threaded the machine and bobbin, and tried her out.

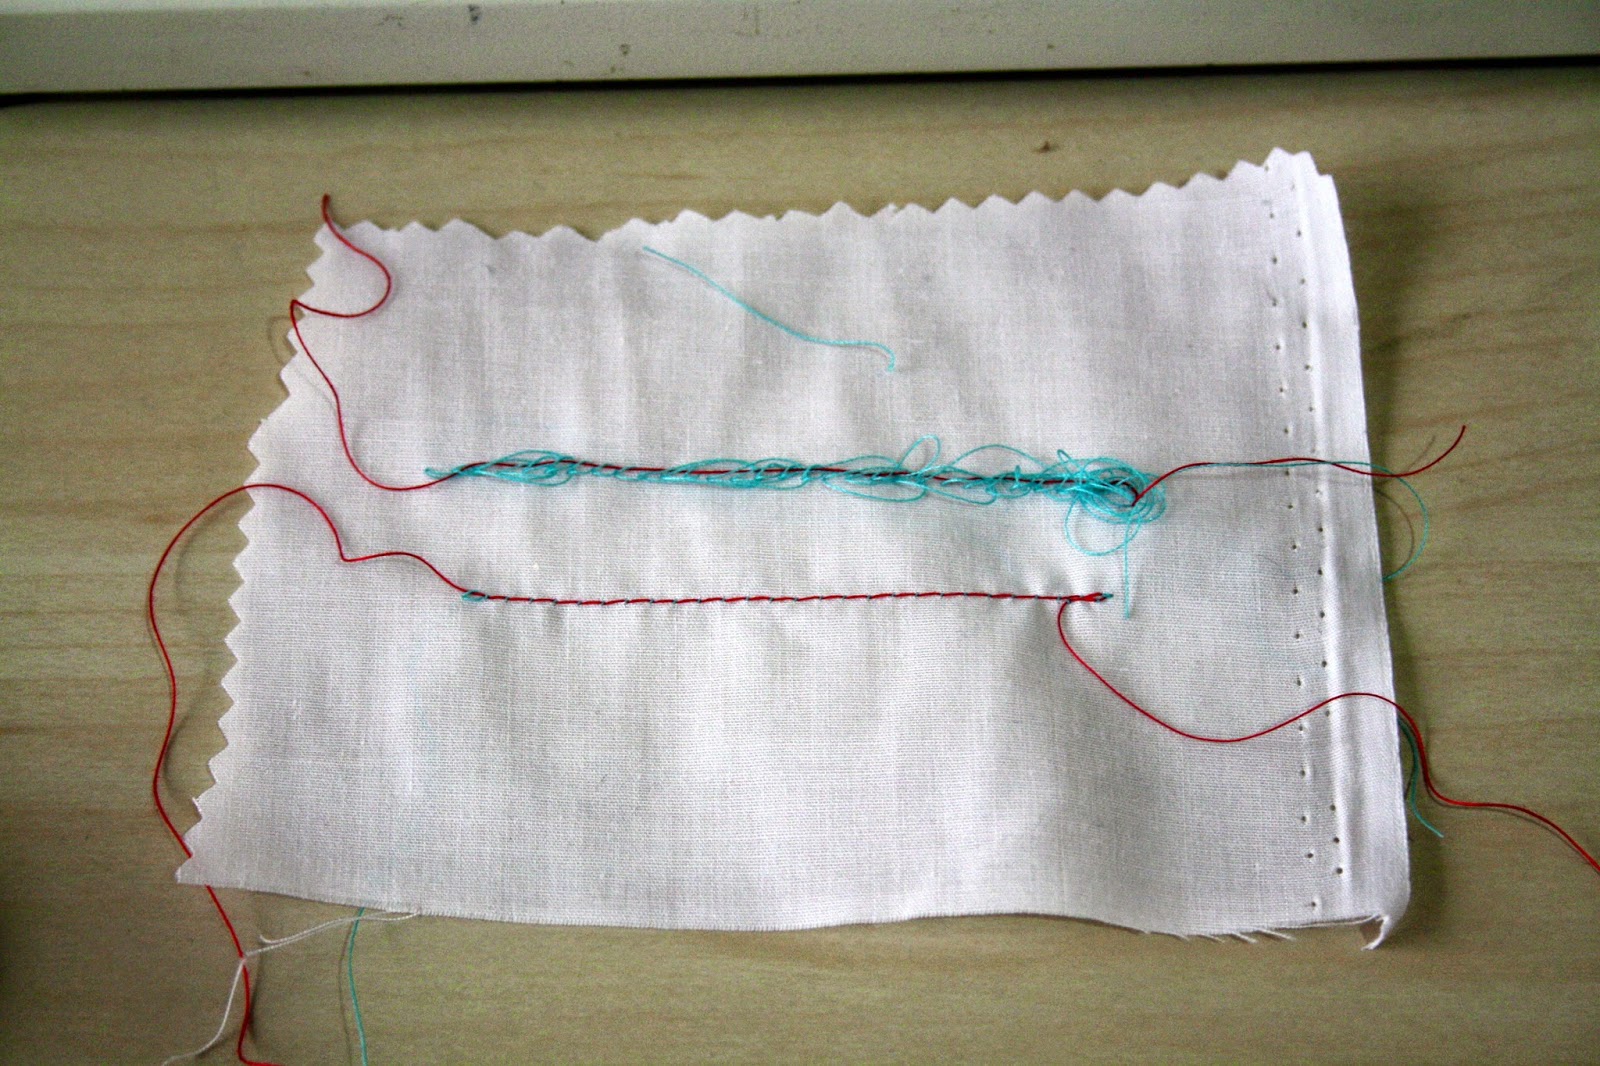
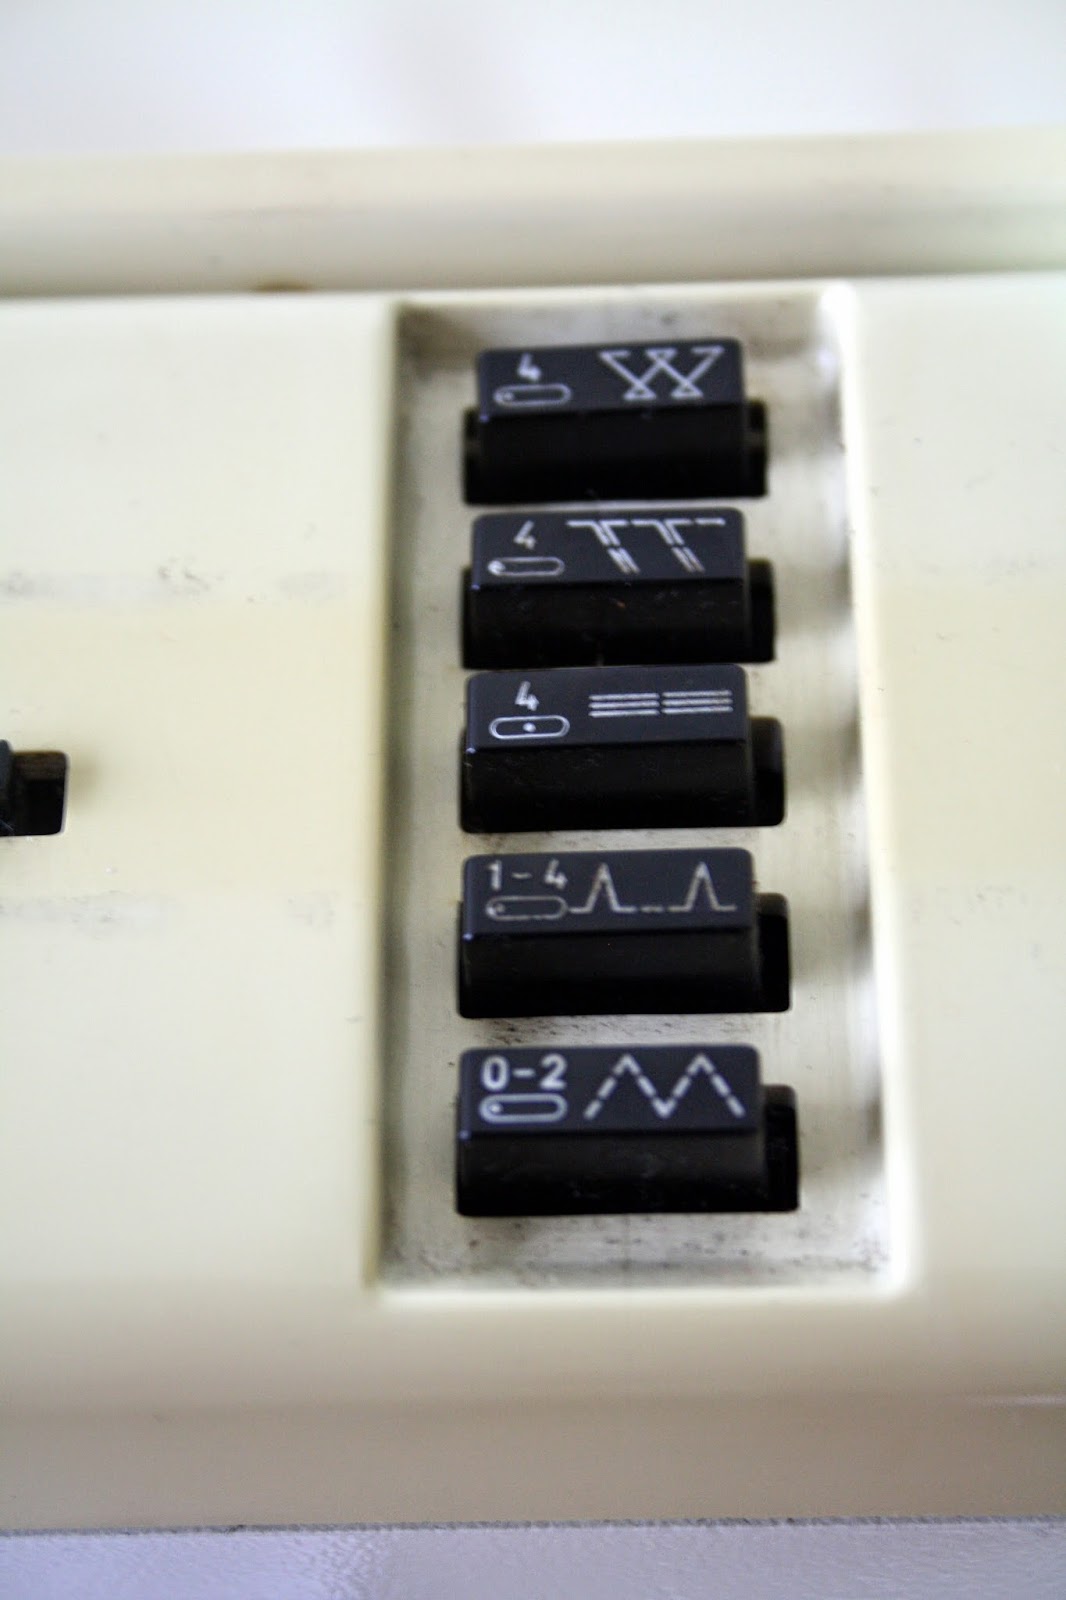
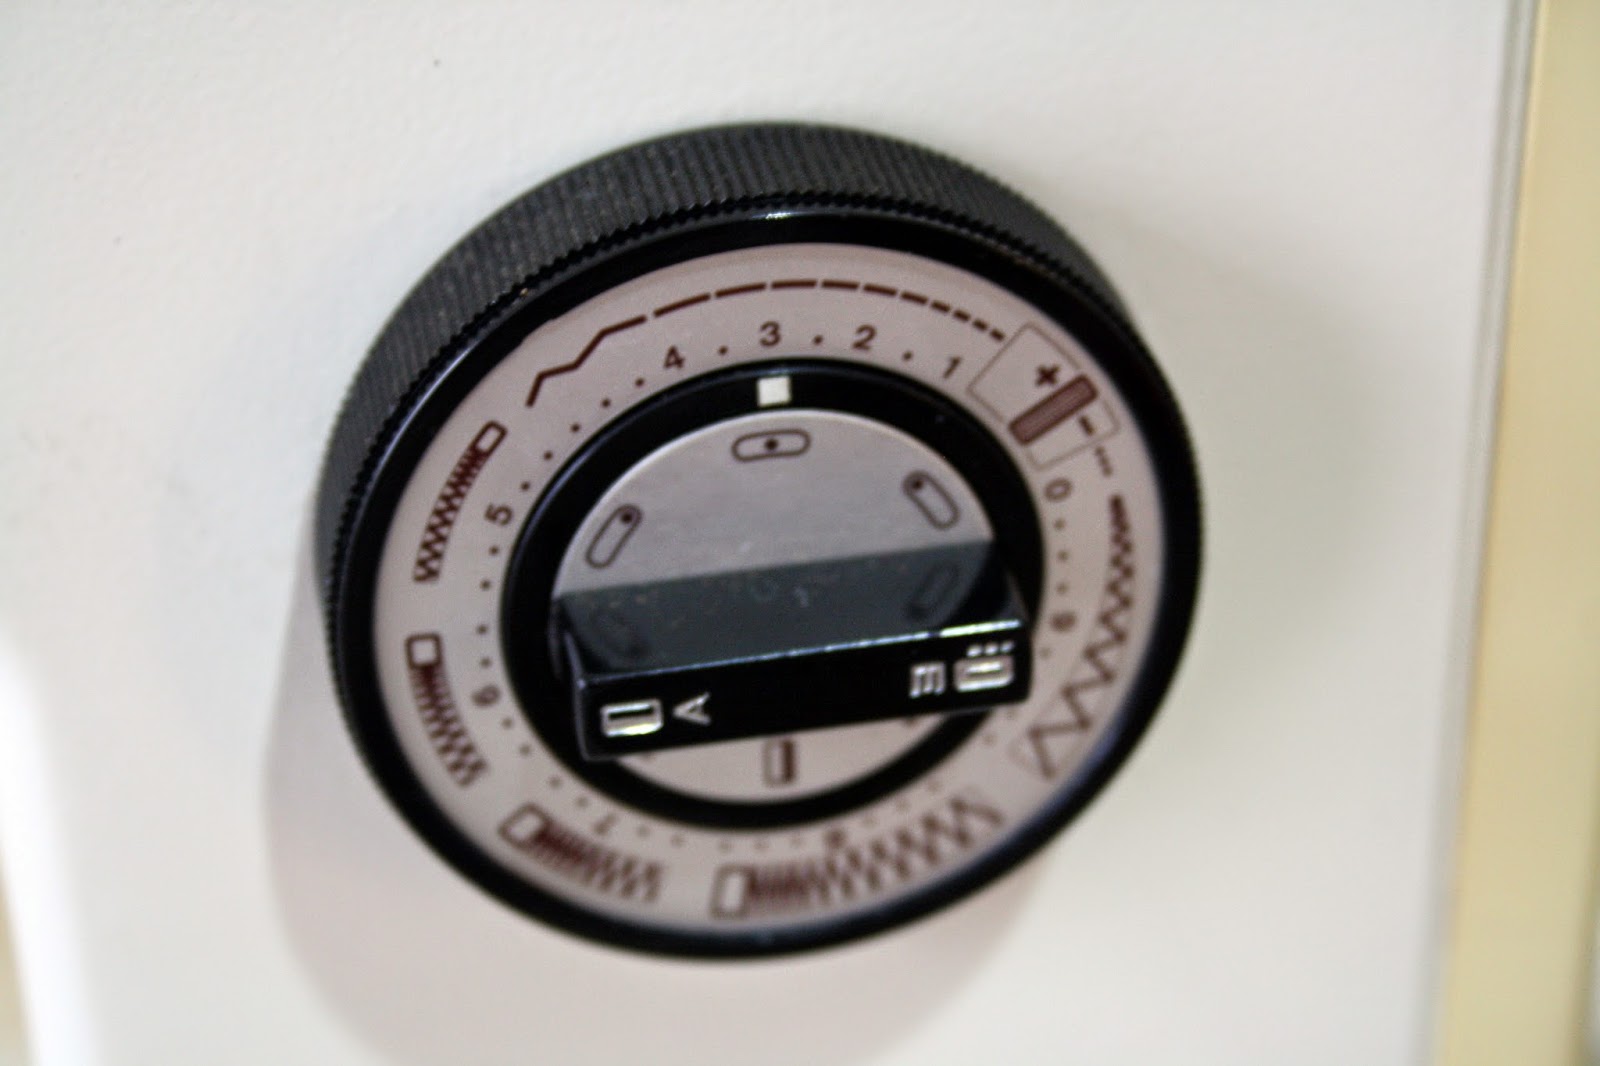
That first row of stitching was what happened. And there are many more, similar lines of stitching that occurred afterwards. I changed the upper thread tension. I changed the bobbin tension. I’ve never touched a vintage machine in my life prior to this, nor have I ever touched a sewing machine tension control, so I was a bit out of my depth. My copy of the manual is so badly photocopied that the guide on how to thread the machine is basically useless. In the end, I threaded it for the millionth time, but sharply pulled the thread under the little disc on the side. And lo and behold…I got that second row of stitching. Hallelujah!

My now correctly (I hope) threaded Pfaff! The numbers in texta are not mine, they came with the machine, and quickly frankly weren’t any help.
 

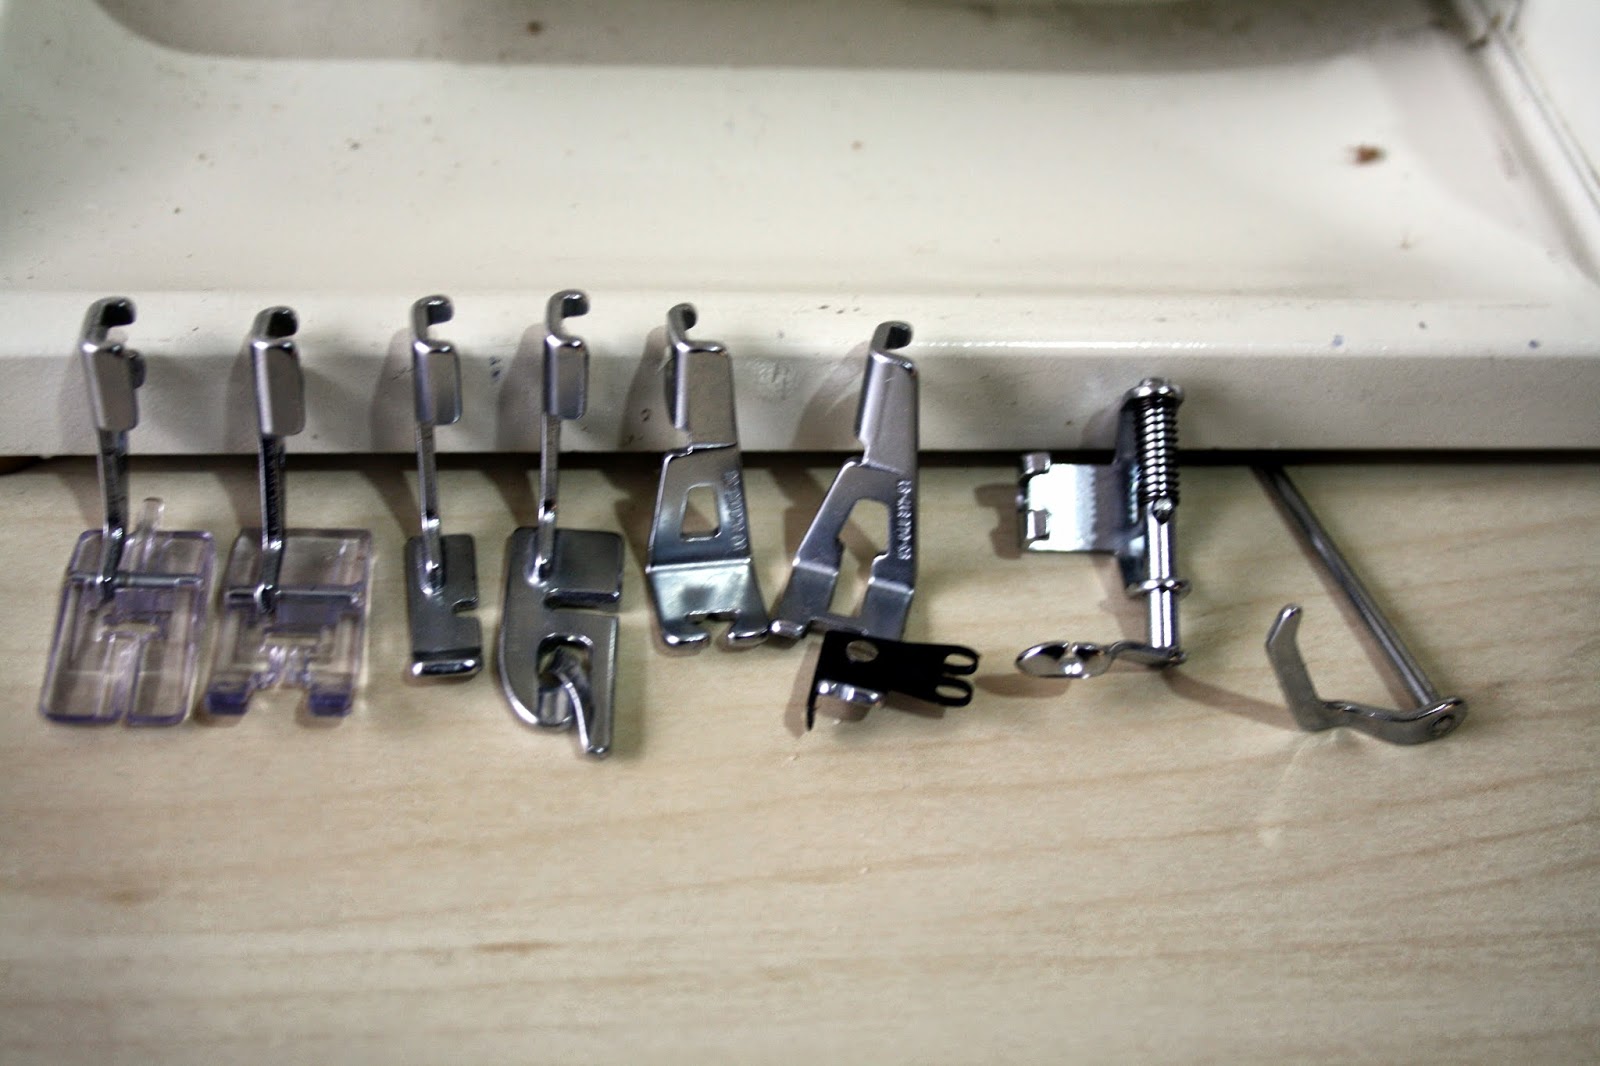
I also got all these feet with it! And some mouse droppings, but let’s not talk about that. Shudder. From left to right, we have:

  1. Buttonhole foot
  2. Clear view foot (if this has any other function, the internet doesn’t seem to know what it is)
  3. Edge stitching foot
  4. Rolled hem foot
  5. Cording foot
  6. Blind stitch food
  7. I believe it’s a free motion quilting foot
  8. Seam guide

Thanks to all the lovely folks on Twitter/IG who helped me try and identify the feet!

So now I have two working sewing machines, which is going to make switching between projects a lot easier! Now I just have to get an overlocker, and I’ll be set.

Advertisement
Standard
Uncategorized

Come Sail Away With Me!

I made this dress as my entry for The Monthly Stitch Indie Pattern Month “Dresses” competition. I decided to go with a dress from one of my very favourite indie pattern companies – Deer&Doe! I chose the Reglisse dress, which I’ve owned for some time, but only ever made one muslin of, about a year go. I love the cute, flirty feel of it and it always seemed slightly nautical to me with the tie collar. If you love my dress, there’s a link at the bottom of this post to vote for me 🙂

I’ve had it in my head for a while that while I liked the Reglisse dress, I wanted to make some changes to it. I toyed with a few different ideas, and ended up changing my mind a few times throughout the process. My main goal was to eliminate the elasticated waist, as when I made the muslin it wasn’t very flattering on me. That in and of itself was such a process. I made 3 muslins, and ended up sizing down to a size 38 (or thereabouts) from a 46! I also did a narrow shoulder adjustment and moved the bust darts down 4cm and shortened them by 2cm. Phew! Thank you to all the lovely people on Twitter who helped me with the bodice! I ended up not cutting the bodice pieces on the bias, because I didn’t want my little boats going sideways! I cut the front piece on the fold, and the back in two pieces, so I could add a zip down the back. I also raised the neckline a little, and made it less of a severe “v”.

Since I changed the bodice size a lot, I thought it would be easier to draft my own circle skirt, rather than try and adjust the Reglisse circle skirt pattern piece. Ha. I used the By Hand London Circle skirt app, which has worked fine for me in the past. However, the resulting skirt (which I had to cut in two halves, since my fabric was only 115cm wide rather than the recommended 150) fit my waist, but was too small for the bodice! I adjusted it gradually until it fit, but there was quite a bit of panicking in the process. The adjusting also made the skirt shorter, which I didn’t think about. Thankfully it’s not indecent, and I kind of like this length! 

I doubled the waistband piece and cut it on the fold, so I had a seam at the back to match the back bodice. I messed up the math the first time, though, and ended up with a waistband that was 5cm too short! Math is not my strong point. I interfaced it, but I used my best interfacing on the failed waistband, and had to use stiffer stuff for the second attempt, which wasn’t ideal but seems to have worked out okay.

I used the Reglisse collar pattern piece, but I cut it in two pieces due to the back zip instead of on the fold, and “borrowed” the crossover back collar idea from the Colette Moneta. I just added a slant to back seam allowance, nothing fancy. 

Finally, the sleeves. I knew I didn’t want it sleeveless – I have tuck shop arms, and never wear sleeveless things. I drafted my own 3/4 sleeve using a tutorial online, which didn’t fit at all! I ended up winging it, using the bodice as a guide and my arm measurements, and made a muslin just to be on the safe side to check it worked. I think it turned out quite well! 

The fabric is an organic cotton from Cloud 9 fabrics, called “The Fleet”. I bought it in the US, and it’s delightfully soft and a dream to sew! I had 5 yards of it, so I made a whole heap of bias binding with it too, which I used to hem the skirt, encase the collar+neck seam and hem the sleeves. I used my favourite tutorial for the binding – it’s the only one that I can wrap my head around! Fun story – got my fabric all wrapped up like a burrito, ready to cut – and realised I don’t yet own a rotary cutter. I called Centrepoint, but they didn’t have any, however they suggested that the local art store might. One quick trip later and I now have a rotary cutter!
The waistband and collar are a white cotton poplin I got from Centrepoint Fabrics. I used a 20″ invisible zip for the back seam, and navy thread from my stash. Seams are either bound with my self-made bias binding or pinked. This dress is my new favourite, I think! 

 
http://themonthlystitch.wordpress.com/2014/06/08/ipm-dresses-let-the-voting-begin/
Standard
Uncategorized

Dotty for Moneta


I was pretty excited when Colette released her new knit patterns and I took advantage of the release sale to nab me a Moneta! I’m a big fan of knit dresses, since you can just throw them on and be ready to go, and they’re super comfy to boot.

I made this Moneta up in a cotton knit I got from my new local fabric store (as in, it’s new to me) Centrepoint Fabrics. I was walking past and thought I’d pop in and see if they had any cute knits…turned out I didn’t even need to enter the store, as they had a bolt of this on display outside! It was on sale, and 3.5 yards (more than I needed, clearly after 2 and a half years away from Australia has destroyed my ability to think in metric) was $27. Bargain! The fabric is thicker than other knits I’ve dealt with, nice and stable, and (sadly) just the tiniest bit itchy.

I made my Moneta in size L, since my measurements pretty much perfectly corresponded with that size. I didn’t want to make a muslin, as I have hardly any fabric right now, so I made my adjustments blind. Using my Kelly skirt as a yard stick, I shortened the skirt pieces by quite a few inches. I also shortened the bodice pieces by an inch, and I really wish I hadn’t, as the bodice sits juuust above my natural waist, which I’ve cleverly concealed with a belt 😛 My experience with the Lady Skater taught me that I should shorten the bodice of knit dresses, both because I’m short and because the weight of the skirt tugs things down, but the Colette Moneta bodice seems shorter than patterns I usually deal with, and although this fabric is weightier than a lot of knits, it’s also really stable and doesn’t stretch out of shape much. So no bodice shortening was necessary! Oh well.
I also shortened the sleeves, because I wanted the 3/4 sleeve length and on me the original sleeves would have been almost full length!

I don’t have a serger, so I followed Colette’s advice in the pattern instructions and sewed my seams with a narrow zig zag. I was very pleased with how stretchy they were – I’ve previously used a wider zig zag on my knits, and it didn’t produce as nice a stretch. I paid an outrageous sum for a ballpoint twin needle to sew the neckline, and hem the sleeves and skirt. $14 for a ballpoint twin needle! Ugh. Anyway, twin stitching the neck and hems went very smoothly, and I discovered that when I did it on my Brother machine in the US, it wasn’t working properly! Having never done it before, I didn’t know it should have a clear zig zag appearance on the wrong side, so I was pleasantly surprised when my Husky produced a lovely, professional looking finish.

Here’s a picture of the inside of my dress – you can see straight away that I made a small change to the pattern – I didn’t use clear elastic to gather the waist. I loathe clear elastic – it’s scratchy and horrible against my skin, and after an abortive attempt to use it for a Lady Skater once, I’ve steered clear. Instead, I used regular old white knit elastic. Gathering went smoothly, probably because my knit was so stable – I know others have had problems using thinner knits with the gathering.

All in all, it was a very quick make – I made it up on one day, bar the hemming! I’ll definitely be making another one, as I spied some awesome striped knit fabric in another local fabric store last weekend that has mine and Moneta’s names written all over it.

Standard
Uncategorized

Corduroy Kelly

I actually made this skirt quite a while ago, back in the USA, but was too busy to blog about it at the time. The pattern is the Kelly skirt by the ever-talented Megan Nielsen, in a soft black corduroy from Hart’s Fabric. The buttons were sighted in Joann’s, but they didn’t have enough of them, so I took a photo of the packaging and found them online at Pacific Trimming. I had a very definite idea of what kind of buttons I wanted, so I was delighted to be able to get exactly what I wanted!

I whipped up a quick muslin in size XL, which is as large as the pattern goes, and was slightly dismayed to discover it was a bit too small! I ended up adding half an inch to each skirt panel pattern piece, and that worked for me. I also shortened the skirt by a fair bit, although I can’t remember the exact number of inches now.

I ran into a bit of a problem with the waistband, however. It’s quite wide, and just a straight rectangle, which didn’t mesh with my curved back. I’ve spoken about this problem on the blog before, and I should have anticipated needing to make adjustments for this pattern. Basically, I had a huge gap between the waistband and the small of my back, that I could fit my whole hand down. Not good.

What I did to fix it was, instead of one large waistband piece, I cut it into two lengthways. I could have added to the width on each piece to account for seam allowance, but I wasn’t bothered that the width would be decreased a little. Then, using the same method as my Moss skirt, I cut into the waistband in 4 places and overlapped each one by 1/4″, creating a more curved waistband. I then cut it straight down the middle and added an inch, because otherwise I would have lost the extra inch I added to help the skirt fit better earlier. This solution worked really well – the skirt waistband now hugs me all the way around, no gaping anywhere!

The corduroy is quite a bit thinner than most corduroys I’ve seen, but it still has a bit of body, so as you can see in the above photo, it poofs out a bit, especially at the pleats. At first I was worried that it was quite unflattering, but people have said it makes my waist look tiny, so I’m just rolling with it. I really love this skirt, I wear it quite a bit as it’s so versatile.

I decided I was really going to make an effort with the inside of this garment, and I am so proud of the results! I made my own bias binding from a scrap of fabric I got from the East Bay Depot, and it turned out really well. I used the Hong Kong seam finish, and it’s so neat and pretty. I finished the hem with plain old black bias binding from my stash, and pinked the pocket seams. I hand-sewed the waistband on the inside with a slip stitch the whole way around. Definitely worth spending the extra time on the finishing to the inside – I feel so smug when I wear it, and I’ll flash my seams to anyone who’ll look!

Standard
Uncategorized

Me Made May 2014 Week 2

Still chugging along with Me Made May, although I’ve now officially run out of new me-made things and am on to repeats. Here’s what I wore in the second week:

Saturday
Skirt – Asymmetrical Folds skirt, part of my Sew Bossy challenge with Melanie, blogged here 
Top – Old Navy “Perfect” long-sleeved top
Tights – Uniqlo
Shoes – Hush Puppies
Cardigan – Target
Sunday
Dress – Nautical Lady Skater, unblogged
Sadly, my Lady Skater will have to be retired soon, as the fabric was poor quality and has stretched out over time, and it has a small bleach stain on the neckline from frantically cleaning my apartment before I left the USA. I’ll be making another one, though, because they’re so comfy – like day time pajamas!
I’m really enjoying wearing my own handmade clothes, and it makes the weekends a little bit more special. I’m not unemployed any more (yay!) but I work from home, so I’m still spending the majority of my time in tracksuit pants and large jumpers. Sometimes I wonder whether I moved to Auckland or Antarctica!
Standard
Uncategorized

Sew Bossy

So last year, when I was pretty new to the blogosphere, one of the things I really wanted to participate in was the Sew Bossy initiative! Since I can often be a bit indecisive about what to sew and I love surprises, I figured it would be fun. So when Melanie of The Seeds of 3 put the call out for a Sew Bossy partner, I didn’t hesitate for a minute. After some discussion and admiring of each others’ styles, we exchanged our patterns and materials and…well, up until now, that’s been it.

I know, I know. It was a year ago! I don’t really have any good excuses for why it took me so long to get around to sewing up Mel’s vision for me. When we packed up all our things to move to New Zealand, I found her little box with all its ingredients for a skirt, and dutifully packed it all into my suitcase. And once I got a sewing machine here, I set to work on finally making her bossy dreams come true!


And here’s the result! The pattern she sent me was the Asymmetrical Folds Skirt pattern from Stitches magazine, along with a gorgeous blue linen and a cotton houndstooth for the facing, interfacing, thread and a kit to make my own buttons!

I sewed it up in a size L, which is actually slightly smaller than my body measurements – there are no finished garment measurements on the pattern or instructions, but I found some comments online saying it ran a bit large, so I thought that would be my best bet. I shortened the pattern pieces by about 4″, using my Kelly skirt as a guide for length, but it’s still a bit too long because I have to wear it on my hips, rather than my waist, due to the way the skirt fits. Because I like a bit more security in my wrap garments, I stole an idea from a RTW skirt I sadly no longer have in my possession – an inner, hidden button to secure the layers together.

 I also used 5 buttons, not four, to secure the skirt. Making the covered buttons was my favourite part of the whole process – they turned out so well! I had no idea they were so easy to do, but they’re genius. Cover all the buttons!

You can see above my five little buttons, and their placement – which varies quite a bit from where they were supposed to be placed, according to the pattern. The pattern actually says to sew the buttons on first, before the buttonholes – I highly recommend you don’t do this. Doing the buttonholes first allows you to place the buttons in the best spot for a good fit. I did the buttonholes first, tried the skirt on and then adjusted until it felt like it fitted in the best way, then marked the button placement with chalk through the buttonholes onto the skirt. Since my buttons were shank buttons, and quite small, I used an extra button up the top for more stability. I also ironed squares of extra interfacing onto the skirt behind the buttons before sewing them, for extra stability. Despite this, they still pull on the skirt a lot when I sit down. I’m not sure how to fix this.

Here’s the skirt with the folds, as I chose to do them. According to the pattern, the last fold should lie opposite to the others, but I thought that looked a bit weird, to be honest. I had to fiddle with the folds for a long time before I was happy with them – since I shortened the skirt so much, following the original markers for the folds would have meant a very tiny skirt front! So I just winged it and folded them until they looked even.

Can I stop and be honest for a moment? I don’t love this skirt. I mean absolutely no disrespect to Melanie, she chose a skirt that is totally my style, and the fabric choices are spot on. I love the idea of this skirt. But the actual pattern design itself lets it down. I haven’t made it clear in any of these photos, but the facing is a bitch. A total, utter, bitch. In fact, I don’t really know what the deal with it is – in every photo I’ve seen of this skirt (including the promotional photo on the sale page), the facing has been showing a bit above the waistband. I don’t know if this is by design, as the pattern certainly makes it sound like it shouldn’t be showing – there are instructions to understitch it and everything. Despite understitching it, adding extra buttons that should help keep it in place, and pressing the shit out of it, I have to spend about 5 minutes after I put it on tucking the facing in. And even then, at the back, due to the way the skirt curves, it’s nigh on impossible to get it fully invisible. I’m sorry, but having it showing just looks bad to me – like you’ve made a mistake with the construction.

Also, since it doesn’t fit on my waist (it’s way too big if I wear it up there, and there’s only so much you can wrap a wrap skirt around you before things look weird), I have to wear it on my hips, which feels a bit uncomfortable – like it might ride up and swivel around. It’s possible that, with some darts and adjusting I could get the pattern to fit around my waist, but given the other problems with the pattern, I’m not sure I’ll bother.

I hope that I haven’t seemed too ungrateful with the pattern Mel sent me – she nailed my style, and the colour of the linen is gorgeous (and a dream to press and stitch) – and I will still wear the skirt, since my husband loves it on me and I do like the way it looks in photos. All in all, I’m glad I got the Sew Bossy experience – it’s a really cool idea!

Standard
Uncategorized

Me Made May 2014 Week 1

So, the first week of Me Made May is over, and in keeping with my pledge, I wore me-made items not once, but twice! Not bad, considering how few I actually have.

Saturday

Skirt – Megan Nielsen Patterns Kelly Skirt, in black corduroy [unblogged]
Tights – ASOS Bunny Tights
Shoes – Hush Puppies
Top [not pictured] – Old Navy “Perfect” long-sleeved black top
Sunday
Top – Deer&Doe Plantain top in organic cotton knit [unblogged]
Pants – Old Navy “Sweetheart” jeans
Shoes [not pictured] – Keens
At the moment, I’m unemployed so I spend quite a bit of my time at home, which means I’m wearing comfy clothes – tracksuit pants, leggings, oversized tops, hoodies – that kind of thing. If nothing else, Me Made May is making it clear to me where there are gaps in my wardrobe!
Standard
Uncategorized

Me Made May 2014

For the last two years, I’ve spent the month of May following a constant stream of amazing blogger creations, and wishing I could participate. The first year, I’d just moved to the USA with very little clothing, and only the vaguest idea of how to actually make clothing. Me-Made-May wasn’t happening that year. The second year, I did have some handmade pieces, but I didn’t feel like I had enough to do a week, let alone a month, so I sat out again – but I thought to myself, 2014, that will be the year I rock Me-Made-May.

And now, here I am, in Auckland, with half a suitcase of clothes. Seriously. I have one pair of jeans, one skirt, two dresses, and some tops (and underwear, I’m not some kind of commando-loving weirdo). Oh, and some recently-purchased-because-damn-it’s-getting-cold-here trackie pants from Countdown. So stylin’, y’all.

However, of that pathetic pile of clothing, one of the dresses, the skirt, and a top are hand-made. So, that’s like 50% of my clothes that are handmade! Ha! Plus, I just got myself a nice, new Husqvarna Viking sewing machine. So, let’s do this. It may already be the 1st of May (oops), it may not be a super exciting wardrobe, but I’m determined to try my best at Me-Made-May!

‘I, Kirsty, of Tea & Rainbows, sign up as a participant of Me-Made-May ’14. I endeavour to wear my own handmade clothing, for at least one day per week for the duration of May 2014′

Let’s do this!

Standard
Uncategorized

A small break

I probably should have made this update sooner, but the last couple of weeks have been crazy busy for me, and I’m only just getting a minute to sit still and type it up.

As some of you may know if you follow me on Twitter or Instagram, my husband and I packed up our life in California and are in the process of moving to Auckland, New Zealand. At the moment, we’re in Adelaide, Australia – our home town! We haven’t been back in two and a half years, so we’re trying to see as much of family and friends as we can. It’s hectic, but I’m loving every minute of it.

I sold my sewing machine in California, since a) it didn’t cost me much in the first place and probably would have cost the same again to move it to NZ and b) it wouldn’t have worked anyway, due to voltage differences etc. I did look into getting a new one in the US and sending it over (because they are SO much cheaper there) but everything I read suggested that one shouldn’t use a transformer/plug converter with a sewing machine for a long period of time, so I chose not to. So I am currently without a sewing machine, and probably will remain that way for another month or so, until we get settled in Auckland and have found somewhere to live.

It seems like the worst possible time to be without a machine – there are some amazing sewalongs happening, some fantastic patterns being released, and all I can do is sit and watch from the sidelines. But, such is life. I can’t wait to get back into it once I’m settled in Auckland, and I hope you’ll all stick around so I can share my new makes with you 🙂

And any sewing bloggers from Auckland – hit me up! Tell me where I can find the best fabrics, and more importantly – a good sewing machine! I know a lot of sewing bloggers from Wellington, but only one from Auckland, so I’m hoping there’s more of you out there somewhere!

If you want to follow me on Twitter, you can do so here, and I’m kirstyteacat on Instagram if you want to see some of my adventures in Australia and New Zealand!

Standard
Uncategorized

And the winners are…

Thank you to everyone who entered my birthday giveaway! Your comments were all so sweet, you sure know how to make a girl feel special on her birthday 🙂

I used a random number generator to pick the winner for each prize, and without further ado, here’s who won what!

Catja of Gjeometry, you’re the lucky winner of the Japanese pattern book!

Josephine, you won the fabric that everyone wanted so much, so congratulations to you!

And finally, Sally of the quirky peach, you get the 3 sewing patterns!

I’ll be in contact with you all shortly so I can send your goodies on their way.

I hope to have a couple of finished garments up on the blog by the end of the week – things are getting crazy around here while we prepare for our next big international move, and I’m racing to finish up all my sewing before my little machine goes to a new owner *sob*

Standard