
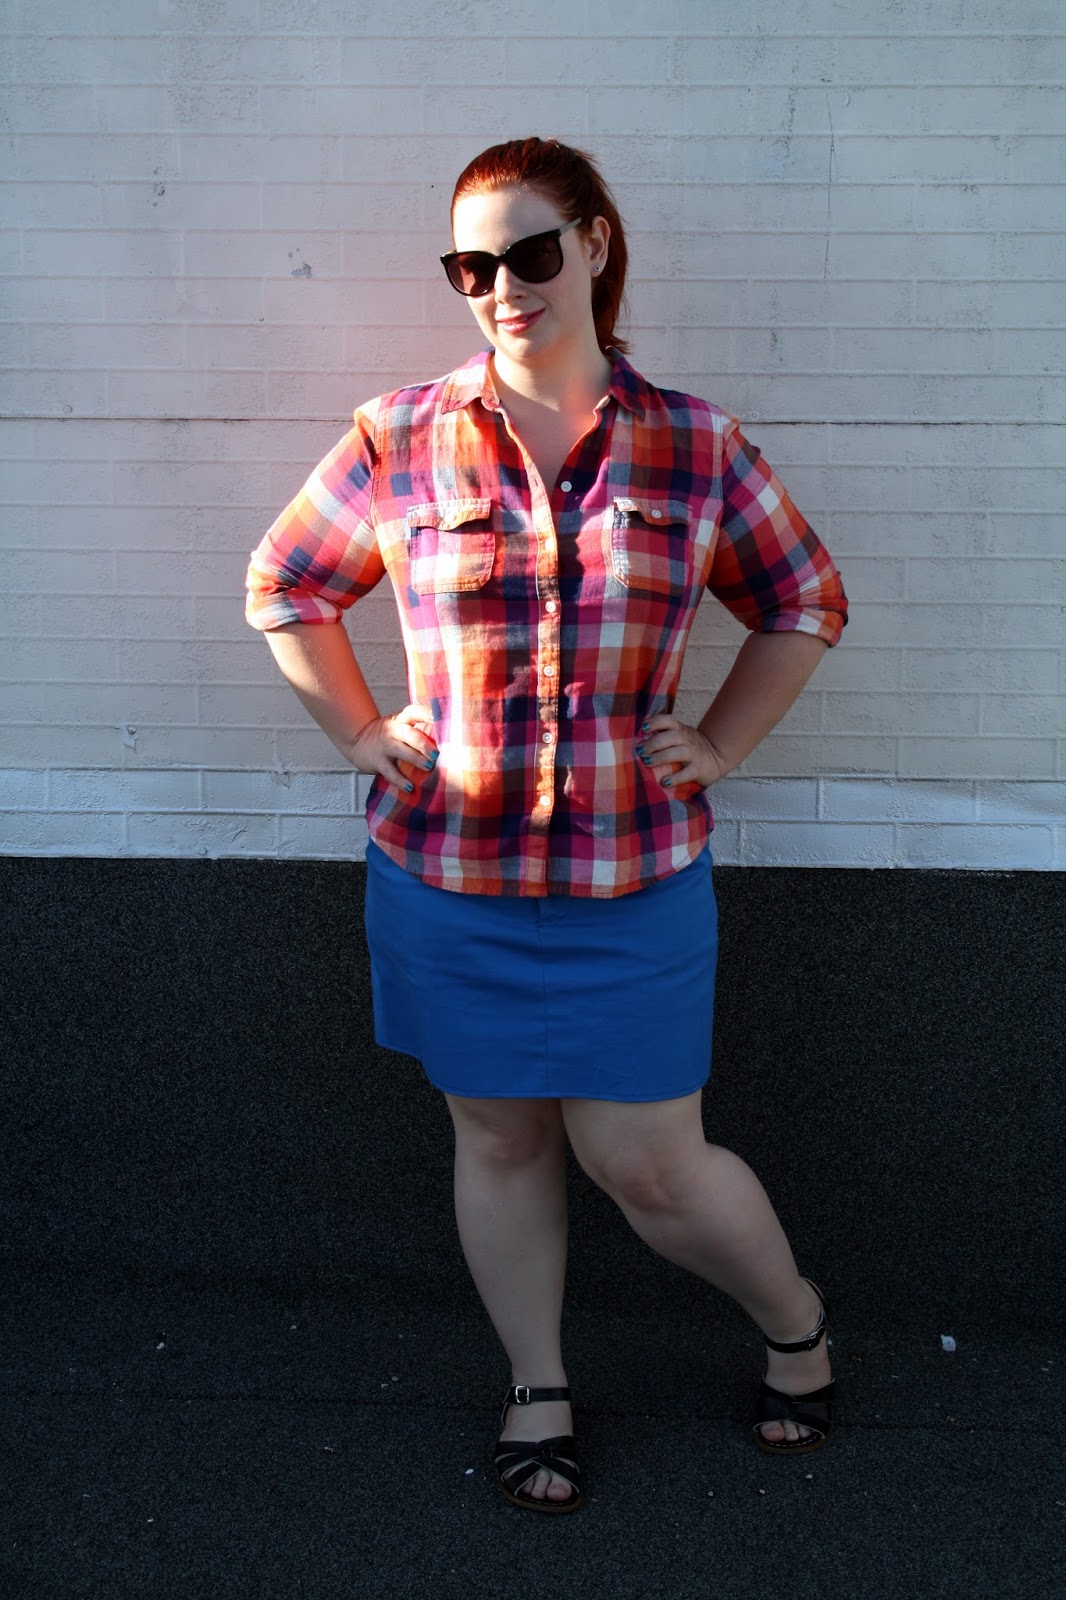
I finally got around to making the Grainline Studio Moss Skirt, after deciding I need more staple garments in my wardrobe. One can’t live on fancy dresses alone, as much as I wish it were otherwise.

Does anyone else not know what to do with their hands when photographing garments from behind?
Making the skirt was most certainly not smooth sailing, unfortunately. I have an hourglass figure, and there is almost 12″ different between my hip measurement and my waist measurement. When I buy RTW (ready to wear) jeans, I always always have gapping at the back waist, which is something I haven’t paid much attention to in the past and just kind of accepted. I made up a muslin of the Moss Skirt in size 16, tried it on, and found I could fit my entire hand down the back of my skirt. In addition to that, my waistband was somehow a good 4″ too short, and I managed to pull the zipper tab off my zipper while I was fiddling with it.
Annoyed, I turned to the wonderful sewcialists on Twitter, and asked for advice. They immediately started offering suggestions, including the wonderful designer of the pattern herself, Jen. After chatting with them, I decided I would make some darts in the yoke of the skirt to reduce the gapping at the back, and then see how the waistband fit then.
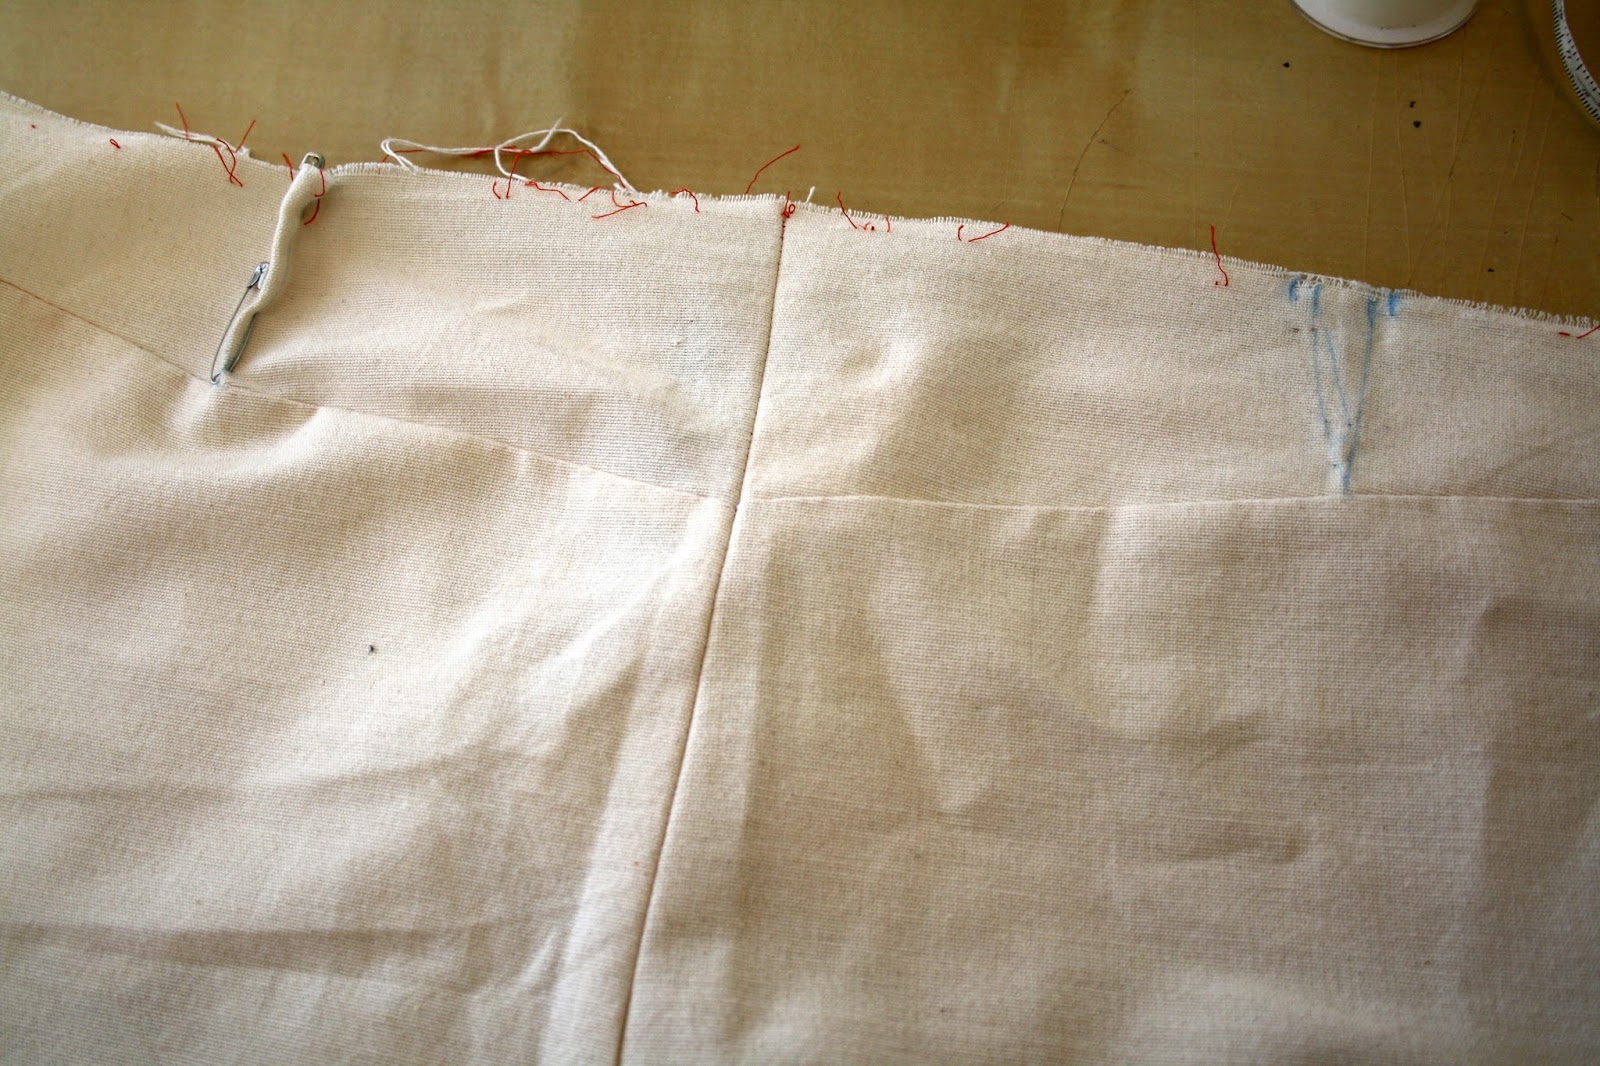
First I pinned the excess fabric out and pinned it, and then I measured it and sketched a dart in its place. Then I did some Googling on adding darts, and found an amazing tutorial by Ziredloh on how to change the fit of a yoke. So instead of making a 1″ dart on the yoke, I slashed and overlapped the yoke in 4 places by 1/4″ each.
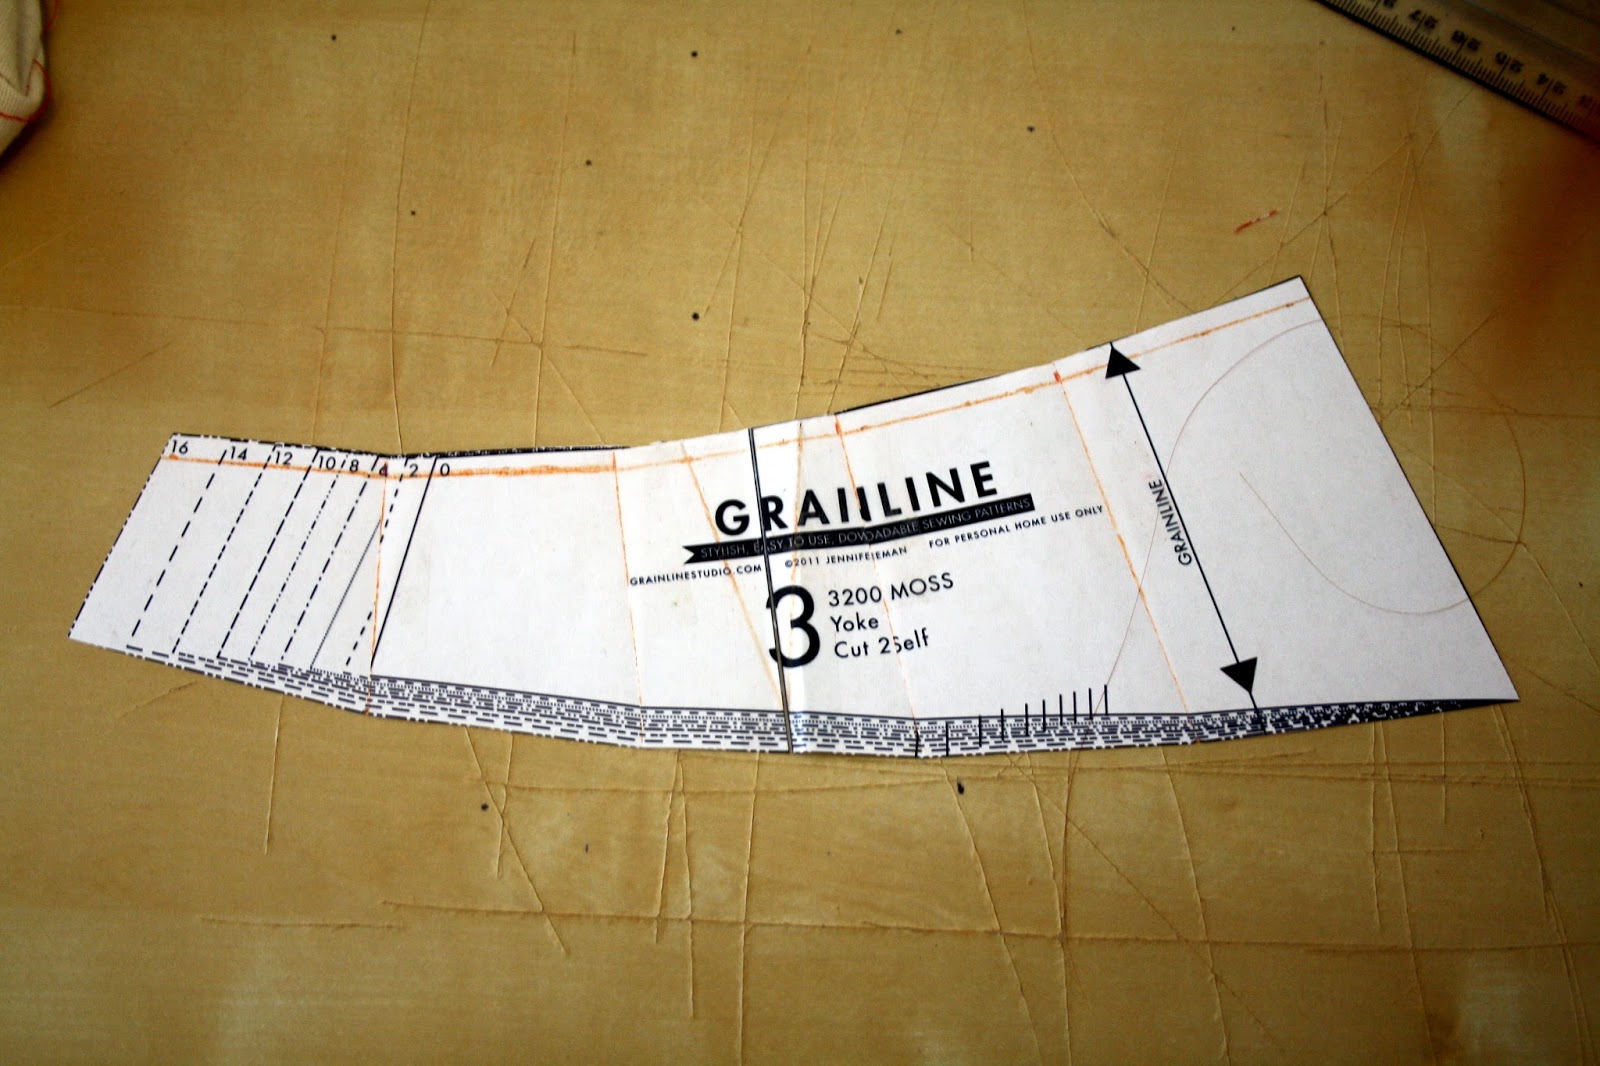
This is how my yoke piece looked after slashing and overlapping (please excuse the hair and my poor desk top). I measured the top length of the yoke and divided it by 5, then marked 4 lines at equal intervals, and that’s where I slashed. I then marked 1/4″ to the left of those lines along the top seamline, and then taped my slashed pieces at that point.
I then embarked on a new, wearable muslin with some mystery fabric I bought from a Buddhist Centre rummage sale for $1. After I’d sewn everything together except the waistband, I pinned on the old muslin waistband that was too short, and determined it was still short by about 1″. Sarah from Notches & Notions kindly sent me a little tutorial that Jen had sent her on how to extend the waistband nicely, but since I felt that the waistband was matching all the right places (centre back and side seams), I just extended the paper pattern piece by 1″ on the side it was short, and cut my new one. I happily pinned it on…only to discover it was now 1.5″ inches too short. I have absolutely no idea how this happened. I laid it on top of my newly extended waistband piece, and it matched. It’s just one of life’s little (extremely irritating) mysteries, I guess. I just had enough fabric & interfacing to cut it out AGAIN, after adding another 1.5″ extension, and this time, it fit.
A word to the wise – the instructions for the skirt do not make it clear which way to attach the waistband. I heard from a lot of people that it’s easy to sew it on upside down – but no one seemed to clarify which way was upside down! I sewed mine on with the waistband oriented like a frowny face, if that makes sense – the curves were pointing away from the top of the waistband. This worked for me, and I did try pinning it both ways – if I did it the other way, I came up with an even shorter waistband. Another trap for young players is the zip – for my second go around, I didn’t trim my zip until I’d sewed my waistband (but not the waistband facing) on. That way there was absolutely no way I could pull the zipper tab off!
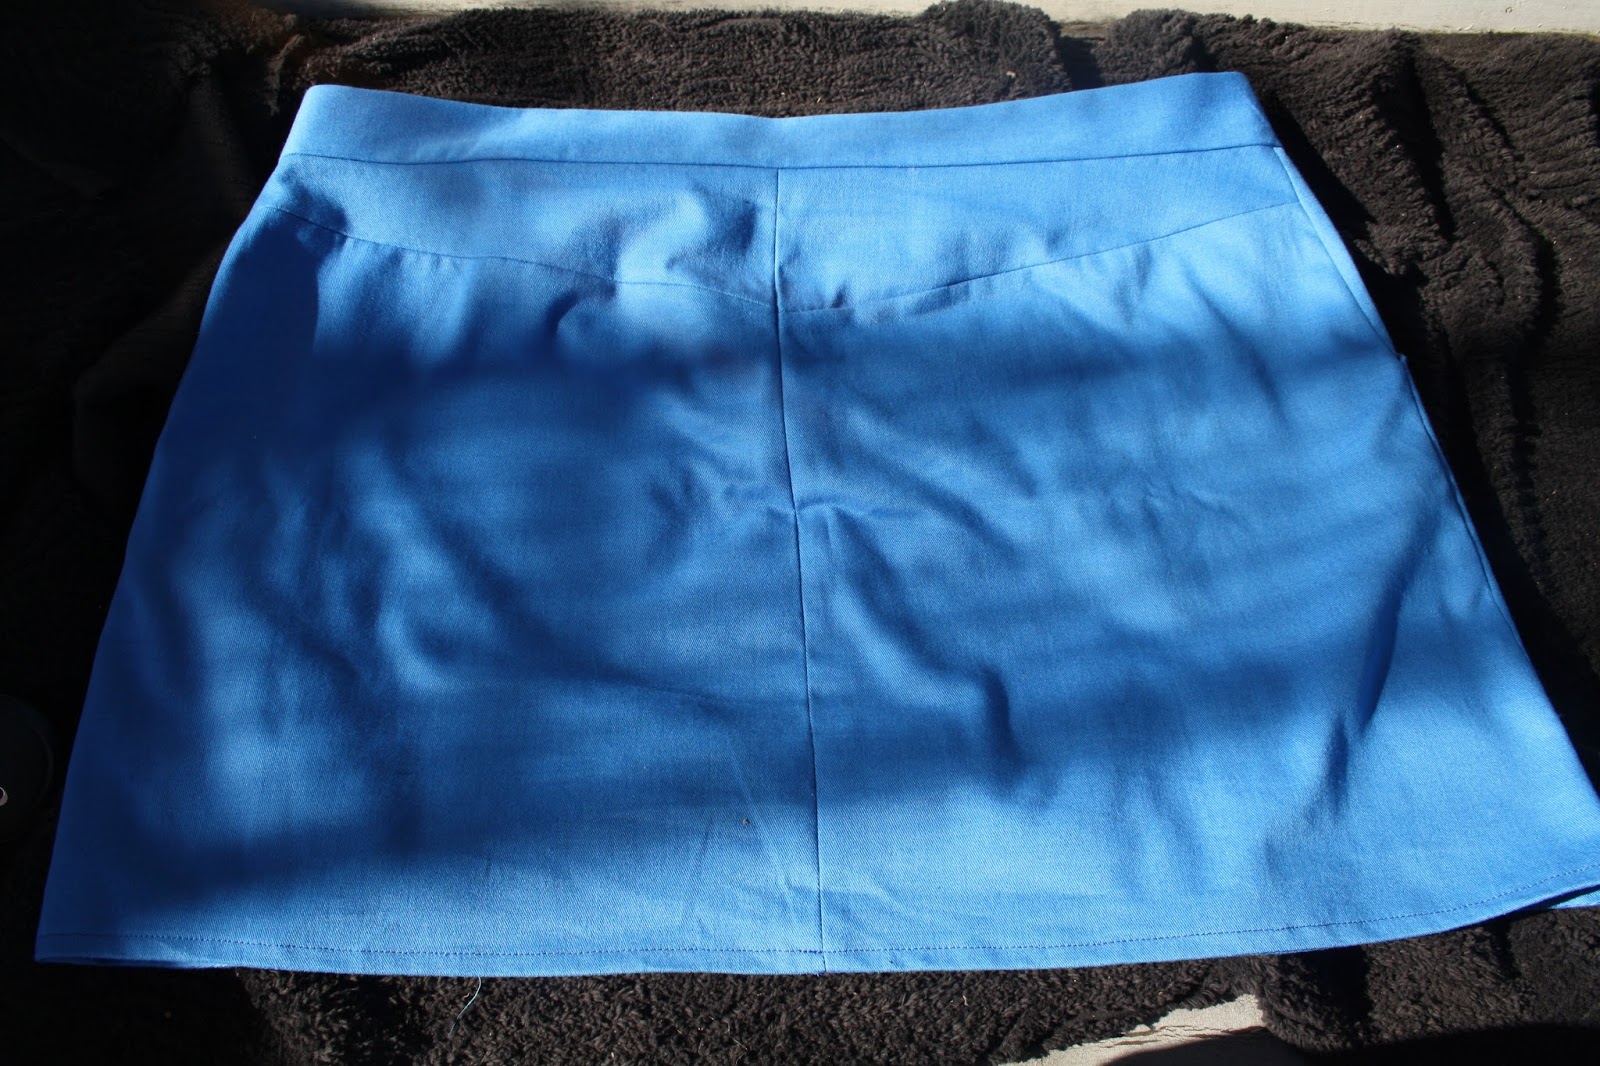
Here is the back of the skirt – slightly wrinkled, because I’d worn it twice by this point! You can’t really see any difference in the curve of the yoke, in my opinion, but it hugs my back so well! No gaping at all, and even better yet, the skirt doesn’t wiggle up as I walk, which is one thing I absolutely loathe about skirts usually.

I know this isn’t the best fly in the world, but I consider it not too bad for a second attempt! I didn’t have enough room to have a seam allowance on the right side of the fly, so I just zig-zagged along the edge to stop it fraying and sewed it to the zipper. It’s not pretty, but it works, and you can’t see it at all when it’s zipped up.
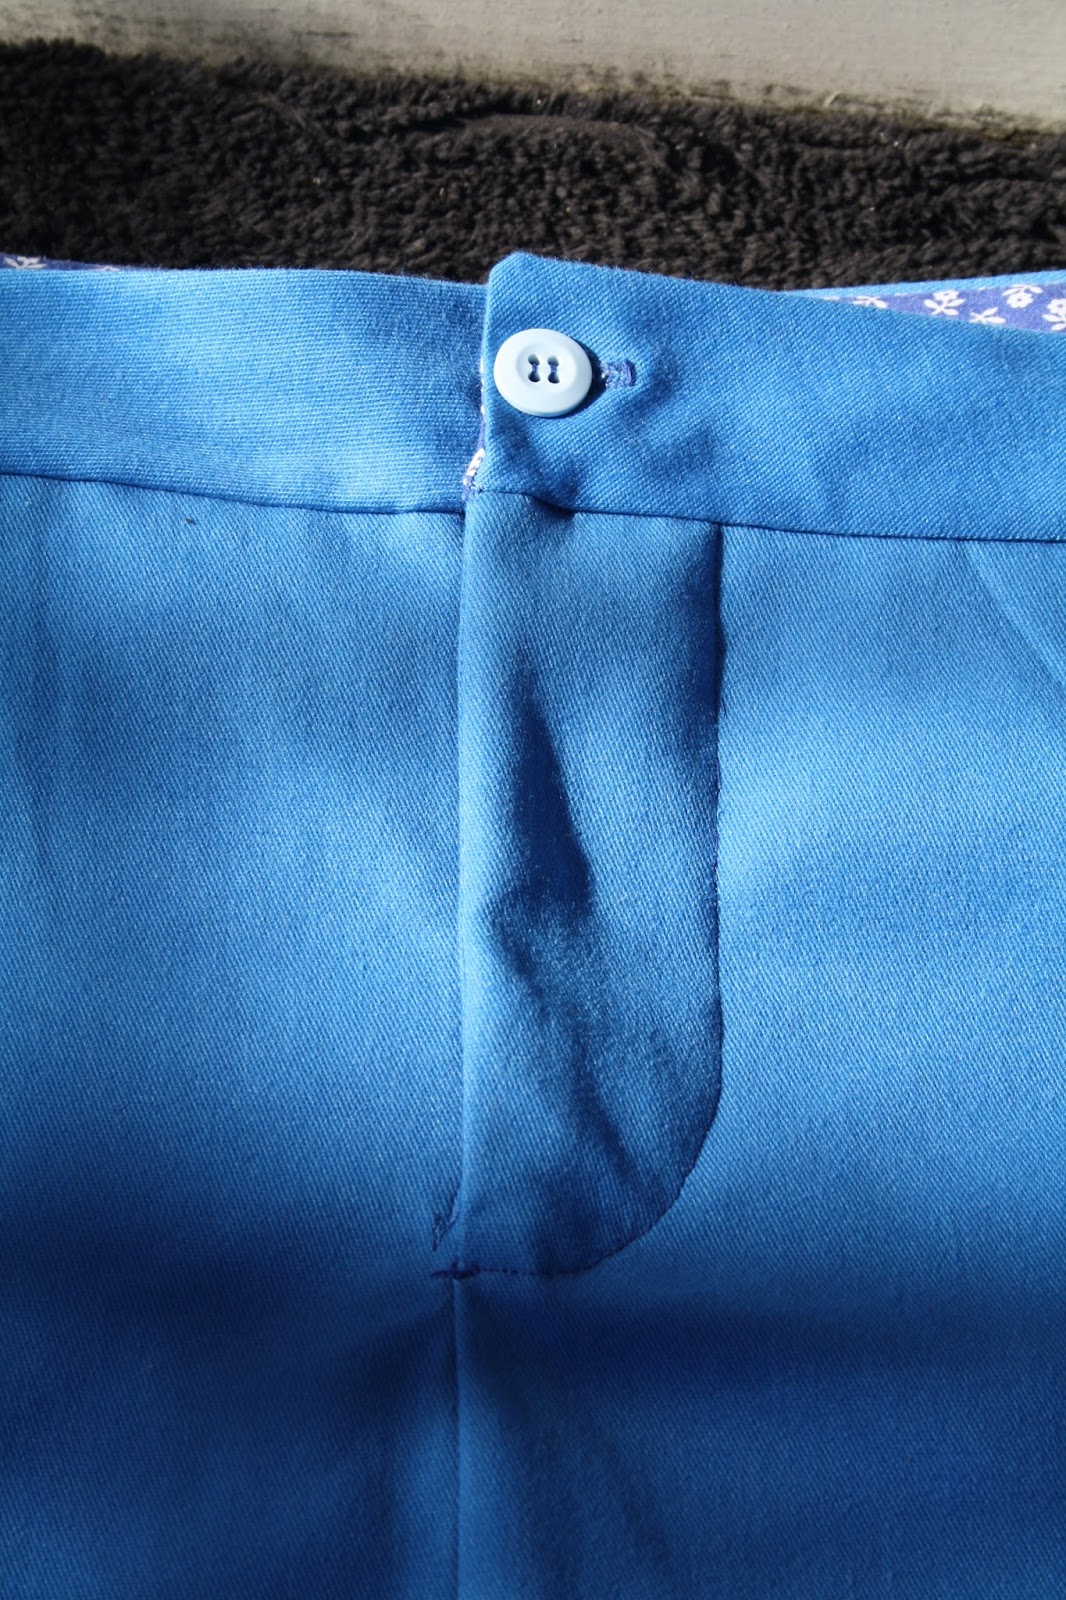
I lined the waistband and pockets with some cotton fabric I got from an estate sale, just for funsies, and I used a button left over from my Bleuet Dress. All in all, this project cost me only a few dollars (except the cost of the pattern, obviously). Now that I’ve ironed out the fitting issues, I definitely want to make another – a corduroy one for winter/fall, I think, in red or black.
My sewjo has suffered a bit of a hit this week, as Luke and I took a trip to San Diego and then hosted an Aussie friend for a few days. In addition to that I’m taking some online courses over at Coursera, and have started up a new project at work. How do you all make time for your sewing when life gets busy? Any tips?

How's this? I'm using my Google+ account since I'm not sure how to set up a Blogger account without actually having a Blogger Blog (mine is a wordpress blog). Anyway, tried to say before, I love the skirt and what a nice fitting save you made! I also have the problem of a gaping back with fitted trousers and skirts.
It worked! I think a lot of people have the gaping problem, and even though I've tried jeans for curvier individuals, it still happens!
Super cute!! You will wear it a lot, I am sure!
Oh, hey, do you think you could send me those same instructions for the waistband. Jen helped me with my yoke problems and now I've come across this. See my post on the Moss here.
I'm so sorry, I only just saw this comment! Do you still need the instructions or have you used a different solution?
Oh, yes! I've just started on a new muslin and that would be extremely helpful, thanks!