
I recently took a week off work and had a gloriously productive sewing week, making a skirt, a top and a dress – none of which I can show you today, because when Luke took my blog photos, neither of us noticed the camera wasn’t on the right setting and all of them were horrendously over-exposed. And with daylight savings having ended and a deluge of rain predicted for the North Island this week, I’m not sure when I’ll be able to take them again just yet!
So instead, I’m going to show you a project my stepsister commissioned me to make last year.
So yes, about a year ago (!) my stepsister sent me the following photo and asked if I would be able to make 4 of them, one each for her 4 children.

I hadn’t actually seen anything like this before, but after some Googling it became apparent they are called memory bears, and that they are plush bears made from the onesies your child is brought home from the hospital in/wore when they are small. I also discovered pretty quickly that these are one of those infuriating “Pinterest Projects” that are all over Pinterest, but with very little solid information on how they’re made or a pattern to use due to the rampant re-pinning of pictures from sources other than the original one.
So my stepsister provided 4 chosen onesies, and also a couple to practice with, which turned out to be invaluable. There are lots and lots of teddy bear patterns out there, but few are designed to fit onto something as small as a child’s onesie as it happens. So there was quite a bit of trial and error while I experimented with a few different patterns and shrinking/enlarging them until they fit onto my provided onesies. I’m very bad at visualising how to piece things together to make a 3D object, so a pattern was essential for me. This was my first attempt:

I use a very simple, free pattern for that one and I didn’t like the way the bear ended up looking at all. It went into the bin straight after this photo (well, after I took the stuffing back out. Waste not, want not!)
Finally, after hours down the Pinterest rabbit hole, I found a promising pattern by Kim Macfarlane at cuddlybuddly.com. I unfortunately can’t remember how much I enlarged it by now, but after a few false starts, I got it to just the right size for my onesies! Note that there are no instructions for the pattern, but it’s fairly obvious how it all fits together.
And sewn up:
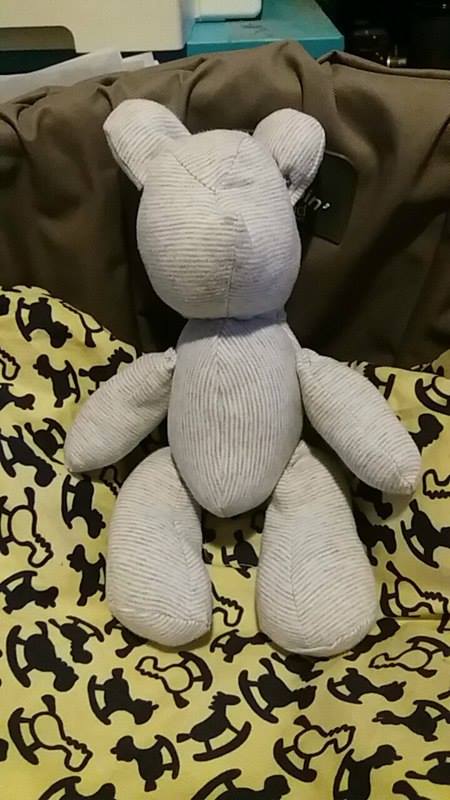
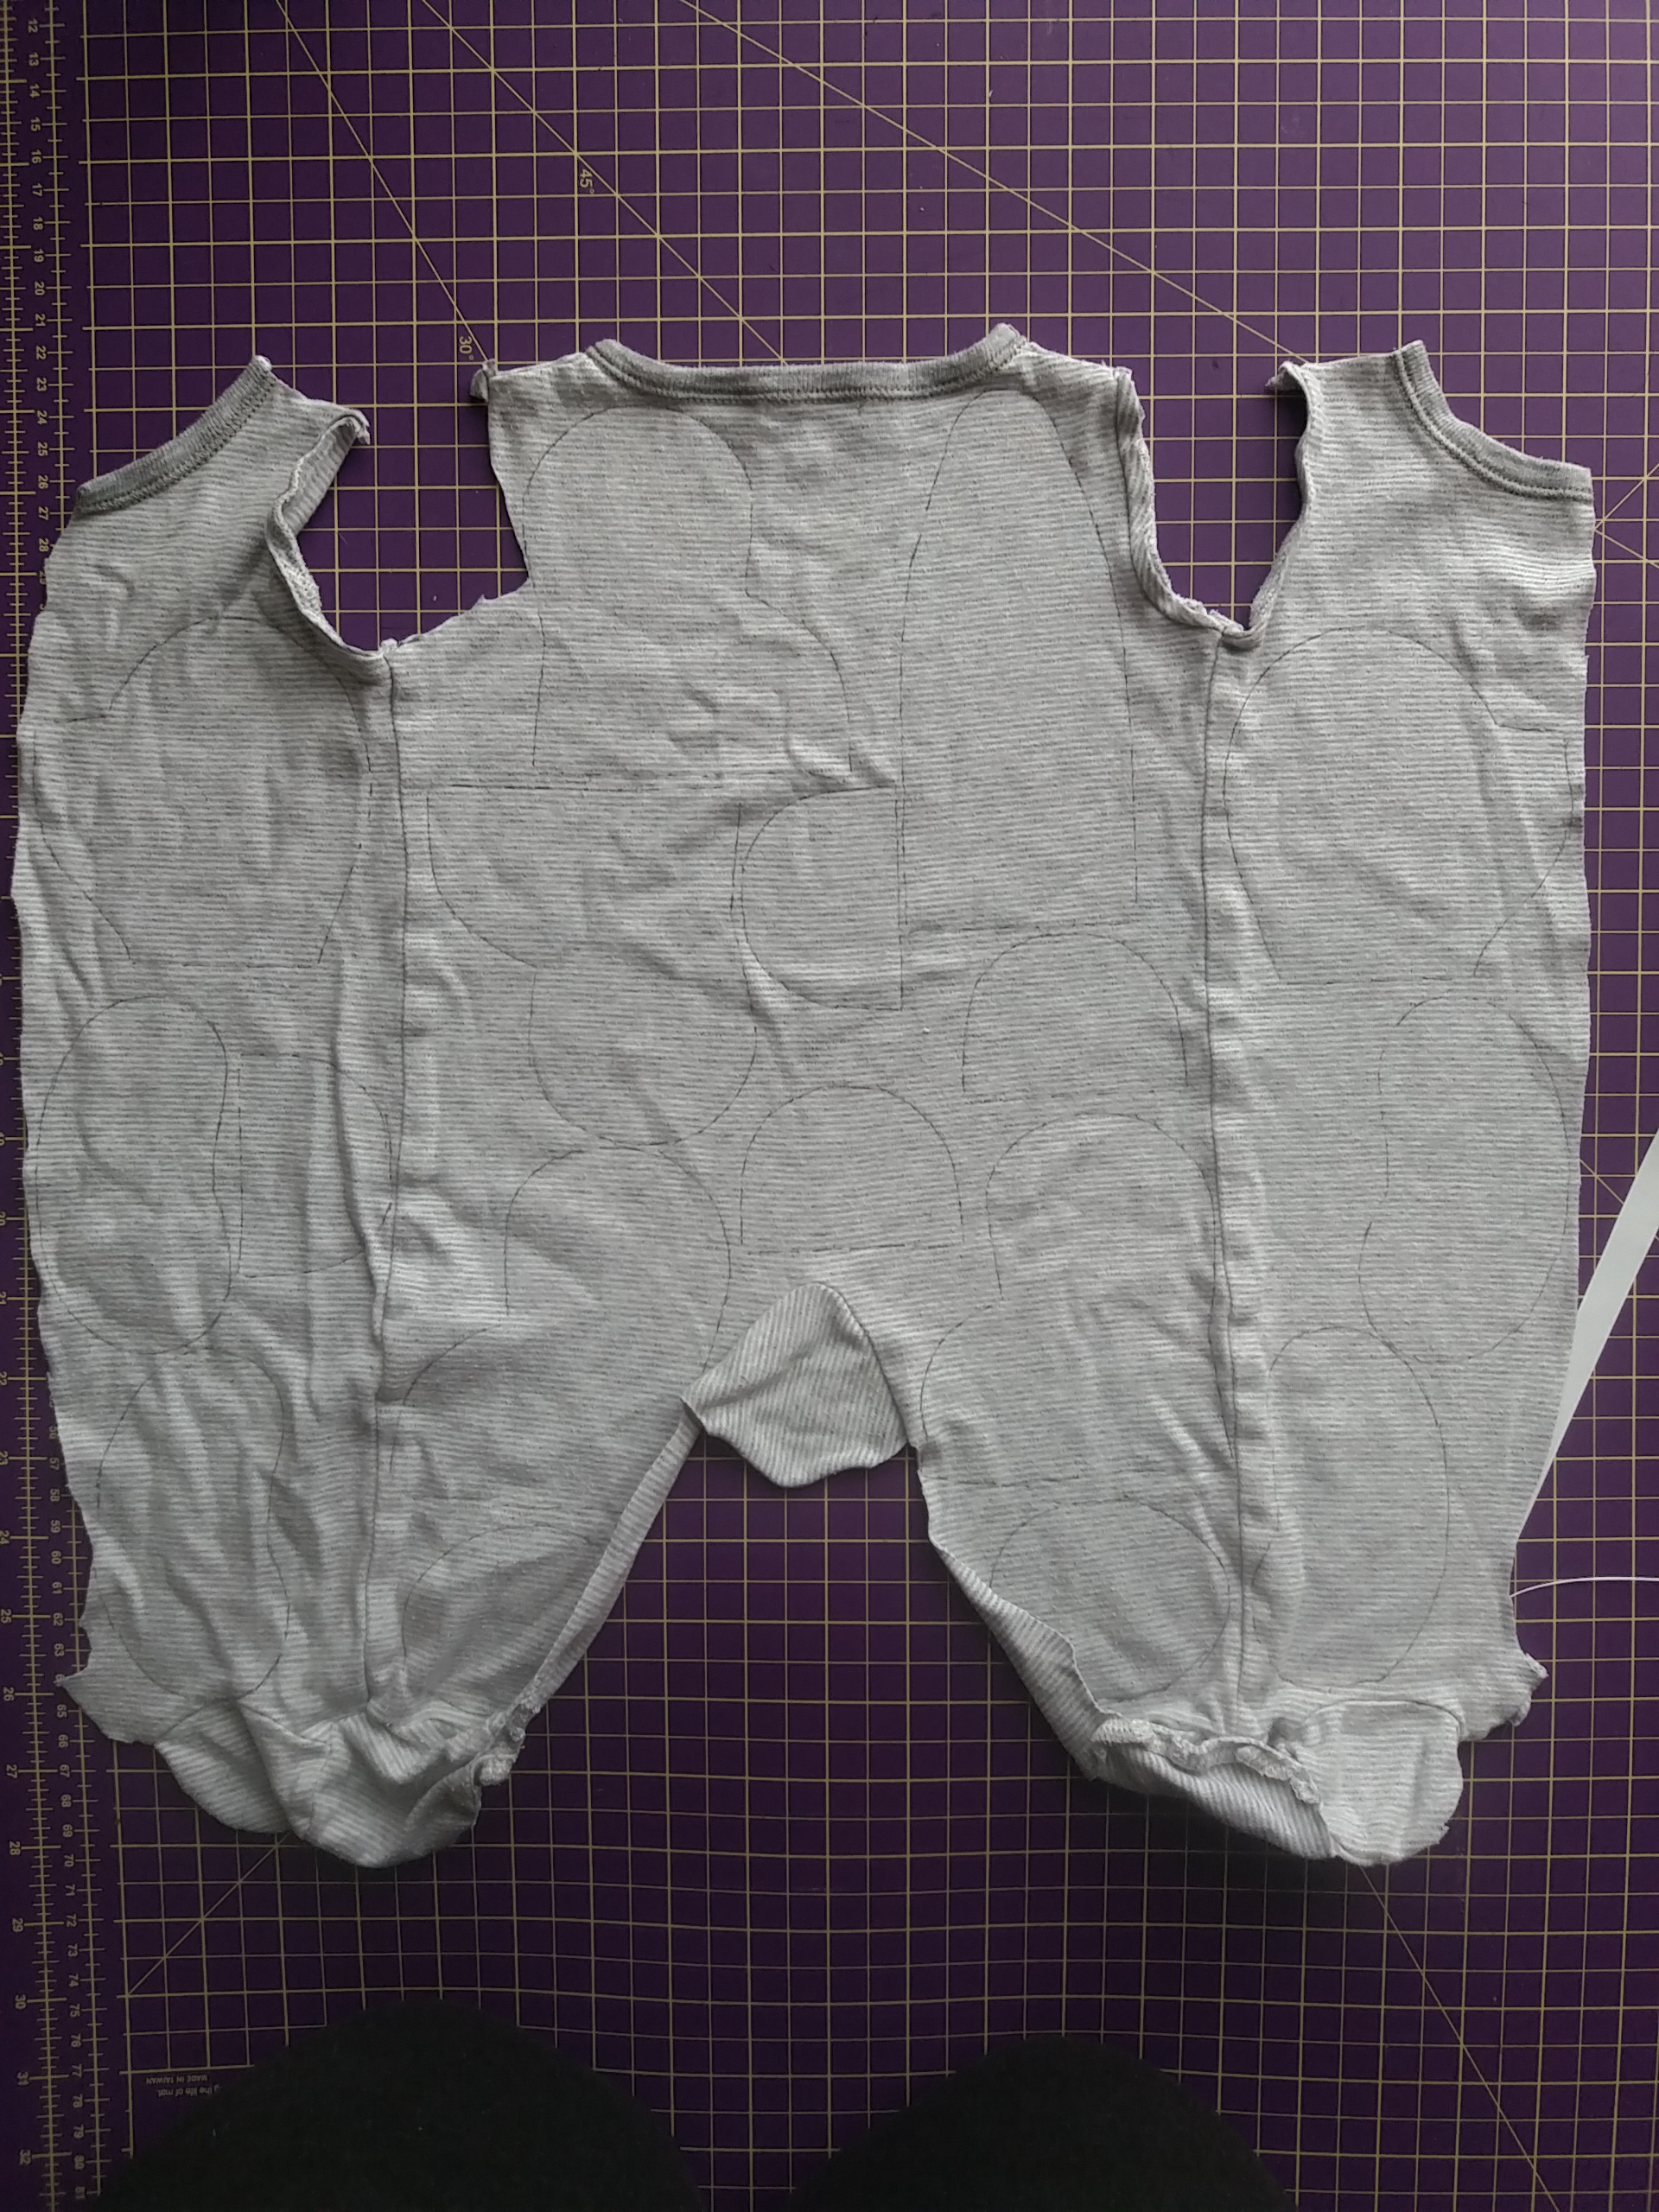
This was a rough practice one that was pinned together for this photo. I sent it to my stepsister and she was happy with it, so I started work on the final 4. It was really nerve-wracking, because I felt like there was no room for mistakes – after all, you can’t replace precious onesies your children wore! I worked slowly and carefully, first tracing onto each onesie to make sure they fit before cutting them out. Even though they were all the same size, there was some variation in how much fabric was available due to the slightly different styles. Thankfully, they all fit. Once they were all cut out, I sewed them up in batches – all the legs, then all the arms, the bodies and so on. Then I stuffed all the pieces and hand-sewed up the stuffing holes using a ladder stitch.
I had originally bought some black embroidery thread for eyes, noses etc, but I didn’t like the way it looked, so I ended up using some brightly coloured wooden buttons from my stash, a different colour for each bear. The ears weren’t stuffed, and were folded in a fortune cookie style before being stitched on with ladder stitch also.
Finally, I sewed each bear together one by one using some upholstery thread for extra durability. The legs and arms are sewed so they are movable, so the bears can be seated or standing.

This was the first one I fully completed. This onesie fabric stretched the most, so he’s a bit bigger than his counterparts. I didn’t think of it until it was too late, but interfacing thinner, stretchier onesies might help to eliminate size disparities – just a tip if anyone’s thinking of making some! I quite like that they’re all unique, though.
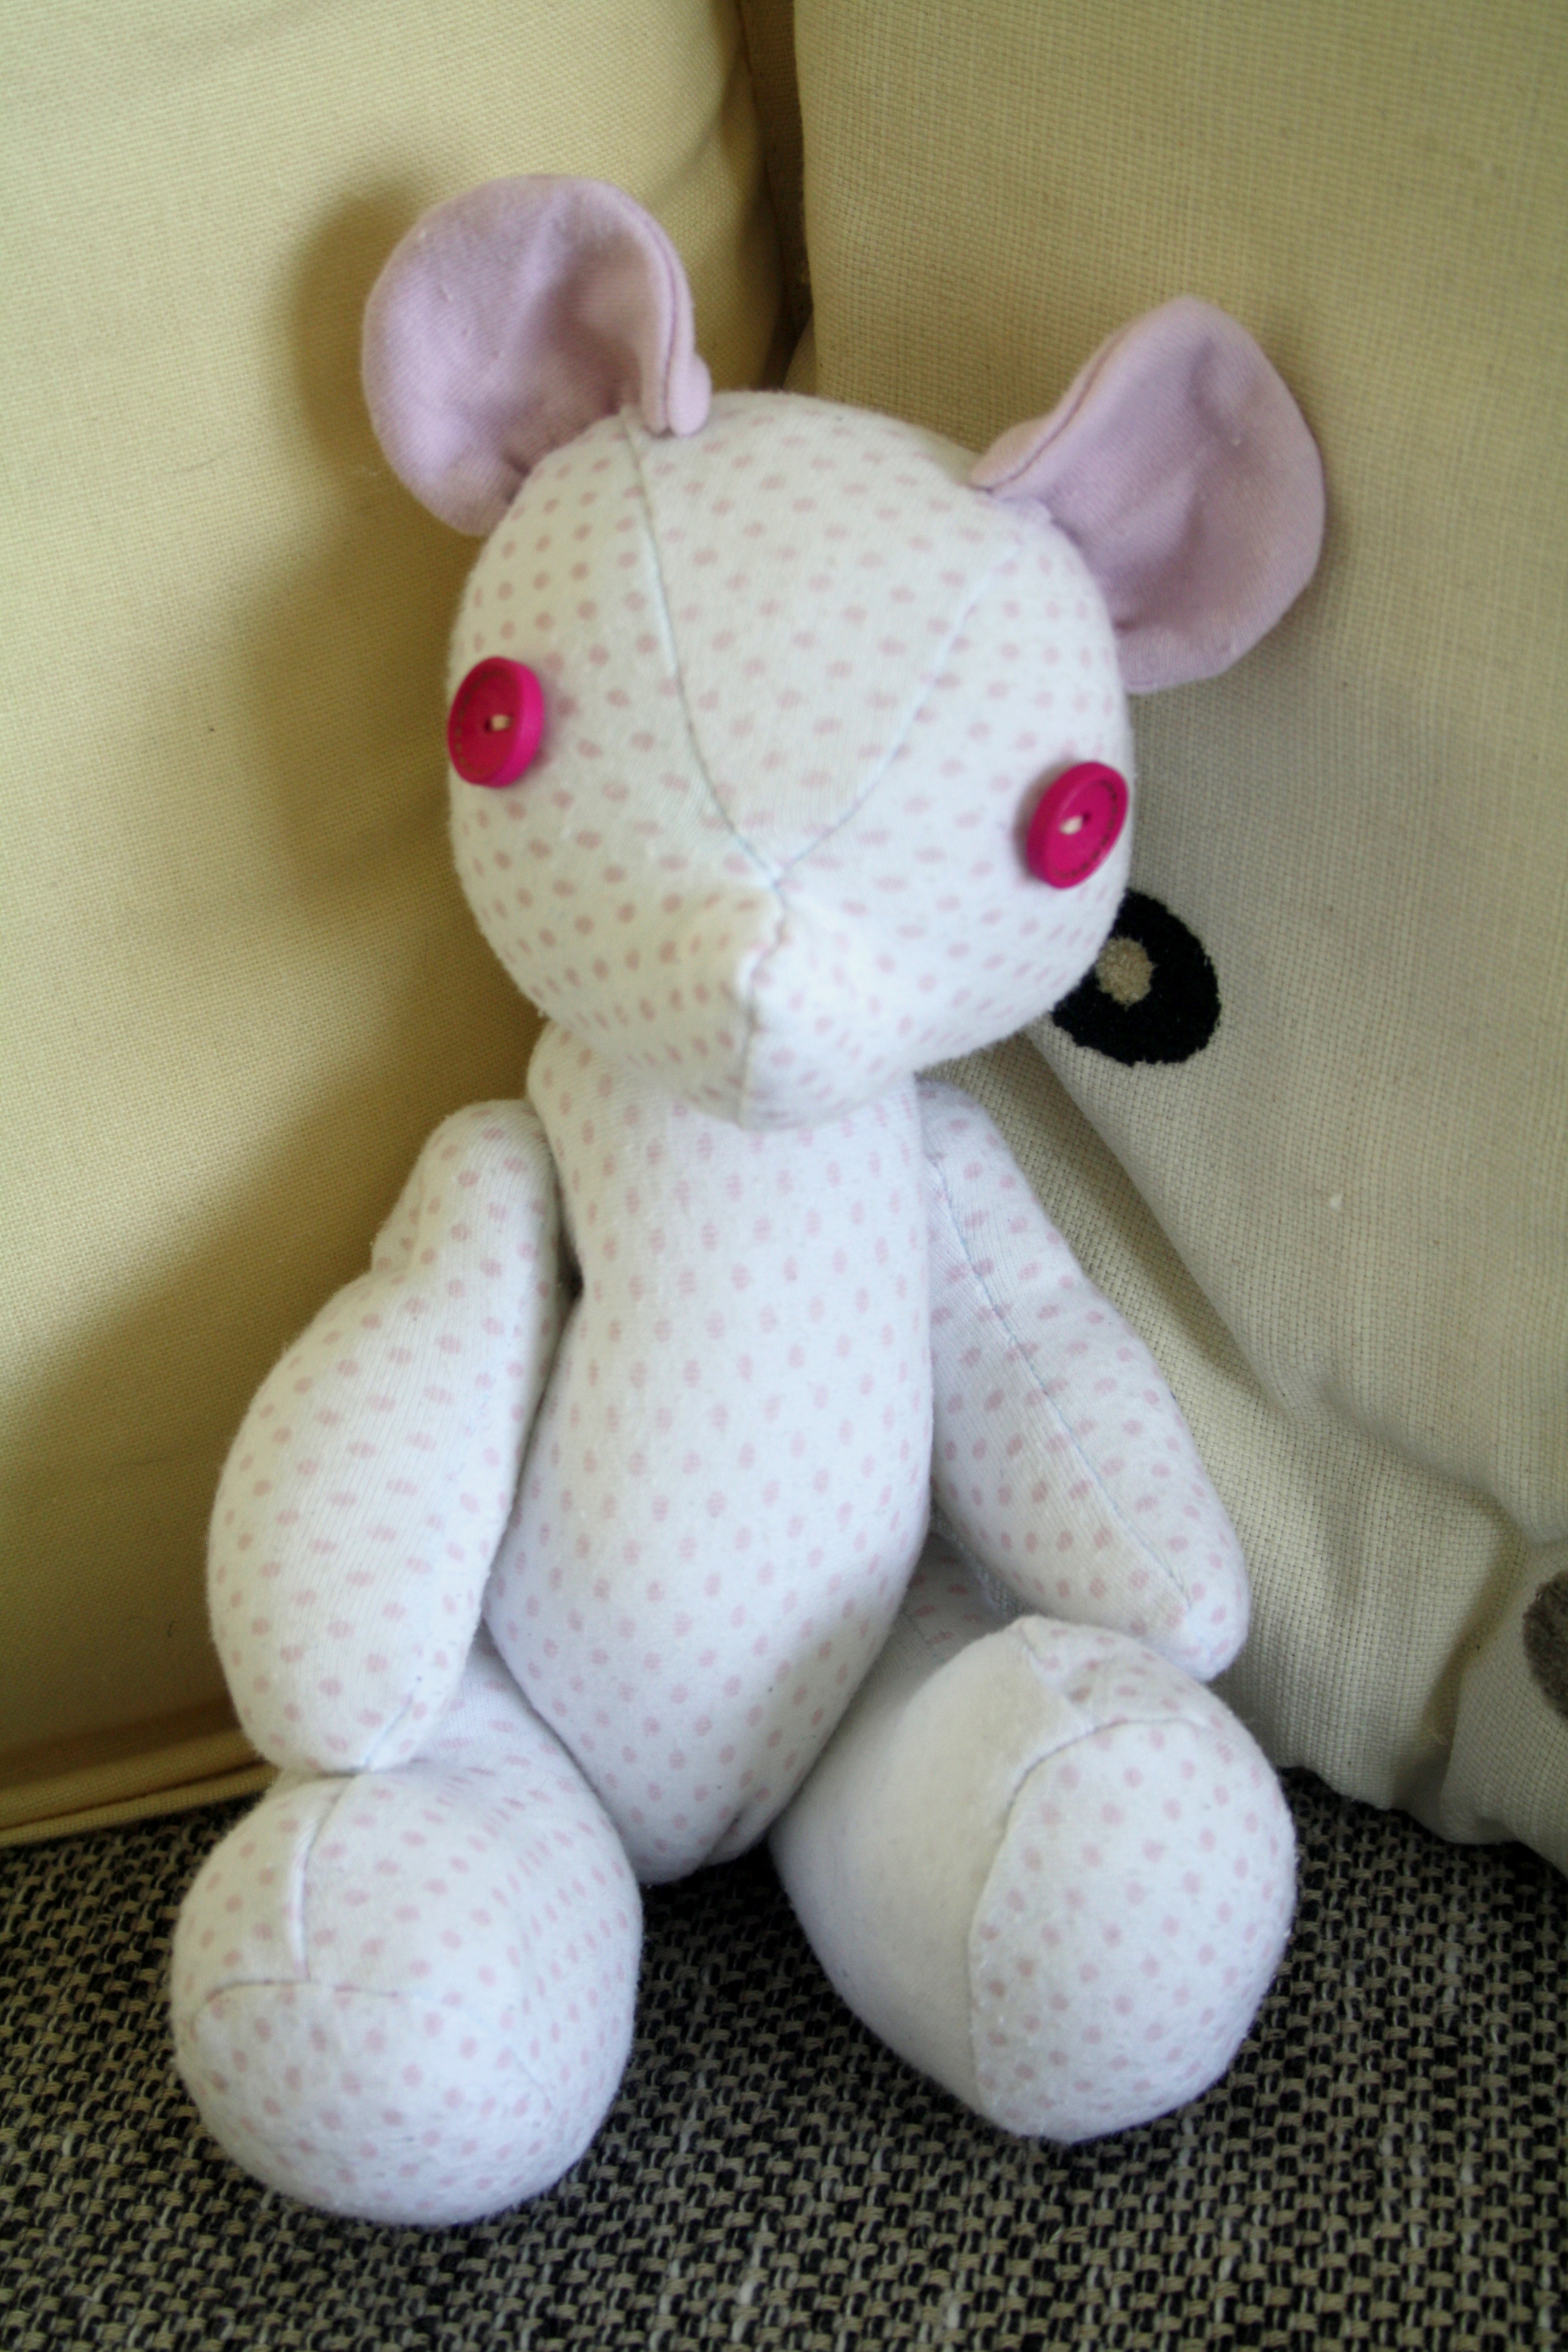
This was the second bear to be completed. The onesie had contrasting pink feet, which I used for the ears. I like this one the most, I think he looks slightly quizzical!
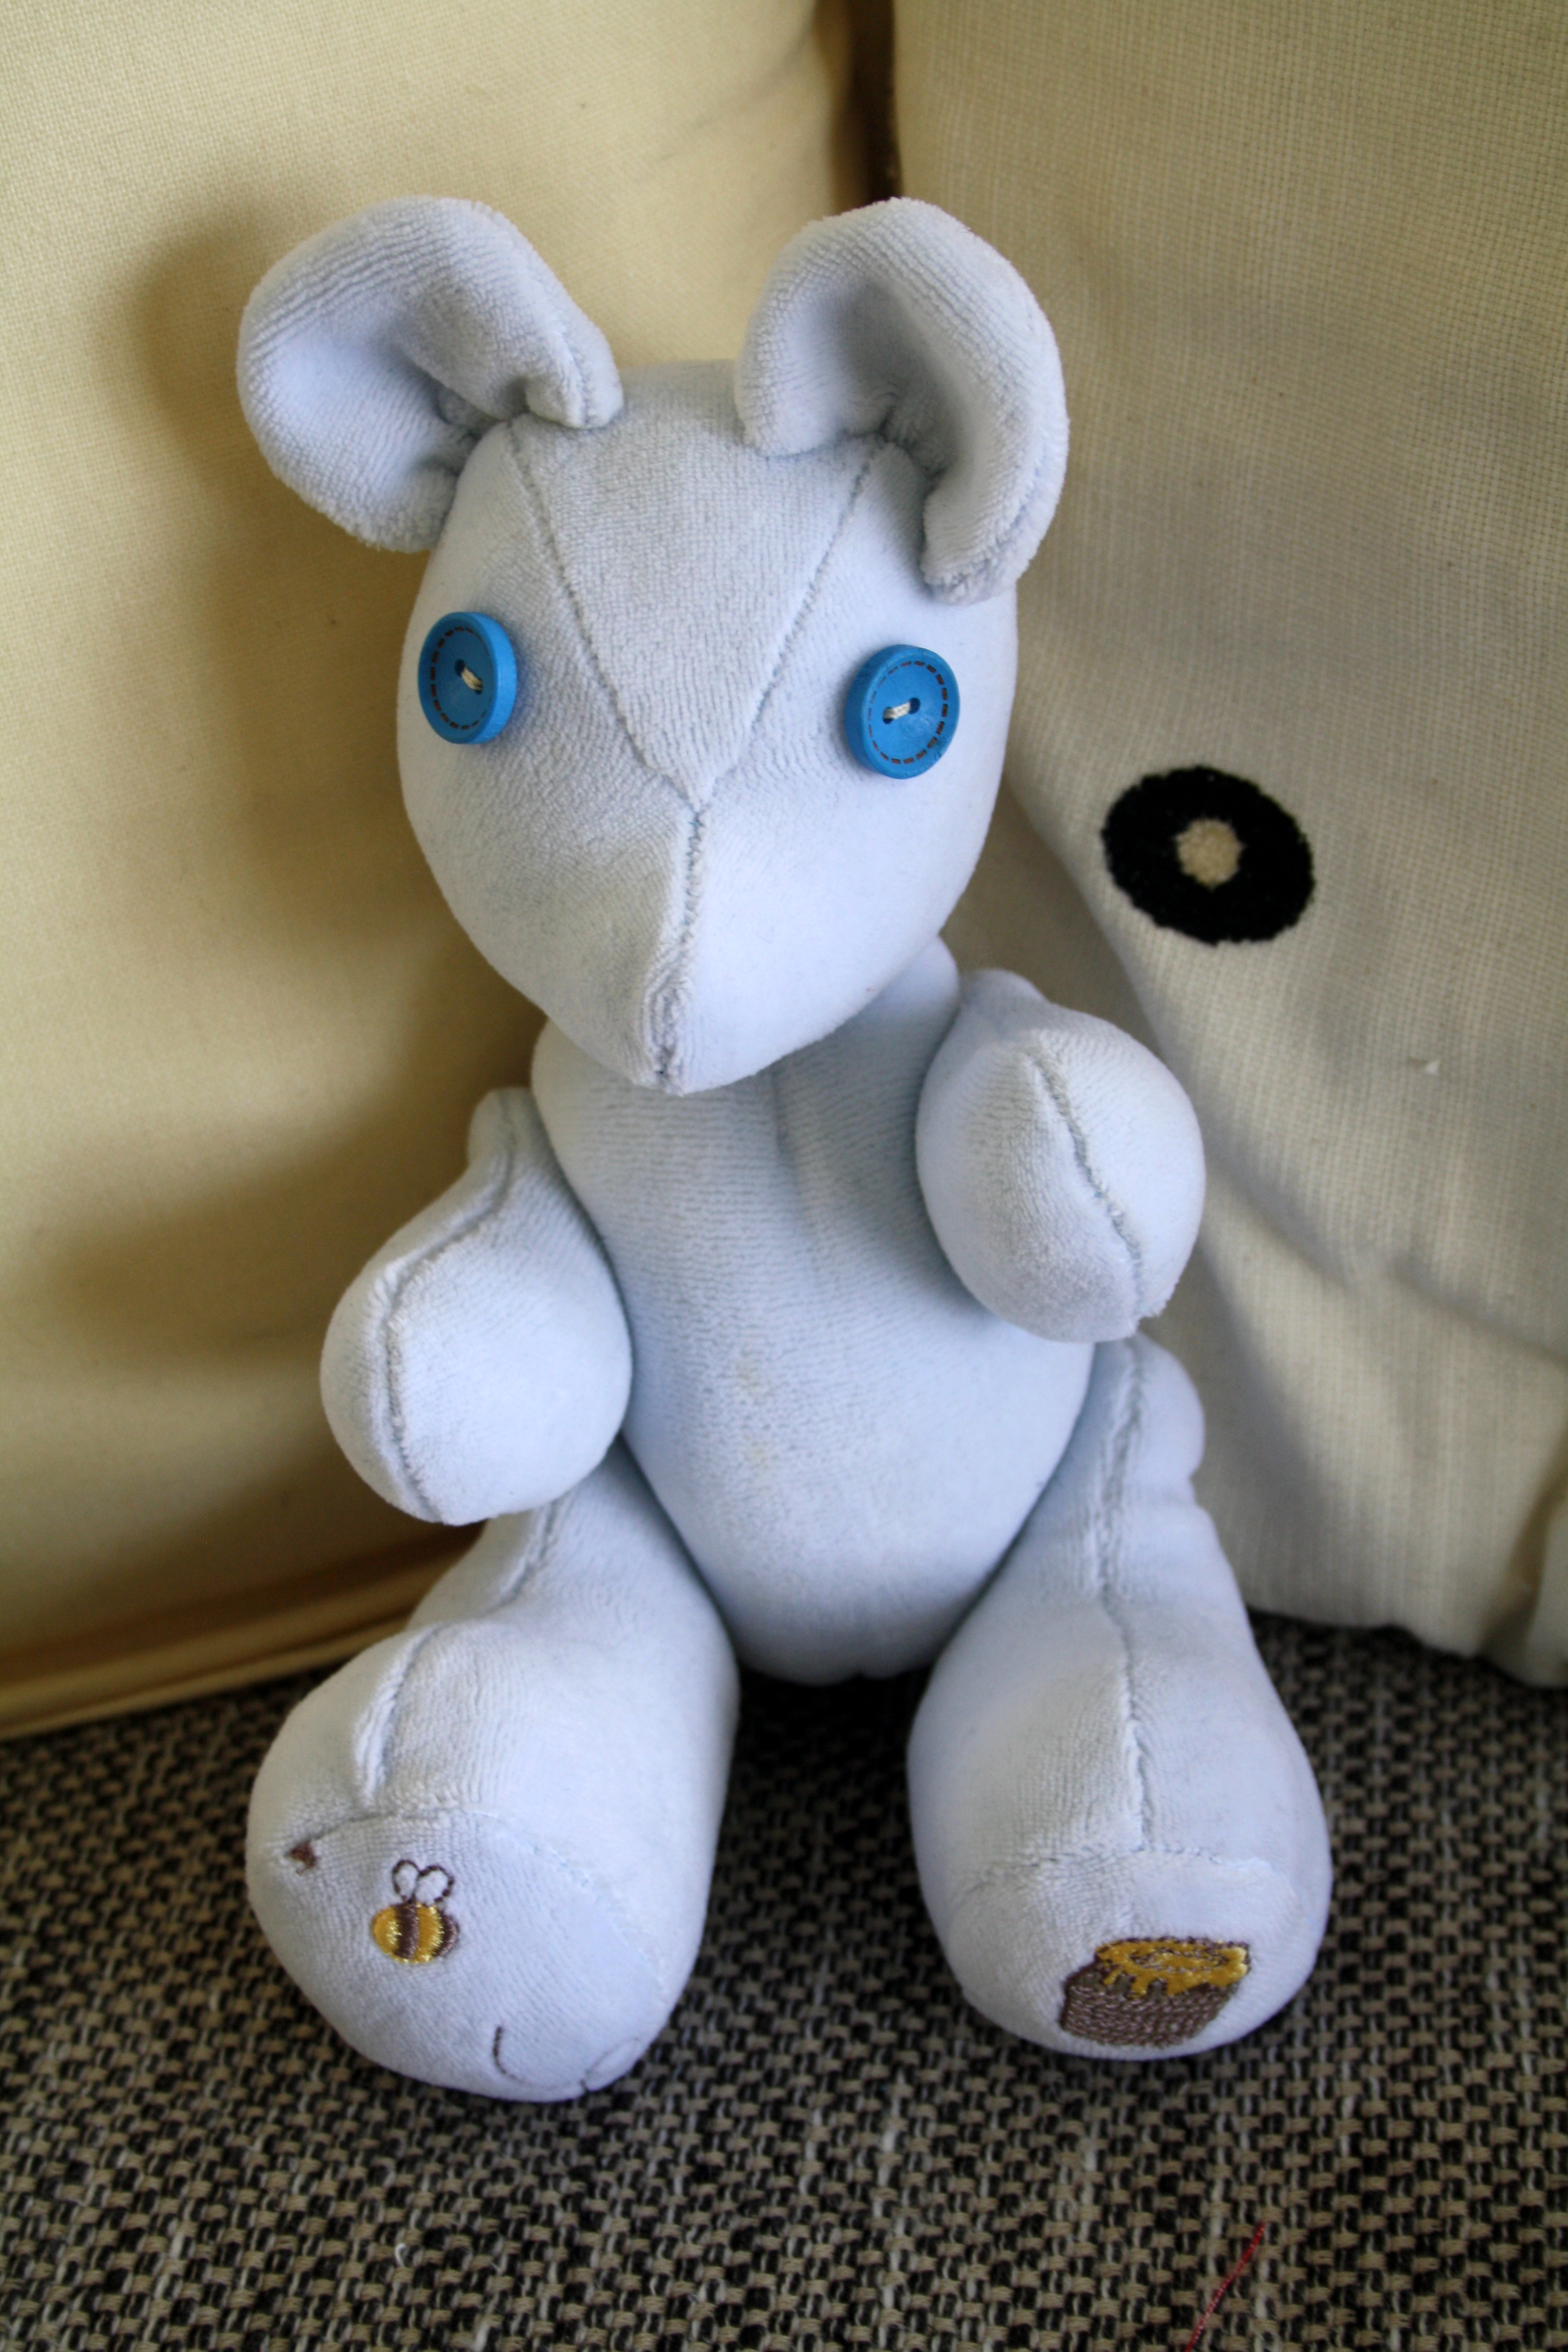

The third bear! This was a Winnie The Pooh themed onesie with a couple of appliques, which I used for the feet. The fabric was thicker and had less stretch, so this bear is smaller than the previous two. It was nice fabric to sew with though, my hand stitches just sank into it and were completely invisible!
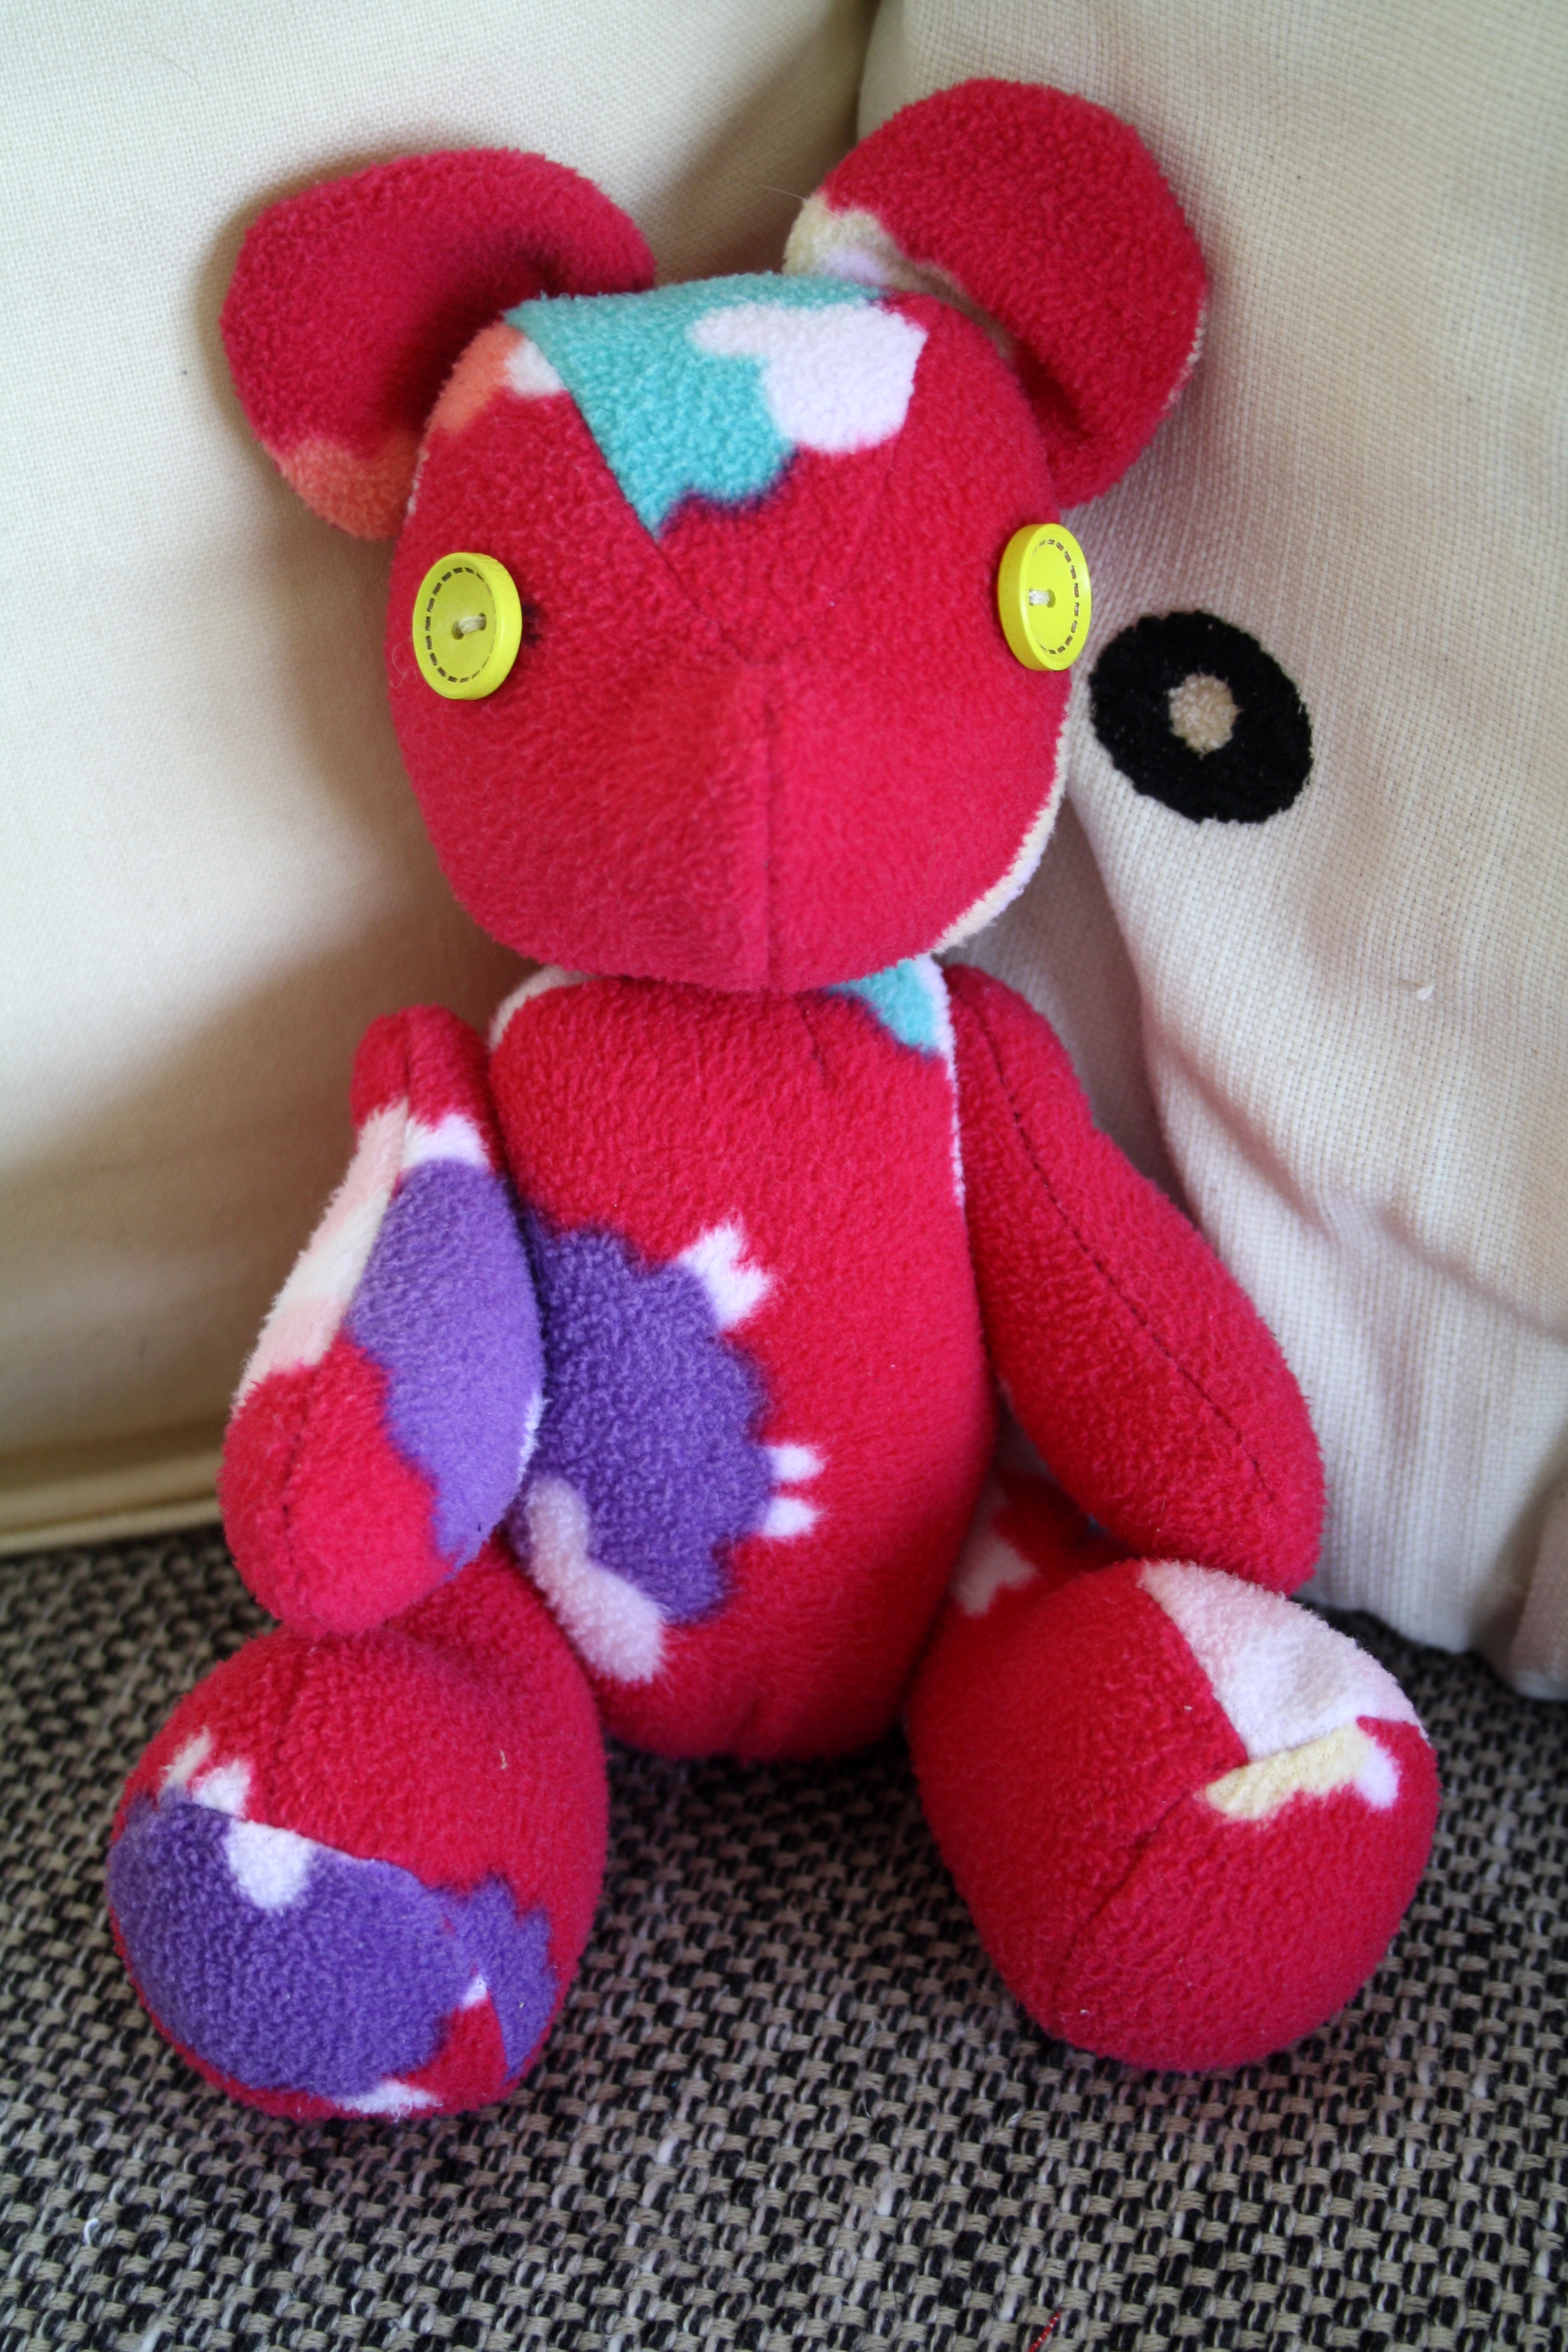
The fourth and final bear was this one – another fuzzy onesie with colourful sheep on it. Maybe the best looking one of the lot – I was really getting into the swing of it by this stage.
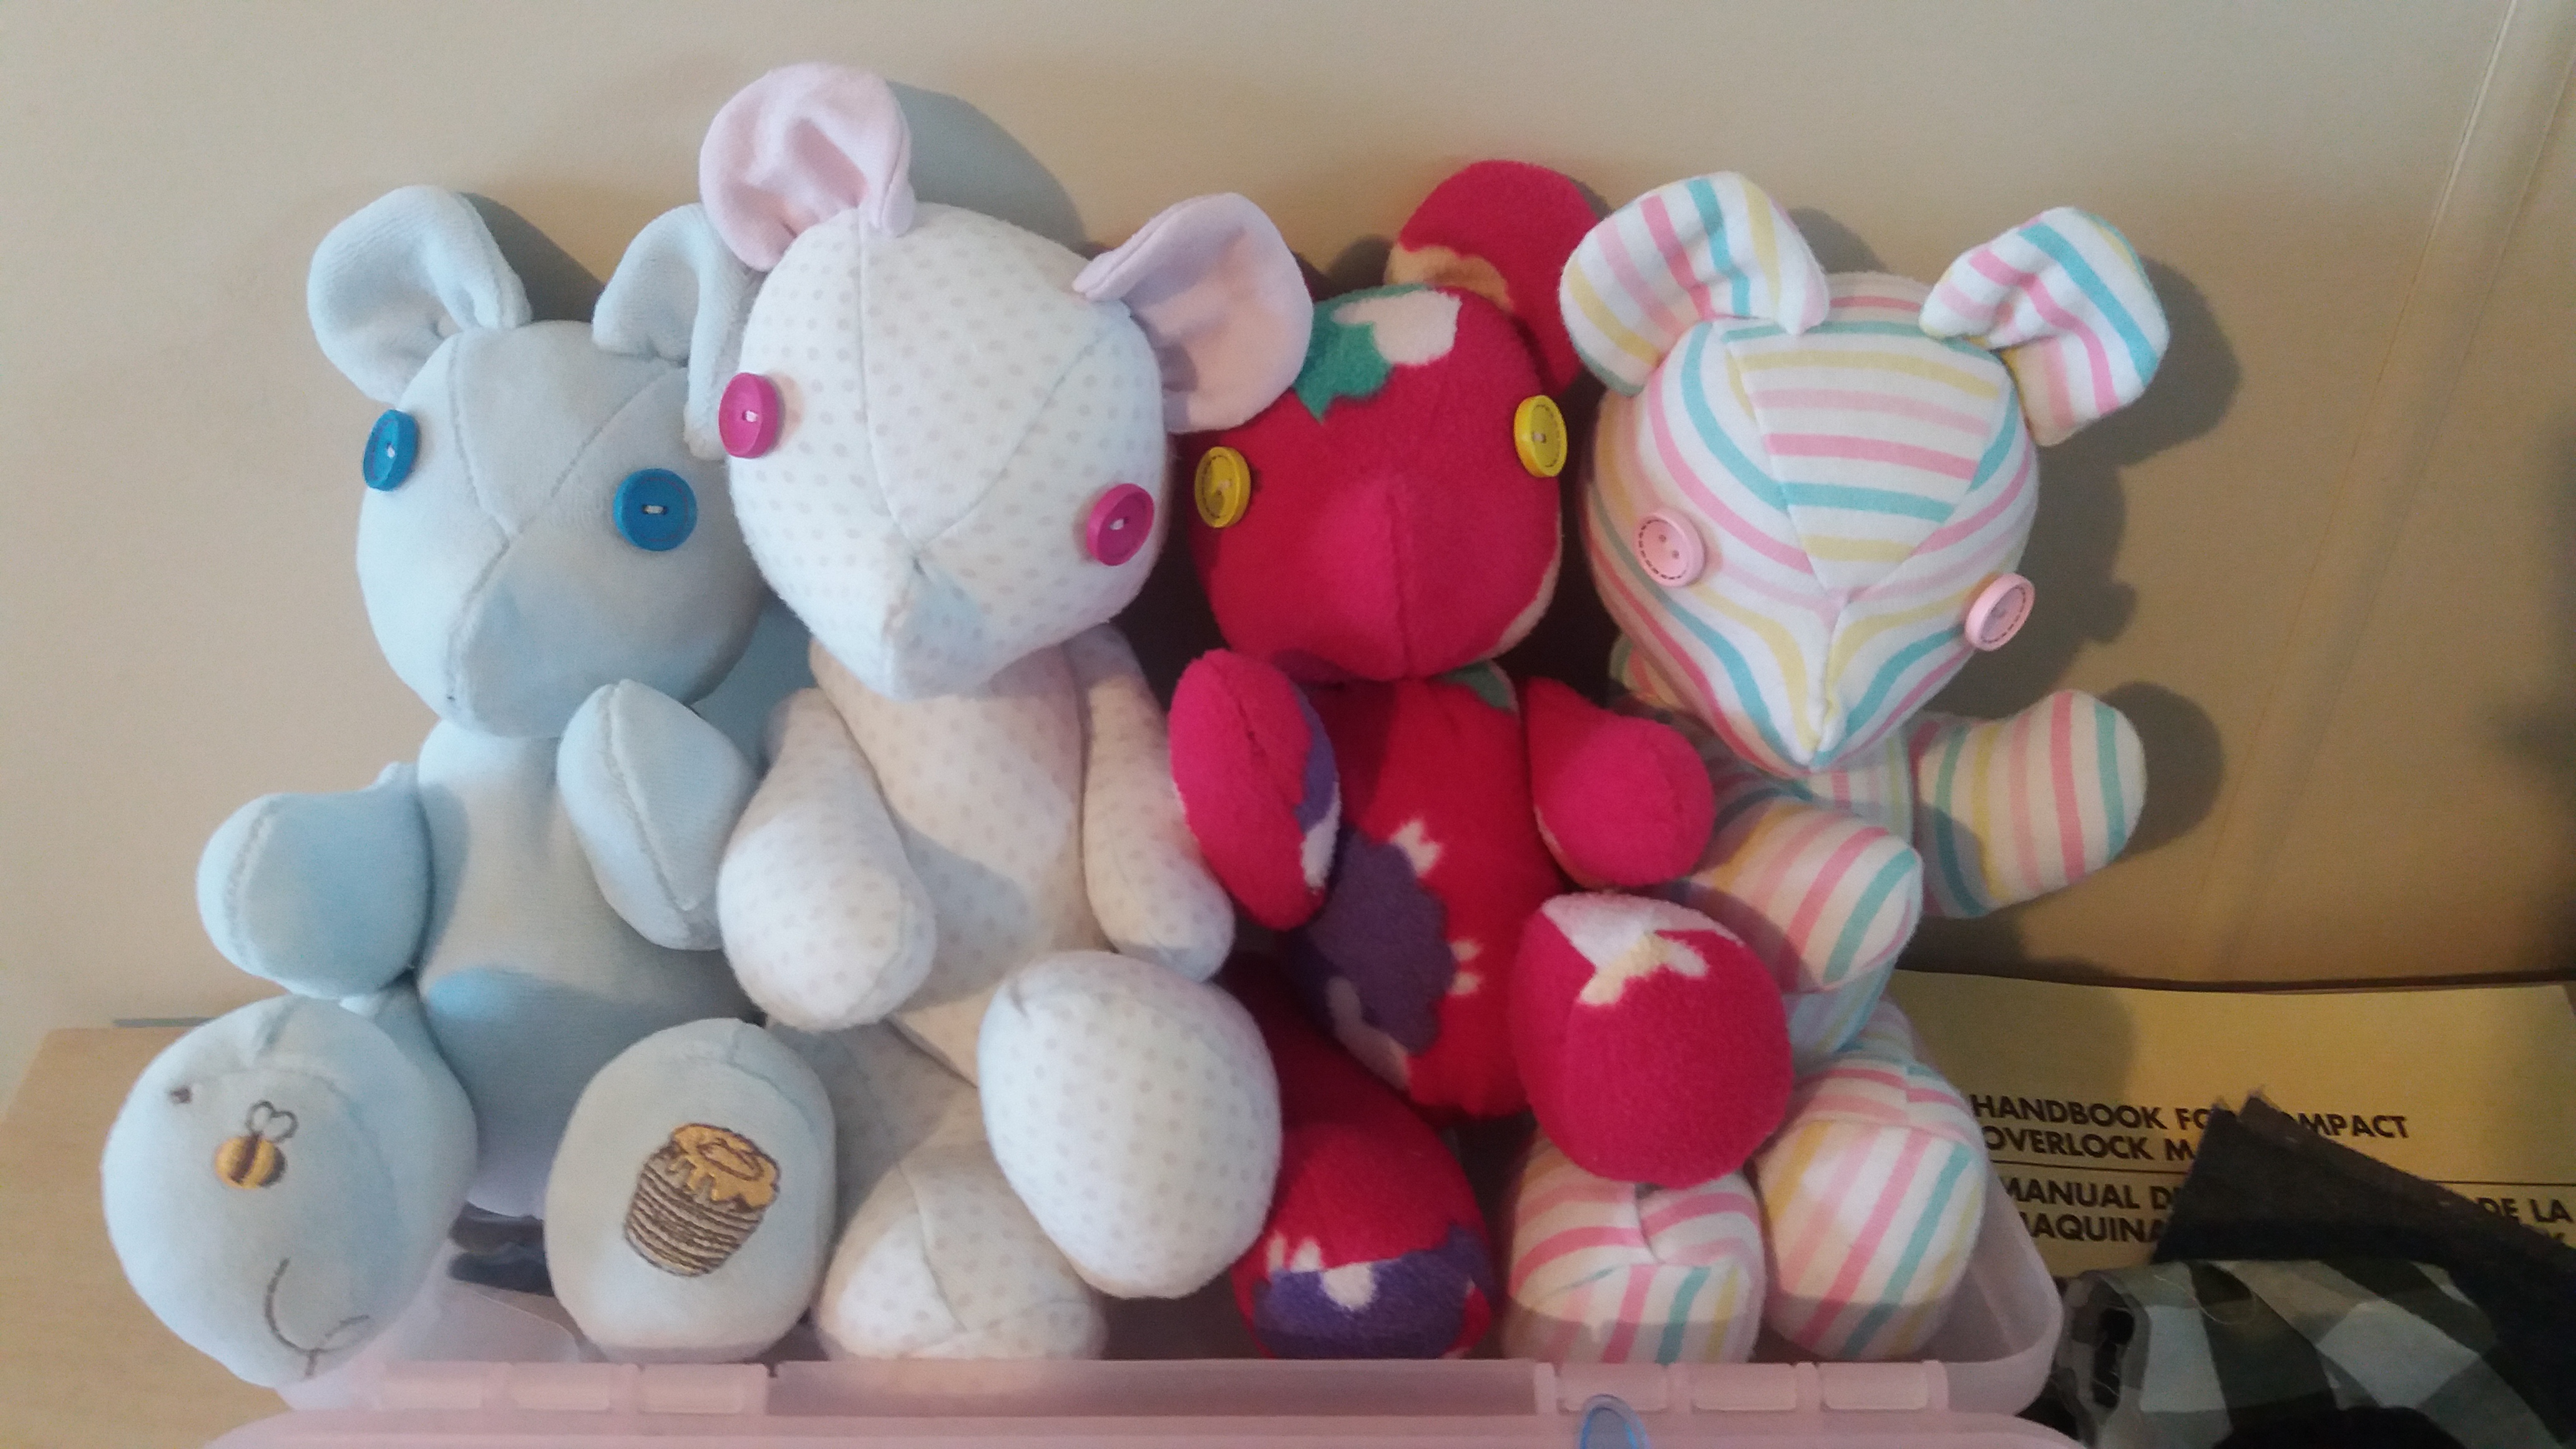
So there you have it – 4 memory bears, soon to be carefully escorted to Adelaide when I visit this weekend and delivered to their excited recipient!
