
A little while ago now, I bought the Cynthia Rowley Simplicity 1873 dress pattern by mistake. I say by mistake – obviously I did, in fact, purposefully hand over money in exchange for the pattern, but I had a bit of a brain-fart and thought I was actually buying Simplicity 2444. C’est la vie.
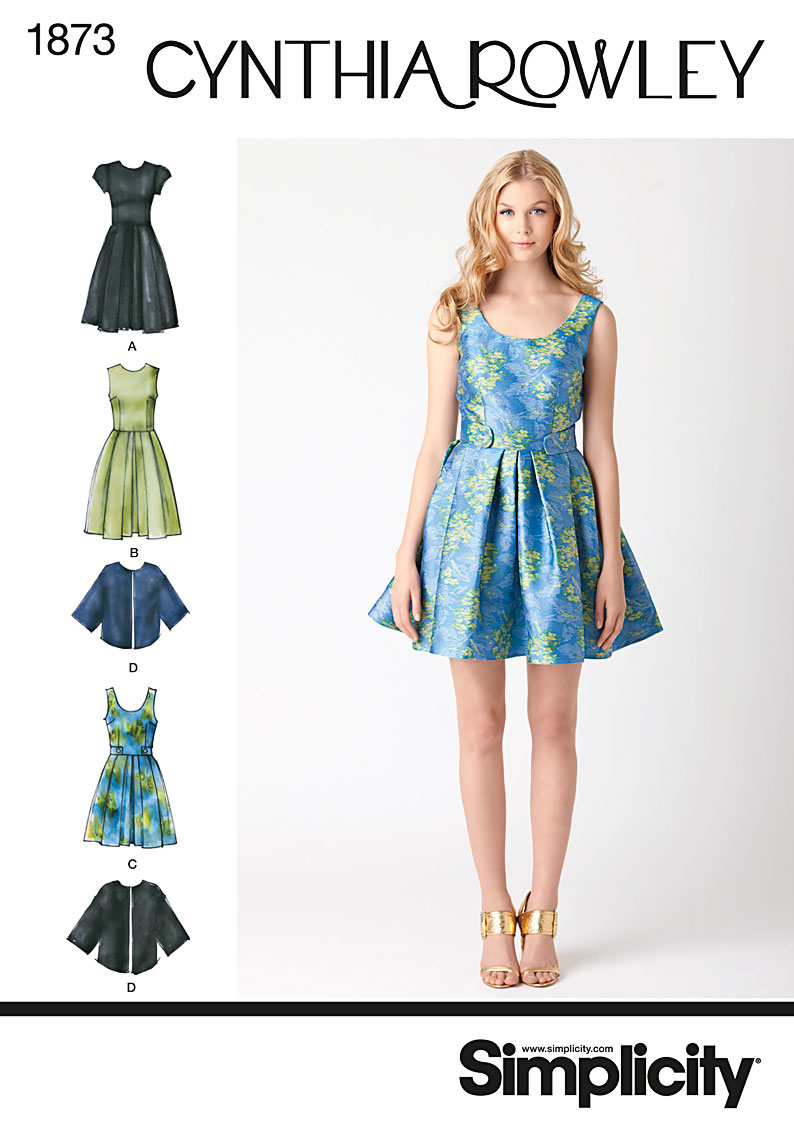
This pattern is a shining example of Simplicity’s terrible styling choices – the pouffy brocade fabric does absolutely nothing to sell this dress to me. However, since I bought it, I thought I may as well use it! And what’s more, I decided to do things properly. I’ll let you in on a little secret here – I’m lazy. I enjoy sewing, and I love making pretty clothes for myself – but my reluctance to unpick seams or make multiple muslins often comes back to bite me in the arse when I finish a dress and it doesn’t fit properly, or a skirt unravels in the wash. I’ve made a promise to myself to make well-made garments, even if it means unpicking a hundred seams.
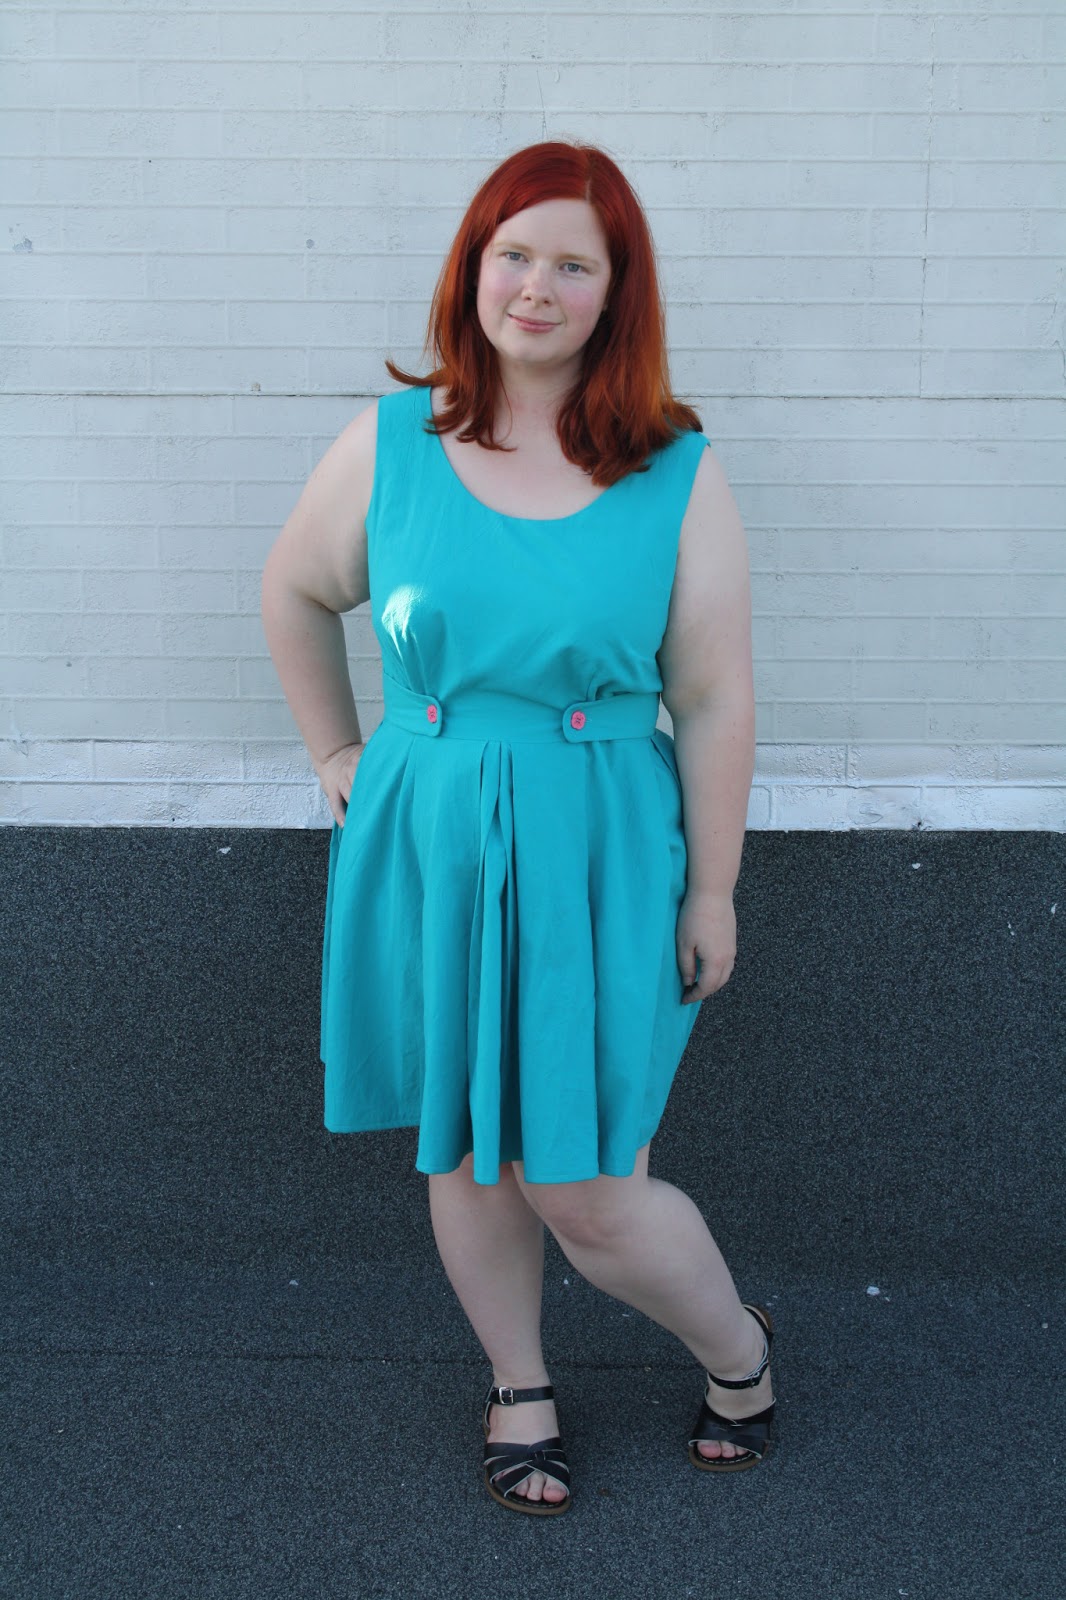
This was the result. I was going to make View B, but the button tabs caught my eye at the last moment and I added them in to make it View C. I made three muslins of the bodice – I worked my way down from size 20 to size 16, and then moved the bust side darts down by 1 inch, and lowered the other bust darts by 2 inches. I left the back darts as they were.
I went back and forth on the pleated skirt – the pleats were a bitch to do, and I spent ages basting, unpicking, folding, basting some more and I still couldn’t get them right. I kept ending up with an inch on either side of the skirt spare and 1 in the middle, after lining up all the seams, so in the end I added an extra pleat on either side, and one in the middle. I seriously considered just gathering the skirt, but I ultimately decided not to because I didn’t want to look like a puffball from the waist down. However, if I made it again, I’d take that chance, because I don’t think the pleats are worth the effort. I hemmed the skirt as little as possible, because even though I’m short, it was a good length on me before I touched it!

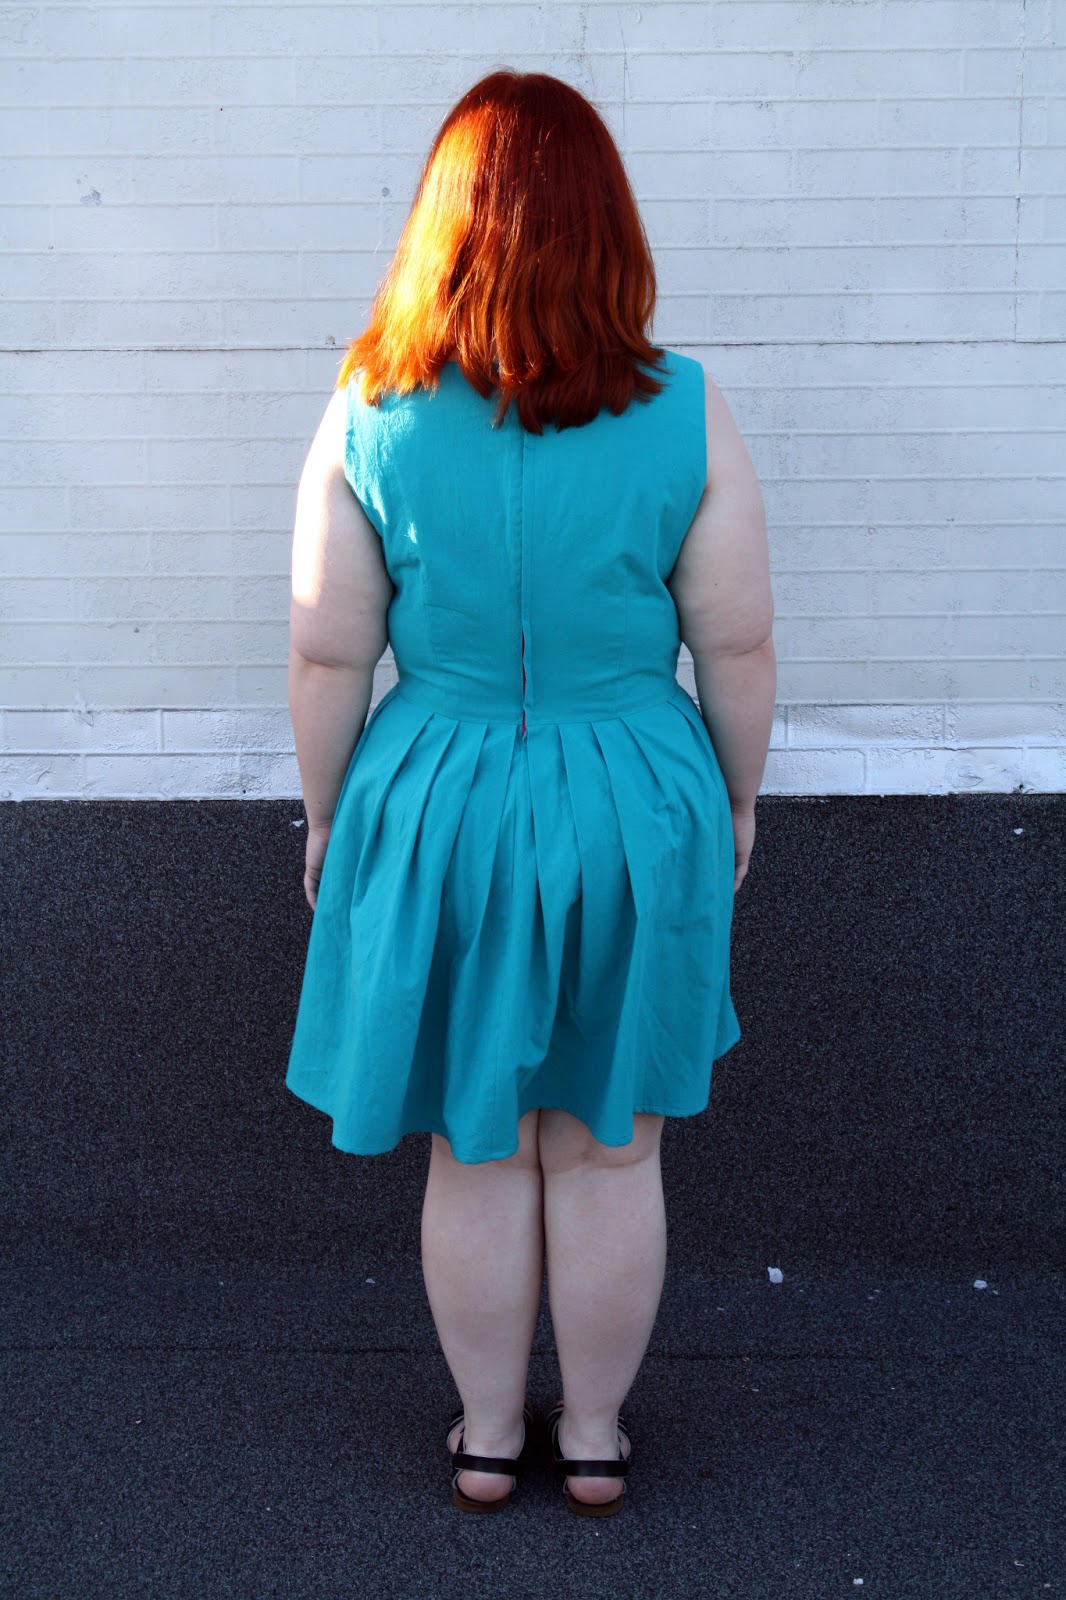
The skirt is deceptively full (excuse the cheeky bra strap trying to peek through)! After all my careful muslin planning, the waist ended up being a little large on me. Stupidly, I didn’t try it on until after I’d inserted the zipper (lapped and handpicked, thank you very much), and I nearly threw the whole thing in the bin when I finally slipped it on and discovered it was baggy. But then I thought a bit, and although the button tabs are meant to be decorative (no buttonholes required), I thought I would move them closer to the centre of the dress and actually button them up to cinch in the waist. I was a bit worried about how it would look, but figured I had nothing to lose, so I tried it and I love the way it turned out. I think the gathering effect under the bust is flattering, and the tabs are so cute!
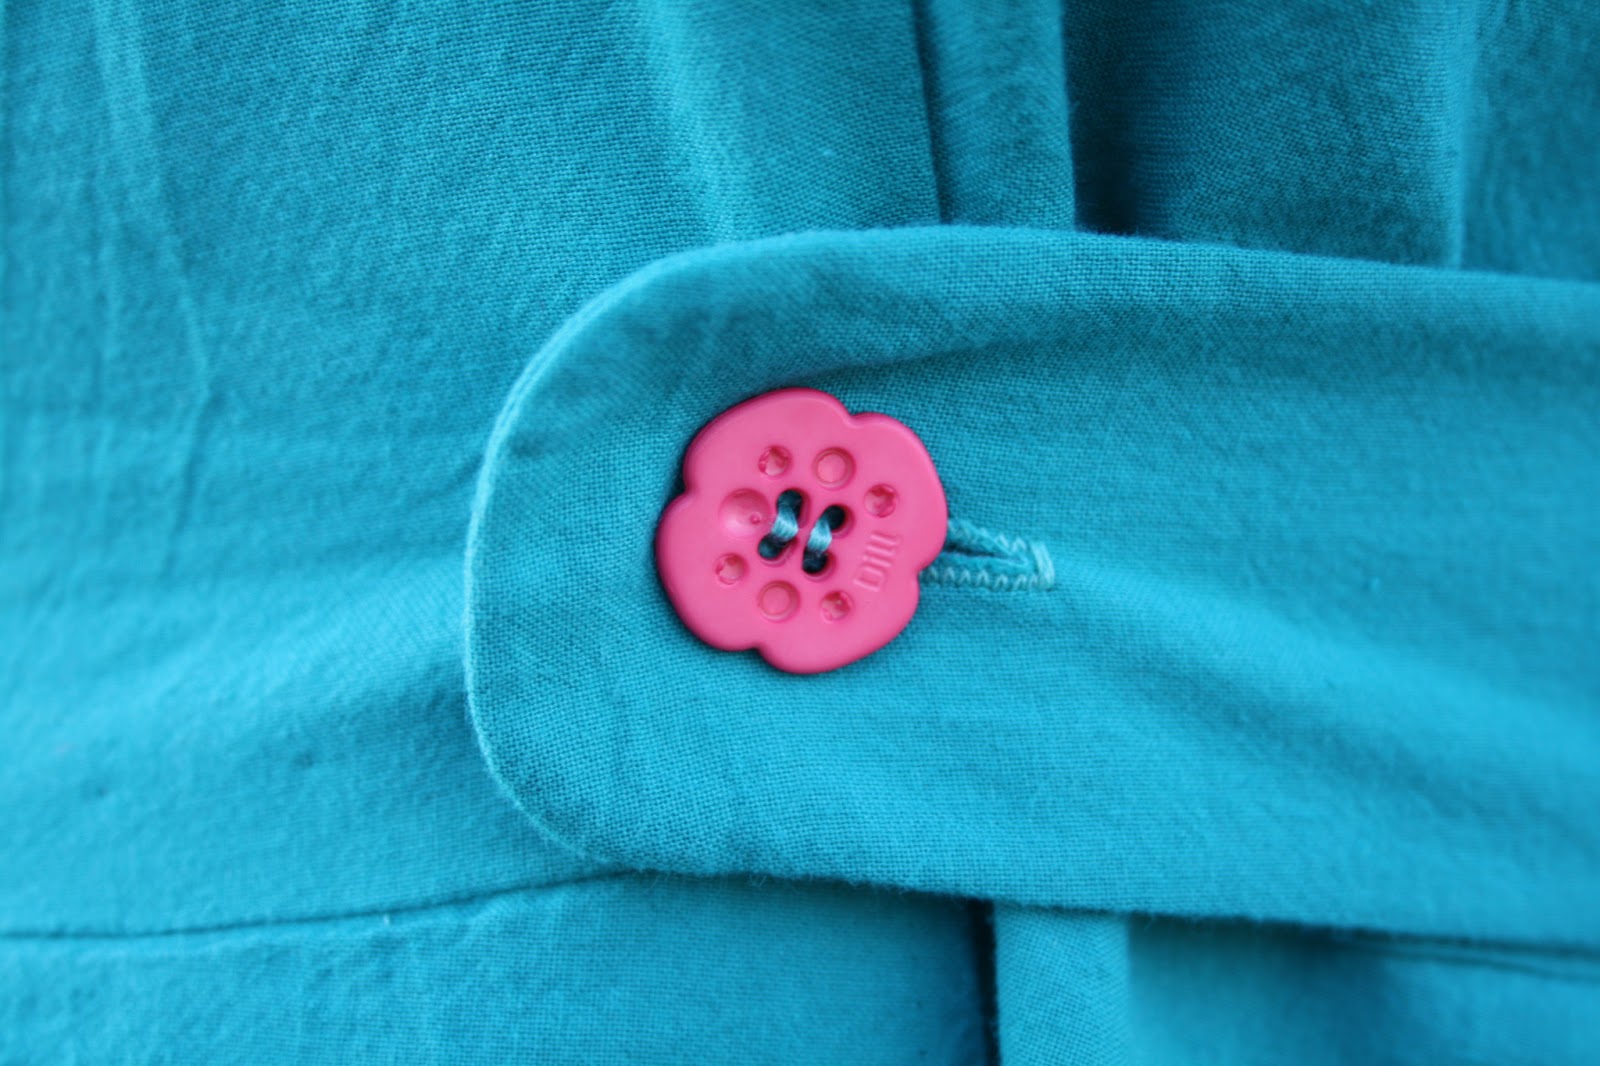
The only pair of matching buttons I had – and how lucky they matched my hot pink zipper! It was meant to be. And look at that buttonhole! A dear friend recently gave me some advice re: buttonholes – stick a pin on either side before wielding the seam ripper, and you’re far less likely to rip right through it. It works like a charm!

I used a teal broadcloth that I had 5 yards of in my stash – I honestly can’t remember where I bought it. I’m glad I had so much of it, though, because I somehow managed to stuff up cutting out 2 of the big skirt pieces and had to recut them. I used a bright pink zipper (also from the stash) that I got from Urban Ore, and the two buttons that were leftover from a previous project. Yay for stashbusting!

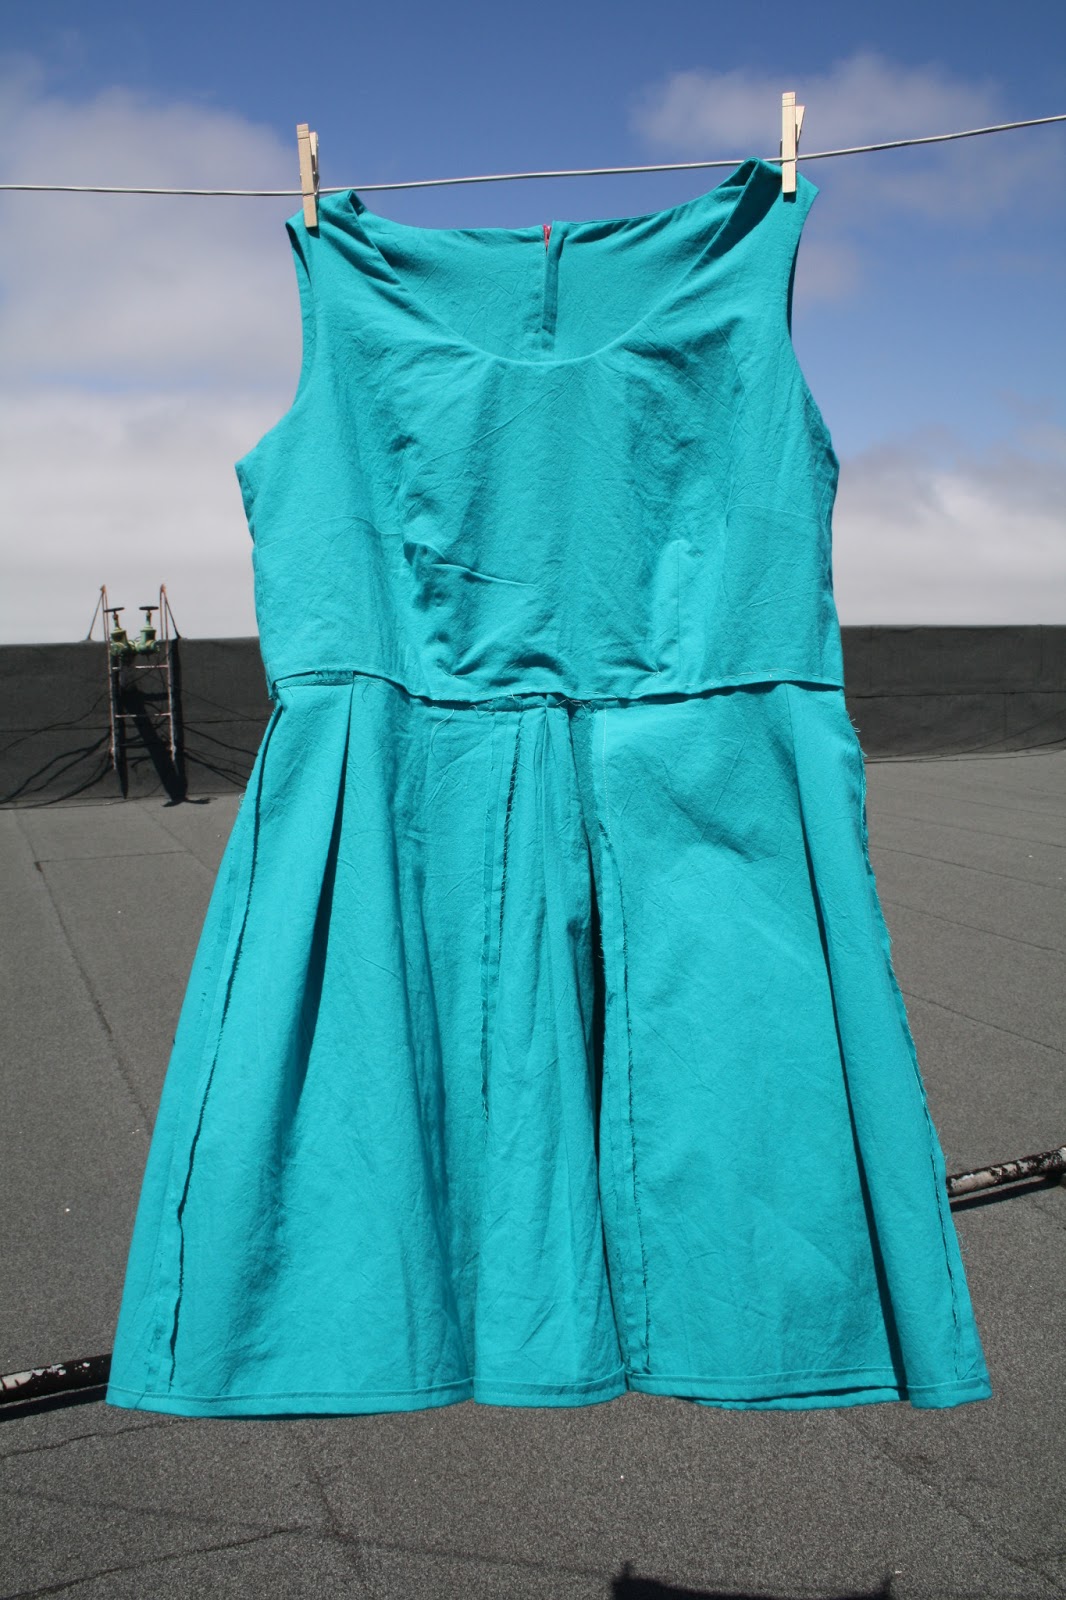
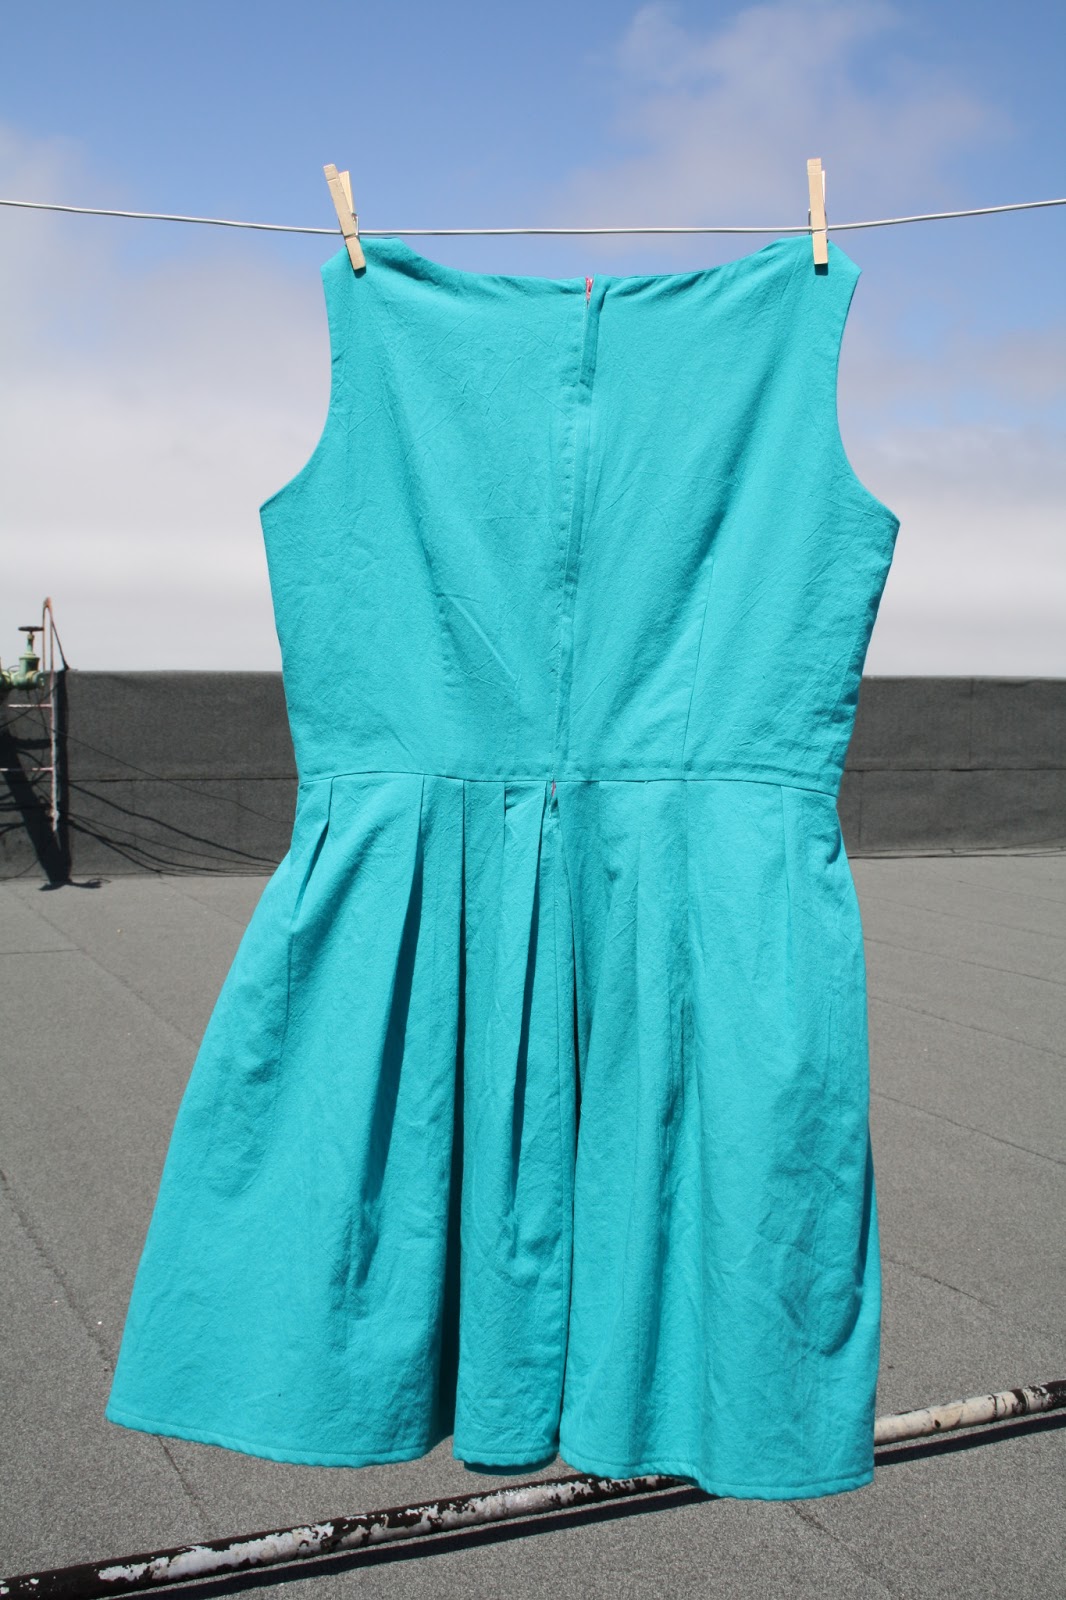
The inside of the dress, back and front respectively. I just typed bacon instead of back and had to change it – can you tell I haven’t had breakfast yet? Anyway, I lined the bodice with more of the broadcloth – I did buy some “lining fabric” from the local fabric store, but it was plastic-y and I thought it would make me sweat (tmi, yes?) so I didn’t bother using it. I didn’t line the skirt to make it lighter. I am so proud of my zipper, you guys. My first lapped, handpicked zipper! Can I make a confession? I had no idea what “handpicked” meant before now. I saw it mentioned on other blogs, and I thought perhaps they were hand-selecting couture zippers or something. I don’t know. But now I know the pick stitch, and I’m in love. Such a wonderful little sneaky stitch!
Despite being less-than-enthusiastic about the pattern before beginning, I actually really like the finished dress, and I may even make another one with a gathered skirt and sleeves! I’ll leave you with this fabulous photo of me flicking my hair like a supermodel. You’re welcome.


I am totally in love with the button tabs and your pretty pink zipper! I'm so glad this one didn't end up in the bin!
Another triumph! Love your colour choices…stunning result!
Thank you!
I love this dress. very cute. My favorite part is the contrasting pink buttons and zipper.
http://www.etsy.com/shop/CurvyTiffy?ref=seller_info_count
Thank you 🙂
I love the tab and how it tucks the dress in at the waist. More hints on button holes….please. I am terrified of them and avoid them at any cost in my sewing.
http://iliska-dreams.blogspot.com.au/
Buttonholes seem terrifying, I know, but once you get the hang of them, they're fairly easy! Try practicing them on some scrap fabric first – I always do this before sewing them on my main fabric, so I can play with stitch length and width and make sure that it fits the buttons I'm using. And I still dig out my sewing machine manual every time to make sure I'm doing it right 🙂 Practice makes perfect!
This dress is all kinds of adorable! I would have never looked twice at that pattern, but you did it justice. They should put you on the envelope! I have been wanting to try some button tabs at the waist for a while. I few really cute FOs have popped up with them on the internet and I thought they would be fun and flattering. I can see from your pics the answers are yes and yes!
You look adorable. definitely think the pleats were worth it. Makes for a very pretty outcome